How to Create Whimsical Watercolor Blooms — Easy Step-by-Step Guide
Discover the joy of watercolor painting flowers with this simple guide. Create beautiful, whimsical blooms perfect for decorating or gifting. This beginner-friendly activity has 10 steps and is perfect for families with kids aged 8+.
Quick answer
To make whimsical watercolor flowers, you need watercolor paints, brushes, watercolor paper, and water, taking about 30-45 minutes. Start by wetting your paper. This beginner-friendly activity has 10 steps and is perfect for families with kids aged 8+.
What you need
Shop on Amazon · As an Amazon Associate we earn from qualifying purchases. Links above are affiliate links — we may earn a commission at no extra cost to you.
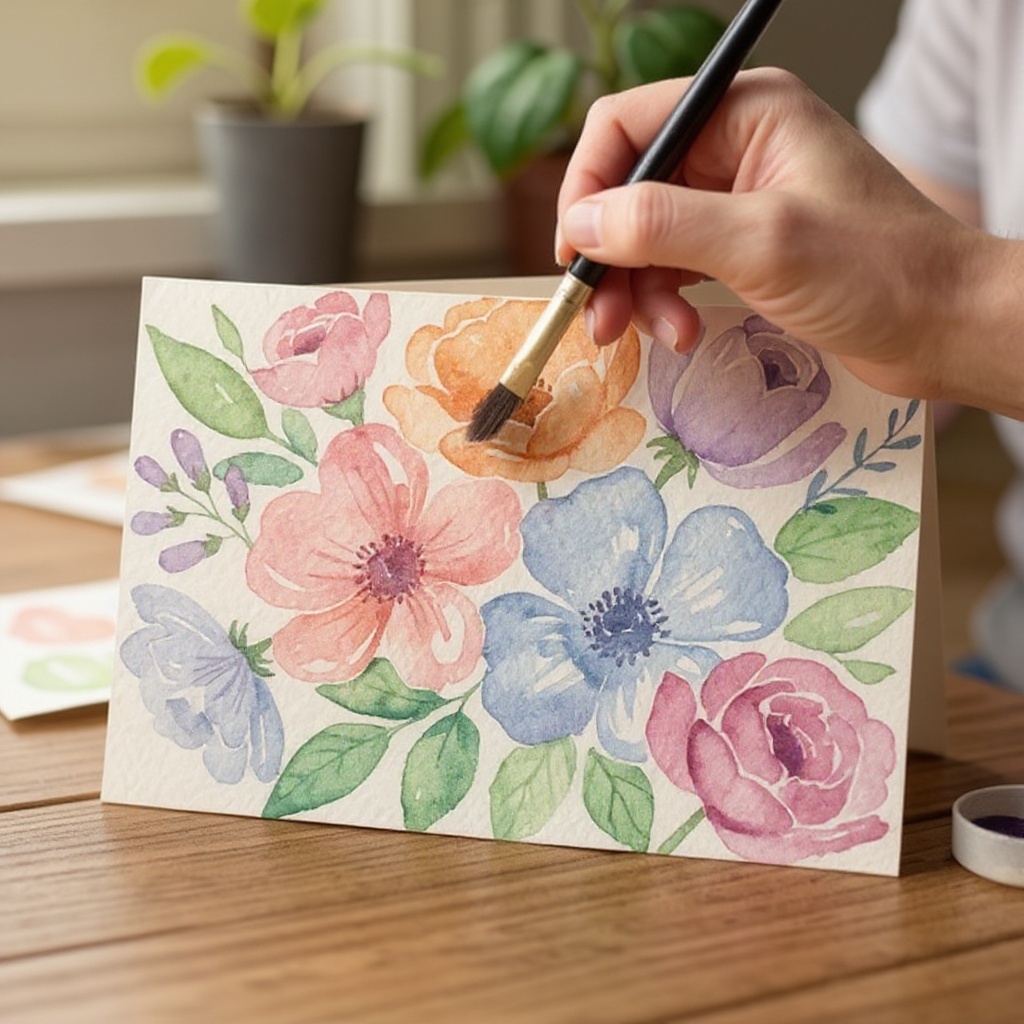
Embark on a delightful artistic journey with "Whimsical Watercolor Blooms." This project is a fantastic way to tap into your creative side, offering a therapeutic and rewarding experience for artists of all ages. What makes it truly special is the spontaneous beauty of watercolor, allowing colors to blend and flow in unexpected ways, resulting in unique floral creations. It's an ideal activity for families looking for a screen-free bonding experience, perfect for children aged 8 and up, as well as adults seeking a relaxing and accessible introduction to watercolor painting.
On this page
Step-by-Step Instructions
- 1
Gather all your watercolor painting flowers supplies. Ensure your workspace is protected with newspaper or a drop cloth, as watercolor can be messy, and have your paper, paints, brushes, and water containers readily accessible.
- 2
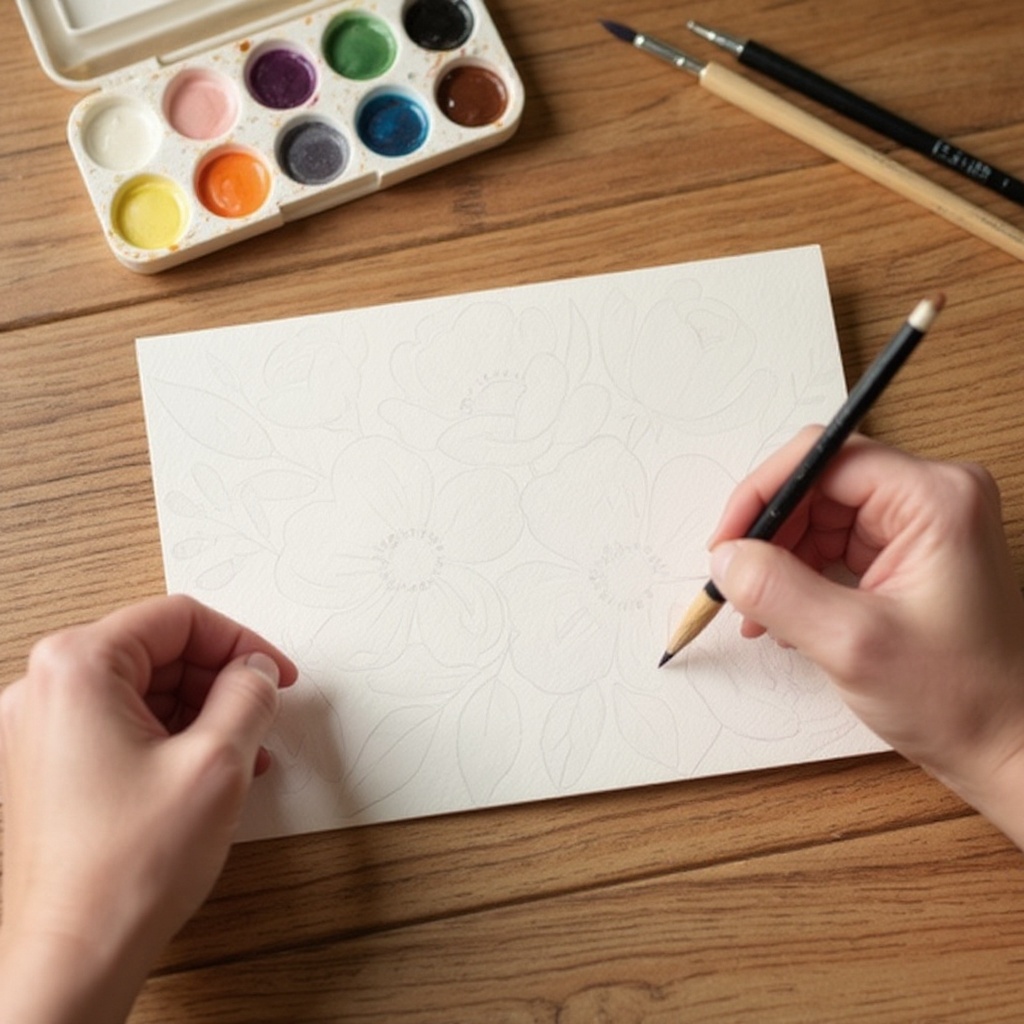
If desired, lightly sketch the general shapes of a few flower petals or buds on your watercolor paper with a pencil. Keep lines very faint, as heavy pencil marks can be difficult to cover with watercolor and may show through the translucent paint.
- 3
Fill one container with clean water and the other with water for rinsing your brushes. Having two separate containers is crucial; one for rinsing away excess pigment and the other for clean water to mix with your paints for lighter washes.
- 4
Dip your largest brush (size 10-12) into the clean water, then load it with a vibrant watercolor paint color. Mix on your palette until you have a good amount of pigment, aiming for a consistency that is fluid but still has body.
- 5
Gently touch the wet brush to a damp section of your watercolor paper. You can pre-dampen a small area with clean water using a larger brush if you like, or simply apply the loaded brush directly to dry paper for a more controlled bloom. Let the color bloom and spread naturally, observing how the water carries the pigment.
- 6
While the first color is still wet, rinse your brush thoroughly in the rinsing water container, then dip it into the clean water and pick up a contrasting or complementary color. Gently touch this color to the edges or center of the first color to create soft, beautiful blends and gradients.
- 7
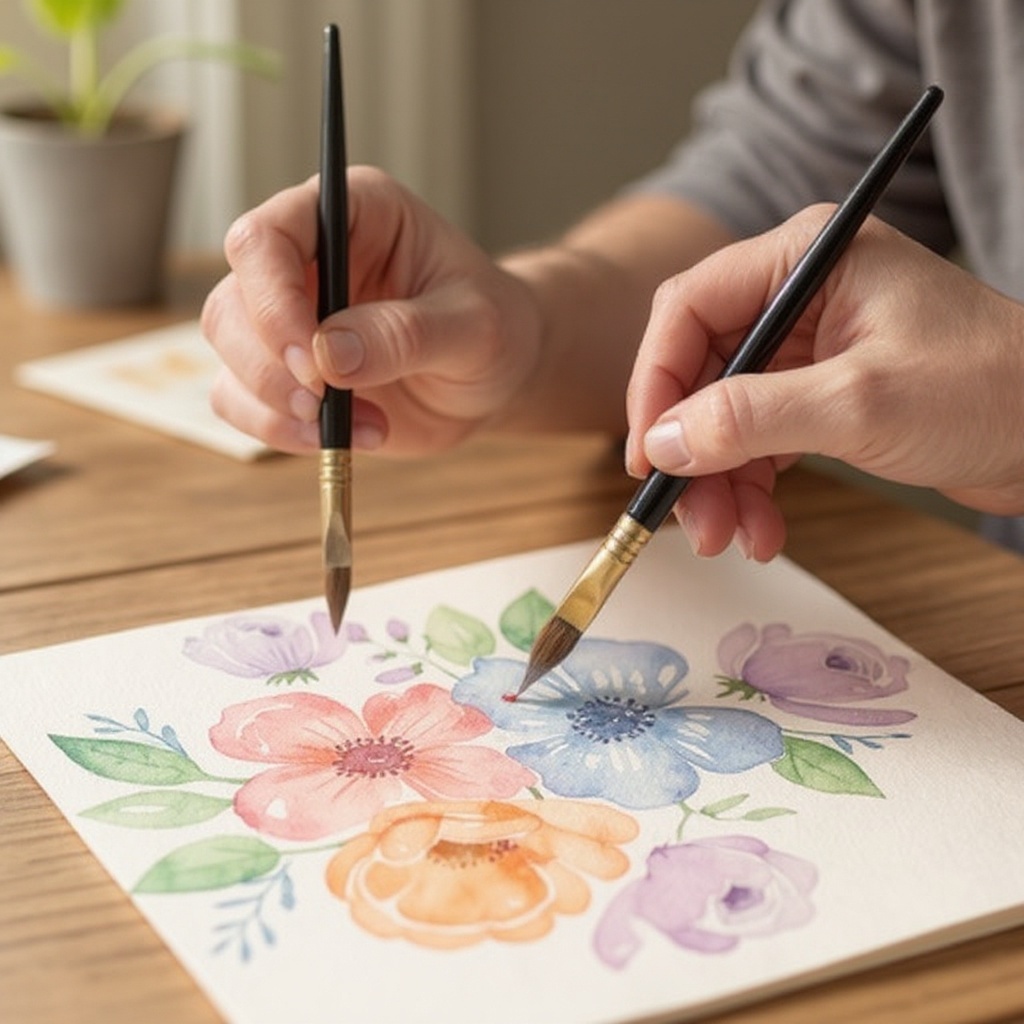
Use a smaller brush (size 6-8) to add more defined petal shapes or details. You can use a lighter wash of color by adding more water to your pigment, or a more concentrated pigment for bolder strokes, depending on the effect you want to achieve.
- 8
Continue adding layers of color and petal shapes, building up your floral composition. Allow some areas to dry completely before adding new washes for sharper edges, and work wet-on-wet for softer, more diffused transitions.
- 9
Use your smallest brush (size 2-4) to add small details like stamens, centers, or delicate leaf shapes. You can also use this brush for fine lines, such as the veins on a petal or the outline of a bud.
- 10
Once your watercolor painting flowers are dry, you can add a few final touches with a very fine brush, like tiny dots of color for highlights or subtle outlines to define shapes, if desired. Let the painting dry completely before handling or moving it.
- 11
Optional: For added depth, consider adding a second layer of color to some petals once the first layer is completely dry. This technique, known as glazing, allows for rich, luminous effects without muddying the colors.
- 12
Optional: If you notice any areas where the paint has dried too harshly, you can gently re-wet the area with a clean, damp brush and then lift some of the color with a slightly damp paper towel to soften the edges.
- 13
Optional: To create interesting textures, try sprinkling coarse salt onto a wet wash of paint. As the salt absorbs the water and pigment, it will create unique starburst or crystalline patterns. Brush off the salt once the paint is completely dry.
Tips & Troubleshooting
- 1Don't be afraid of 'mistakes'! Watercolor is forgiving, and happy accidents often lead to the most beautiful results. If a color spreads too much or you don't like an area, you can often lift some of the pigment with a clean, damp brush or a slightly damp paper towel while it's still wet.
- 2Experiment with different brush strokes to achieve a variety of petal textures and shapes. A light flick of the wrist can create delicate, pointed petals, while a firmer press with the side of the brush can create broader, softer strokes.
- 3Try using a salt technique for interesting textures. Sprinkle coarse salt onto wet watercolor paint, and as it dries, it will absorb the pigment and water, creating unique patterns. Brush off the salt once the paint is completely dry for a surprising effect.
- 4For a more controlled and defined effect, let each layer of paint dry completely before adding the next. This technique, known as wet-on-dry, will create sharper edges and more distinct petal shapes, allowing you to build up layers of color with precision.
- 5Consider adding leaves or stems in contrasting greens or browns to frame your flowers and give your composition a sense of completeness. These elements can be painted with similar wet-on-wet or wet-on-dry techniques.
- 6Vary your water-to-pigment ratio to achieve different levels of transparency and intensity. More water creates lighter, more translucent washes, while less water results in richer, more opaque colors.
- 7Don't be afraid to layer colors. Watercolor is transparent, so layering allows the colors underneath to show through, creating depth and luminosity. Ensure each layer is dry before adding the next for the best results.
- 8Clean your brushes thoroughly between color changes to prevent muddying your palette and your painting. A quick rinse in your rinsing water container followed by a blot on a paper towel is usually sufficient.
Related Activities You Might Enjoy
Frequently Asked Questions
What is the best paper for watercolor painting flowers?
For watercolor painting flowers, it's essential to use heavy watercolor paper, ideally at least 140lb (300gsm). This weight is crucial because watercolor involves a significant amount of water. Heavier paper can handle multiple washes of water and pigment without buckling, warping, or tearing, ensuring your beautiful blooms stay intact and the paint lies smoothly on the surface. Cheaper papers will absorb water unevenly, leading to frustration and a less professional-looking outcome.
How do I get vibrant colors in my watercolor flowers?
To achieve vibrant colors in your watercolor flowers, start with good quality watercolor paints, as student-grade paints can sometimes be less pigmented. Mix your paints with a small amount of clean water on your palette, aiming for a creamy consistency rather than a watery one. Apply the paint in layers, allowing each layer to dry slightly before adding another for depth and intensity. Avoid overworking the paint, as this can dull the colors. Using a vibrant pigment base and building up color gradually will yield the most luminous results.
Can I use regular paper for watercolor painting flowers?
While you can technically paint on regular paper, it is strongly not recommended for watercolor painting flowers. Regular printer paper or drawing paper is too thin and not designed to absorb water evenly. It will absorb water quickly, causing it to warp, buckle, and potentially tear. The colors may also appear dull, muddy, and unevenly spread, diminishing the beautiful, translucent quality that watercolor is known for. Always opt for dedicated watercolor paper for the best experience and results.
How do I create different flower shapes with watercolors?
Creating different flower shapes with watercolors involves varying your brush strokes and water-to-pigment ratio. For soft, round blooms, use dabbing motions with a round brush or the tip of a flat brush. For more pointed or elongated petals, use sweeping strokes, pulling the brush from the center outwards. Experiment with wet-on-wet techniques for soft, blended shapes where colors bleed into each other, and wet-on-dry for more defined edges and distinct petal forms. Practice is key to mastering these techniques.
What are some common beginner mistakes to avoid when painting watercolor flowers?
Common beginner mistakes include using paper that is too thin, which leads to buckling. Another is using too much water on dry paper, causing blooms to spread uncontrollably, or not enough water, resulting in harsh edges. Overworking the paint can also dull colors. Forgetting to clean brushes between colors can lead to muddy hues. Finally, being too afraid of 'mistakes' can stifle creativity; remember that watercolor has a unique way of transforming unexpected marks into beautiful elements. Embrace the process and learn from each stroke.
How long does it typically take to paint a whimsical watercolor flower?
The time it takes to paint a whimsical watercolor flower can vary depending on your experience level, the complexity of the design, and whether you're working wet-on-wet or wet-on-dry. For a simple, single bloom using the wet-on-wet technique, you might spend around 5-10 minutes actively painting. However, if you're building up layers, adding details, and allowing drying time between steps, a single flower could take 15-20 minutes. A small cluster of flowers or a more detailed composition might take 30-45 minutes, as outlined in the quick answer, making it an accessible project for most schedules.
What Next?
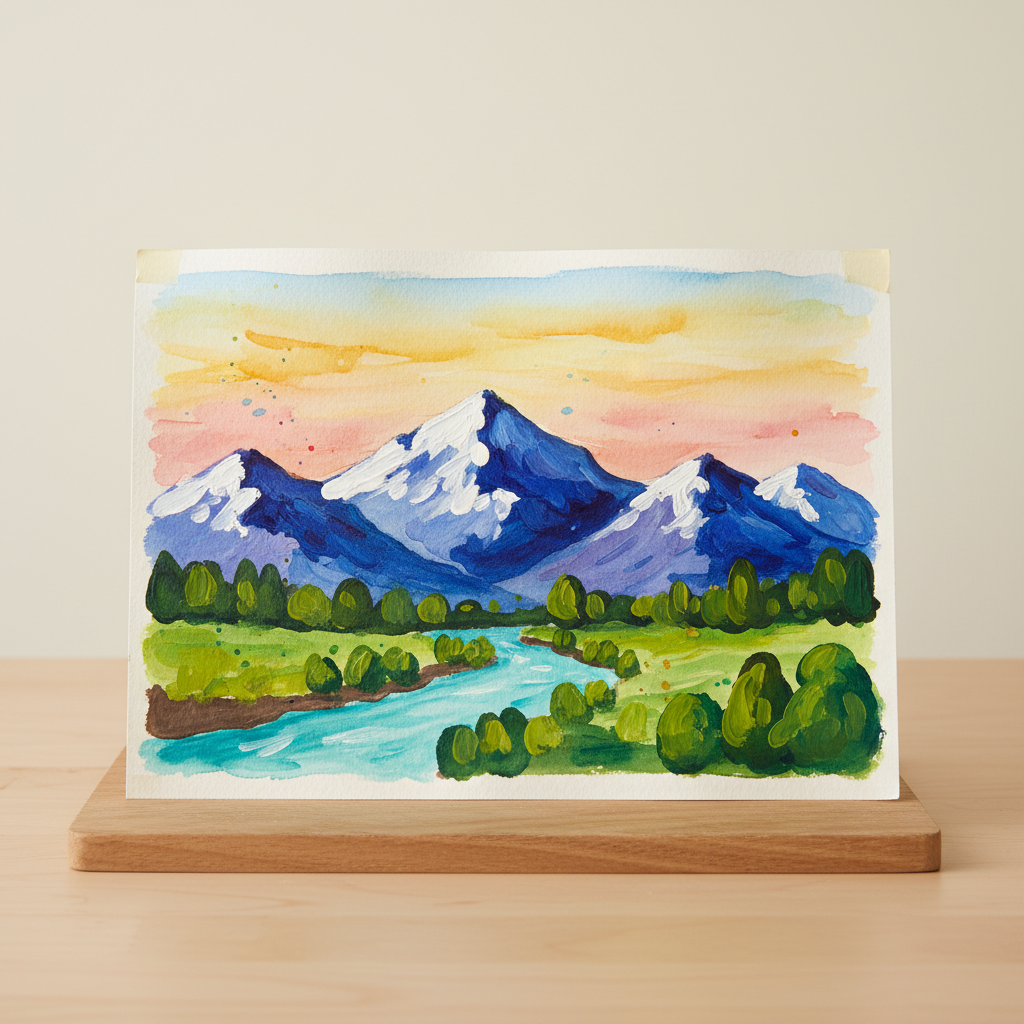
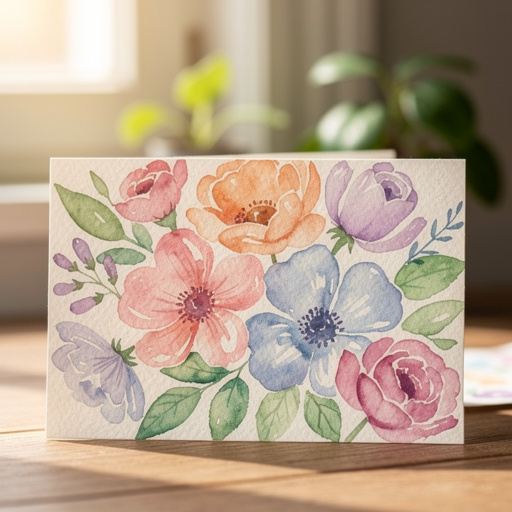
Congratulations on creating your own "Whimsical Watercolor Blooms"! These vibrant paintings are wonderful for adding a touch of handmade charm to your home decor, perhaps framed and hung in a gallery wall, or used as unique embellishments on greeting cards and gift tags. For variations, try experimenting with different color palettes, from soft pastels to bold jewel tones, or even explore abstract floral interpretations. Consider your next project could be a series of these blooms, or perhaps moving on to painting whimsical landscapes or animals using similar watercolor techniques. Store your finished artwork flat in a protective sleeve or portfolio to prevent damage and fading.
Free: 10 Paper Crafts Anyone Can Make in 5 Minutes
Get our beginner guide + new craft ideas weekly.
No spam. Unsubscribe anytime.
Did you complete this activity?