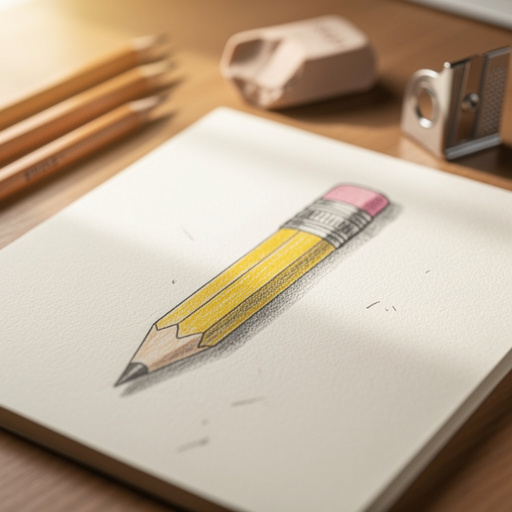
How to Draw a Pencil — Easy Step-by-Step Guide
Master the art of drawing a classic pencil with this simple, step-by-step tutorial. Perfect for budding artists of all ages!
Quick answer
To draw a pencil, you need paper, a pencil, and an eraser, taking about 15 minutes. Start by drawing a long rectangle. This easy activity has 10 steps and is perfect for families and kids aged 6+.
What you need
Shop on Amazon · As an Amazon Associate we earn from qualifying purchases. Links above are affiliate links — we may earn a commission at no extra cost to you.
Embark on a delightful artistic journey with this beginner-friendly guide to drawing a classic pencil. This project is special because it breaks down a familiar object into simple geometric shapes, making it incredibly accessible for artists of all ages and skill levels. Whether you're a child taking your first steps into the world of drawing or an adult looking for a relaxing and rewarding creative outlet, this tutorial offers a clear path to success. You'll be amazed at how quickly you can create a recognizable and appealing drawing of this essential art tool.
On this page
Step-by-Step Instructions
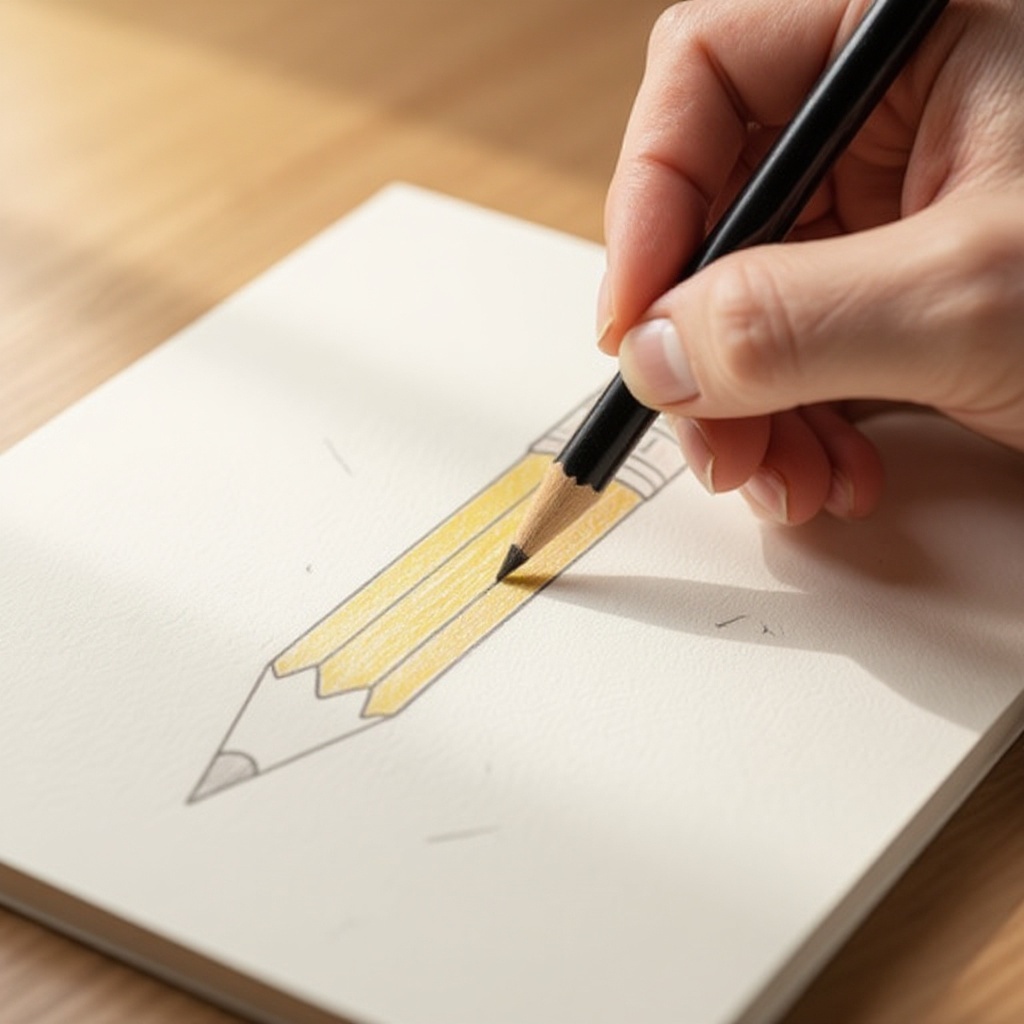
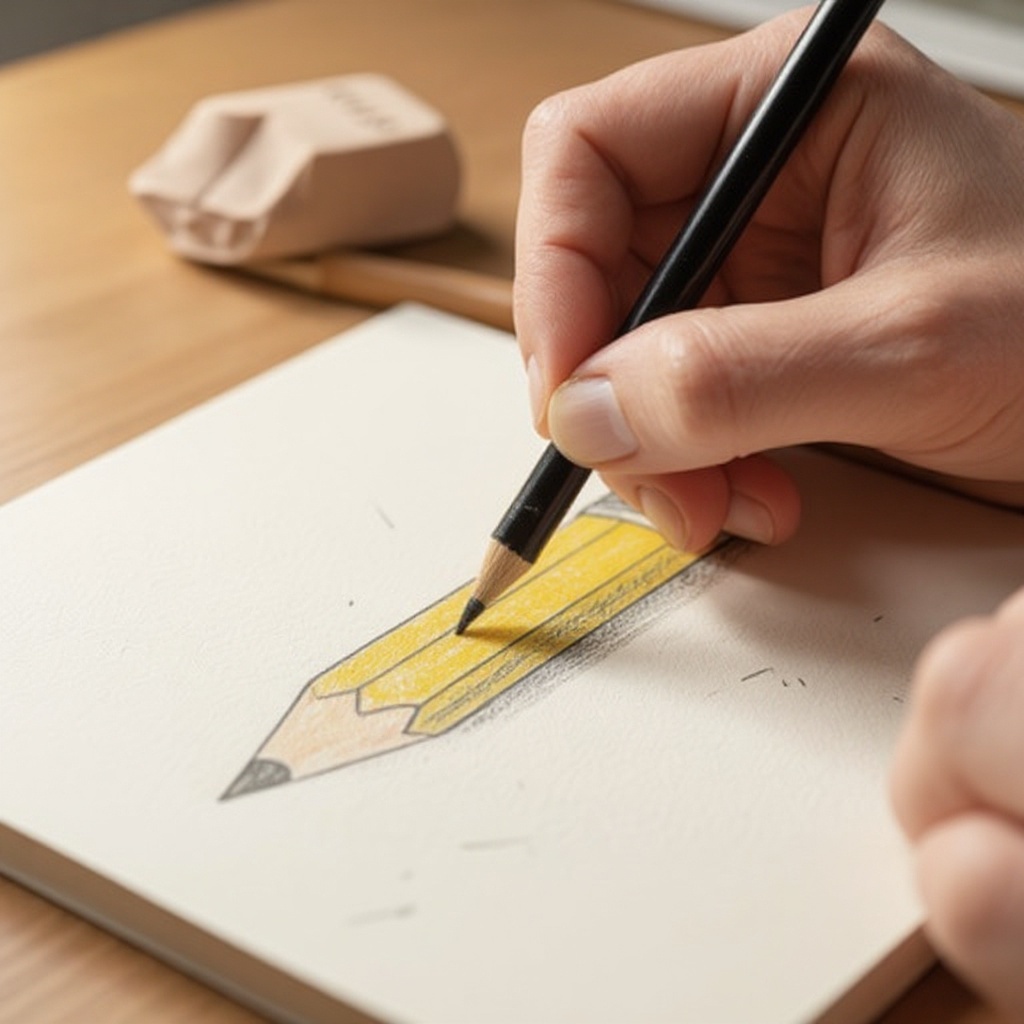
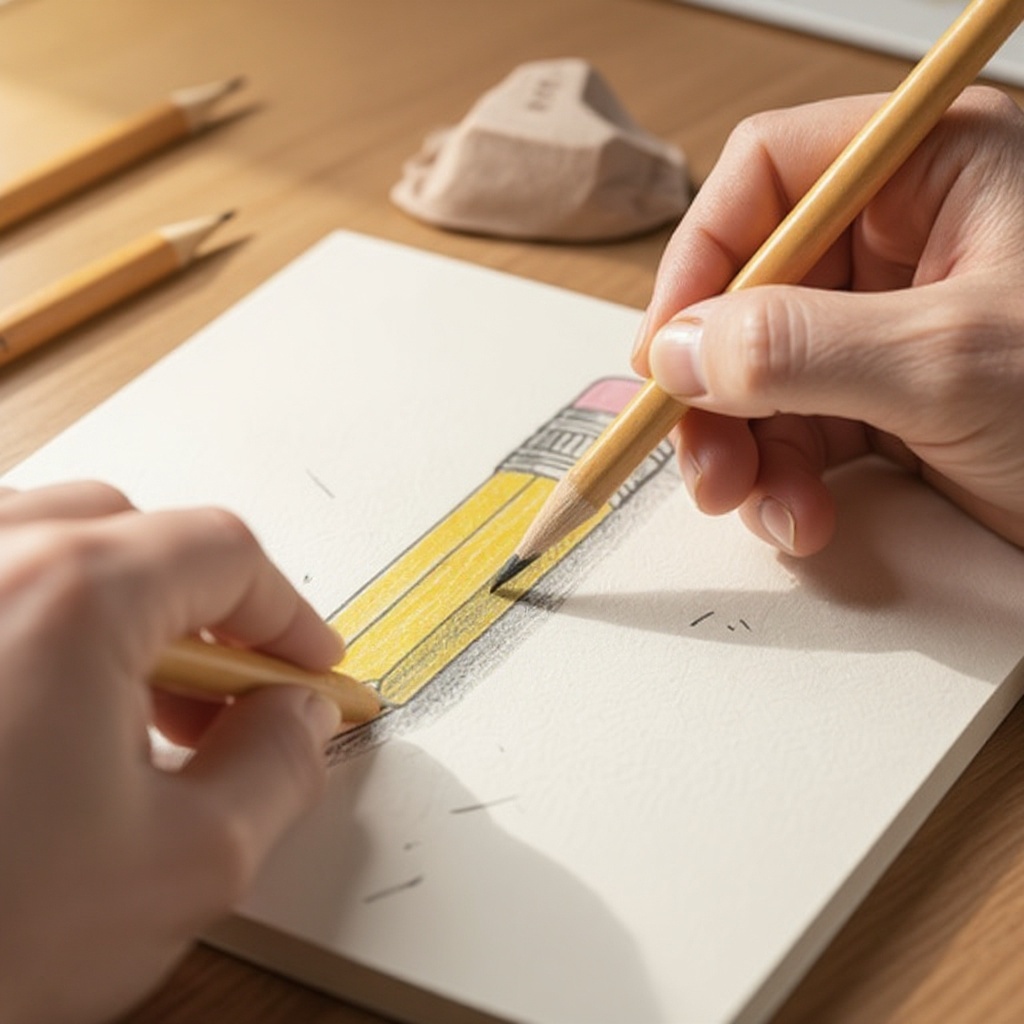
- 1
Lightly draw a long, thin rectangle on your paper. This will be the main body of your pencil. Make it about 6-8 inches long and 1 inch wide, ensuring the lines are faint enough to be easily erased later. This initial rectangle sets the proportion and length of your pencil, so take a moment to decide on the overall size you envision.
- 2
At one end of the rectangle, draw a small trapezoid shape pointing inwards. This will form the base of the sharpened tip of the pencil, connecting smoothly to the main body. Ensure the base of the trapezoid aligns with the width of the rectangle and the sides taper inwards to a point.
- 3
Inside the trapezoid, draw a small, sharp triangle. This represents the sharpened lead that will be visible at the very tip of the pencil. The point of this triangle should meet the inward-pointing vertex of the trapezoid, creating a sharp point for the pencil's tip.
- 4
Now, draw a cone shape extending from the other end of the rectangle. This will be the eraser end of the pencil, tapering slightly as it moves away from the main body. The widest part of the cone should connect seamlessly to the end of the rectangle.
- 5
Inside the cone, draw two thin, horizontal lines to represent the metal ferrule that holds the eraser onto the pencil. These lines should be parallel and spaced a short distance apart, creating a band around the base of the eraser cone.
- 6
Draw a slightly curved line inside the cone to form the shape of the eraser. This line should follow the general curve of the cone, giving the eraser a rounded appearance. The top of this curve should connect to the upper edge of the ferrule.
- 7
Refine the outline of the pencil by going over your initial light lines with slightly firmer pressure. This will make the main shape of the pencil more defined and prominent on your paper. Focus on creating smooth transitions between the different shapes you've drawn.
- 8
Add a few subtle, curved lines along the body of the pencil to suggest its cylindrical shape. These lines should be very faint and follow the length of the rectangle, giving the illusion of a rounded surface rather than a flat one. Imagine the pencil is a cylinder and these lines represent its curvature.
- 9
Shade the triangle at the tip of the pencil to make it look like lead. Use light, even strokes with your pencil, gradually building up the darkness to create a realistic lead appearance. You can use a blending stump or tortillon here for a smoother finish.
- 10
Erase any stray construction lines or smudges you no longer need. Carefully remove the initial light rectangle and any other guide marks that are no longer necessary for your drawing. Ensure the edges are clean and crisp.
- 11
Add a subtle shadow beneath the pencil to ground it on the paper. A light, soft shadow can make the drawing appear more three-dimensional and less like it's floating. This shadow should be softer and less defined than the shading on the pencil itself.
- 12
Consider adding a faint highlight on the body of the pencil. A small, bright area can suggest a light source and further enhance the cylindrical form. This highlight should be placed on the opposite side of where you've applied the darkest shading.
- 13
If you wish, you can add a subtle texture to the eraser. Very light, almost imperceptible scribbles can give it a slightly rubbery feel. Avoid pressing too hard, as this can make the eraser look smudged rather than textured.
- 14
Refine the ferrule by adding a slightly darker tone to the metal band. This can help it stand out from the wood and the eraser. You can use slightly firmer pressure or add a second layer of graphite to achieve this.
- 15
Check your proportions and line weights. Ensure the pencil looks balanced and that the different parts are clearly defined. Look at your drawing from a distance to assess its overall appearance and make any minor adjustments.
- 16
You can add a small detail like a brand name or a number on the pencil body, if you're feeling adventurous, using very fine lines. This adds a touch of realism and personalization to your drawing.
- 17
Begin to build up the shading on the main body of the pencil. Use light, consistent strokes that follow the subtle curved lines you added earlier. Gradually increase the pressure or add more layers of graphite to create darker areas, especially on the side opposite your imagined light source.
- 18
Pay attention to the transition between the wood body and the ferrule. The wood might have a slightly rougher texture than the smooth metal, which you can suggest with very subtle variations in your shading.
- 19
Add a slightly darker tone to the very tip of the lead, where it meets the wood, to create a sense of depth and realism. This small detail can make a big difference in how convincing the sharpened tip looks.
- 20
Consider the overall form of the pencil. Is it a standard hexagonal pencil, or are you drawing a round one? Adjust your curved lines and shading accordingly to accurately represent the shape.
- 21
If you're using a blending stump, gently blend the graphite on the lead and the body of the pencil to create smooth gradients. Be careful not to over-blend, as this can make the drawing look muddy.
- 22
Add a final layer of subtle shading to the eraser, perhaps with a slightly lighter touch than the wood, to give it a softer, more rubbery appearance. Ensure the edges of the eraser are well-defined.
Tips & Troubleshooting
- 1If your pencil looks too flat, try adding more curved lines to suggest its roundness. These subtle curves, when shaded correctly, can transform a two-dimensional shape into a convincing three-dimensional object. Focus on making these lines follow the natural contour of a cylinder.
- 2Experiment with different shading techniques for the lead. You can make it darker or lighter depending on the effect you want, or even try cross-hatching for a more textured look. For a very smooth lead, consider using a blending stump to soften the graphite.
- 3Try drawing a whole set of pencils in different colors by adding color after you've finished the drawing. Watercolors, colored pencils, or even markers can bring your pencil drawings to life. You can also try drawing different types of pencils, like colored pencils or charcoal pencils, to expand your repertoire.
- 4If you make a mistake, don't worry! The eraser is your friend. Lightly sketching first makes corrections easy, and a kneaded eraser is particularly good for lifting graphite without damaging the paper. You can also use a regular eraser to create sharp highlights by lifting graphite.
- 5Pay attention to the direction of your shading strokes. For a cylindrical object like a pencil, your strokes should generally follow the curve of the object to enhance its roundness. This creates a sense of volume and form.
- 6Consider the light source when adding shadows and highlights. This will help you determine where to place the darkest and brightest areas, making your drawing more believable. Imagine a single light source and how it would illuminate the pencil.
- 7Practice drawing different types of pencils, such as colored pencils or charcoal pencils, to expand your repertoire. Each type has unique characteristics that can be fun to capture. You can also try drawing pencils in different states of sharpness or wear.
- 8Don't be afraid to use a ruler for the initial rectangle if you want perfectly straight edges. However, for a more organic feel, freehand drawing is also perfectly acceptable and can lead to unique results. The beauty of drawing is in its versatility and personal expression.
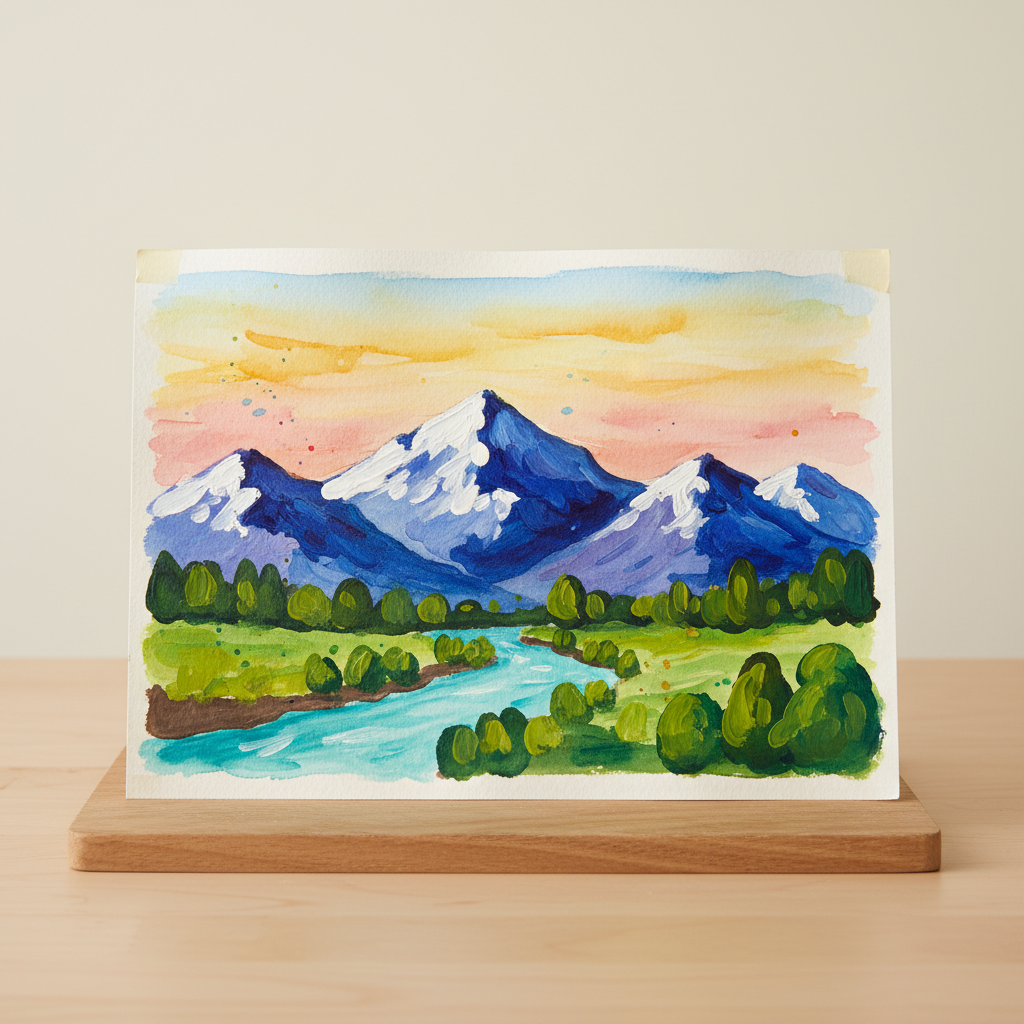
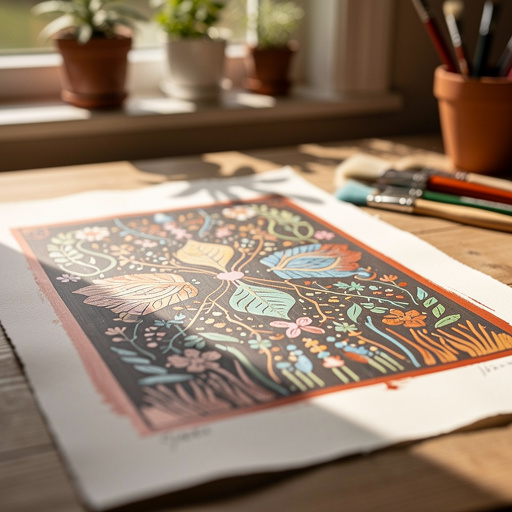
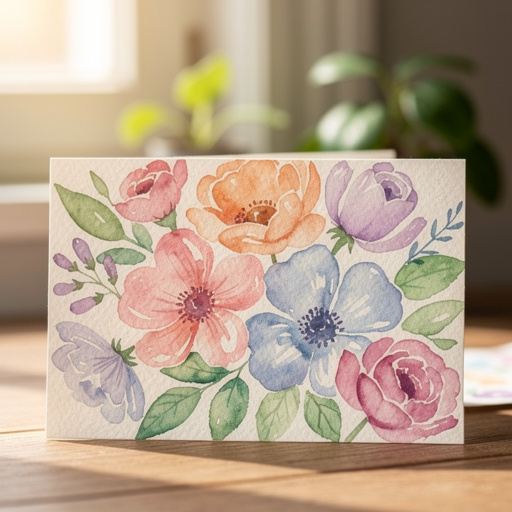
Related Activities You Might Enjoy
Frequently Asked Questions
What is the easiest way to draw a pencil?
The easiest way to draw a pencil is to start with a basic rectangle for the body, which establishes the main structure and length. Then, add a trapezoid shape at one end to form the base of the sharpened tip, and a triangle inside that for the visible lead. At the other end, a simple cone shape represents the eraser. Once these basic shapes are in place, you can refine the lines, add details like the ferrule, and apply subtle shading to give it form and depth. This geometric approach breaks down the complex object into manageable parts, making it very accessible for beginners.
How do you make a pencil drawing look realistic?
To make a pencil drawing look realistic, focus on clean lines, subtle shading to suggest form, and adding details like the ferrule and the sharpened lead. Use light, consistent strokes to build up shading, paying attention to where light would hit and where shadows would fall. Adding a soft shadow beneath the pencil can ground it on the page and enhance its three-dimensional appearance. Observe real pencils closely to capture the nuances of their shape, texture, and the way light reflects off their surfaces. Practice is key to developing an eye for these details and mastering shading techniques.
What materials do I need to draw a pencil?
You only need a few basic materials to get started with drawing a pencil. A sheet of plain white drawing paper is essential for your canvas. A graphite pencil, such as an HB or 2B, is recommended because it provides a good balance between darkness for shading and erasability for corrections. An eraser is also crucial; a kneaded eraser is ideal for lifting graphite gently, but a standard rubber eraser will also work. Having a pencil sharpener on hand will help maintain sharp lines, and a ruler can be useful for ensuring perfectly straight body lines if desired. A blending stump can also enhance shading.
Can kids draw a pencil easily?
Yes, this tutorial is designed to be easy for kids! With simple shapes and clear steps, children aged 6 and up can successfully draw a pencil with minimal adult help. The process involves drawing basic geometric forms like rectangles, trapezoids, and cones, which are familiar and easy for young artists to grasp. The emphasis on light sketching also means that any mistakes can be easily corrected, reducing frustration. This makes it a fun and confidence-building activity for children interested in art.
What is the purpose of the initial light rectangle?
The initial light rectangle serves as the foundational guide for the main body of the pencil. By drawing it lightly, you create a temporary structure that dictates the length and width of the pencil without committing to permanent lines. This allows for easy adjustments if you feel the proportions are off before you start adding more detailed elements. Once the more complex parts of the pencil, like the tip and eraser, are drawn, you can then go over the rectangle with firmer pressure to define the final shape, or erase it entirely if it's no longer needed, ensuring a clean and polished final drawing.
How can I make the pencil look more three-dimensional?
To make the pencil drawing look more three-dimensional, focus on adding subtle shading and highlights. Use your pencil to create soft shadows on one side of the pencil's body, suggesting that light is coming from the opposite direction. Curved lines along the body, as mentioned in the tips, help convey its cylindrical form. Additionally, a faint shadow cast by the pencil onto the paper below it can significantly enhance the illusion of depth and make the drawing appear more grounded and realistic. Experiment with the intensity of your shading to achieve the desired effect.
What are some common mistakes to avoid when drawing a pencil?
A common mistake is drawing the initial rectangle too dark, making it difficult to erase later. Another is making the shading too uniform, which can result in a flat appearance; remember to vary your pressure and stroke direction. Over-blending can also lead to a muddy look, so use a blending stump sparingly. Ensure the ferrule is clearly defined and distinct from the wood and eraser. Finally, don't forget to add a subtle shadow underneath the pencil to give it weight and presence on the page, preventing it from looking like it's floating.
What Next?
Congratulations on drawing your own classic pencil! This foundational skill opens the door to countless other drawing projects. You can now experiment with drawing different types of pencils, like colored pencils or even a mechanical pencil, by adapting these techniques. Consider creating a still life composition featuring your drawn pencil alongside other art supplies, or use it as a building block for more complex illustrations. Once finished, you can proudly display your artwork on your desk, in a sketchbook, or even frame it. Store your drawings in a protective portfolio to keep them pristine for years to come.
Free: 10 Paper Crafts Anyone Can Make in 5 Minutes
Get our beginner guide + new craft ideas weekly.
No spam. Unsubscribe anytime.
Did you complete this activity?