How to Create Unique Pressed Flower Resin Coasters — Easy Step-by-Step Guide
Transform delicate pressed flowers into stunning, durable coasters. This intermediate craft offers a beautiful way to preserve nature's beauty for your home. Learn the step-by-step process, essential materials, and expert tips to create your own unique resin coasters.

Quick answer
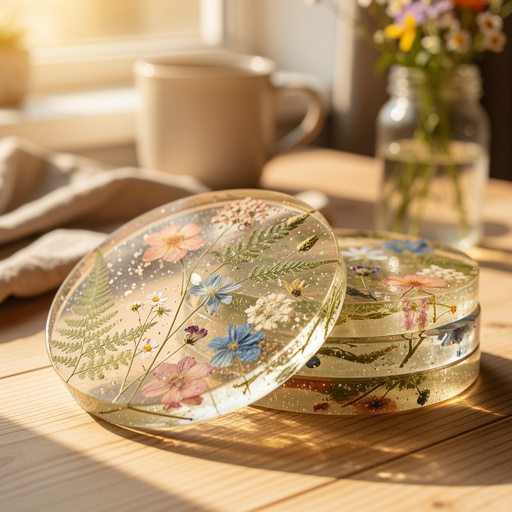
To make pressed flower resin coasters, you need silicone molds, epoxy resin, dried flowers, and about 2 hours of active time (plus drying). Start by preparing your workspace and meticulously arranging your flowers in the mold. This intermediate activity has 10 steps and is perfect for adults looking for unique, screen-free crafts that add a touch of nature to their home decor.
What you need
Shop on Amazon · As an Amazon Associate we earn from qualifying purchases. Links above are affiliate links — we may earn a commission at no extra cost to you.
Elevate your home decor with the timeless beauty of nature captured in resin. Creating pressed flower resin coasters is a rewarding intermediate craft that allows you to preserve delicate botanicals in a durable, functional art piece. This project is perfect for anyone looking to add a personalized, elegant touch to their living space, or for those seeking a unique gift for a nature lover. With a bit of patience and attention to detail, you'll transform simple flowers into stunning, conversation-starting coasters.
On this page
Step-by-Step Instructions
- 1
Prepare your workspace by covering it with plastic sheeting or newspaper. Ensure good ventilation by opening windows or using a fan, as resin fumes can be strong and potentially harmful. This step is crucial for a clean crafting environment and to protect your surfaces from accidental spills.
- 2
Put on your protective gloves and safety glasses. Resin can be sticky and difficult to remove from skin, and fumes can irritate your eyes and respiratory system, so these safety precautions are non-negotiable for a safe crafting experience.
- 3
Carefully read and follow the specific instructions on your chosen epoxy resin kit for mixing ratios and working times. Different resin brands have varying proportions of Part A (resin) and Part B (hardener), and understanding these is key to successful curing.
- 4
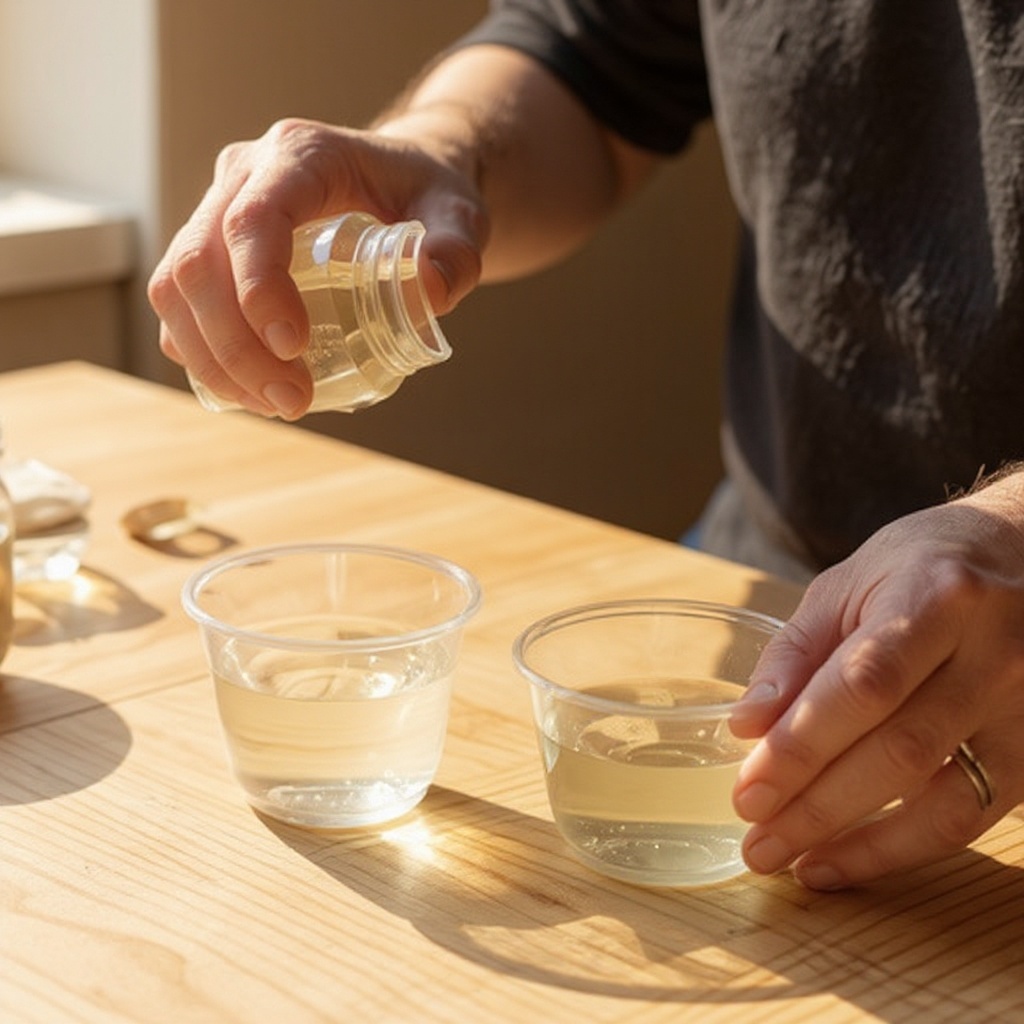
Measure the correct amounts of Part A and Part B resin into separate disposable cups using the recommended ratio (e.g., 1:1 or 2:1 by volume). Accuracy is paramount; even slight deviations can lead to uncured or brittle resin.
- 5
Pour Part A into a clean mixing cup and then carefully pour the measured Part B into the same cup. Stir thoroughly for the recommended time (usually 3-5 minutes), diligently scraping the sides and bottom of the cup to ensure both parts are completely incorporated. Incomplete mixing is a common cause of soft spots or uncured areas.
- 6
If you're incorporating decorative elements, add glitter, mica powder, or small beads to the mixed resin at this stage. Stir gently and thoroughly to distribute the additions evenly throughout the resin mixture, ensuring a consistent and beautiful final appearance.
- 7
Pour a thin, even layer of the mixed resin into the bottom of your silicone coaster mold. This initial layer acts as a base and helps to secure the flowers in place, preventing them from floating to the top during the main pour. Aim for a layer about 1/8 inch thick.
- 8
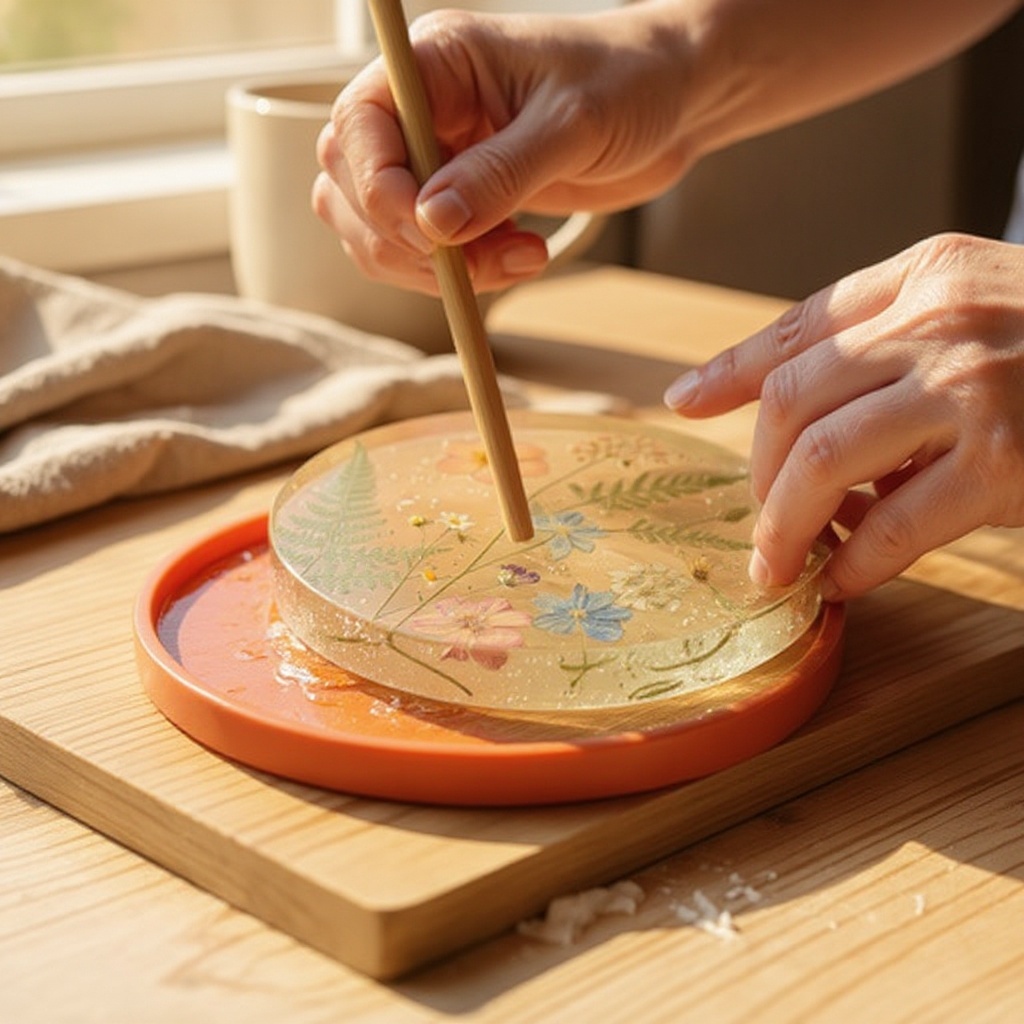
Artfully arrange your thoroughly dried pressed flowers and leaves on top of the thin resin layer within the mold. Take your time to compose your design, ensuring each element is placed exactly where you want it before the resin begins to set.
- 9
Gently press each flower and leaf down into the thin resin layer with a craft stick or your gloved finger to ensure they are fully submerged and to eliminate any trapped air pockets beneath them. This also helps to prevent them from shifting when you pour the next layer of resin.
- 10
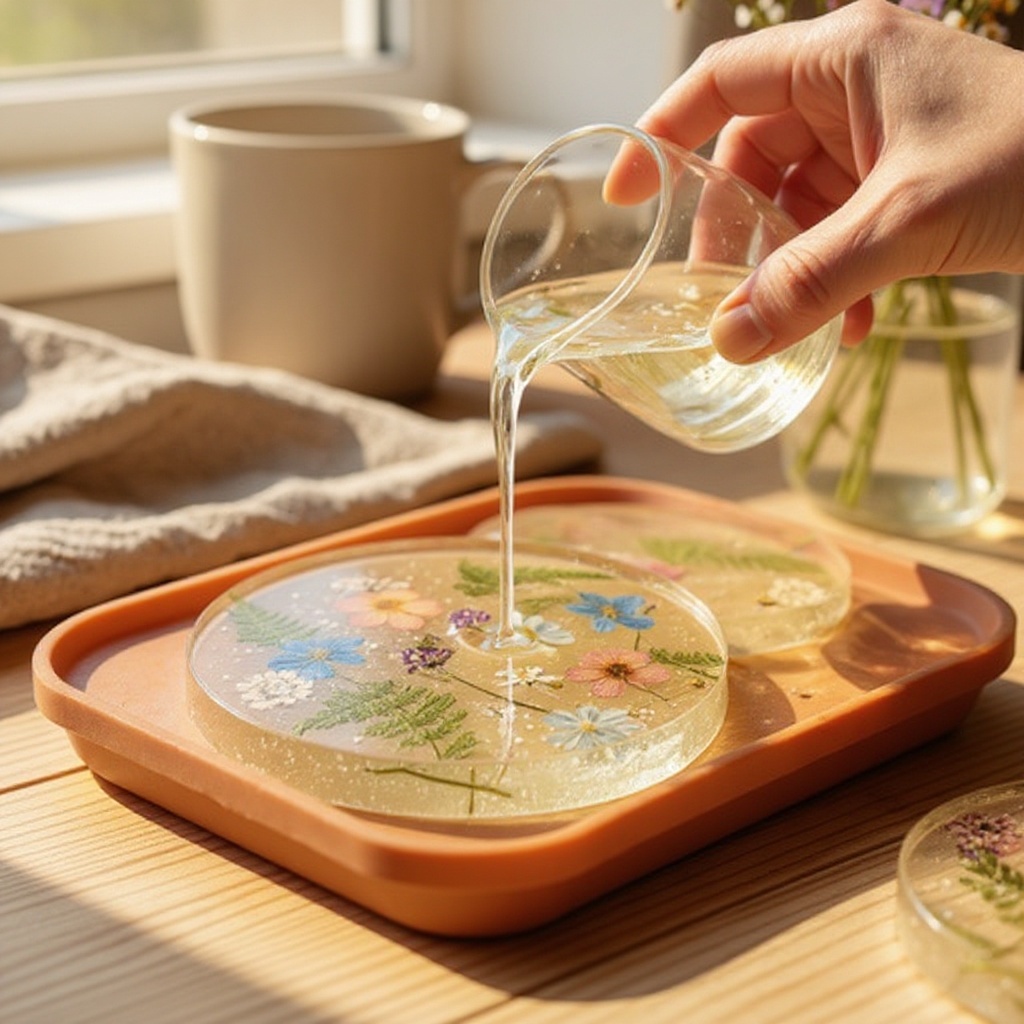
Carefully pour the remaining mixed resin over the arranged flowers, filling the mold to the desired level. Pour slowly and steadily to minimize the introduction of new air bubbles, and avoid overfilling the mold, which can lead to messy overflow.
- 11
Use a craft stick or a toothpick to gently pop any visible air bubbles that rise to the surface of the resin. You can also briefly use a heat gun or kitchen torch held at a distance, sweeping it quickly across the surface, but be extremely cautious not to overheat the resin, which can cause yellowing or damage.
- 12
Allow the resin to cure completely according to the manufacturer's instructions, typically ranging from 24 to 72 hours. It's essential to let the coasters cure undisturbed in a level, temperature-controlled environment for maximum hardness and durability.
- 13
Once the resin has fully cured and hardened, carefully demold your coasters. Gently peel the flexible silicone mold away from the resin, starting from the edges and working your way inwards, to reveal your beautifully preserved floral creations.
- 14
Inspect the edges of your cured coasters. If they feel sharp or have any minor imperfections, you can gently sand them smooth with fine-grit sandpaper (220-400 grit) and then wipe them clean with a damp cloth. This step ensures a comfortable and polished finish.
Tips & Troubleshooting
- 1Ensure your pressed flowers are completely dry and brittle before embedding them in resin. Any residual moisture trapped within the petals or leaves can cause them to turn brown, develop mold, or create unsightly dark spots within the clear resin over time.
- 2Always work in a well-ventilated area and wear your protective gloves and safety glasses throughout the entire process. Resin can cause skin irritation and its fumes can be harmful if inhaled, so prioritizing safety is paramount for a positive crafting experience.
- 3If you notice air bubbles after pouring, try letting the resin sit in the cup for a few minutes before pouring into the mold, as this allows some bubbles to rise naturally. A toothpick or a fine-tipped tool can also be used to gently coax stubborn bubbles to the surface for popping.
- 4For a cleaner, more professional look, you can lightly sand the edges of your cured coasters with fine-grit sandpaper if they feel sharp or have minor imperfections. After sanding, wipe the edges clean with a damp cloth to remove any dust residue.
- 5Experiment with layering for a captivating 3D effect. Pour a thin base layer of resin, carefully place your flowers, allow this layer to partially cure (gel stage), then pour another thin layer of resin over it to encapsulate the flowers. This technique adds depth and dimension to your coasters.
- 6Consider using a small amount of isopropyl alcohol sprayed lightly onto the surface of the resin just before it fully cures to help pop any remaining surface bubbles. Be careful not to use too much, as it can affect the resin's clarity.
- 7When arranging your flowers, think about composition and color balance. Overlapping elements can create a sense of depth, while strategically placed leaves can add a grounding effect to your floral designs. Don't be afraid to experiment with different arrangements before committing to the resin.
- 8If you're new to resin, it's a good idea to do a small test pour in a separate mold or cup first. This allows you to practice your mixing technique, observe how the resin behaves, and get a feel for bubble removal without risking a larger project.
Related Activities You Might Enjoy
Frequently Asked Questions
How do I properly dry flowers for resin crafts?
To dry flowers for resin, the most common and effective method is pressing them between the pages of heavy books for 2-3 weeks. Place the flowers between sheets of absorbent paper (like parchment or newspaper) and stack several heavy books on top. Change the absorbent paper every few days to wick away moisture. Alternatively, a dedicated flower press can achieve faster results, usually within 1-2 weeks. Ensure the flowers are completely dry, brittle to the touch, and have lost their natural flexibility before using them in resin to prevent discoloration or rot.
What is the best type of resin for coasters?
For creating coasters, a casting epoxy resin is ideal. These specialized resins are formulated for thicker pours and generally have a lower viscosity compared to tabletop resins, which significantly helps in minimizing air bubbles and achieving a crystal-clear finish. Casting resins are designed to cure slowly and evenly, providing a durable, scratch-resistant surface that is perfect for everyday use as coasters. Always choose a resin specifically labeled for casting or craft projects to ensure the best results and longevity.
How long does it take for resin coasters to cure?
Resin coasters typically require a curing time of 24 to 72 hours to reach full hardness and durability, though this can vary depending on the specific brand of resin used, ambient room temperature, and humidity levels. It is crucial to allow the coasters to cure undisturbed in a level, stable environment for the entire recommended duration. Rushing the curing process or handling them too soon can result in soft spots, permanent indentations, or a lack of full hardness, compromising the coaster's longevity.
Can I put real flowers in resin without pressing them?
While it's technically possible to embed some fresh flowers in resin, it is strongly discouraged, especially for beginners aiming for clear, lasting results. Fresh flowers contain a significant amount of moisture, which can cause them to decompose, turn brown, or develop mold within the resin as it cures. This moisture can also interfere with the resin's curing process. Pressed flowers are the safest and most reliable option for achieving clear, vibrant, and long-lasting resin creations, as the pressing process removes most of the moisture.
What are the common mistakes to avoid when working with resin?
Common mistakes include inaccurate resin mixing ratios, which leads to incomplete curing or a sticky surface; insufficient stirring, resulting in uncured patches; and working in a dusty or humid environment, which can cause surface imperfections or affect curing. Overheating the resin with a torch can cause yellowing or bubbling, and not allowing enough curing time can lead to soft or damaged coasters. Lastly, not wearing protective gear can lead to skin irritation or respiratory issues from fumes.
How can I achieve a perfectly clear resin finish without bubbles?
Achieving a perfectly clear, bubble-free finish involves several key steps. Ensure your resin is mixed thoroughly but gently to avoid introducing excess air. Allow the mixed resin to sit for a few minutes before pouring, as this helps some bubbles rise naturally. Pour the resin slowly and steadily into the mold. After pouring, use a toothpick or a heat gun/torch (used briefly and from a distance) to pop any remaining surface bubbles. Working in a warm environment (around 70-75°F or 21-24°C) also helps reduce viscosity and bubble formation.
What Next?
Congratulations on creating your beautiful pressed flower resin coasters! These unique pieces are not only functional but also serve as miniature works of art. Consider displaying them on your coffee table, as part of a gallery wall, or even gifting them to friends and family. For variations, explore different flower types, add metallic flakes, or try layering colors for a more complex look. Your next project could involve creating matching trays or decorative resin art pieces. Store your coasters away from direct sunlight to prevent yellowing and enjoy their natural charm for years to come.
Free: 10 Paper Crafts Anyone Can Make in 5 Minutes
Get our beginner guide + new craft ideas weekly.
No spam. Unsubscribe anytime.
Did you complete this activity?
Related
You might also like
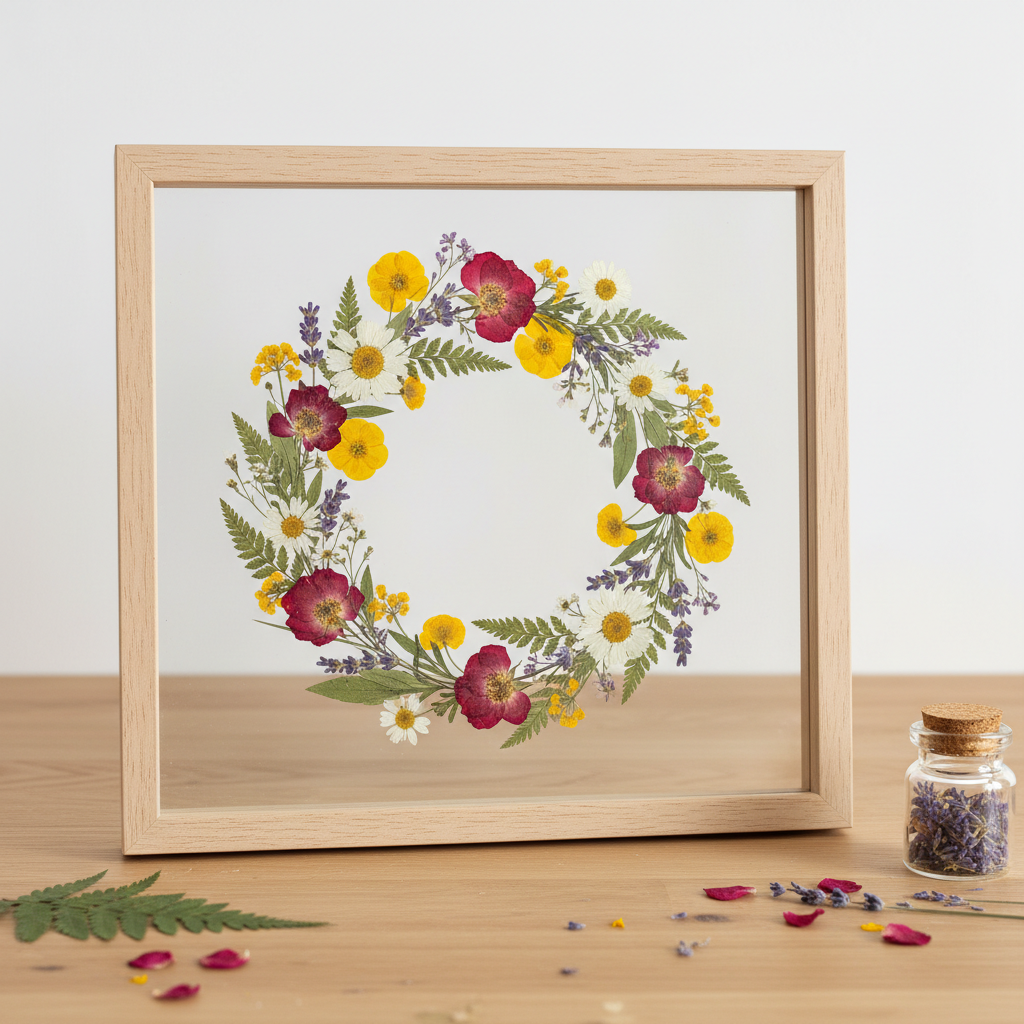
Pressed Flower Resin Coasters
Floating Glitter Resin Pendants
Resin Paperweight with Found Objects
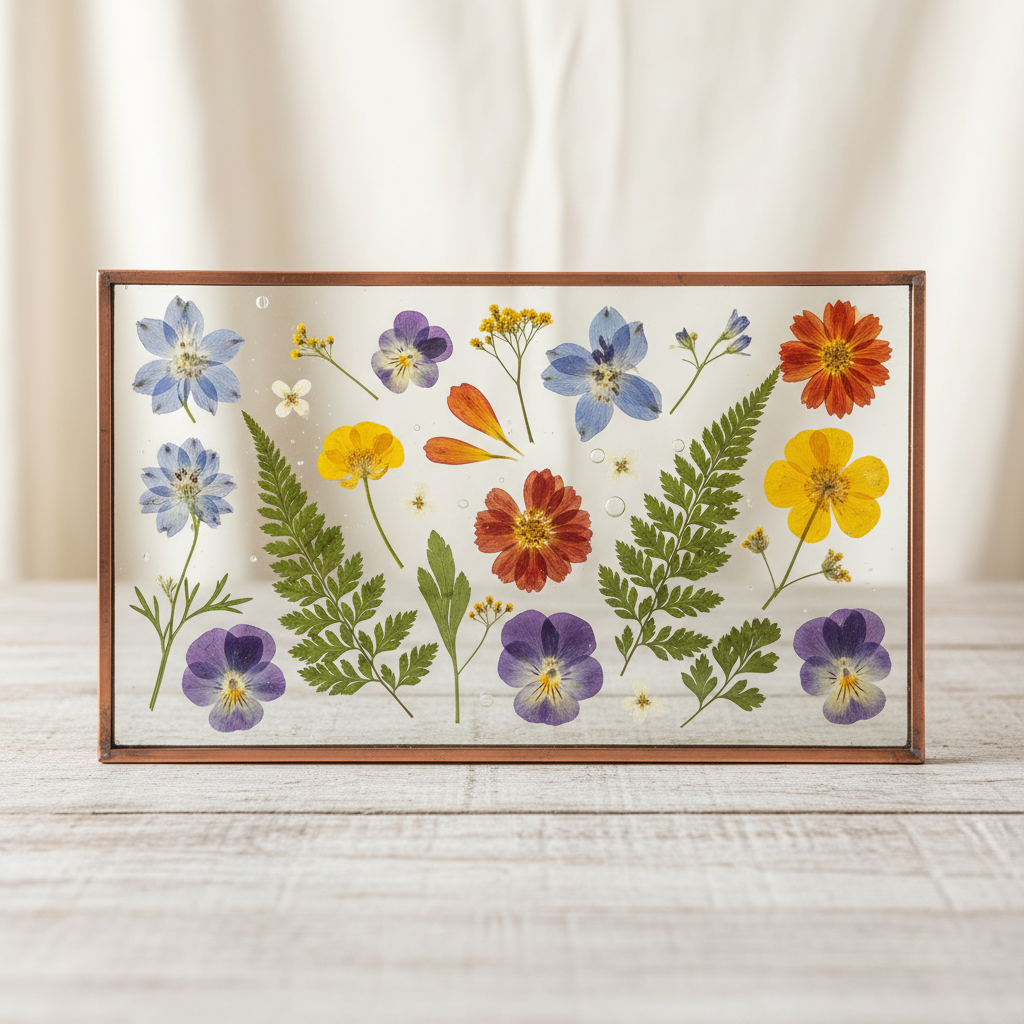
Pressed Flower Glass Art
Layered Botanical Resin Pendant