How to Build a Birdhouse — Easy Step-by-Step Guide
Discover how to construct a charming birdhouse using simple tools and materials. A rewarding screen-free project for the whole family.
Quick answer
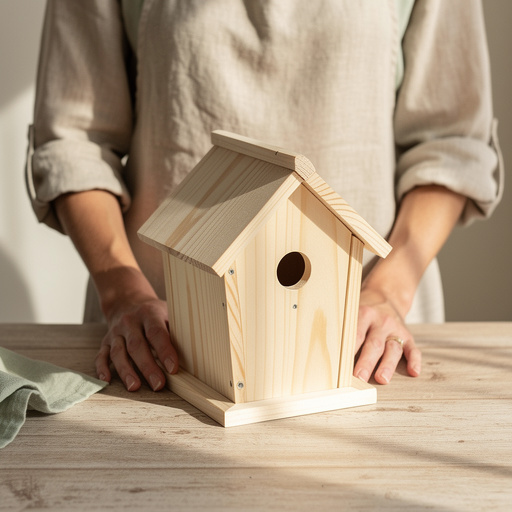
To make a birdhouse, you need wood, screws, and basic tools, taking about 90 minutes. Start by cutting the wood pieces. This beginner-friendly activity has 10 steps and is perfect for families with kids aged 8+.
What you need
Shop on Amazon · As an Amazon Associate we earn from qualifying purchases. Links above are affiliate links — we may earn a commission at no extra cost to you.
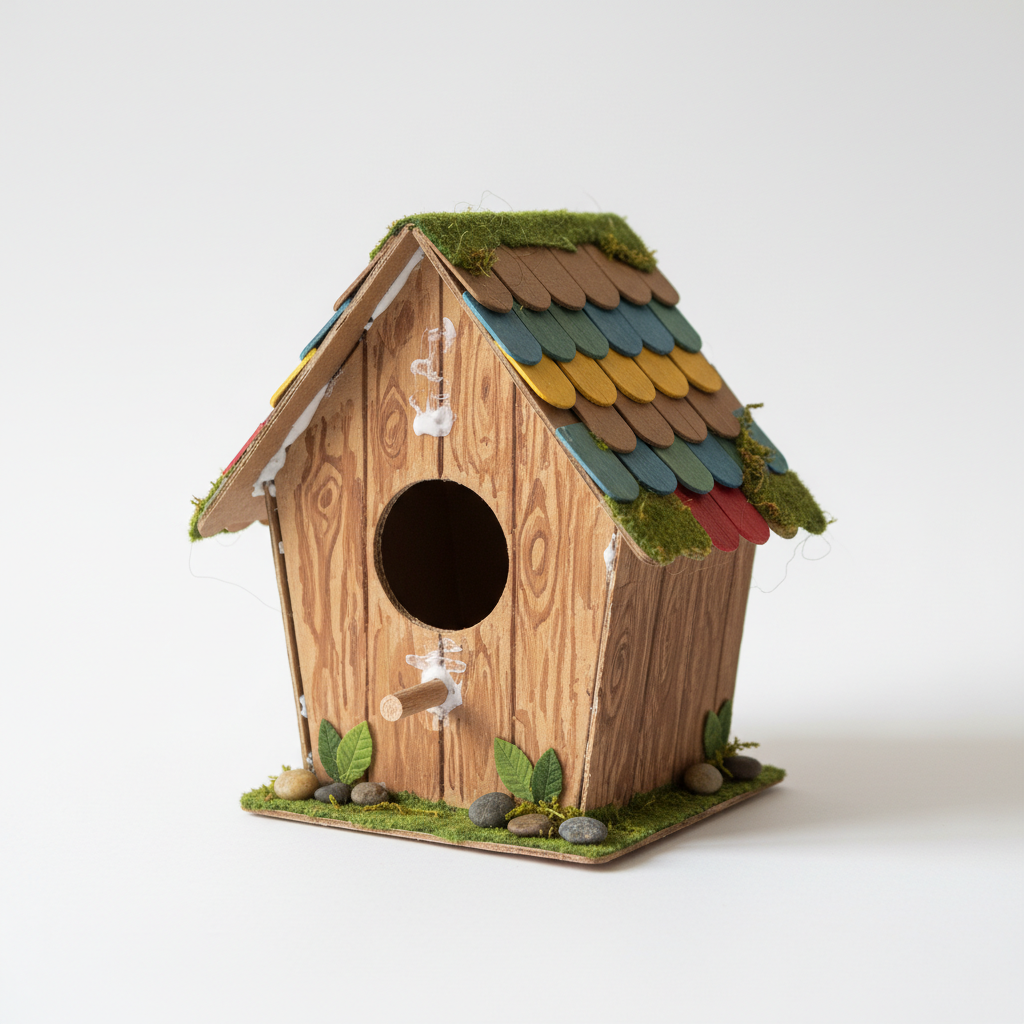
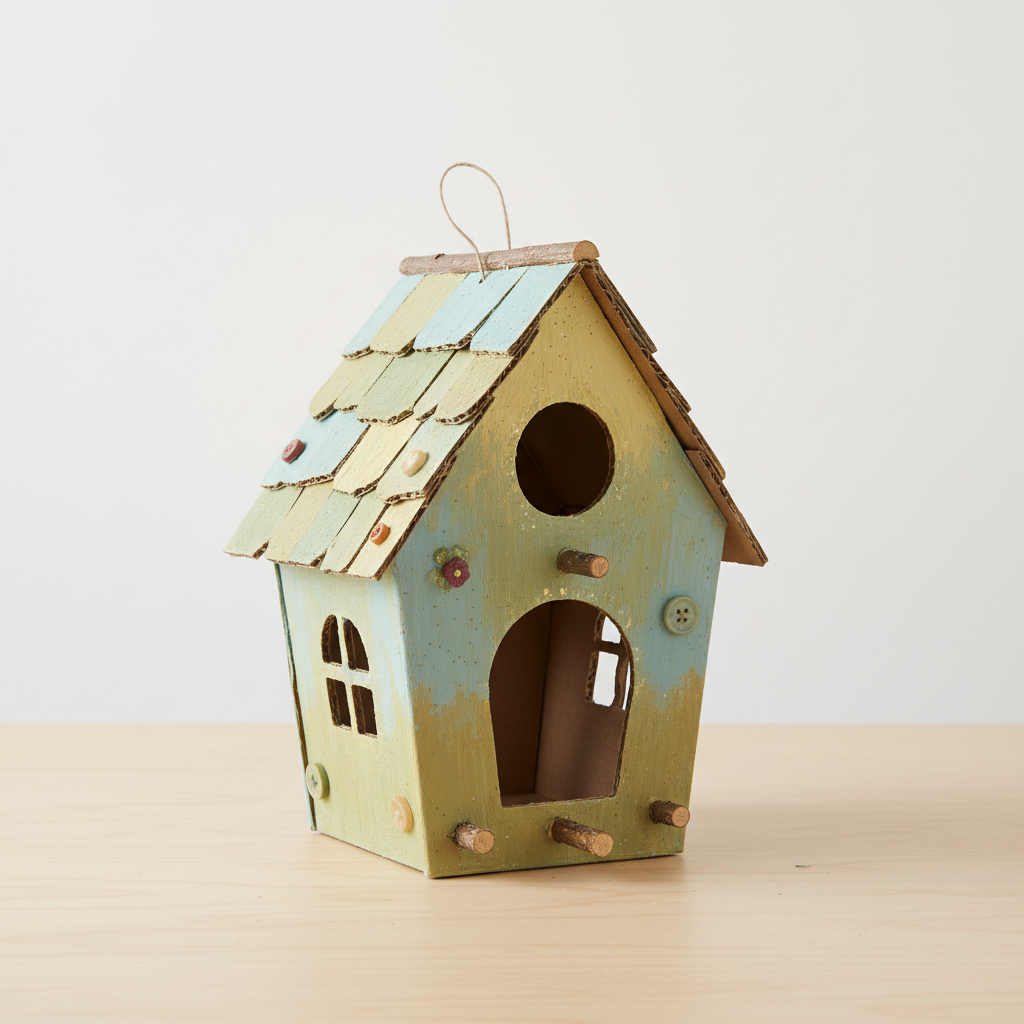
Embark on a delightful DIY adventure that brings nature closer to home by building your very own birdhouse. This project is more than just a woodworking task; it's an opportunity to create a safe and welcoming sanctuary for our feathered friends. It's an incredibly rewarding, screen-free activity perfect for families, fostering teamwork and a connection with the natural world. With just a few basic tools and readily available materials, you can craft a charming abode that will be appreciated by birds for seasons to come.
On this page
Step-by-Step Instructions
- 1
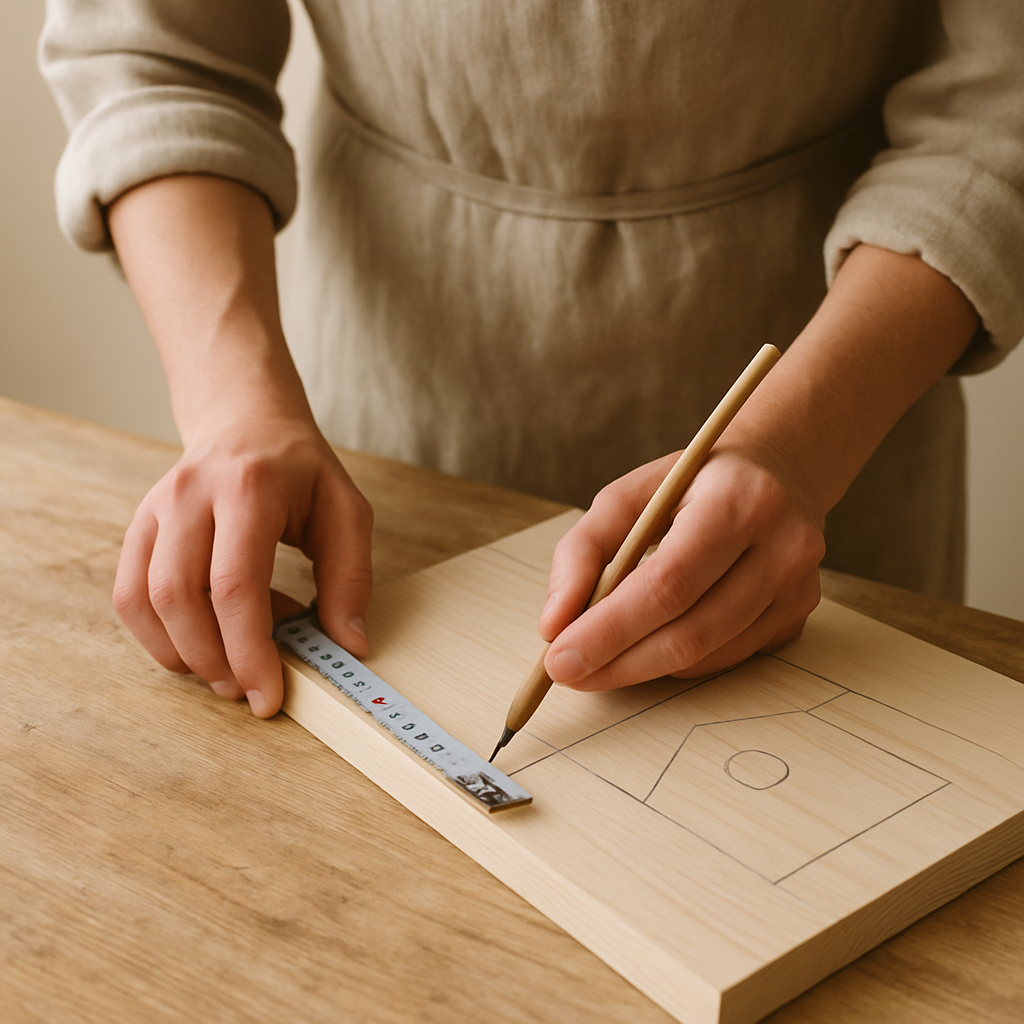
Measure and mark the pine board for the following pieces: two sides (8 inches long, with a 45-degree angle cut at one end for the roof slope), one front (6 inches long), one back (9 inches long, with the top 3 inches angled to match the roof slope), one floor (4x4 inches), and two roof pieces (7 inches long). Ensure your measurements are precise to guarantee a snug fit for all components.
- 2
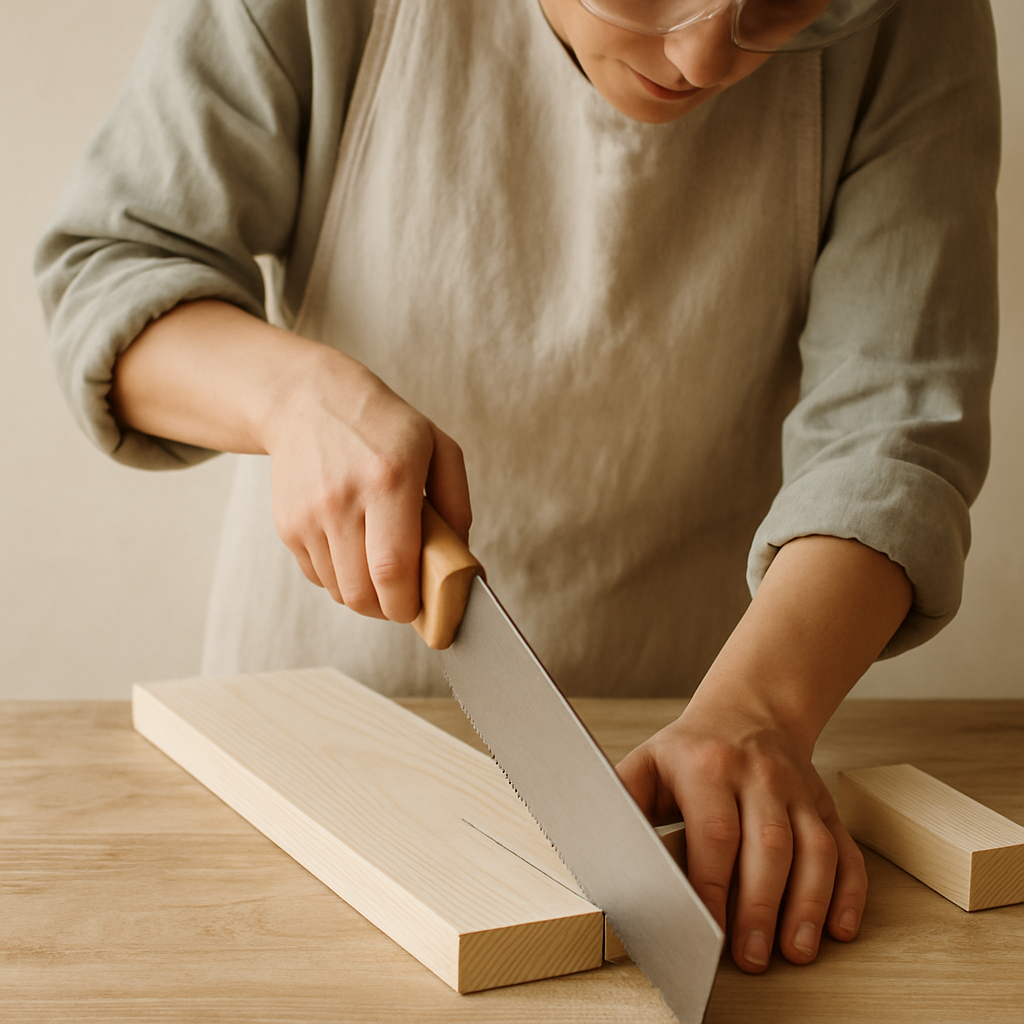
Carefully cut out all the marked pieces using your saw. Always wear safety glasses and gloves when operating saws, and ensure your work area is clear and stable. If using a hand saw, take your time to make straight cuts, and if using a power saw, follow all manufacturer safety guidelines.
- 3
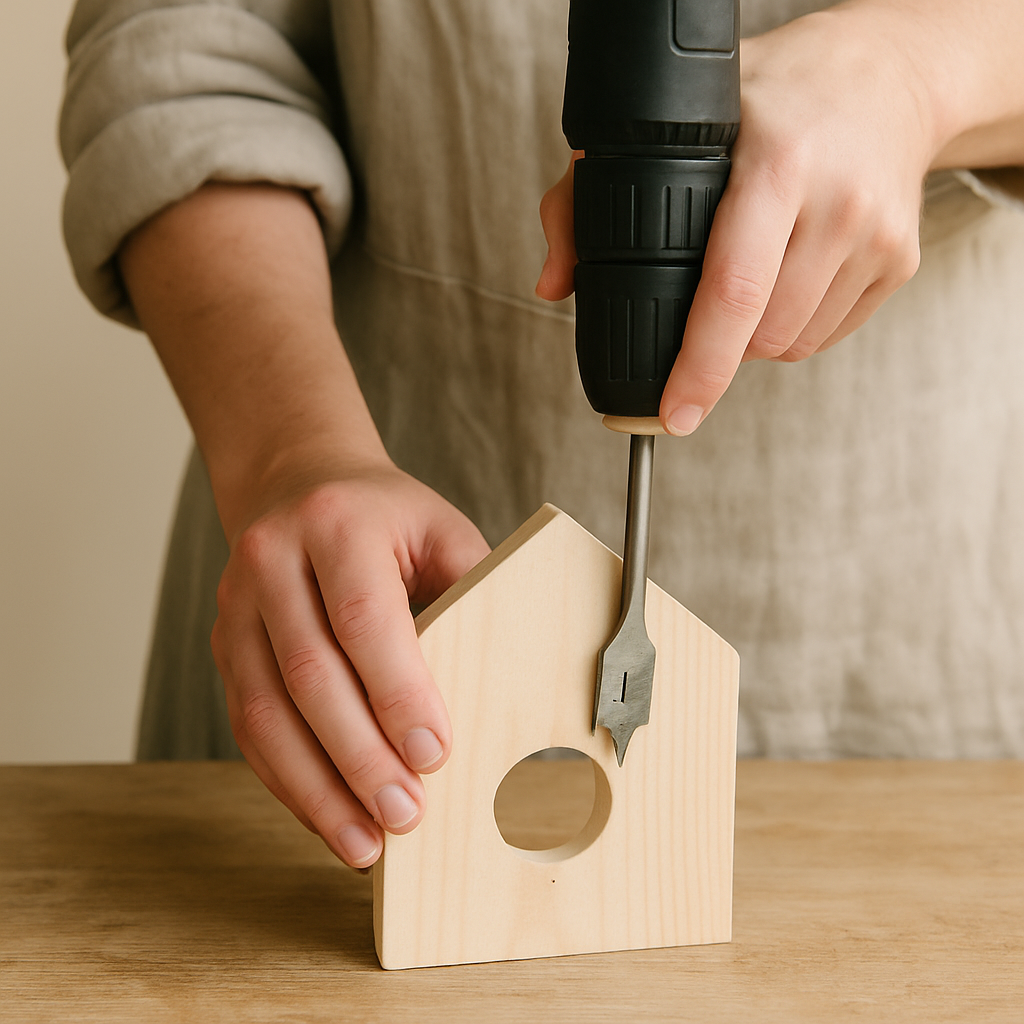
On the front piece, measure 4 inches up from the bottom and mark the center point. This is where the entrance hole will be drilled. Using the 1 1/2 inch spade bit or hole saw, carefully drill the entrance hole for the birds. Ensure the drill is held perpendicular to the wood for a clean, circular opening.
- 4
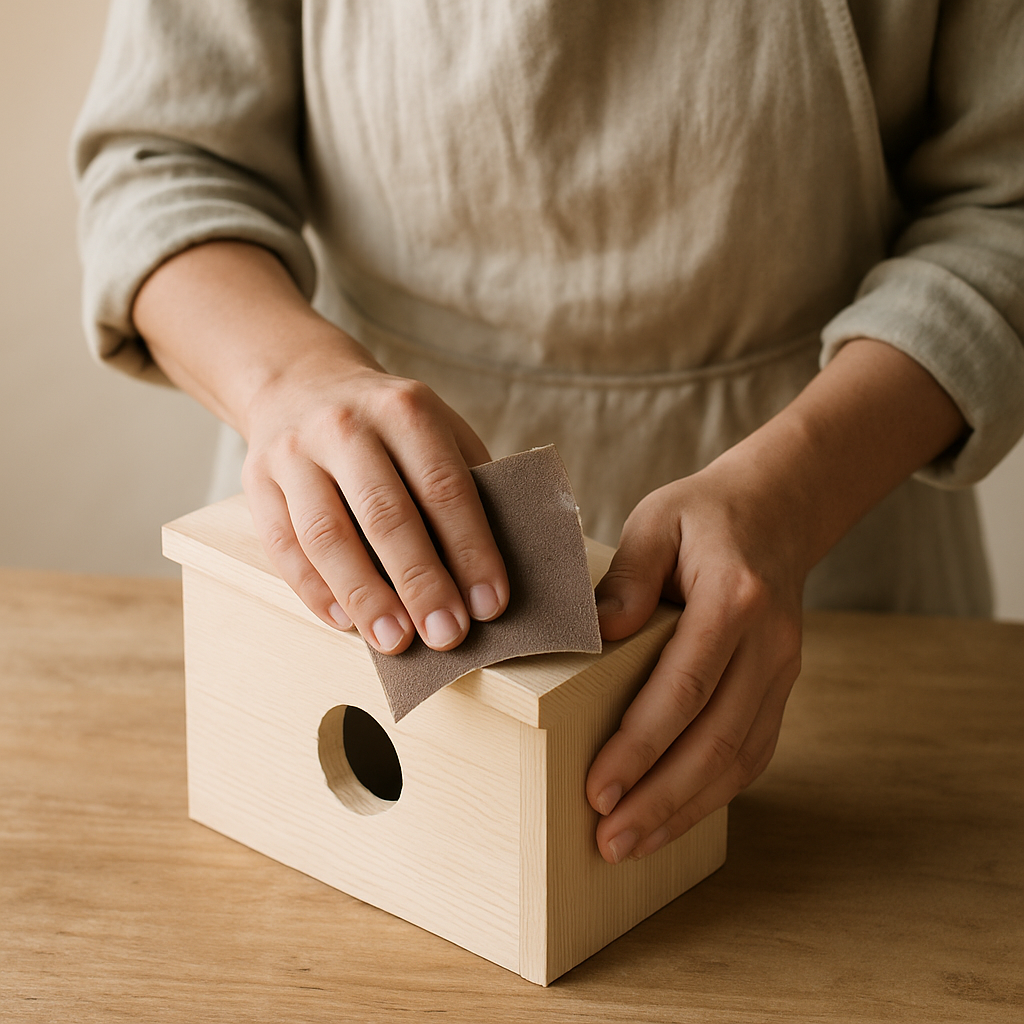
Lightly sand all the cut edges and surfaces of the wood pieces to remove splinters and create a smoother finish. Start with medium-grit sandpaper to quickly remove rough spots, then follow up with fine-grit sandpaper for a silky-smooth feel. This step is crucial for both safety and the longevity of the birdhouse.
- 5
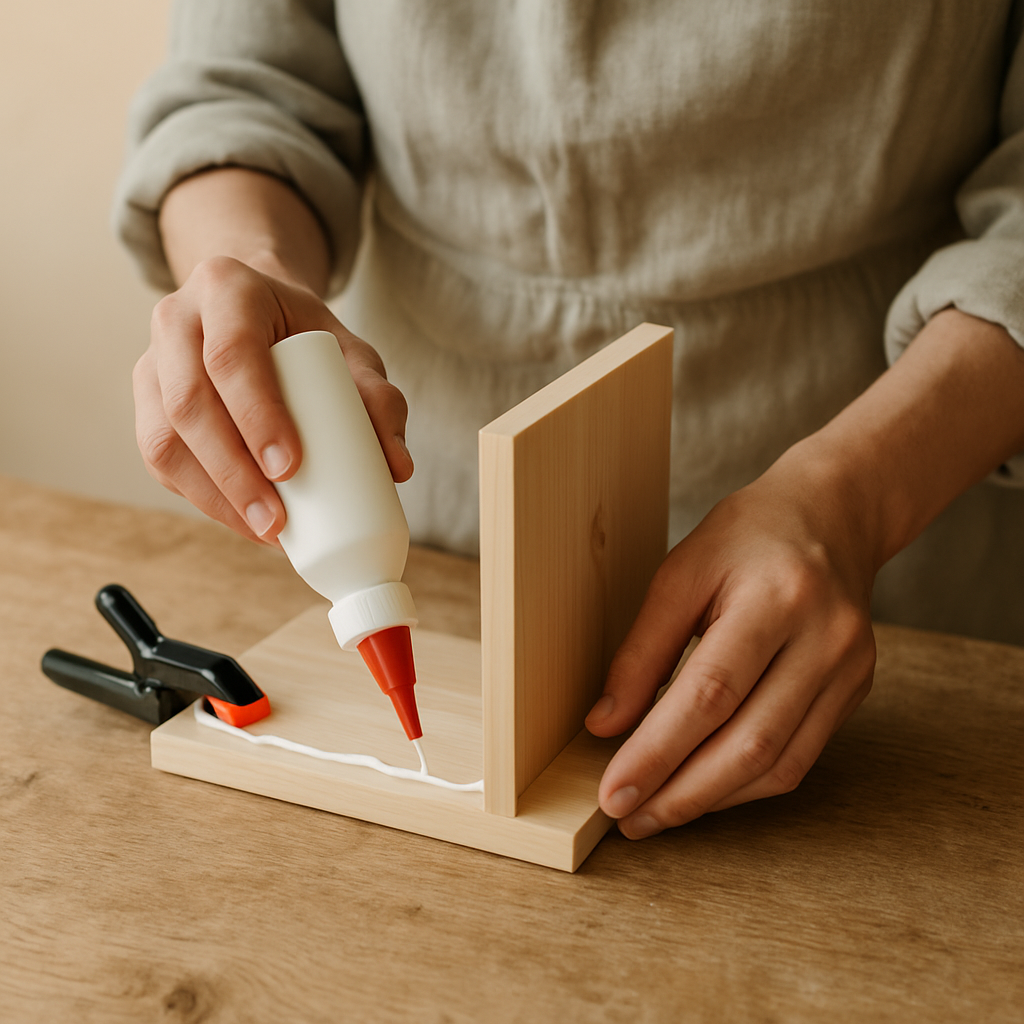
Apply a generous bead of exterior-grade wood glue to the bottom edges of the two side pieces. Carefully position these glued edges onto the corresponding edges of the floor piece, ensuring they are flush and square. Use clamps to hold them in place while you pre-drill pilot holes and drive in screws to secure them.
- 6
Now, apply wood glue to the front edges of the floor and the side pieces where the front panel will attach. Position the front piece, making sure the entrance hole is facing forward and the bottom edge is flush with the floor. Pre-drill pilot holes and secure it with screws, ensuring it's firmly attached to both the floor and the sides.
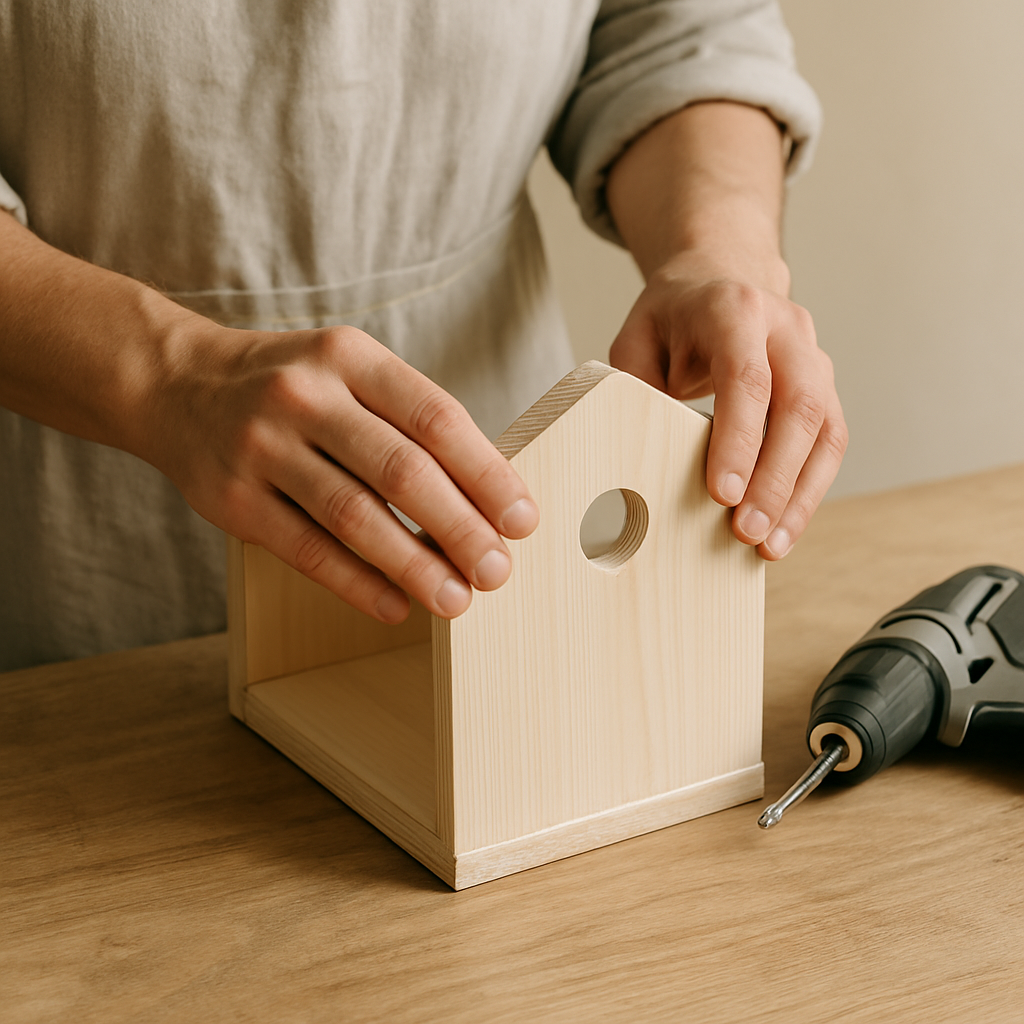
- 7
Repeat the gluing and screwing process for the back piece. Apply wood glue to the back edges of the floor and side pieces, then position the back piece. The taller, angled section of the back piece should extend above the sides, creating the peak for the roof. Pre-drill and secure with screws.
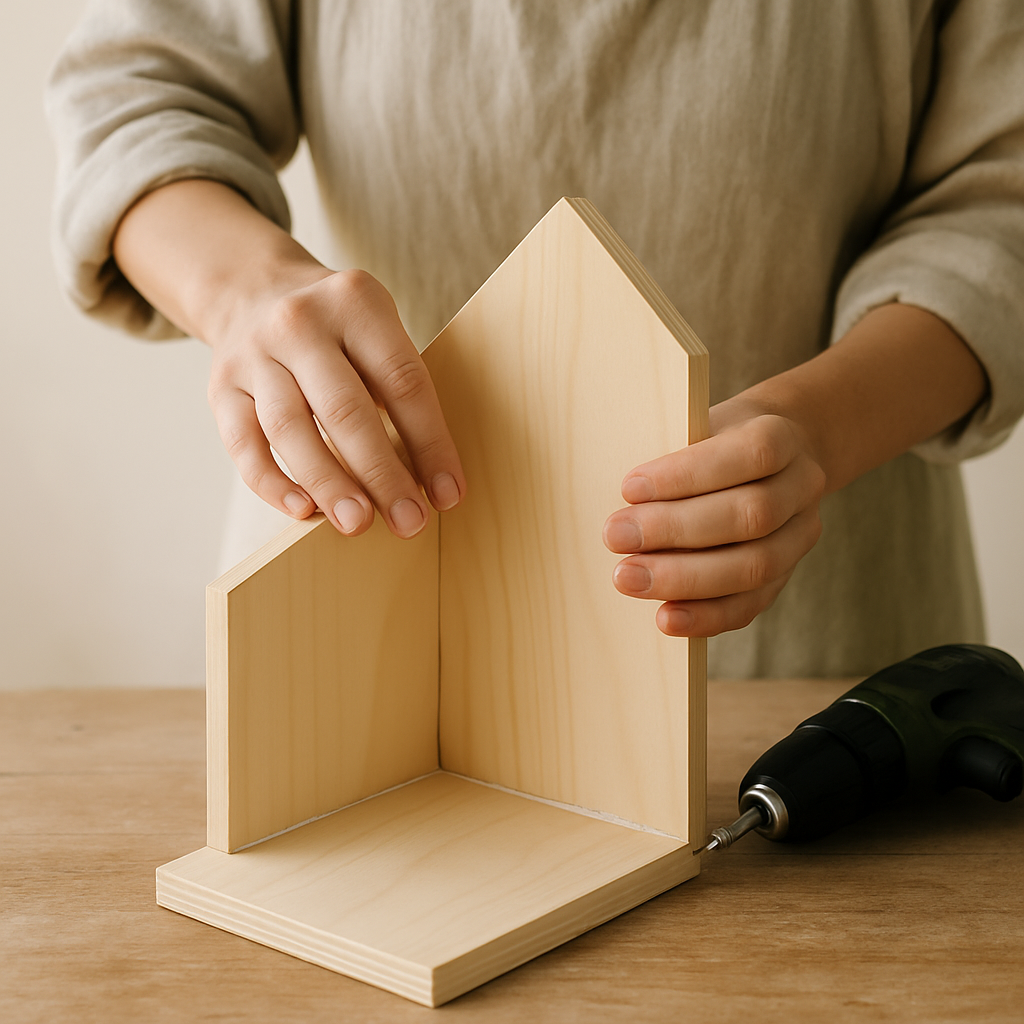
- 8
Apply wood glue to the top angled edges of the side pieces and the angled top edge of the back piece. Carefully position one of the roof pieces so that it overhangs slightly on the front, back, and one side. This overhang helps protect the entrance from rain. Secure this roof piece with screws, pre-drilling pilot holes into the angled edges.
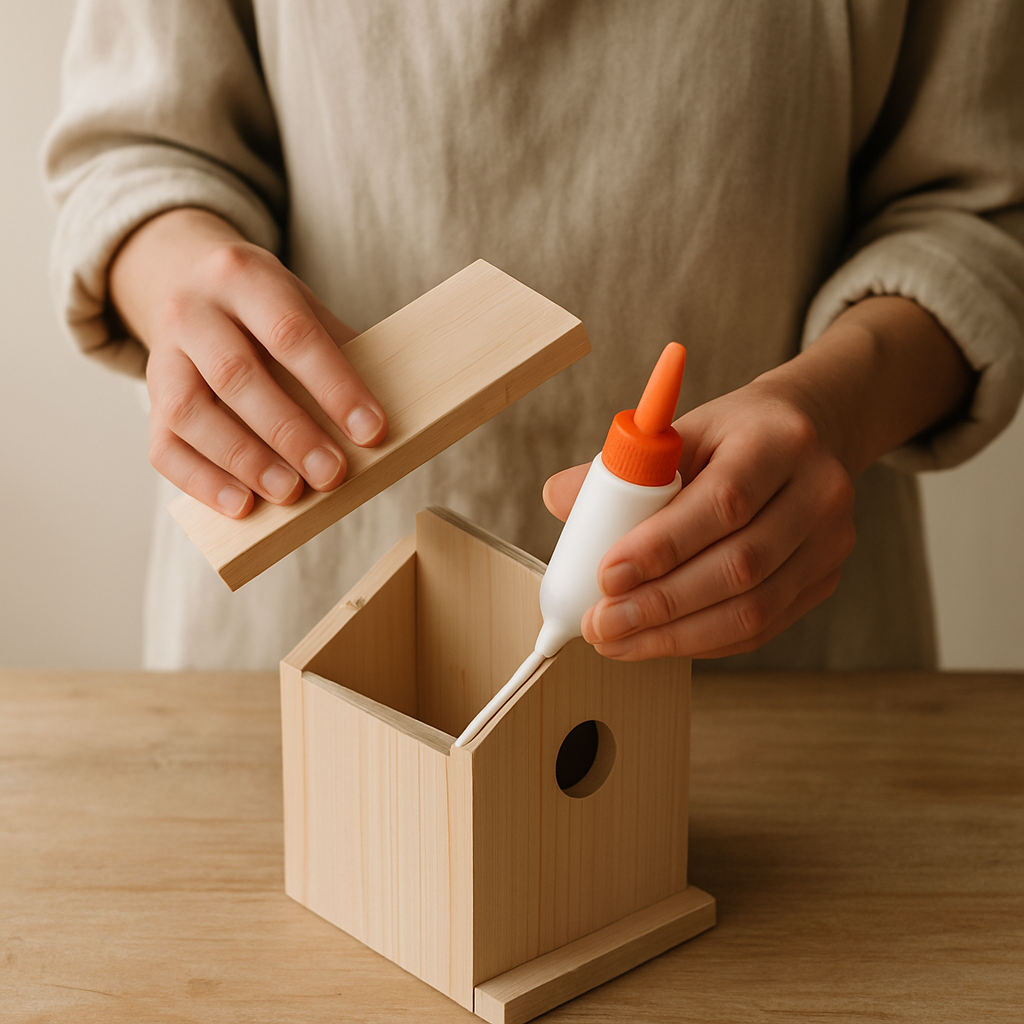
- 9
Apply wood glue to the top edge of the first roof piece where the second will meet it at the peak, and also to the remaining exposed angled edges of the birdhouse. Position the second roof piece to meet the first at the peak, creating a watertight seal, and ensure it overhangs the other side. Secure this final roof piece with screws.
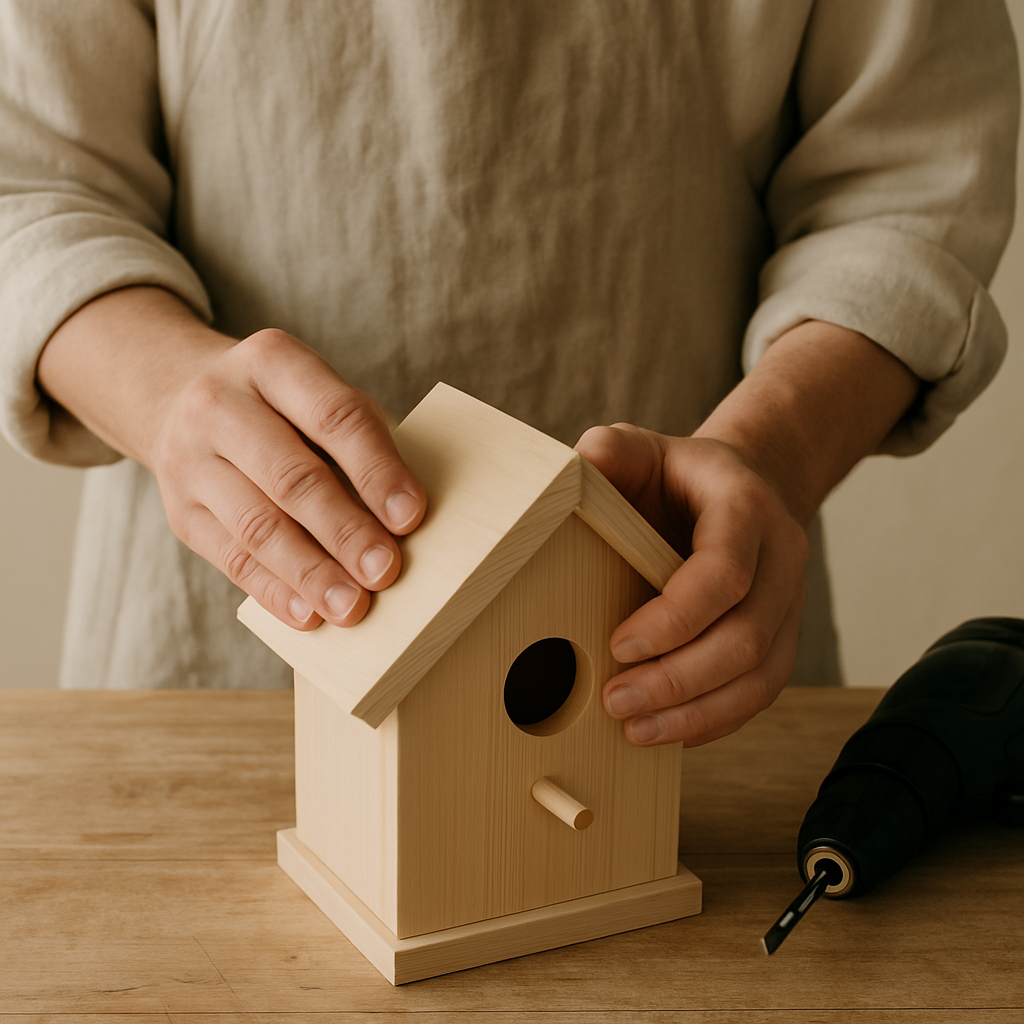
- 10
Allow the wood glue to dry completely according to the manufacturer's instructions, which typically takes several hours or overnight. Once the glue has fully cured, your birdhouse is structurally sound and ready for its final touches or mounting. Avoid moving it excessively during this drying period.
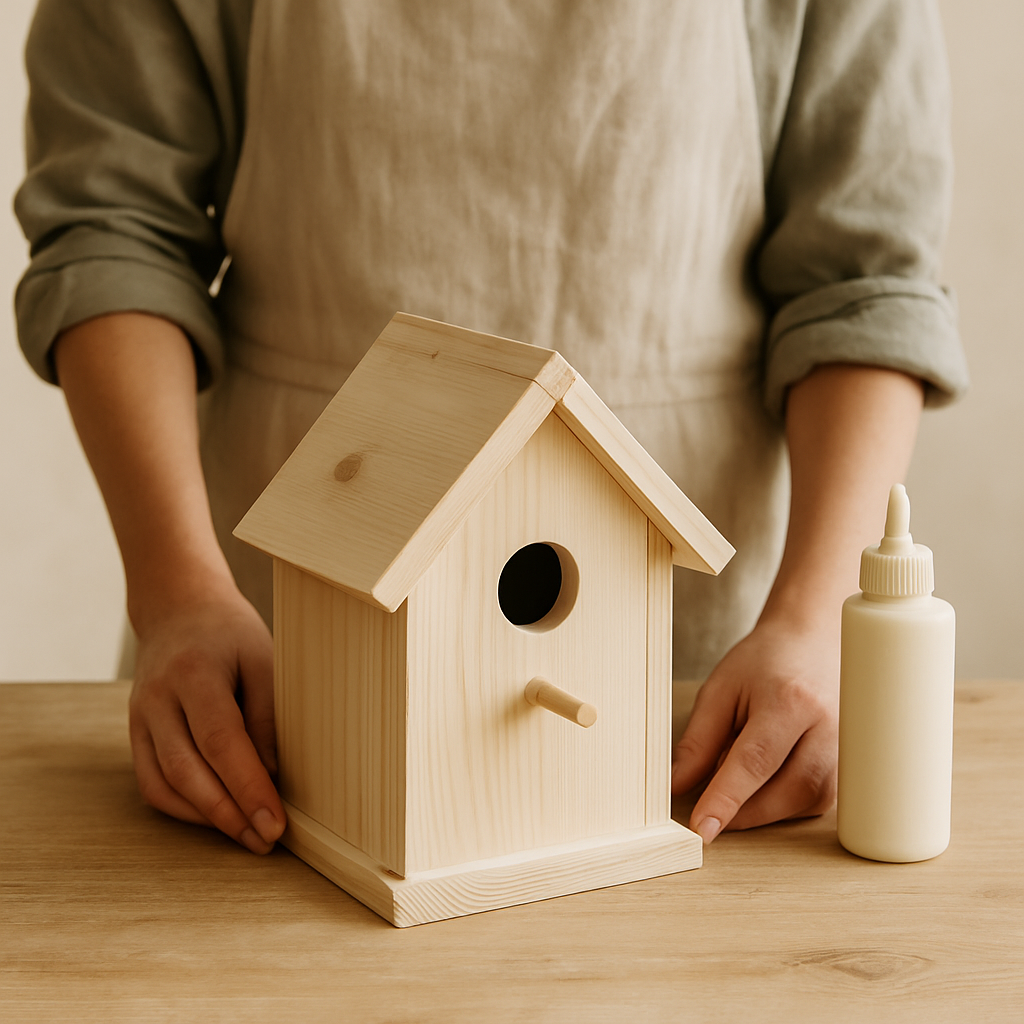
- 11
Optional: If you plan to paint or stain your birdhouse, now is the time. Use only non-toxic, water-based paints or stains in natural, muted colors. Avoid painting the interior of the birdhouse or directly around the entrance hole, as the fumes can be harmful to birds. Allow the finish to dry thoroughly before proceeding.
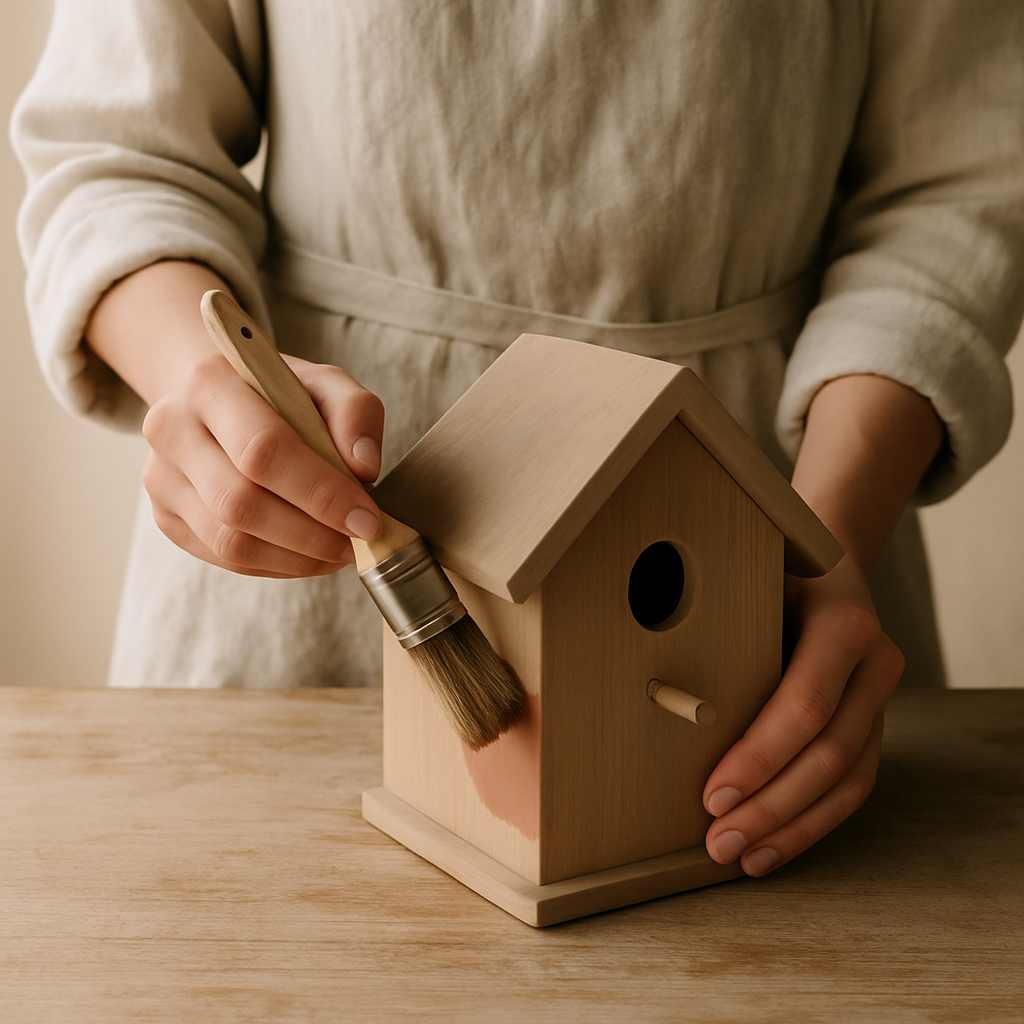
- 12
Consider adding small drainage holes in the floor. Using a 1/4 inch drill bit, drill 2-4 holes in the corners of the floor piece to allow any accumulated water to escape, keeping the nest dry and healthy. This is a simple yet vital step for the birds' well-being.
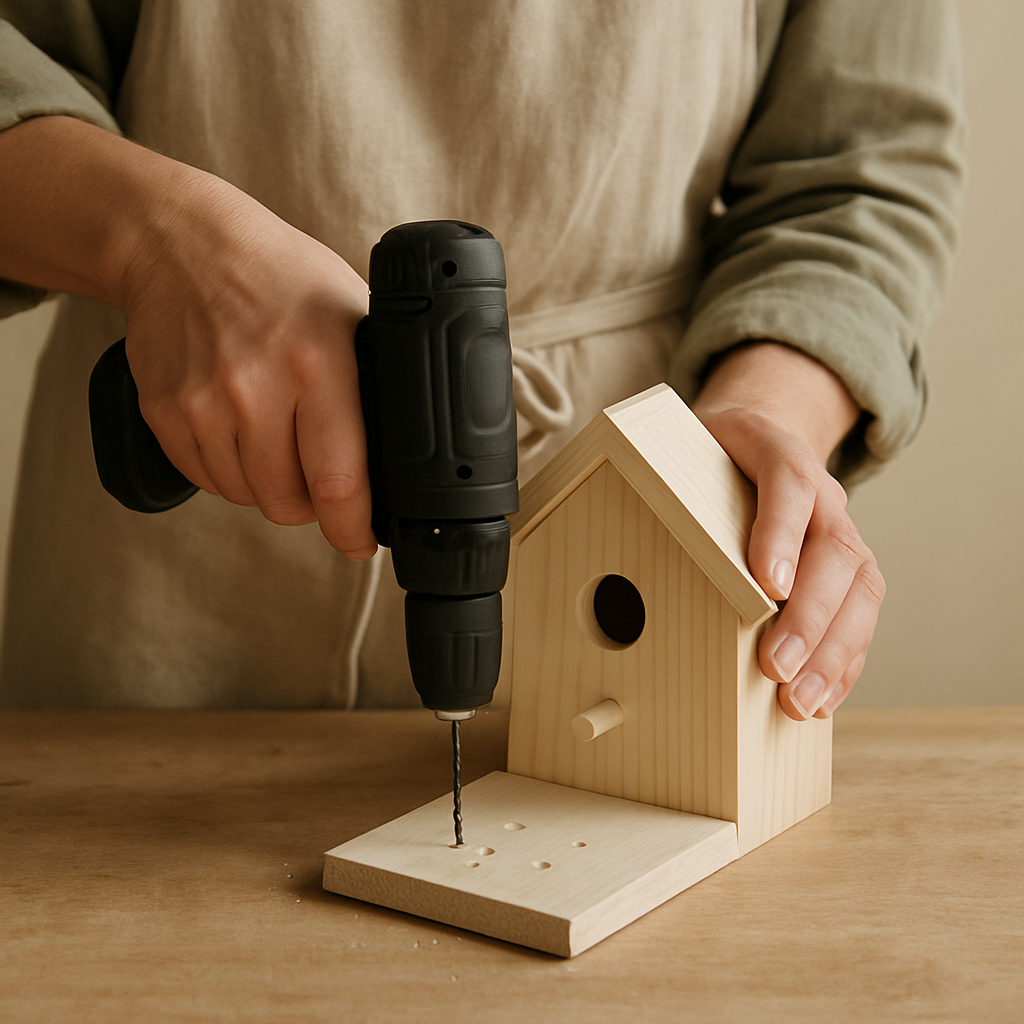
- 13
If you want to make cleaning easier in the future, you could modify the design to have a hinged roof or a removable floor. For a hinged roof, attach one roof piece with hinges instead of screws. For a removable floor, use a few screws that can be easily removed. This allows for annual maintenance.
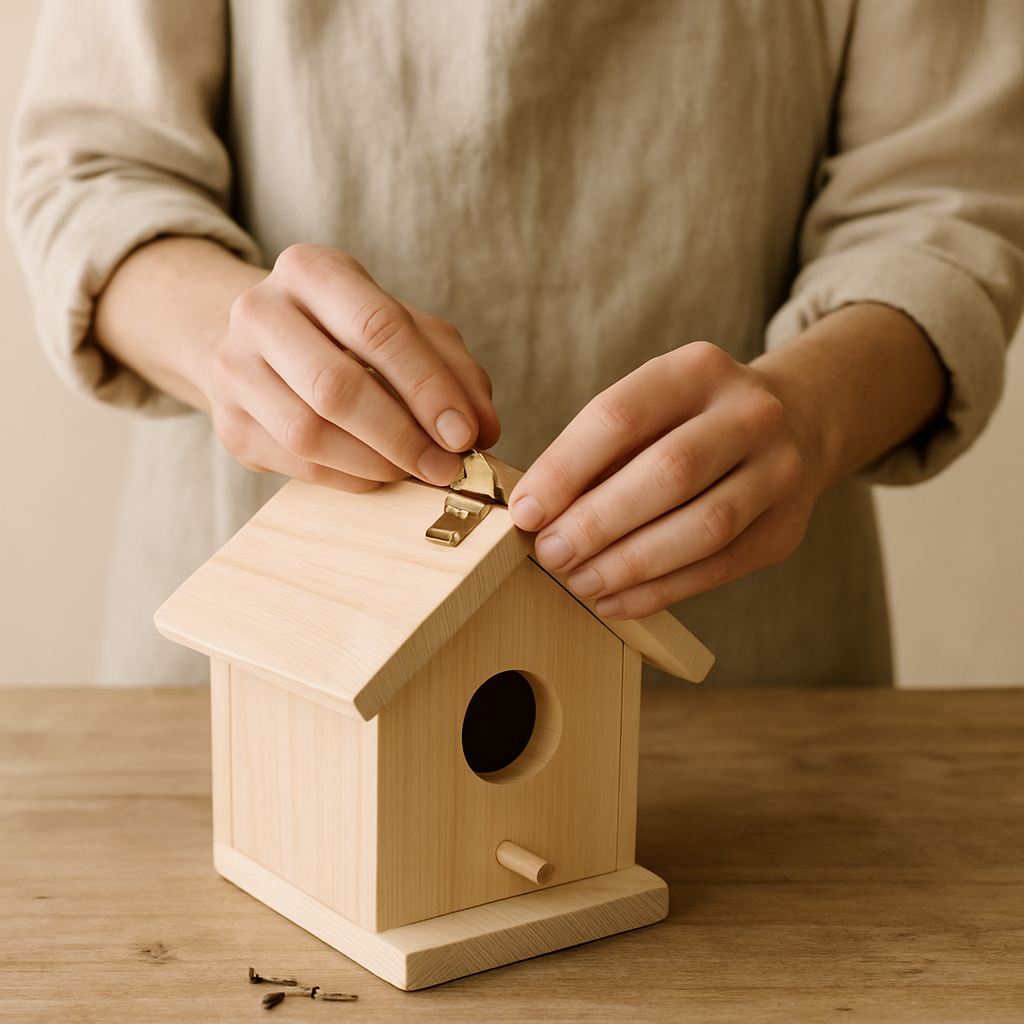
- 14
Inspect the entire birdhouse for any sharp edges or protruding screws. Gently sand down any rough spots and ensure all screws are flush with the wood surface. A smooth interior and exterior are essential for the safety of the birds and their young.
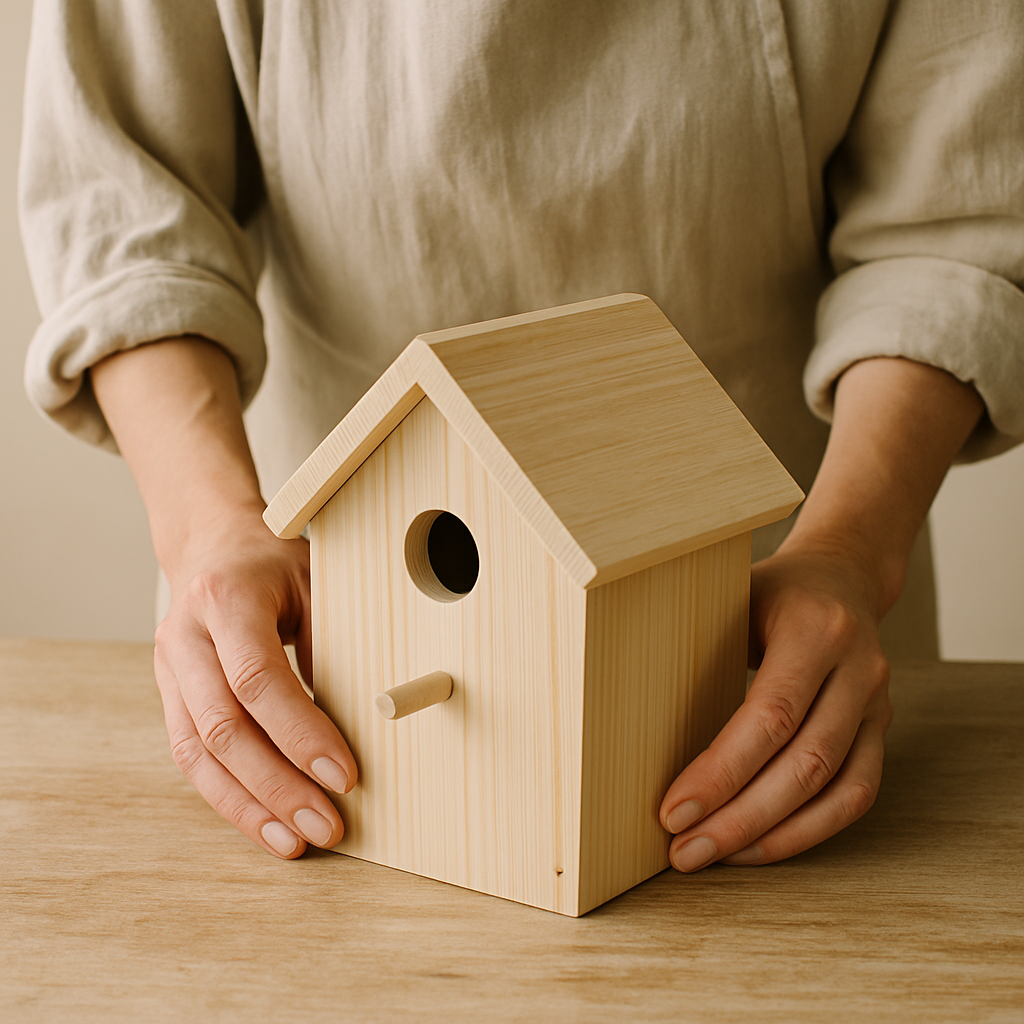
- 15
Determine your mounting method. You can attach a small eye screw to the peak of the roof for hanging from a branch or wire, or attach a mounting bracket to the back for securing it to a post or wall. Ensure the chosen method is sturdy and secure.
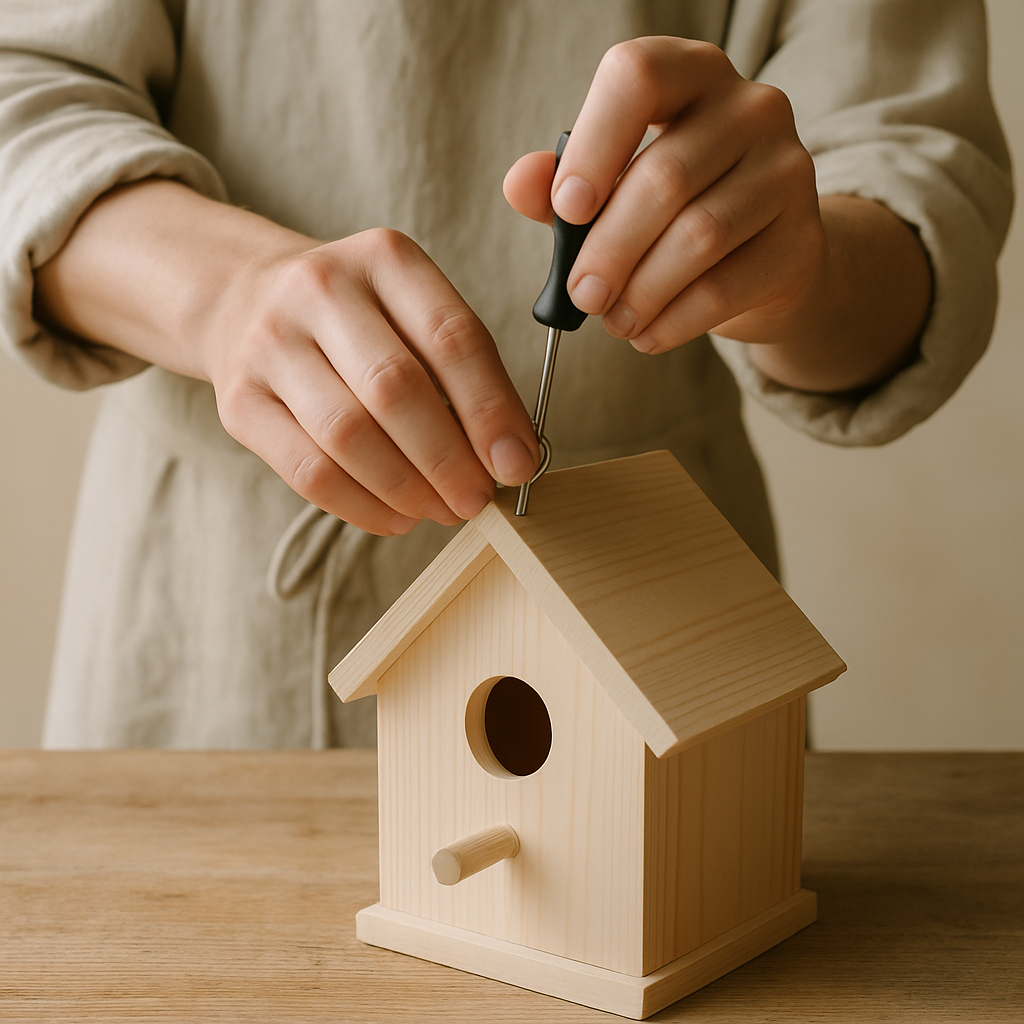
- 16
If you are not painting or staining, you can apply a coat of natural wood sealant to the exterior only. This will help protect the wood from the elements and extend the life of your birdhouse. Ensure the sealant is bird-safe and has no strong odors.
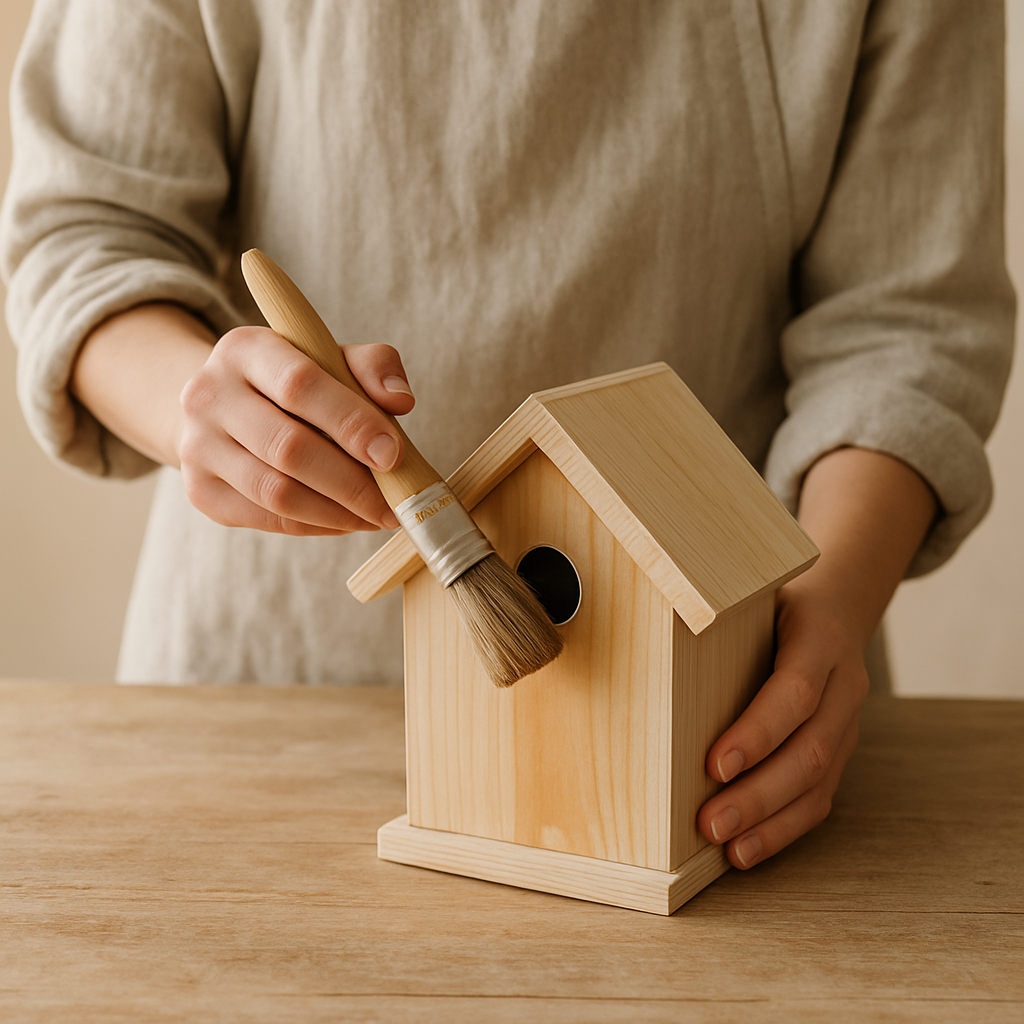
- 17
Before final mounting, consider the placement. Think about the direction the entrance hole will face. Facing east or north can help protect the nest from harsh afternoon sun and prevailing winds, providing a more comfortable environment for the birds.
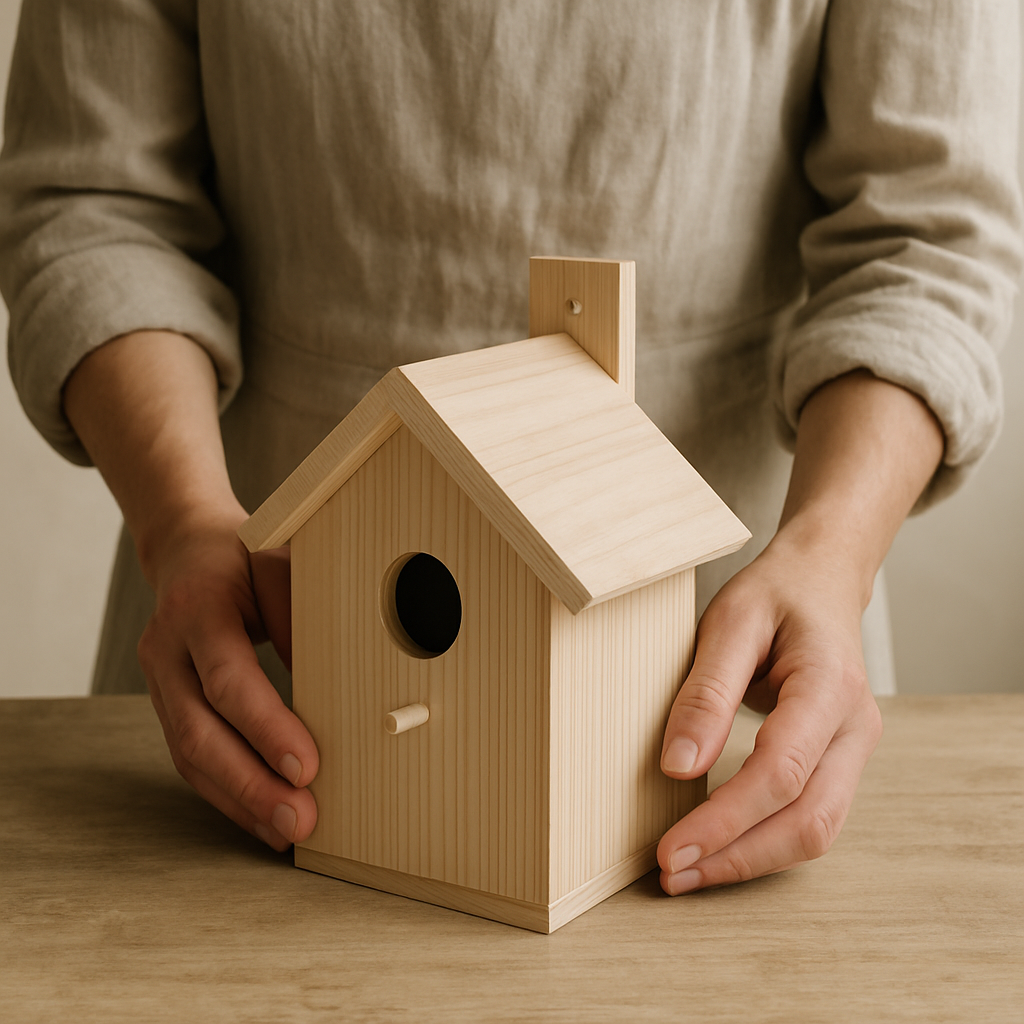
- 18
Double-check all connections and ensure the birdhouse feels solid and well-constructed. A sturdy birdhouse will withstand weather and the activity of its inhabitants for a long time. This final inspection ensures everything is secure and ready for its new residents.
Tips & Troubleshooting
- 1For easier assembly, pre-drill pilot holes for all screws. This prevents the wood from splitting, especially near the edges, and makes driving the screws much smoother. Use a drill bit that is slightly smaller than the diameter of your screws.
- 2Consider adding small drainage holes (1/4 inch) in the floor of the birdhouse to prevent water from accumulating inside. This is crucial for keeping the nest dry and preventing mold or rot, which can be detrimental to young birds.
- 3You can paint or stain the exterior of your birdhouse with non-toxic, water-based paints or stains. Avoid painting the interior or around the entrance hole, as the fumes can be harmful to birds. Natural, muted colors are best to blend in with the environment.
- 4Mount your birdhouse in a safe location, away from predators and direct sunlight, ideally facing east or north. Ensure it is securely attached to a pole, tree, or building, and at a height that deters ground predators.
- 5If you don't have a spade bit or hole saw, you can drill multiple small holes in a circle to create the entrance hole and then clean up the opening with a file or sandpaper. This method requires a bit more patience but achieves a similar result.
- 6When cutting the angles for the roof and back piece, ensure they are precise. A 45-degree angle is standard for a good roof slope, and matching angles on the front and back pieces will create a tight, weather-resistant seal at the peak.
- 7Use exterior-grade wood glue that is waterproof. This will significantly increase the durability and lifespan of your birdhouse, ensuring it can withstand various weather conditions without falling apart.
- 8If you're building this with children, supervise them closely, especially when using saws and drills. Assign age-appropriate tasks, such as measuring, marking, sanding, or helping to hold pieces in place with clamps.
Related Activities You Might Enjoy
Frequently Asked Questions
What kind of wood is best for a birdhouse?
Pine, cedar, or redwood are excellent choices for birdhouses. They are durable, weather-resistant, and safe for birds. Pine is readily available and easy to work with, while cedar and redwood offer natural resistance to rot and insects, extending the birdhouse's lifespan. Avoid treated lumber, as the chemicals used in treatment can be harmful to birds and their young. Opt for untreated, natural wood for a healthy and safe environment for your feathered visitors.
How big should the entrance hole be for a birdhouse?
The size of the entrance hole depends on the specific birds you want to attract. A 1 1/2 inch hole is a versatile size, suitable for many common backyard birds like wrens, chickadees, and nuthatches. For larger birds like bluebirds, a 1 9/16 inch hole is often recommended. Smaller holes, around 1 1/8 inches, are ideal for house finches or titmice. Research local bird species to determine the most appropriate hole size for your area.
Should I add a perch to my birdhouse?
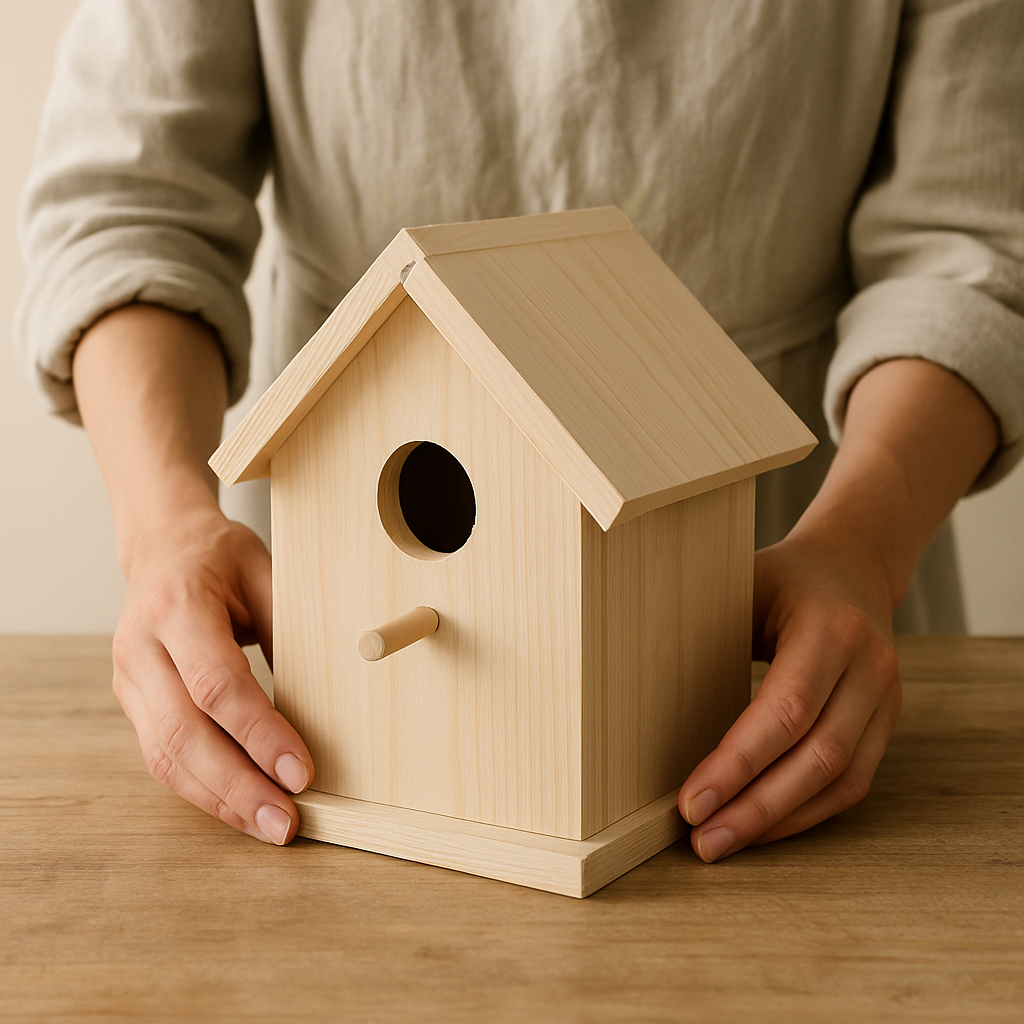
It's generally not recommended to add a perch below the entrance hole of a birdhouse. While it might seem like a helpful feature for birds, perches can actually make it easier for predators like squirrels, larger birds, or even cats to access the nest and its inhabitants. Most birds that use birdhouses are capable of clinging directly to the entrance hole or the wood surface without the need for an external perch.
How do I clean a birdhouse?
Clean your birdhouse annually, typically in late fall or early spring after the nesting season has concluded. Remove all old nesting material, debris, and any unhatched eggs. Scrub the interior with a mild soap and water solution, or a diluted bleach solution (1 part bleach to 9 parts water), then rinse thoroughly. Ensure the birdhouse dries completely before re-mounting it to prevent mold and mildew.
Where is the best place to mount a birdhouse?
The ideal location for a birdhouse depends on the species, but generally, it should be mounted in a safe spot away from predators and harsh weather. Facing the entrance hole east or north can protect it from direct afternoon sun and prevailing winds. Mount it at a height of 5 to 15 feet, depending on the bird species, on a pole, tree, or building. Avoid placing it too close to bird feeders, as the activity can sometimes deter nesting birds.
Can I paint or stain my birdhouse?
Yes, you can paint or stain the exterior of your birdhouse, but it's crucial to use the right materials. Opt for non-toxic, water-based paints or stains in natural, muted colors that blend with the environment. Avoid bright colors, as they can attract predators. Never paint or stain the interior of the birdhouse or around the entrance hole, as the fumes can be harmful to birds. Allow any finish to dry and air out completely before mounting.
What are the dimensions of the pieces for this birdhouse?
The dimensions for this specific Timberland Bird Abode are as follows: two side pieces are 8 inches long with a 45-degree angle cut at one end. The front piece is 6 inches long. The back piece is 9 inches long, with the top 3 inches angled to match the roof slope. The floor piece is a 4x4 inch square. Finally, the two roof pieces are each 7 inches long. These dimensions are designed to create a cozy and functional home for many common backyard birds.
What Next?
Congratulations on building your Timberland Bird Abode! This project is a fantastic starting point for exploring woodworking and wildlife conservation. Consider variations like adding a hinged roof for easier cleaning or experimenting with different wood types for unique aesthetics. Once your birdhouse is ready, find the perfect spot in your yard, away from predators and harsh elements, to welcome its first residents. For future projects, explore building bird feeders, bat houses, or even a small pond to further enhance your backyard's biodiversity.
Free: 10 Paper Crafts Anyone Can Make in 5 Minutes
Get our beginner guide + new craft ideas weekly.
No spam. Unsubscribe anytime.
Did you complete this activity?
Related