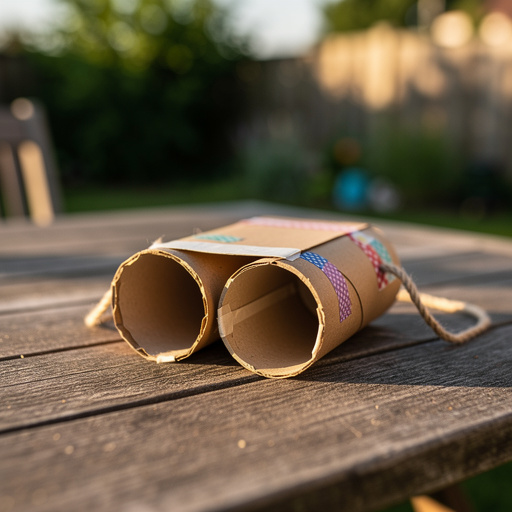
How to Make DIY Cardboard Tube Binoculars — Easy Step-by-Step Guide
Spark imaginative adventures with these easy-to-make DIY Cardboard Tube Binoculars. A perfect screen-free activity for curious 10-year-olds!
Quick answer
To make DIY Cardboard Tube Binoculars, you need two toilet paper tubes, strong tape (packing tape or duct tape recommended), scissors, and decorating supplies like construction paper, markers, crayons, stickers, paint, yarn, and glue. The process takes about 30 minutes. Start by taping the tubes together side-by-side. This beginner-friendly activity has 7 core steps and is perfect for 10-year-olds looking for a fun, screen-free crafting experience.
What you need
Shop on Amazon · As an Amazon Associate we earn from qualifying purchases. Links above are affiliate links — we may earn a commission at no extra cost to you.
Unleash your inner explorer and embark on thrilling imaginary expeditions with these delightful DIY Cardboard Tube Binoculars! In a world often dominated by screens, this project offers a refreshing and engaging way for children, especially curious 10-year-olds, to connect with their surroundings and foster creative play. These binoculars are more than just a craft; they are a gateway to backyard safaris, living room safaris, or even epic quests through the imagination. Simple to make and endlessly customizable, this project promises hours of screen-free fun and encourages observation skills, making it a truly special activity for young adventurers.
On this page
Step-by-Step Instructions
- 1
Gather all your materials and find a clear, well-lit workspace where you can spread out and get a little creative. Ensure you have everything listed so you don't have to interrupt your crafting flow.
- 2
Take your two empty toilet paper tubes and place them side-by-side, making sure that the ends are perfectly aligned and flush with each other. This alignment is crucial for a symmetrical and balanced final product.
- 3
Carefully wrap a generous piece of strong tape around the very center of both tubes, pressing it down firmly to create a secure bond. Ensure the tape encircles both tubes completely, holding them snugly together.
- 4
Now, add another piece of tape near the top ends of the tubes, wrapping it around both to further reinforce their connection. This second layer of tape adds significant stability and prevents the tubes from shifting.
- 5
Repeat the taping process near the bottom ends of the tubes, adding a third piece of tape that wraps around both. This three-point taping system (top, middle, and bottom) will ensure your binoculars are robust and ready for adventure.
- 6
Optional Step: For enhanced stability, cut two small rectangular pieces of cardboard, roughly the width of a toilet paper tube. Apply tape to one side of each cardboard piece and adhere them to the inside edges where the two tubes meet, at both the top and bottom. Then, tape over these cardboard inserts to further secure the tubes.
- 7
Optional Step: If you wish to add a strap for easy carrying, cut a long piece of yarn or sturdy string. Measure it to a comfortable length that allows the binoculars to hang around your neck or be carried easily. Securely tape one end of the yarn to the outer side of one tube, and then tape the other end to the outer side of the second tube, ensuring the strap is taut but not overly tight.
- 8
Now for the fun part: decorating your binoculars! Begin by covering the tubes with construction paper if desired. Measure and cut pieces of paper to fit around each tube, securing them with glue or tape. This provides a smooth surface for further decoration.
- 9
Use markers, crayons, or colored pencils to draw intricate designs, patterns, or even create a camouflage effect on your binoculars. Let your imagination run wild with colors and shapes.
- 10
Apply stickers to add extra flair and personality to your creation. Consider thematic stickers like animals, stars, or adventure symbols.
- 11
If you're using paint, apply a base coat first and allow it to dry completely before adding finer details. Experiment with different brush strokes and color combinations for a unique look.
- 12
If you've opted for a yarn strap, you can also incorporate yarn into the decoration of the binoculars themselves. Wrap yarn around sections of the tubes, securing it with glue for a textured effect.
- 13
For a truly unique touch, consider using fabric scraps, glitter glue, or even small natural items like dried leaves or pebbles, secured with craft glue. Ensure any glued embellishments are fully dry before proceeding.
- 14
Optional Step: For a simulated lens effect, cut out two small circles of clear plastic wrap. Tape one circle securely over the opening of each tube on one end. This adds a touch of realism and can enhance the imaginative play.
- 15
Allow all paint, glue, or any wet embellishments to dry completely before handling your binoculars extensively. This ensures your decorations stay put and your binoculars are sturdy.
- 16
Once everything is dry, your DIY Cardboard Tube Binoculars are ready for their first adventure! Hold them up to your eyes and explore the world around you with newfound wonder.
Tips & Troubleshooting
- 1For a sturdier build that can withstand more vigorous play, use more tape and ensure it's wrapped tightly around the tubes. Packing tape or duct tape are excellent choices for their strength and adhesive properties, providing a more robust connection between the tubes.
- 2Don't be afraid to experiment with different decorating materials to create truly unique binoculars. Consider using fabric scraps for a textured feel, glitter glue for a touch of sparkle, or even small natural items like leaves or pebbles secured with craft glue for an earthy aesthetic.
- 3If you don't have toilet paper tubes readily available, paper towel tubes cut in half are an excellent substitute. Ensure you cut them as evenly as possible to maintain symmetry and ease of assembly.
- 4Consider adding a small piece of sturdy cardboard between the tubes at the top and bottom before taping them together. This acts as an internal brace, significantly increasing the overall stability and durability of your binoculars.
- 5When taping, overlap the tape slightly with each wrap to ensure there are no gaps. This creates a continuous, strong bond that prevents the tubes from separating, even with enthusiastic use.
- 6If you're using paint, consider applying a primer or gesso first for a smoother finish and better color adhesion, especially if you're painting over darker construction paper or directly onto the cardboard tubes.
- 7For a more realistic look, you can try to find some small, clear plastic discs or even use clear plastic wrap secured with tape to mimic lenses at the front of the binoculars. This adds an extra layer of imaginative detail.
- 8Encourage children to think about the 'purpose' of their binoculars. Are they for bird watching, spotting faraway treasures, or keeping an eye out for imaginary creatures? This can inspire unique decorating choices.
Related Activities You Might Enjoy
Frequently Asked Questions
What are good screen-free activities for 10-year-olds?
Screen-free activities for 10-year-olds are abundant and can foster creativity, physical activity, and social skills. Crafts like making DIY cardboard tube binoculars, as detailed in this guide, are excellent for developing fine motor skills and imagination. Outdoor exploration, such as nature walks, scavenger hunts, or simply playing in the park, encourages physical health and observation. Reading books opens up new worlds and expands vocabulary. Engaging in board games or card games promotes strategic thinking and social interaction. Building forts with blankets and furniture sparks imaginative play and problem-solving. Participating in imaginative play, whether solo or with friends, is crucial for developing storytelling abilities and emotional intelligence. Other options include drawing, painting, sculpting with clay, learning a musical instrument, or helping with household chores in a fun way.
How can I make DIY binoculars more durable?
To make DIY binoculars more durable and withstand enthusiastic play, several techniques can be employed. Firstly, using strong packing tape or duct tape to secure the tubes is paramount, as these adhesives offer superior strength compared to standard Scotch tape. Ensure the tape is wrapped tightly and securely around the tubes, creating a robust connection. For an extra layer of reinforcement, consider adding small pieces of sturdy cardboard as internal braces between the tubes at the top and bottom before taping them together. This provides additional structural support. Applying multiple layers of tape at the connection points can also significantly enhance durability. Finally, encouraging gentle handling during play will also contribute to the longevity of the binoculars.
What other materials can I use to decorate the binoculars?
The decorative possibilities for your DIY binoculars are virtually endless, extending far beyond basic paper and markers. You can transform them into unique works of art by incorporating a variety of materials. For a tactile and visually interesting finish, consider using fabric scraps – perhaps denim for a rugged look or patterned cotton for a vibrant design. Glitter glue can add a touch of sparkle and magic, perfect for fantasy-themed binoculars. Yarn can be wrapped around the tubes for a textured effect or used to create decorative patterns. Small natural items like dried leaves, twigs, or pebbles, carefully secured with craft glue, can give your binoculars an adventurous, outdoorsy feel. Even small buttons, beads, or googly eyes can add personality and charm.
Can a 10-year-old make these binoculars independently?
Yes, a 10-year-old can absolutely make these DIY cardboard tube binoculars independently with minimal to no adult supervision. At this age, children typically possess the fine motor skills and cognitive abilities required to handle the core steps of the project. They can confidently measure, cut (with standard scissors), and apply tape to secure the tubes. The decorating phase is where their independence truly shines, allowing them to express their creativity freely with markers, crayons, stickers, and other chosen embellishments. While younger children might require assistance with cutting thicker materials or managing glue, a 10-year-old is generally well-equipped to complete this project from start to finish on their own, fostering a sense of accomplishment and self-reliance.
How can I add a lens effect to the binoculars?
To add a simple yet effective lens effect to your DIY cardboard tube binoculars, you can utilize clear plastic wrap. First, cut out two small circles of clear plastic wrap, ensuring each circle is slightly larger than the opening of your toilet paper tubes. Next, carefully tape one of these plastic wrap circles securely over the opening of each tube on one end. Make sure the tape is applied smoothly around the edges to create a taut surface, mimicking the appearance of a lens. This subtle addition can significantly enhance the imaginative play, making the binoculars feel more realistic and engaging for young explorers as they peer through their creations.
What Next?
Once your DIY Cardboard Tube Binoculars are complete and all decorations are dry, they are ready for immediate use! Encourage your young explorer to take them on their next adventure, whether it's a nature walk, a pretend safari in the backyard, or even just observing the world from their window. For variations, consider using different sized tubes, adding a lens effect with clear plastic wrap, or even creating a more complex design with additional cardboard pieces. Store them safely in a toy box or display them proudly on a shelf as a testament to their crafting prowess. This project can easily lead to other imaginative crafts like spyglasses or telescopes, further fueling their creative spirit.
Free: 10 Paper Crafts Anyone Can Make in 5 Minutes
Get our beginner guide + new craft ideas weekly.
No spam. Unsubscribe anytime.
Did you complete this activity?
Related
You might also like
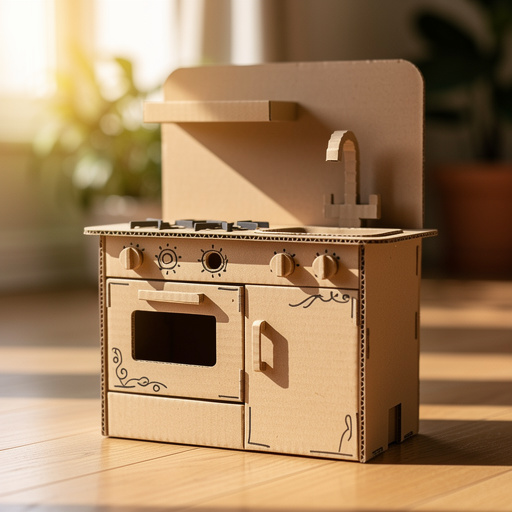
Cardboard Box Kitchenette
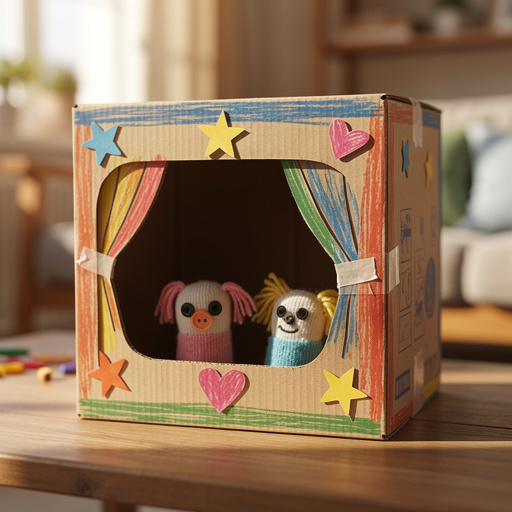
Cardboard Box Puppet Theater
Tin Can Shakers
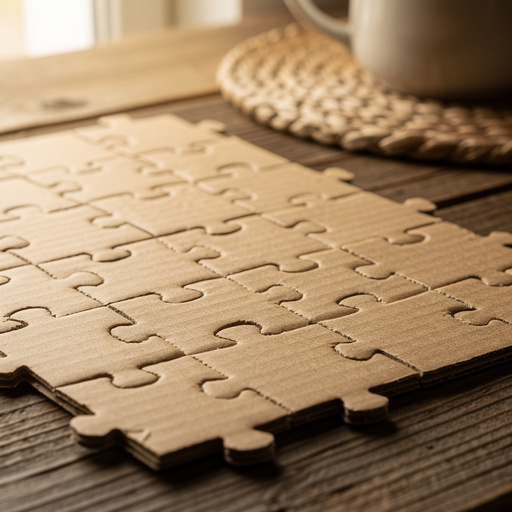
DIY Jigsaw Puzzle from Cardboard
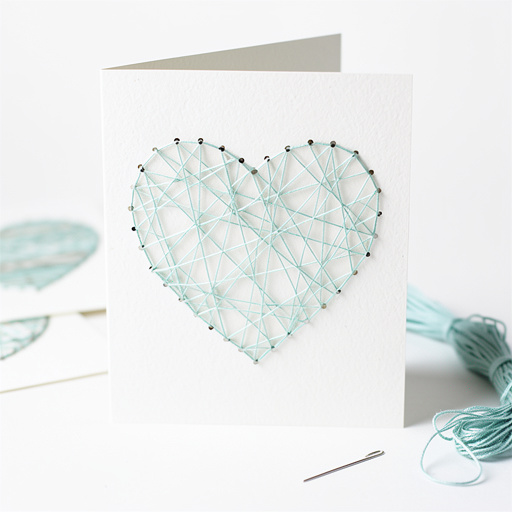
Heart String Art Cards