Unleash Your Creativity: The Ultimate Playfoam Sculpting Guide for All Ages
Dive into the wonderfully tactile world of Playfoam with this in-depth guide! We'll walk you through creating your own Playfoam creatures, from basic shapes to more elaborate designs. You'll find practical advice on handling Playfoam, cleaning up, and adapting projects for different ages, ensuring a fun and frustration-free crafting experience for everyone.
Quick answer
To sculpt with Playfoam, you'll need Playfoam in various colors, a smooth work surface (like a silicone mat), and optional sculpting tools. Basic creatures can be made in about 30-60 minutes. Playfoam is fantastic for sensory exploration, developing fine motor skills, and offering screen-free entertainment for kids aged 3-12.
What you need
Shop on Amazon · As an Amazon Associate we earn from qualifying purchases. Links above are affiliate links — we may earn a commission at no extra cost to you.
Playfoam is one of my absolute favorite materials for screen-free fun! While it's super satisfying to just squish and shape, this guide will show you how to go beyond the basics and create some truly amazing Playfoam creatures. We'll cover everything from warming up your Playfoam to adding those perfect little details, plus I'll share my best tips for cleaning up and adapting these projects for little ones and older kids alike. Get ready to discover why Playfoam is a go-to material for creative families!
On this page
Step-by-Step Instructions
- 1
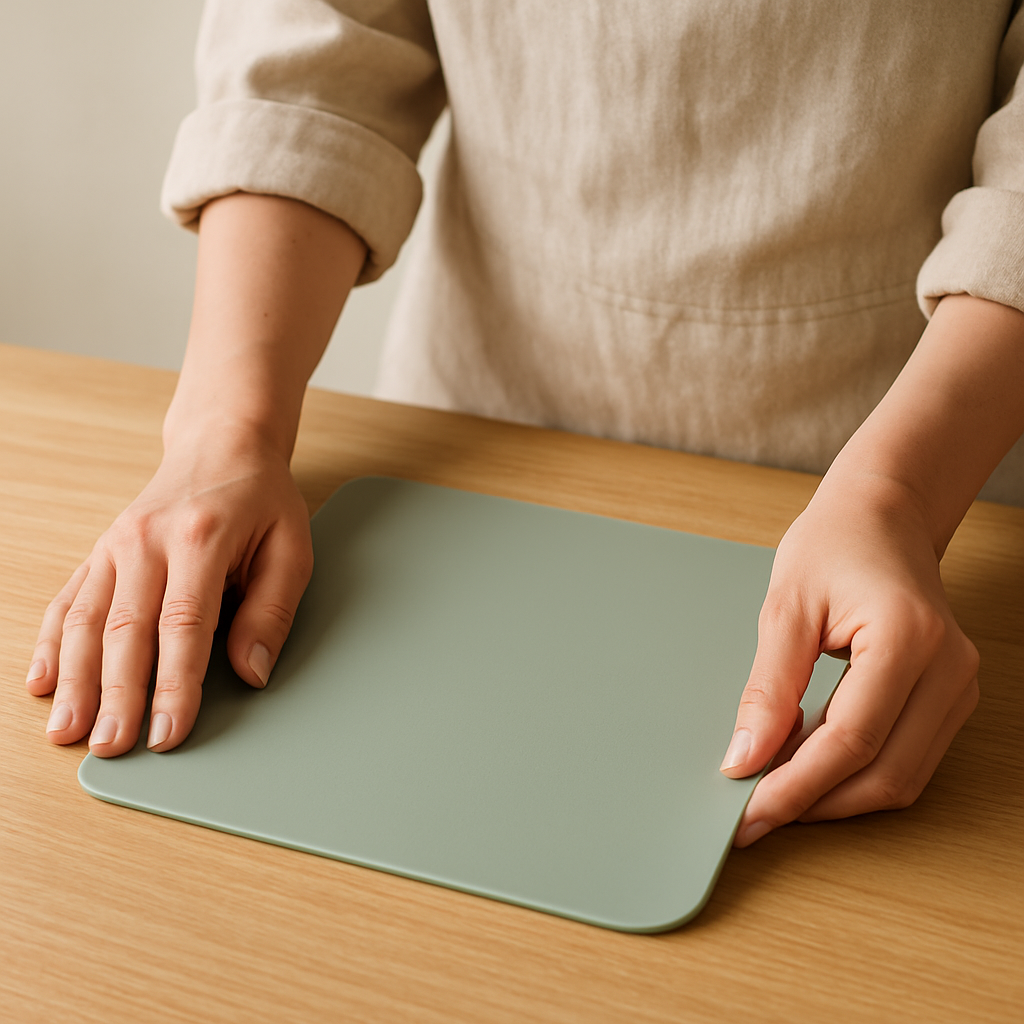
Step 1: Prepare your workspace by laying down a silicone mat or plastic placemat. This is key to preventing Playfoam from sticking to your table and makes cleanup a breeze. Ensure the surface is clean and dry before you begin; if it's too warm, the Playfoam might stick more readily.
- 2
Step 2: Select your Playfoam colors. For a simple creature, choose 2-3 contrasting colors. If you're feeling adventurous and want to try a marbled effect or a more complex design, grab 4-5 colors to experiment with.
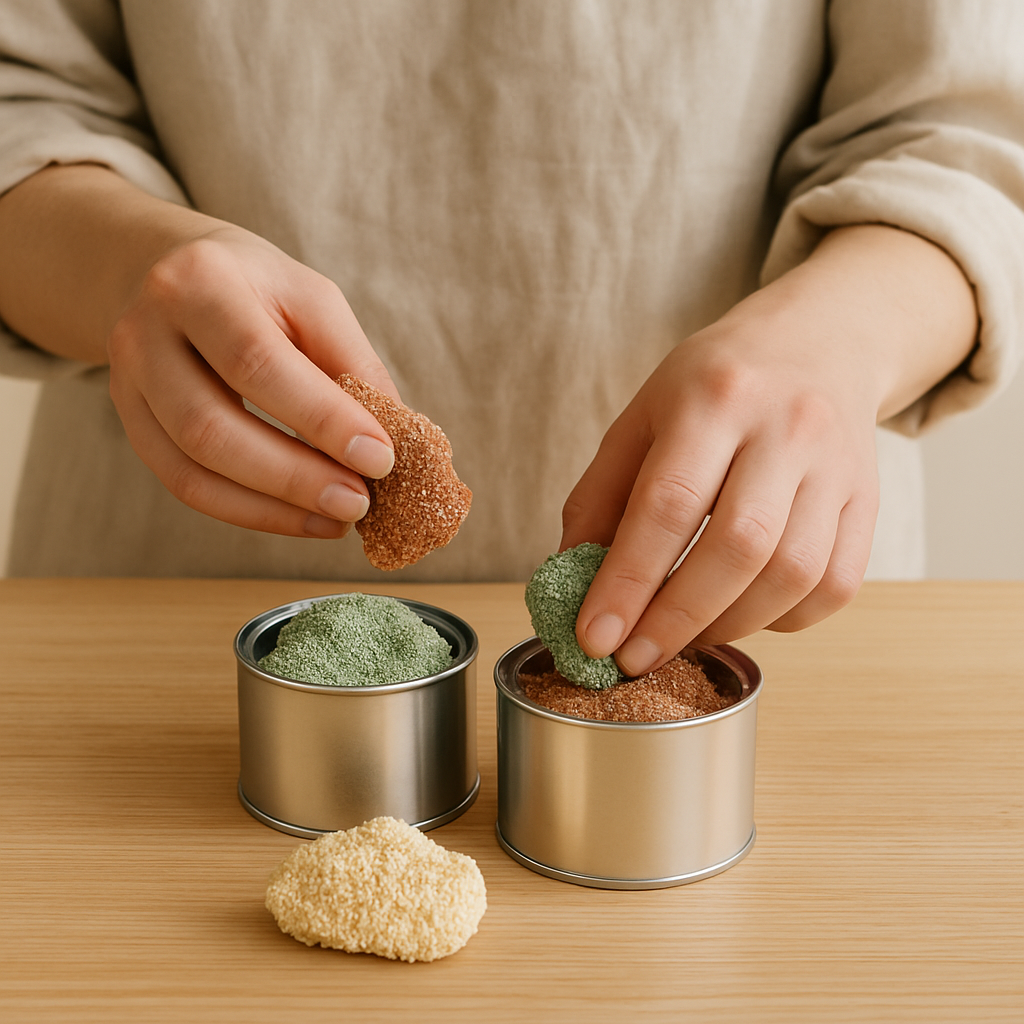
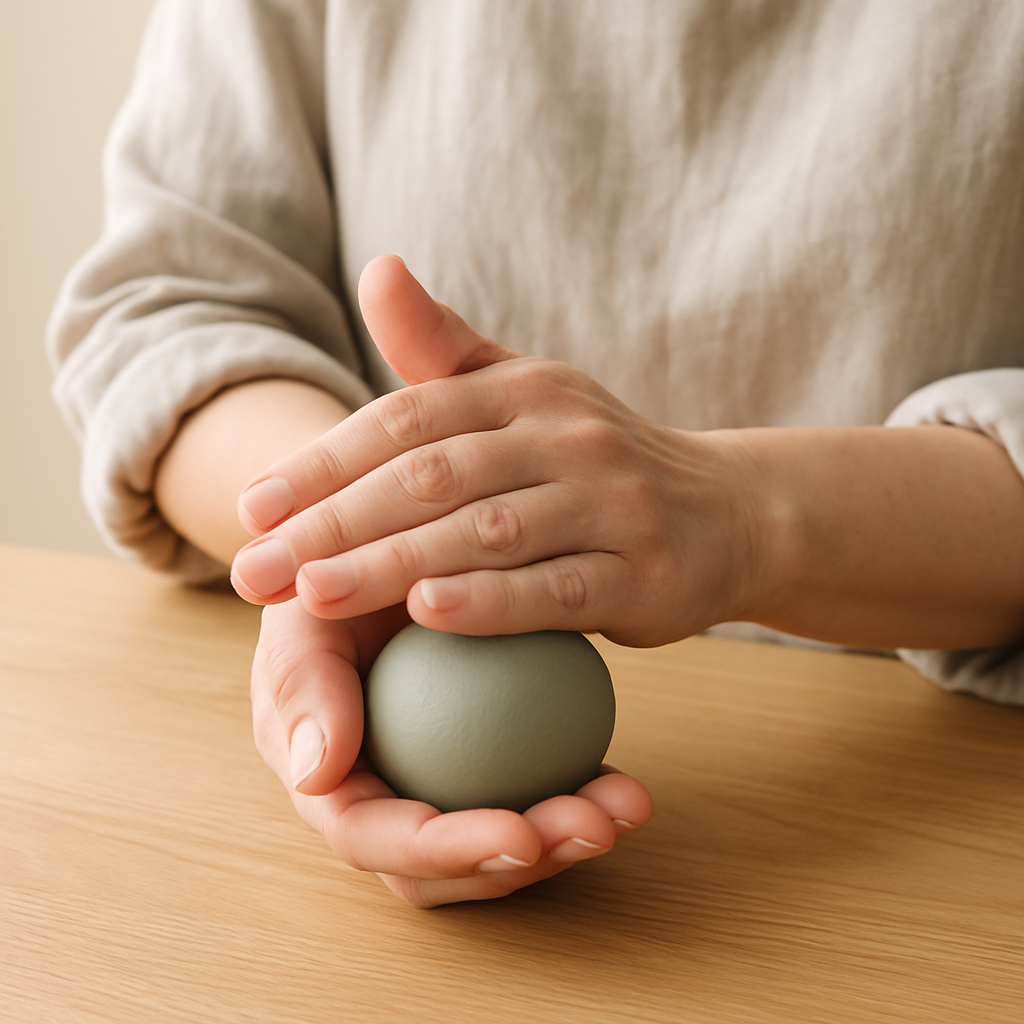
- 3
Step 3: Take a 2-inch ball of your primary color Playfoam and roll it between your palms for about 15-20 seconds to warm it up and make it more pliable. It should feel soft and slightly sticky; if it feels excessively sticky, ensure your hands are completely dry before proceeding.
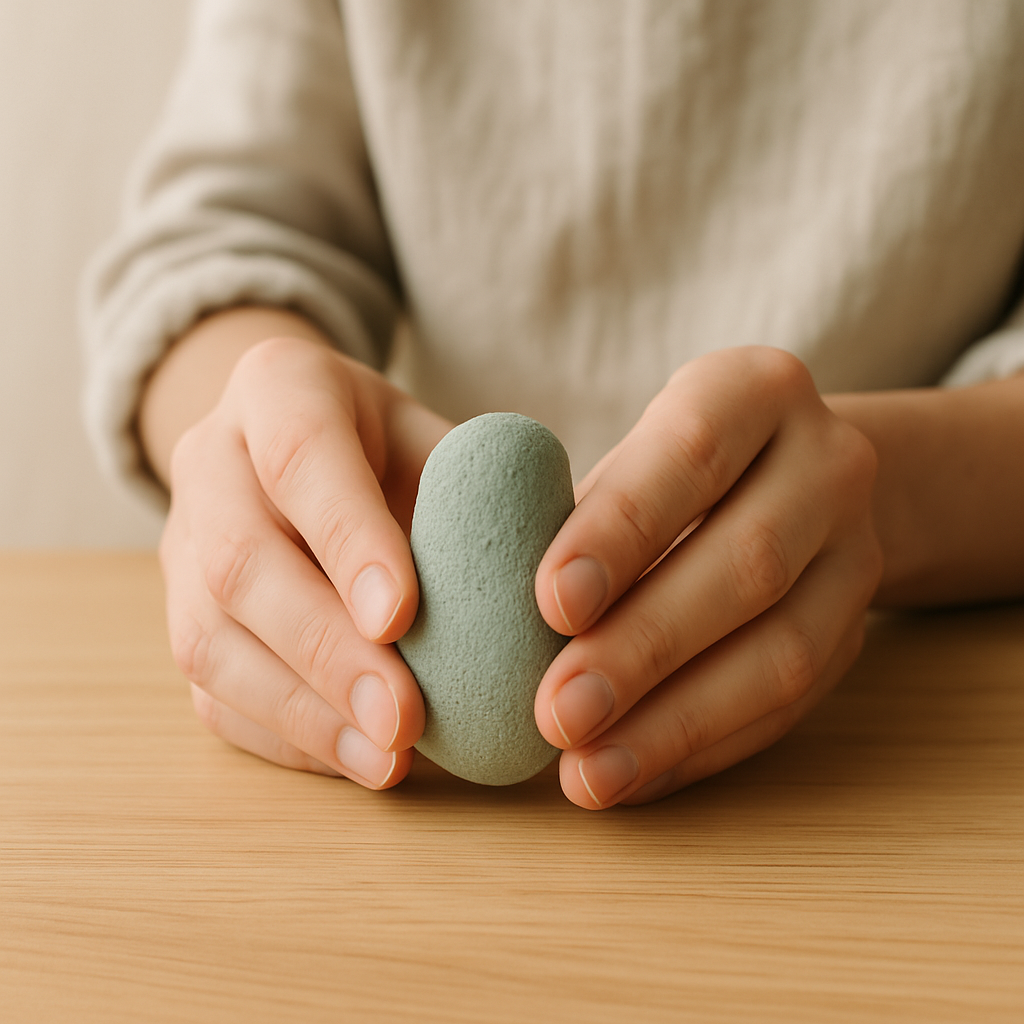
- 4
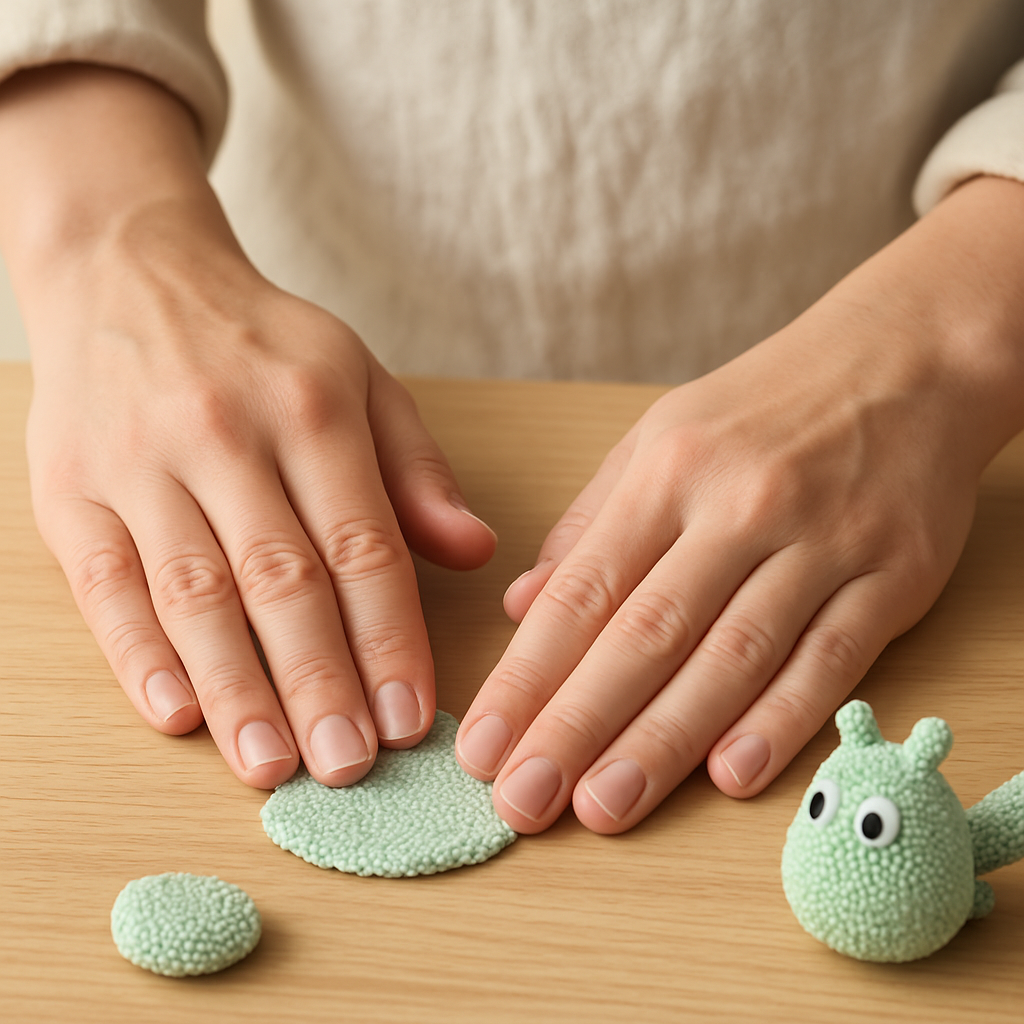
Step 4: Shape the warmed 2-inch ball into an oval for the creature's body, aiming for a smooth, elongated shape about 3 inches long and 1.5 inches wide. If it's not holding its shape well, gently press the sides together to reinforce the form.
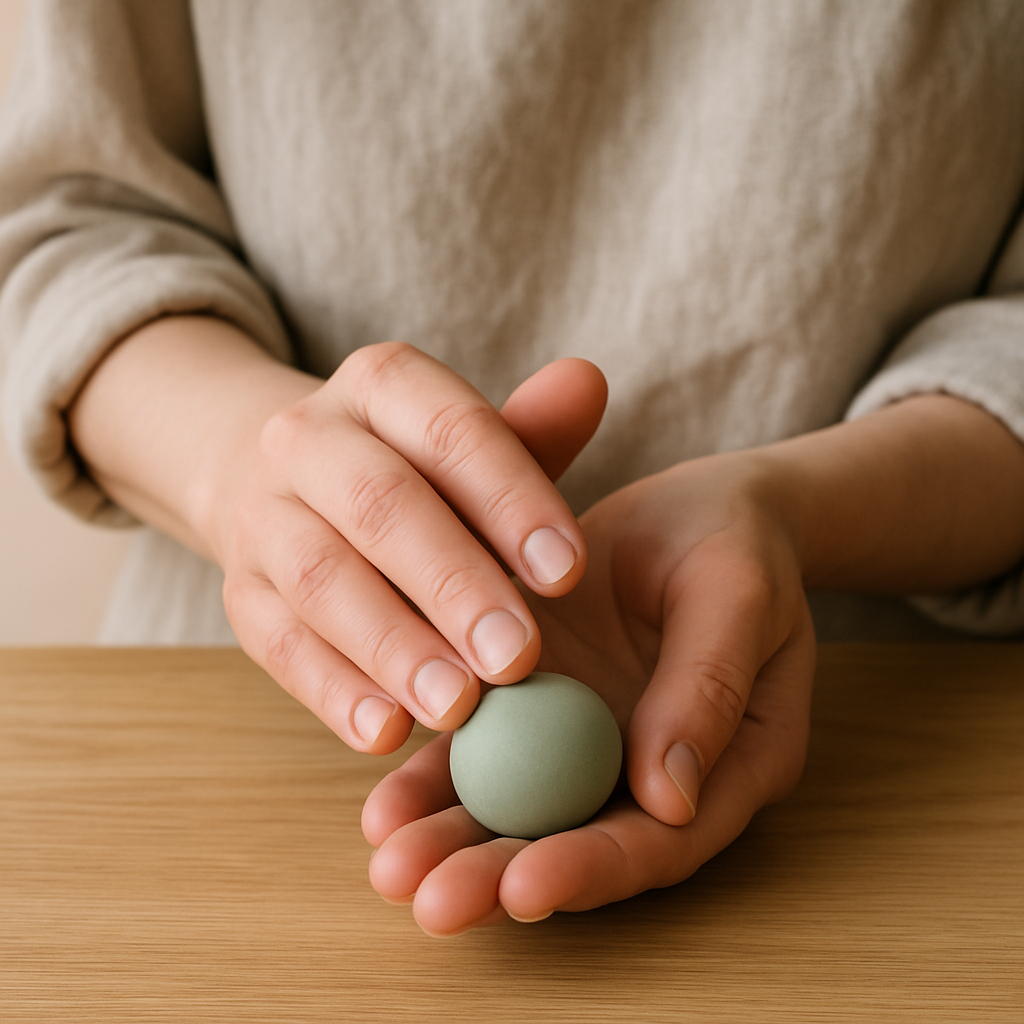
- 5
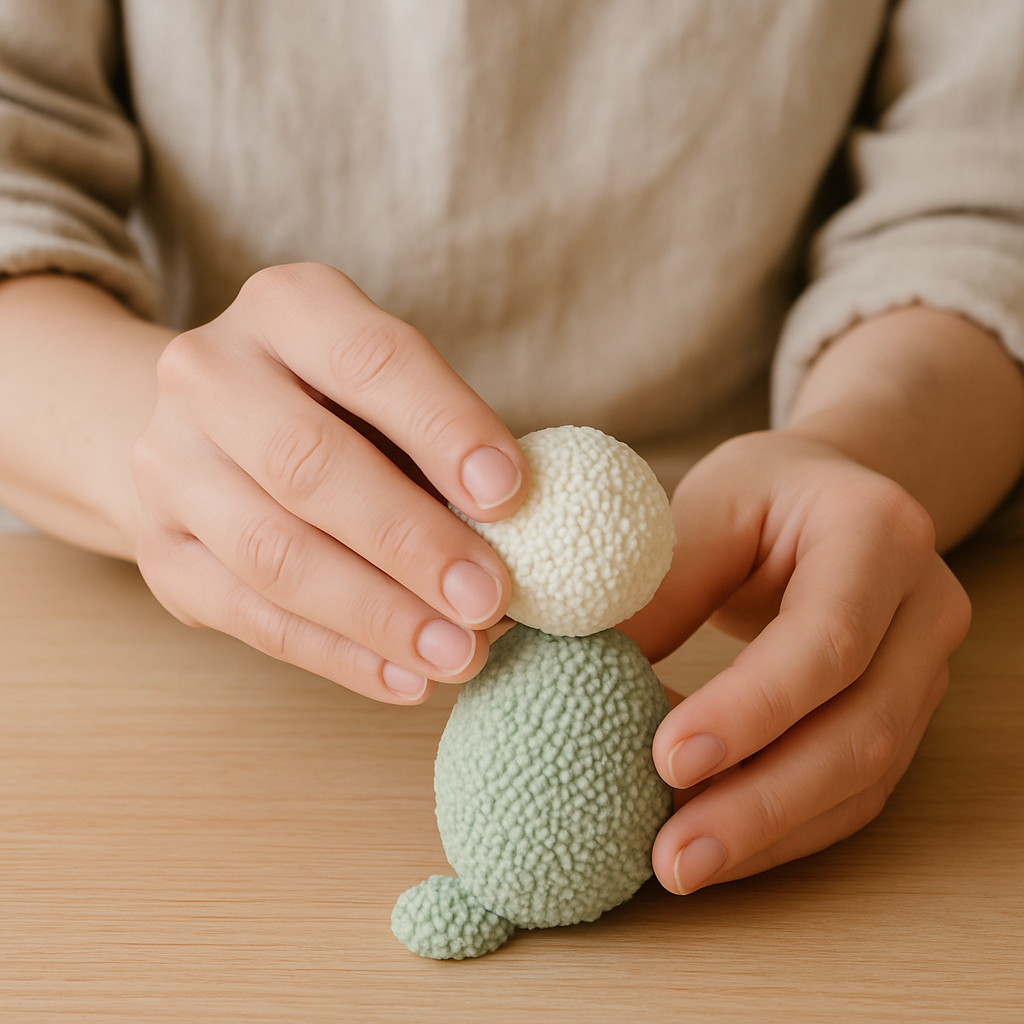
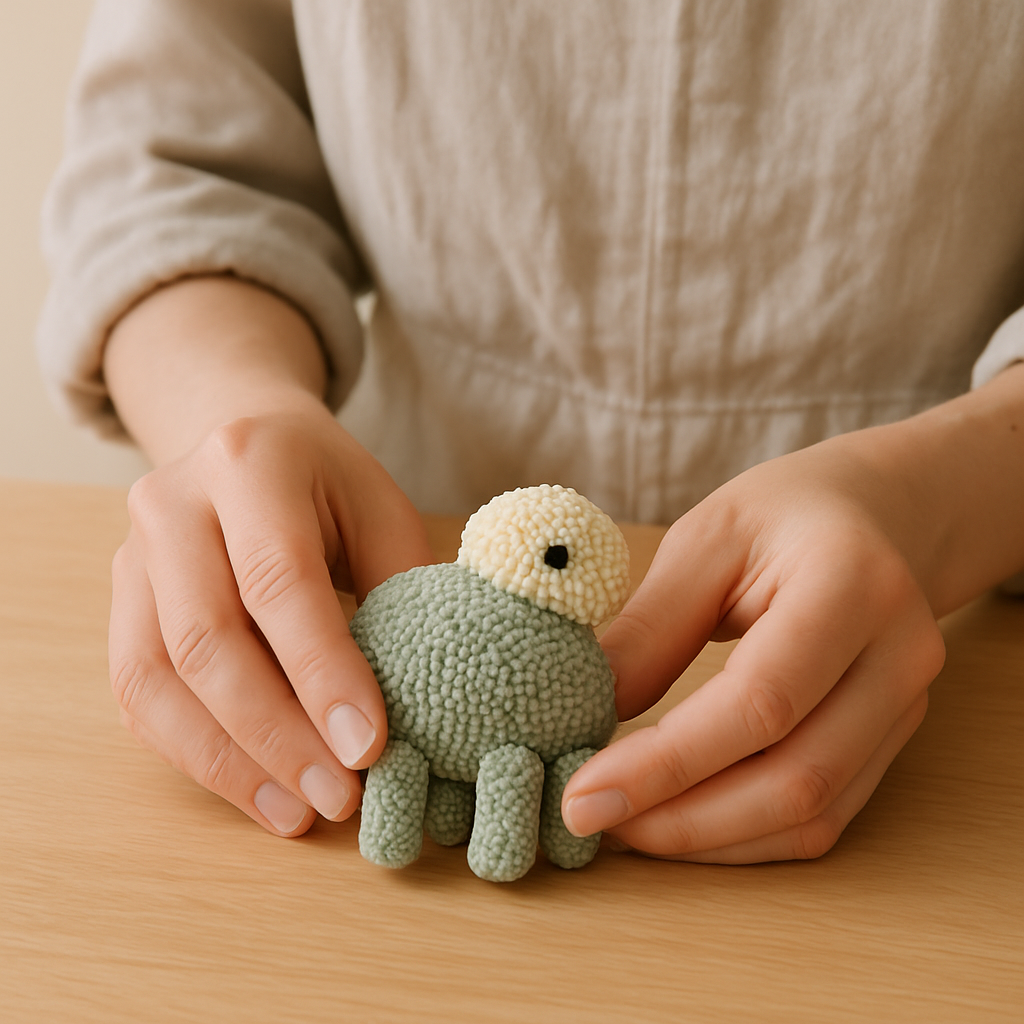
Step 5: For the head, take a smaller, 1-inch ball of the same color and roll it into a sphere about 1 inch in diameter. If it feels too sticky to handle, lightly dust your fingertips with a pinch of cornstarch before rolling; this should make it much easier to manage.
- 6
Step 6: Gently press the head onto one end of the oval body, holding it in place for about 10 seconds to help them adhere. If the head detaches, re-press firmly; if it still won't stick, try slightly warming the connection point with your hands.
- 7
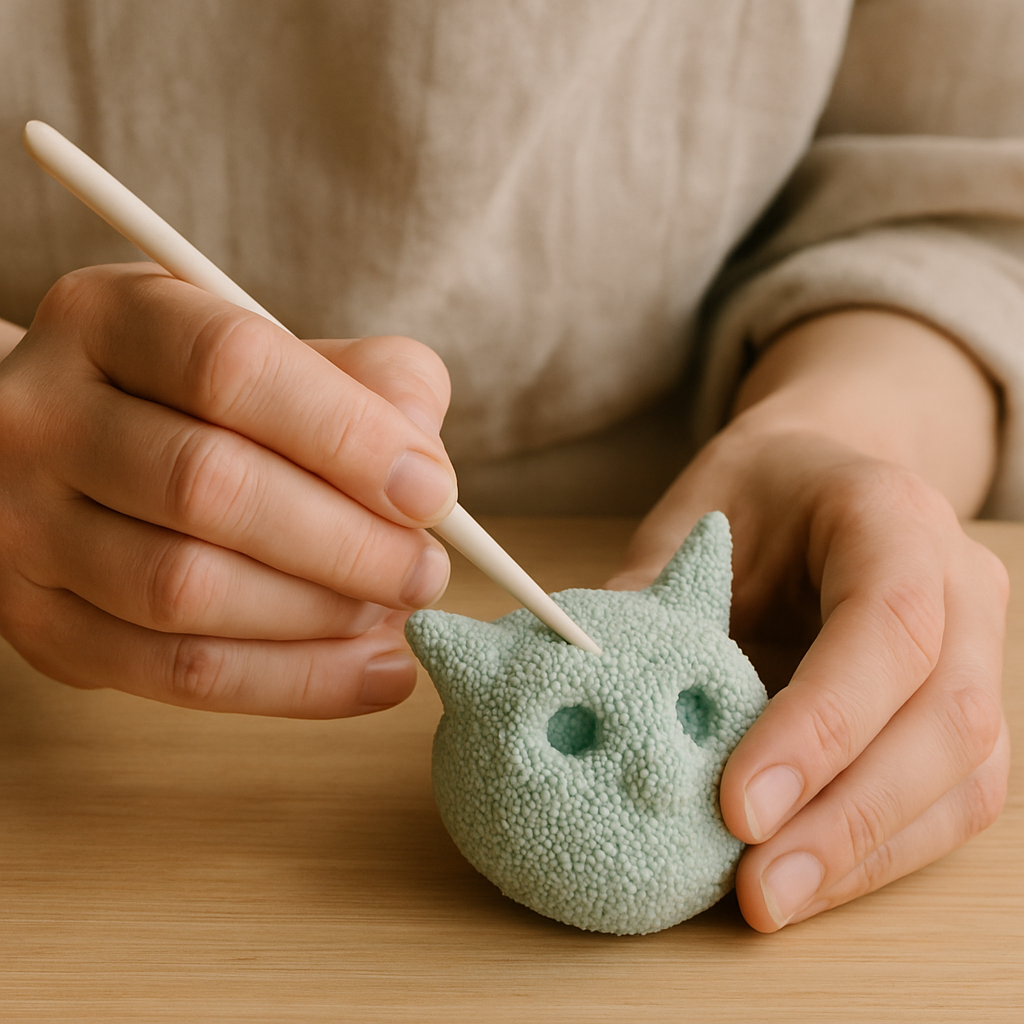
Step 7: Using the tip of a sculpting tool or your fingertip, carefully create eye sockets by pressing about 1/4 inch deep indentations into the head, spacing them about 1/2 inch apart. If the Playfoam crumbles instead of indenting, it might be a bit too cool; warm it slightly in your hands before trying again.
- 8
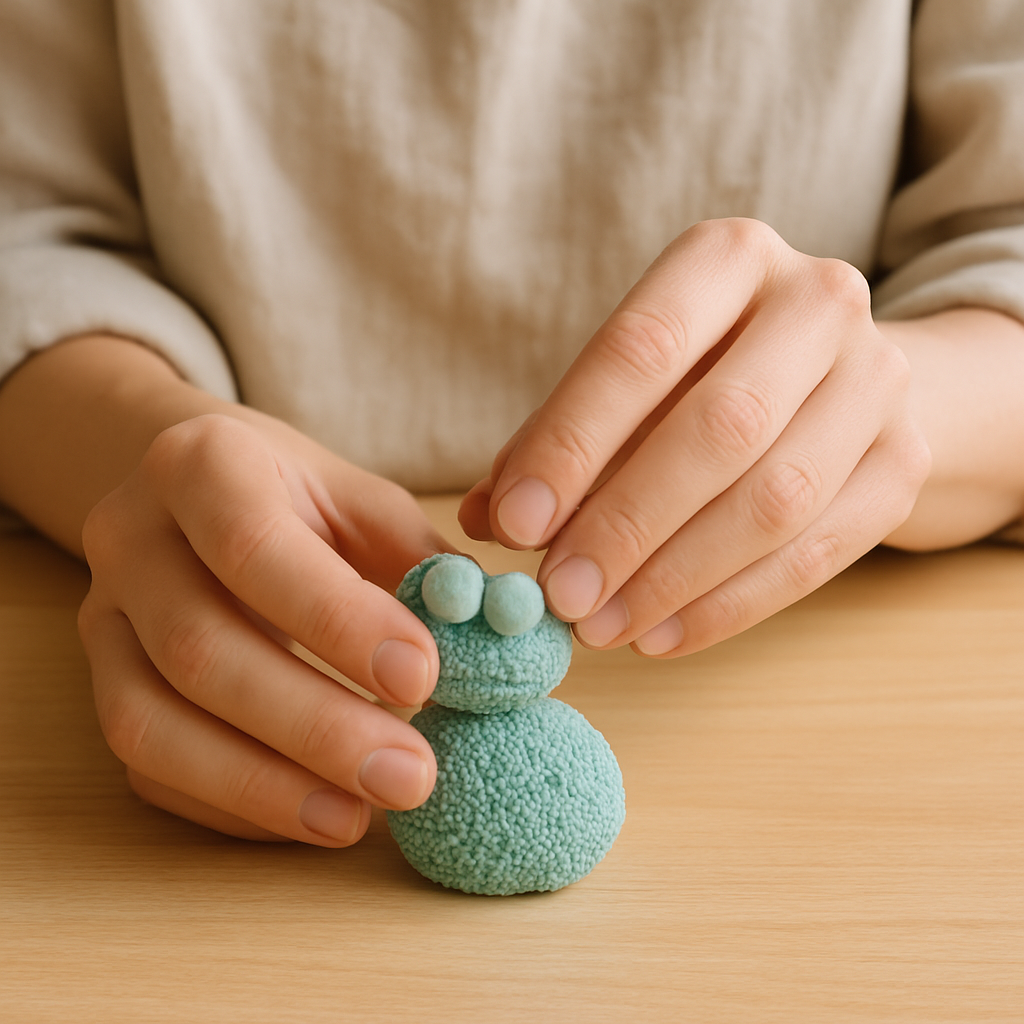
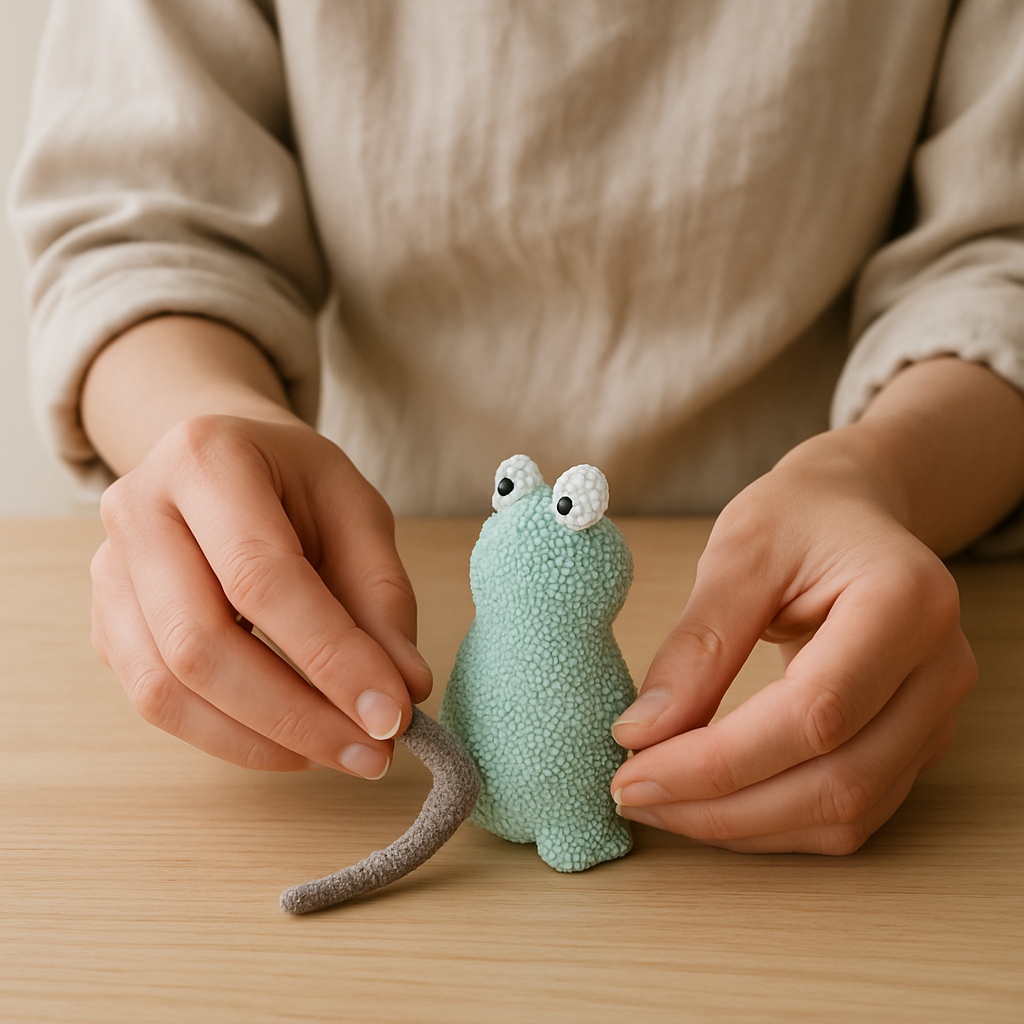
Step 8: Take two tiny, 1/4-inch balls of a contrasting color for the eyes. Roll them into small spheres and place them into the eye sockets you just made. Press gently to secure them in place.
- 9
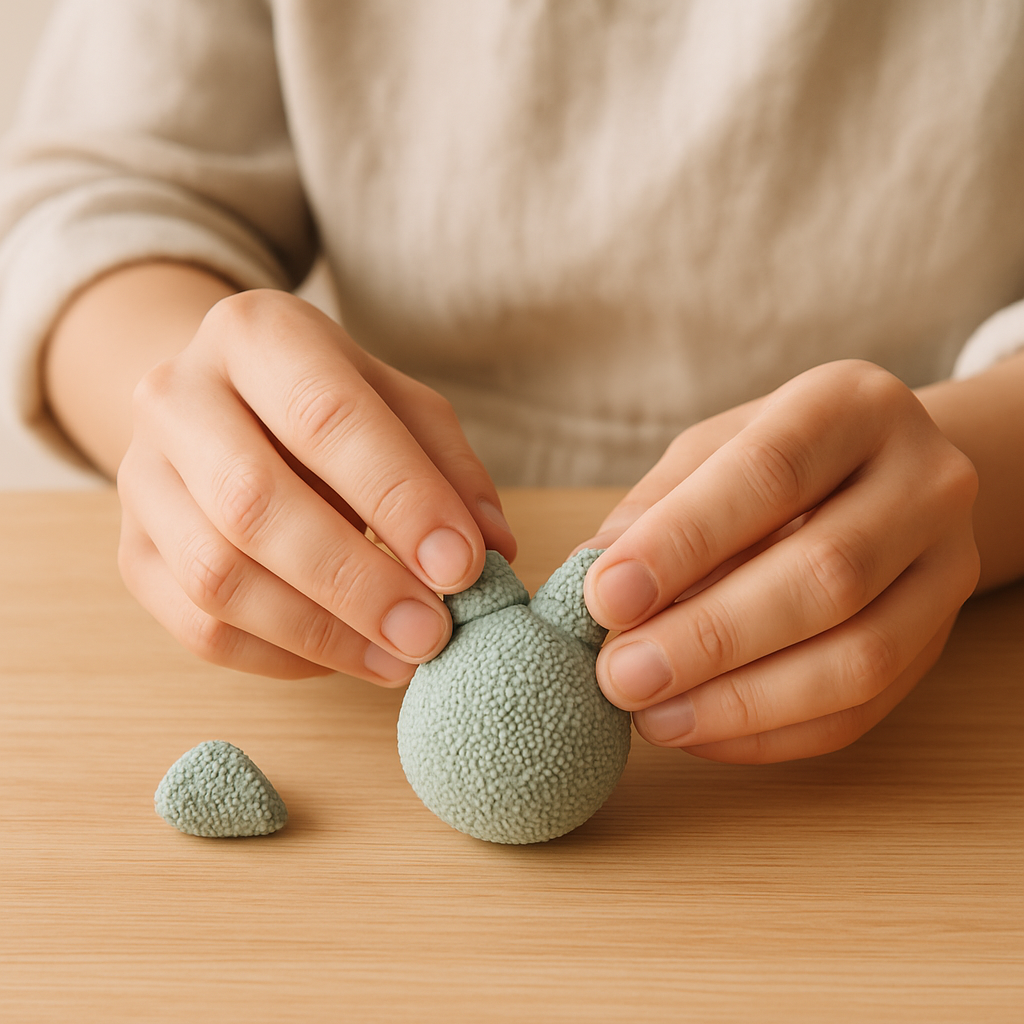
Step 9: For ears, take two 1/2-inch balls of the body color and shape them into small triangles, about 1/2 inch on each side. Attach them to the sides of the head, about 1/4 inch back from the front, pressing the base firmly against the head to ensure they stick.
- 10
Step 10: If your creature needs legs, take four 1/2-inch balls of the body color. Roll each into a short cylinder, about 1/2 inch tall and 1/2 inch wide, and flatten the top of each cylinder slightly before attaching them evenly spaced on the underside of the body. If they feel wobbly, a firmer press should help.
- 11
Step 11: For a tail, take a 1-inch piece of Playfoam and roll it into a thin rope, about 3 inches long and 1/4 inch thick. Attach one end to the rear of the body, and if it droops too much, try making it slightly thicker or adding a small support piece underneath.
- 12
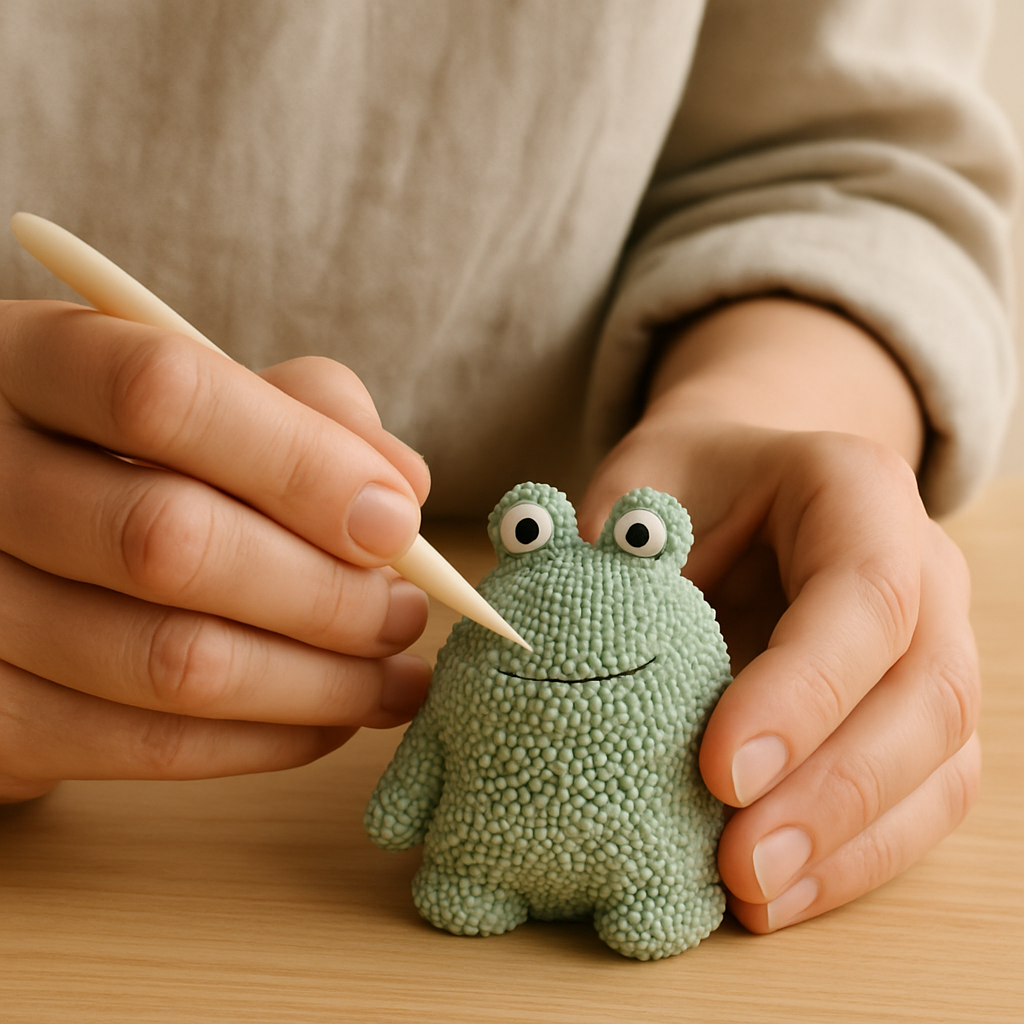
Step 12: Add some personality! Use a sculpting tool to create a mouth line by gently pressing a shallow curve below the eyes. You can also add texture to the body or tail by pressing patterns with the tool, like little scales or stripes.
- 13
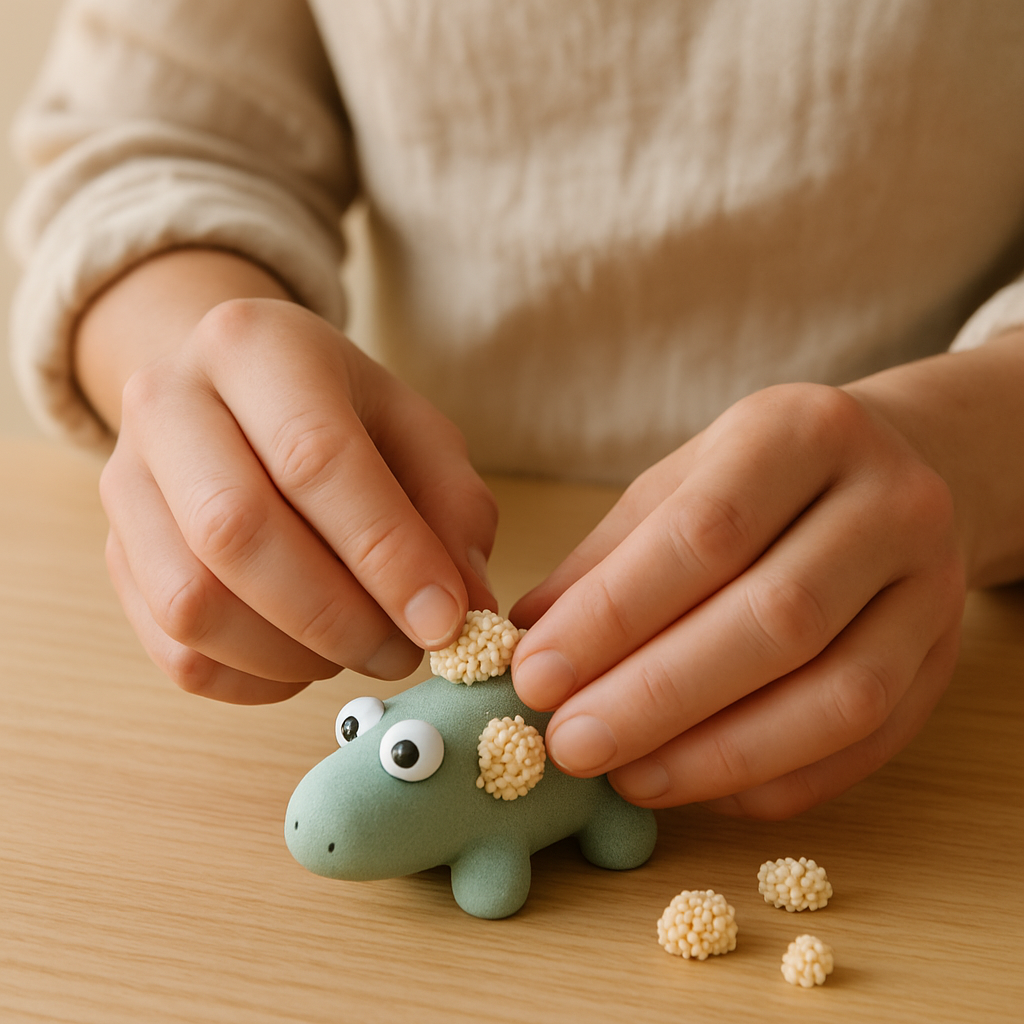
Step 13: To add spots or stripes, take small pieces of contrasting Playfoam (e.g., 1/4-inch balls for spots). Press them firmly onto the body or head. For stripes, roll thin ropes and press them on, smoothing the edges slightly with your fingertip.
- 14
Step 14: For older children (ages 8+), encourage them to try more intricate details like claws using a fine-tipped sculpting tool, or to create wings by flattening a 1-inch ball of Playfoam into a thin shape and attaching it to the sides. They can also experiment with layering colors for unique effects or try marbling by twisting two colors together before shaping.
- 15
Step 15: If Playfoam starts sticking excessively to your tools, wipe the tool clean with the damp cloth and ensure your hands are dry. Avoid using too much pressure, which can embed Playfoam into tools; a gentle touch is often best for a clean finish.
- 16
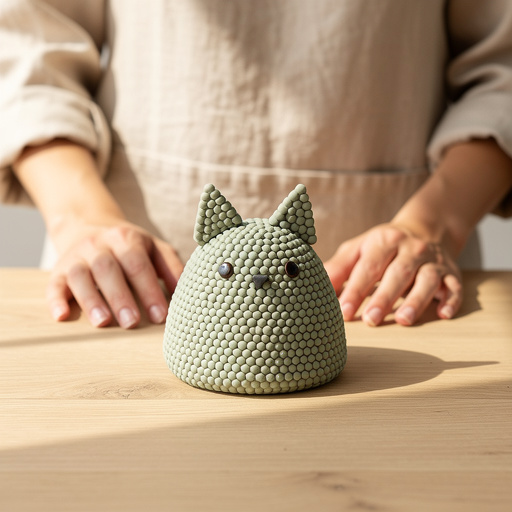
Step 16: Take a moment to admire your unique creation! I found the little triangle ears really brought my creature to life! Remember, Playfoam never dries out, so you can always reshape or add to it later, making it perfect for ongoing creative exploration.
- 17
Step 17: To store your Playfoam creations, gently place them back into their original containers or a resealable plastic bag. Ensure any loose pieces are also stored to prevent them from picking up dust or debris, keeping the Playfoam fresh for your next crafting session.
- 18
Step 18: If Playfoam accidentally gets stuck to fabric, try to gently pick off as much as possible by hand. For stubborn bits, a slightly damp cloth can help lift it. Avoid rubbing, which can spread it and embed it further into the fibers.
- 19
Step 19: For very young children (ages 3-5), focus on simple shape creation and sensory exploration. Provide pre-rolled balls and let them press shapes together, rather than intricate sculpting. You could also offer cookie cutters to make fun Playfoam shapes, or pre-cut simple body parts for them to assemble.
- 20
Step 20: Combine Playfoam with other materials! Press small googly eyes into the Playfoam, or embed small craft jewels for extra sparkle. Ensure these additions are age-appropriate and not choking hazards. You can also try pressing small plastic toys into Playfoam to create unique stamps or use it to adhere lightweight craft items like feathers or pipe cleaners.
Tips & Troubleshooting
- 1Playfoam sticking to surfaces: If Playfoam is sticking more than usual, it might be warmer than room temperature. Let it sit on your cool work surface for a minute or two. If it's sticking to your hands, ensure they are completely dry before handling; even a tiny bit of moisture can increase stickiness.
- 2Cleaning up stray pieces: Playfoam is designed to be mess-free, but tiny bits can sometimes escape. Use a slightly damp cloth to gently pick up small crumbs. For larger areas, a soft brush can help gather them. Avoid using too much water, as it can make the Playfoam gummy.
- 3Age adaptation for toddlers: For children under 4, focus on the sensory aspect. Provide 2-3 colors and let them simply squish and combine them. Pre-making basic shapes like balls and logs can help them with the joining process, and you can introduce simple tools like plastic knives for cutting.
- 4Combining with other crafts: For older kids, try embedding small beads or sequins into the Playfoam for added texture and visual interest. You can also press small plastic toys into Playfoam to create unique stamps or use it to adhere lightweight craft items like feathers or pipe cleaners.
- 5Troubleshooting 'stickiness': Playfoam's unique texture can sometimes feel sticky. This is normal! If it feels excessively sticky, ensure your hands are clean and dry. Avoid using water directly on Playfoam, as it can alter its texture and make it less pliable. If it feels too dry and crumbly, it might be older Playfoam; try warming it more thoroughly in your hands.
- 6Long-term storage: While Playfoam never dries out, storing it in an airtight container or resealable bag when not in use will keep it fresh and prevent it from picking up dust or debris from the air. This maintains its optimal texture for future play sessions.
- 7Achieving a smoother finish: If you desire a smoother finish on your Playfoam creations, try rolling the Playfoam between your palms for a longer period until it's very warm and pliable. Then, use the flat of your hand or a smooth tool to gently smooth the surface. Avoid overworking it, which can make it sticky.
- 8Unusual variations: Experiment with mixing Playfoam colors to create marbled effects or unique new shades. Try pressing Playfoam into molds (like silicone baking molds) for different shapes, or use it to create textured backgrounds by pressing it onto cardboard.
Related Activities You Might Enjoy
Frequently Asked Questions
Is Playfoam safe for young children?
Yes, Playfoam is generally considered safe for young children, as it's non-toxic and designed for sensory play. However, supervision is always recommended, especially with children under 3, to ensure they don't ingest the material. Its unique texture means it doesn't crumble or stick like traditional playdough, reducing the risk of inhalation or ingestion. Always check the specific product's age recommendations and safety certifications before use.
How do I clean Playfoam if it gets on clothes or carpets?
Playfoam is designed to be mess-free, but accidents can happen. If Playfoam gets on fabric, try to gently pick off as much as possible by hand. For stubborn bits, a slightly damp cloth can help lift the material. Avoid vigorous rubbing, as this can spread it further into the fibers. For carpets, a stiff brush can help loosen small pieces before you pick them up. It won't stain like paint or dye.
Can I mix different colors of Playfoam together?
Absolutely! Mixing different colors of Playfoam is a core part of the fun and a great way to explore color blending. Simply take pieces of your desired colors and knead them together. The Playfoam will combine, creating new marbled or solid colors depending on how thoroughly you mix. This process is also excellent for developing fine motor skills as children manipulate the material.
Does Playfoam dry out or harden over time?
One of the biggest advantages of Playfoam is that it never dries out or hardens. Unlike modeling clay or playdough, Playfoam retains its unique, squishy texture indefinitely, as long as it's stored properly. This means creations can be kept as they are, or easily reshaped and reused for endless play sessions without worrying about them becoming unusable.
What are the sensory benefits of playing with Playfoam?
Playfoam offers a rich sensory experience. Its unique texture provides tactile input, which can be calming and help with focus for some children. The act of squishing, rolling, and shaping Playfoam also engages proprioception (the sense of body awareness) and can help develop fine motor skills, hand-eye coordination, and bilateral coordination (using both hands together).
How can Playfoam help develop fine motor skills?
Playfoam is an excellent tool for developing fine motor skills. The resistance of the foam when squeezing and manipulating it strengthens hand and finger muscles. Tasks like rolling small balls, shaping pieces, and pressing them together require precise finger movements, improving dexterity and pincer grasp. For older children, using sculpting tools further refines these skills.
What Next?
Playfoam is a fantastic, mess-minimizing alternative to traditional modeling clay, and sculpting creatures is such a fun way to start exploring its potential. Whether you're just beginning with simple shapes or ready to try more advanced techniques like marbling or using molds, there's always something new to discover. Embrace the squishy, tactile joy, watch your imagination run wild, and remember that Playfoam never dries out, so your amazing creations can be enjoyed and modified endlessly!
Free: 10 Paper Crafts Anyone Can Make in 5 Minutes
Get our beginner guide + new craft ideas weekly.
No spam. Unsubscribe anytime.
Did you complete this activity?
Related