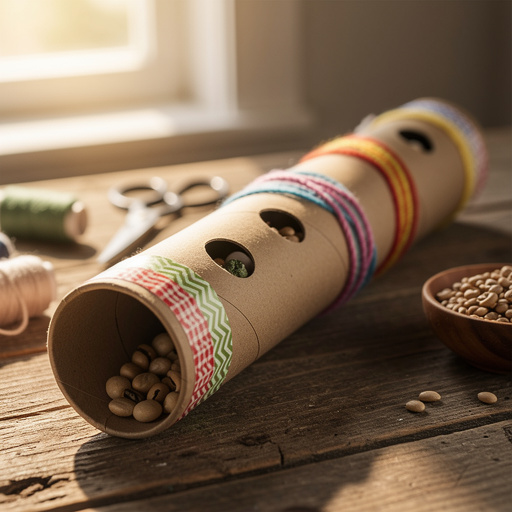
How to Make Tin Can Shakers — Easy Step-by-Step Guide
Transform everyday tin cans into vibrant, musical shakers! This easy DIY project is perfect for little hands to create their own rhythm instruments. Learn how to safely prepare cans, fill them with various materials for unique sounds, and decorate them to your heart's content. A fun and engaging activity for all ages!
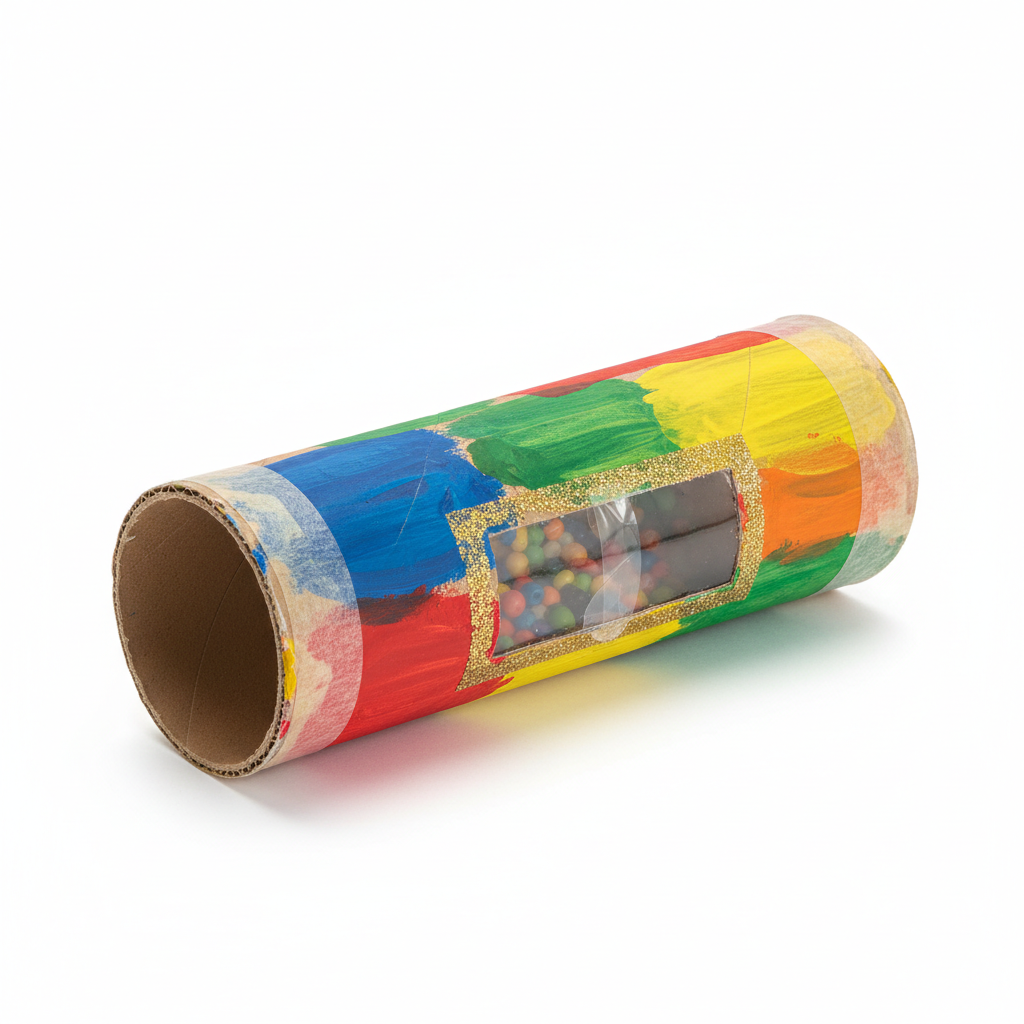
Quick answer
To make tin can shakers, you need 2 clean tin cans with smooth edges, about 1/2 cup of dried beans, rice, or small beads per can, strong craft glue or hot glue gun, duct tape or strong packing tape, and decorating supplies like construction paper, markers, crayons, or paint. The process involves preparing the cans, filling them, sealing them securely, and then decorating. This beginner-friendly activity takes about 30 minutes of active crafting time and is perfect for families with young children.
What you need
Shop on Amazon · As an Amazon Associate we earn from qualifying purchases. Links above are affiliate links — we may earn a commission at no extra cost to you.
Unleash your inner musician and transform ordinary household items into delightful rhythm instruments! Making tin can shakers is a wonderfully simple and rewarding DIY project that brings a touch of music and creativity into your home. It’s an ideal activity for engaging young children, fostering their fine motor skills, auditory awareness, and imaginative play. With just a few common materials, you can create a whole orchestra of unique sounds, making this a fantastic way to upcycle and have fun simultaneously. Get ready to shake, rattle, and roll with your custom-made shakers!
On this page
Step-by-Step Instructions
- 1
**Prepare the Tin Cans:** Begin by thoroughly washing and drying the inside and outside of your tin cans. It is absolutely crucial to ensure there are no sharp edges remaining around the rim of the can opening. If you find any rough spots, an adult should carefully use pliers to bend them inward or use sandpaper to smooth them down until they are completely safe to touch.
- 2
**Select Your Fillings:** Decide what kind of sound you want to create. For a louder, sharper sound, opt for dried beans or small pebbles. For a softer, more subtle rattle, rice or small beads are excellent choices. You can even mix different fillings within a single can to achieve a more complex sound profile.
- 3
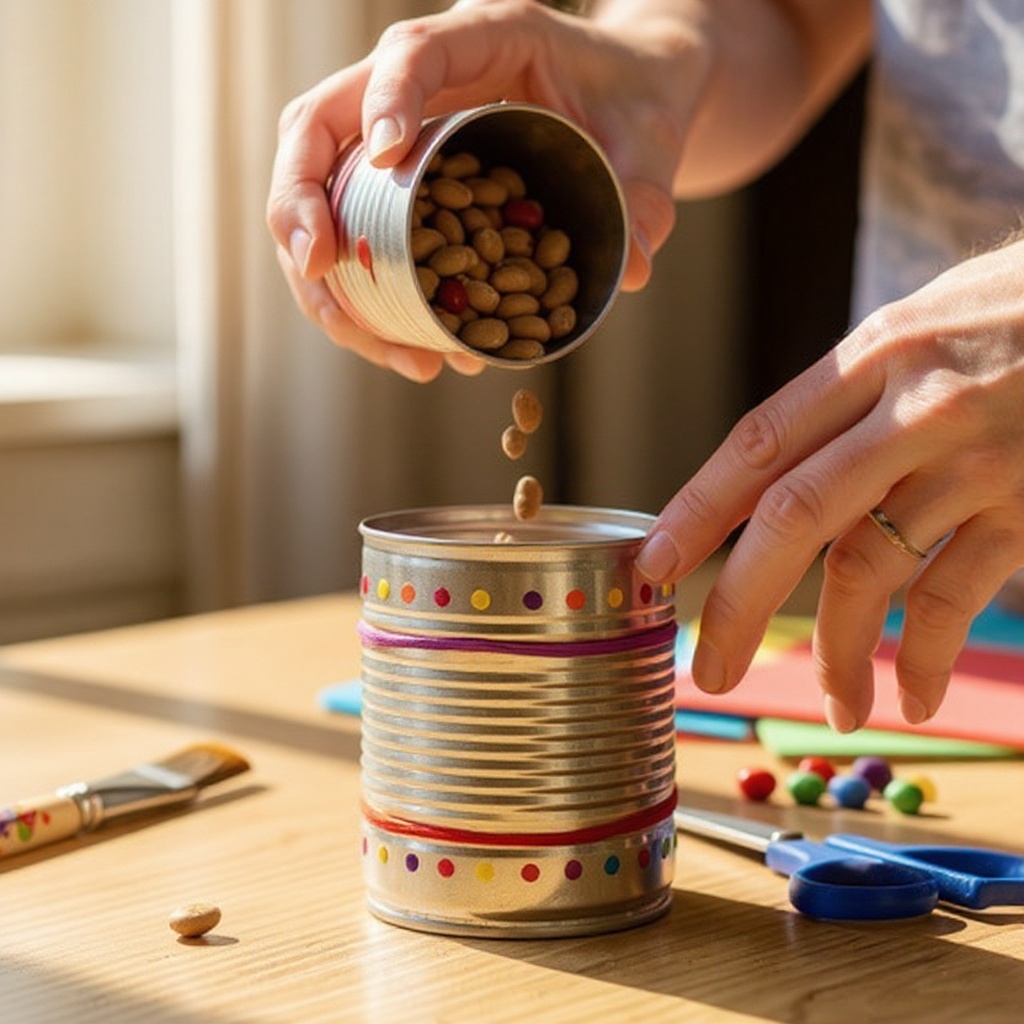
**Measure and Add Fillings:** Carefully measure approximately 1/2 cup of your chosen filling material for each can. Pour the filling into one of the prepared tin cans, ensuring it fills the can about one-quarter to one-third of the way full. Avoid overfilling, as this can muffle the sound and make the shaker difficult to hold and shake effectively.
- 4
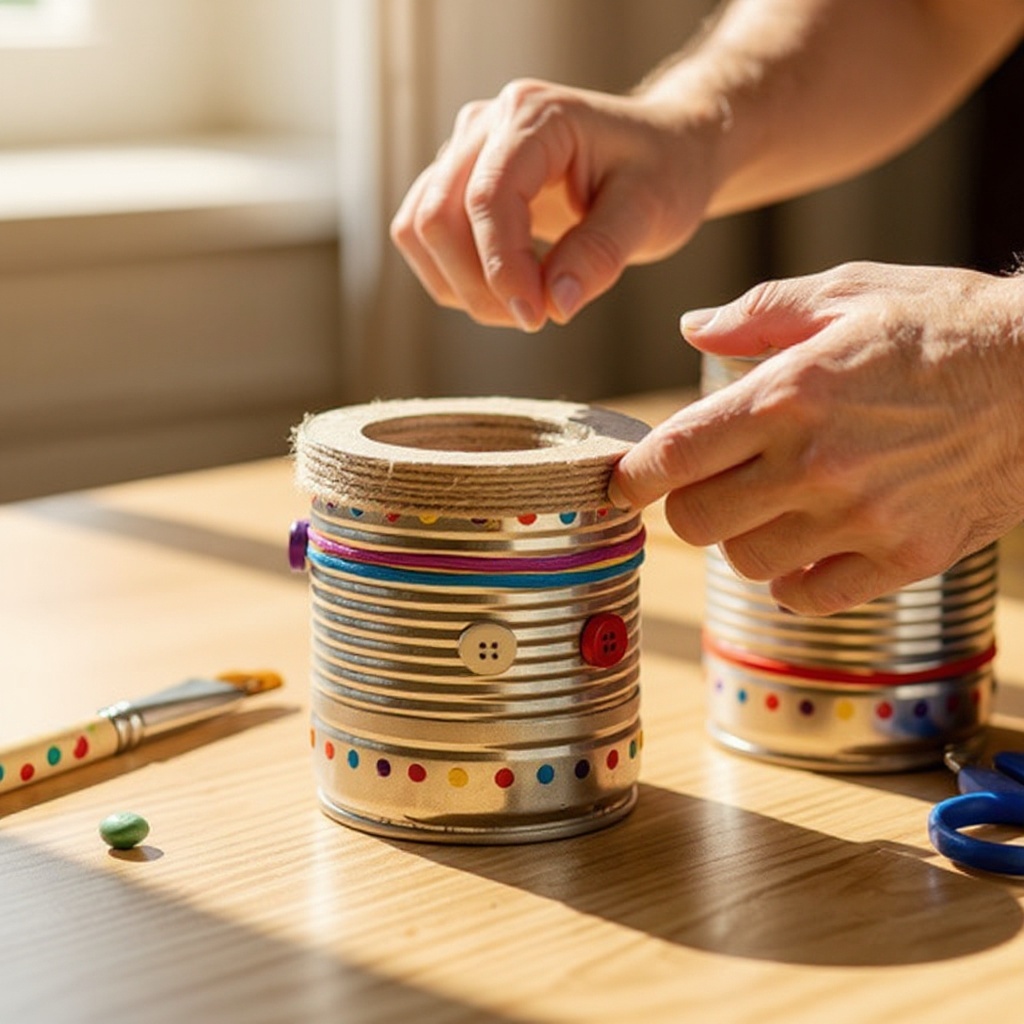
**Apply Sealing Glue:** Generously apply a strong craft glue or hot glue around the entire rim of the opening of the can that you just filled. Ensure the glue creates a continuous, thick bead all the way around the edge to create a strong and secure seal.
- 5
**Create and Attach the Lid:** If your cans came with plastic lids, you can use those. Otherwise, trace the opening of the can onto a piece of sturdy cardboard and cut out a circle that fits snugly inside the rim. Carefully place this lid or cardboard circle directly onto the glue you applied in the previous step, pressing down firmly to ensure good contact and an immediate seal.
- 6
**Allow Glue to Dry:** Let the glue dry completely according to the manufacturer's instructions. This is a critical step for ensuring a secure seal. Rushing this process can lead to leaks and a shaker that doesn't last. For craft glue, this might take several hours; hot glue will set much faster but still requires a solid bond.
- 7
**Reinforce the Seal with Tape:** Once the initial glue seal is completely dry and firm, it's time to add an extra layer of security. Take your duct tape or strong packing tape and wrap it securely around the entire rim of the can, covering the glued lid and the top edge of the can. Overlap the tape as you go to create a robust, airtight, and watertight barrier.
- 8
**Prepare for Decoration:** With the sealing complete and reinforced, your tin can shakers are now ready for their artistic transformation. Ensure the taped area is smooth and dry before proceeding to the decorating stage. This provides a stable base for your chosen decorative materials.
- 9
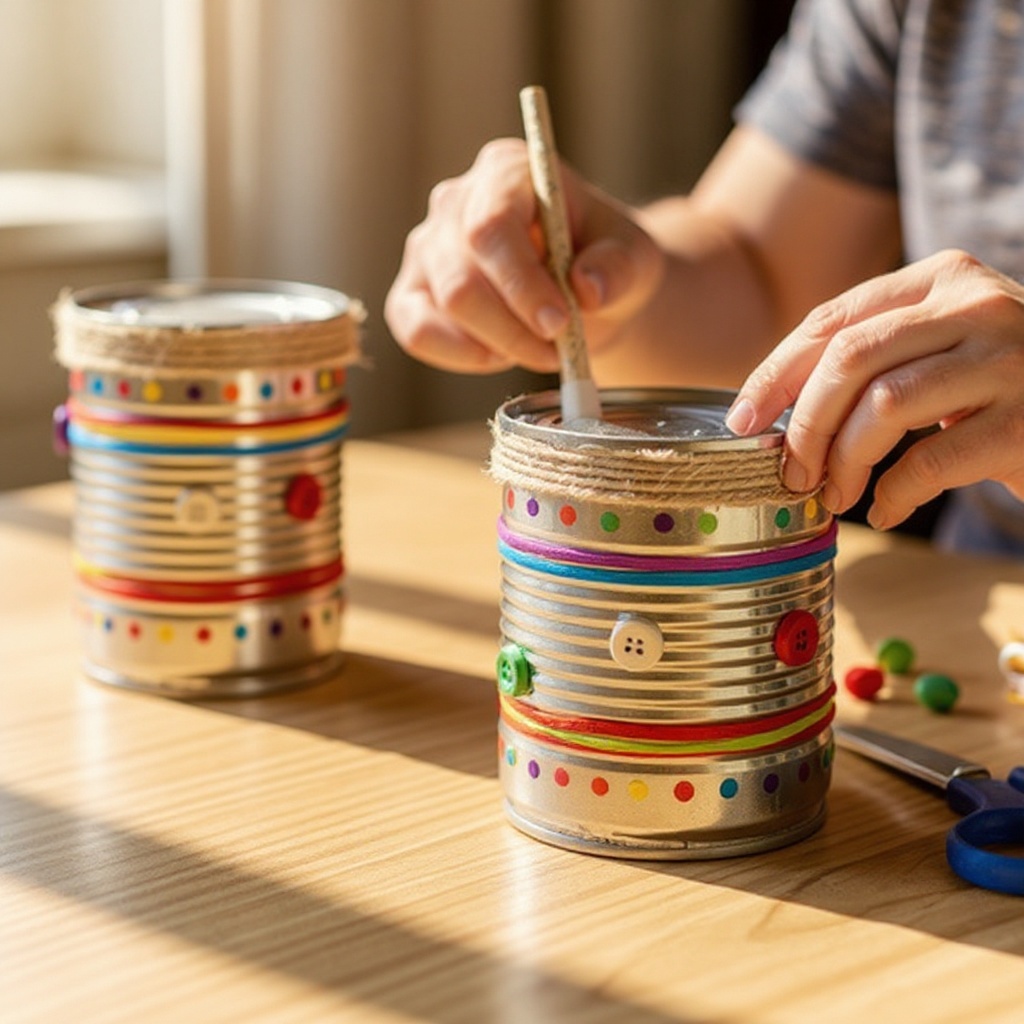
**Choose Your Decorative Materials:** Select your preferred method of decoration. Construction paper, colorful scrap fabric, or vibrant wrapping paper can be cut to size to cover the entire can. Alternatively, you can directly decorate the can using markers, crayons, or paint.
- 10
**Apply Decorative Coverings:** If using paper or fabric, measure and cut a piece that will wrap around the can with a slight overlap. Apply glue to the can and carefully wrap the paper or fabric around it, smoothing out any wrinkles. For a cleaner finish, you can glue the edges of the paper or fabric together at the back of the can.
- 11
**Decorate with Art Supplies:** If you're painting or drawing directly onto the cans, ensure the surface is clean and dry. Use markers, crayons, or acrylic paints to create designs, patterns, or pictures. Let your imagination run wild! You can also add stickers, ribbons, or yarn for extra texture and visual appeal.
- 12
**Add Embellishments (Optional):** For an extra touch of flair, consider adding embellishments. Glue on googly eyes, attach small pom-poms, tie ribbons around the neck of the can, or use glitter glue for a sparkling effect. Ensure any added embellishments are securely attached.
- 13
**Allow Decorations to Dry:** Once you've finished decorating, allow all paints, glues, and any other decorative elements to dry completely. This is important to prevent smudging or damage to your beautiful new shakers before they are ready for their musical debut.
- 14
**Test Your Shakers:** Gently shake your completed tin can shakers to test the sound and ensure the seal is holding strong. Listen to the unique rhythm each one produces. If any part feels loose, add more tape or glue as needed.
- 15
**Organize and Store:** Once everything is dry and secure, your tin can shakers are ready to be played! Store them in a basket, box, or toy bin so they are easily accessible for spontaneous music-making sessions. This also helps keep them organized and prevents them from getting lost.
- 16
**Explore Sound Variations:** Experiment with different amounts of filling. A little bit of filling will produce a sharper, more distinct sound, while a larger amount will create a softer, more sustained rattle. Try using different types of beans or beads to discover a wide range of auditory possibilities.
- 17
**Consider Different Can Sizes:** If you have access to various sizes of tin cans, experiment with them. Larger cans might produce a deeper, more resonant sound, while smaller cans could offer a brighter, more percussive tone. This adds another layer of sonic exploration to your project.
- 18
**Create Themed Shakers:** Design your shakers around specific themes. For example, decorate them with animal faces, musical notes, or holiday patterns. This adds an extra layer of fun and creativity to the crafting process and can tie into storytelling or imaginative play.
- 19
**Make a Full Percussion Set:** Create a collection of shakers with different fillings and decorations to form a complete percussion set. This allows for more complex musical arrangements and group play, turning a simple craft into a band experience.
- 20
**Safety Check Before Play:** Before letting children play with the shakers, perform a final safety check. Ensure all edges are smooth, the tape is secure, and the lid is firmly attached. Supervise young children during play to ensure they handle the instruments appropriately.
Tips & Troubleshooting
- 1When using a hot glue gun, an adult should always be the one operating it and should closely supervise its use by older children. Ensure the glue creates a strong, continuous seal around the entire rim to prevent any fillings from escaping.
- 2For an even more robust and permanent seal, consider using a can opener that is designed to create a smooth edge, or have an adult carefully hammer down any potentially sharp edges on the can rim. This extra step significantly enhances safety, especially for younger crafters.
- 3Don't be afraid to experiment with a wide variety of fillings to discover unique sounds. Beyond beans and rice, small pebbles, different pasta shapes (like macaroni or penne), buttons, or even dried corn kernels can produce distinct auditory effects and volumes.
- 4For a truly polished and professional look, cover the entire exterior of the tin can with decorative paper or fabric. This not only hides the metal but also provides a smooth surface for further decoration and can make the shaker more comfortable to hold.
- 5Add extra flair and visual interest by incorporating ribbons, yarn, or even small bells tied around the neck of the can. These additions can create a subtle secondary sound and add a playful, tactile element to your handmade instrument.
- 6If you're painting the cans, consider using a primer first to ensure better adhesion and a more vibrant finish. Acrylic paints work well and dry relatively quickly, but allow ample drying time between coats and before adding other decorative elements.
- 7To create a more durable shaker, especially if it will be handled frequently by children, consider using a strong adhesive like E6000 for sealing the lid, in addition to the reinforcing tape. This provides an extra layer of security against leaks.
- 8Encourage children to draw or paint their own designs directly onto the cans after the sealing tape is applied. This allows for maximum creative expression and makes each shaker truly unique and personal to its maker.
Related Activities You Might Enjoy
Frequently Asked Questions
Are tin can shakers safe for young children?
Yes, tin can shakers can be made safe for young children with proper preparation and adult supervision. The most critical safety aspect is ensuring that all sharp edges on the tin can are completely removed or smoothed down using pliers or sandpaper; this is an adult task. Additionally, the filling must be securely sealed inside the can using strong glue and reinforced tape to prevent any small items from escaping, which could pose a choking hazard. Always perform a thorough safety check before allowing children to play with their homemade shakers.
What can I use to fill the tin can shakers?
The possibilities for filling tin can shakers are vast and offer a great opportunity for sonic experimentation! Common and effective fillings include dried beans (like black beans, kidney beans, or lentils), uncooked rice (white or brown), and small beads (plastic or wooden). For different sounds, you can also try small pasta shapes, dried corn kernels, small pebbles, or even buttons. The key is to use materials that are small enough to move freely within the can and produce an audible rattling sound. Experimenting with different fillings and amounts will result in a variety of unique sounds and volumes for your DIY musical instruments.
How do I make sure the tin can shakers don't leak?
Ensuring a strong, leak-proof seal is paramount for the longevity and safety of your tin can shakers. Start by applying a generous amount of strong craft glue or hot glue (with adult supervision) around the entire rim of the can opening. Then, firmly press a lid or a sturdy cardboard circle cut to fit the opening onto the glue. Once this initial seal is completely dry, reinforce it by securely wrapping duct tape or strong packing tape around the entire rim, overlapping the tape as you go. This double-layer approach creates a robust barrier that is highly effective at preventing any fillings from escaping.
Can I make different sounds with these shakers?
Absolutely! The type and amount of filling you use will significantly impact the sound produced by your tin can shakers. Using less filling will generally result in a sharper, more distinct sound, as the materials have more space to move and collide. Conversely, more filling will create a softer, fuller, and potentially quieter sound as the materials are more densely packed. Furthermore, different materials create distinct noises: beans might produce a deeper rattle than small beads, and rice will offer a finer, more sustained hiss. Experimenting with various fillings and quantities is key to creating a diverse range of sounds for your DIY musical instruments.
What is the best way to prepare the tin cans for crafting?
The most crucial step in preparing tin cans is ensuring they are thoroughly washed and dried, both inside and out. Following this, an adult must meticulously check the rim of the can opening for any sharp edges. If sharp edges are present, they should be carefully smoothed down using pliers to bend them inward or by using sandpaper to create a safe, smooth surface. This step is non-negotiable for safety, especially when children will be handling the shakers. Removing or smoothing all sharp edges prevents cuts and makes the crafting process much safer and more enjoyable for everyone involved.
How long does this project typically take?
The active crafting time for making tin can shakers is quite short, typically around 30 minutes. This includes the time spent preparing the cans, filling them, and applying the initial seal. However, the total project time will be longer due to the drying periods required for the glue and any paint or decorative elements. Depending on the type of glue used and the environmental conditions, drying can take anywhere from a few hours to overnight. Therefore, while the hands-on portion is quick, it's best to plan for the project to span across a day or two to allow for proper drying and ensure a durable, well-finished product.
Can I use different types of cans, like soup cans or coffee cans?
Yes, you can certainly use different types of cans, such as soup cans or coffee cans, for making shakers. The primary consideration remains the same: ensuring the edges are smooth and safe. Larger cans like coffee cans might require more filling material and could produce a deeper, more resonant sound. Smaller cans, like those from condensed milk or small vegetable cans, will produce a higher-pitched sound and are easier for very young children to hold. Always adapt the amount of filling to the size of the can and prioritize safety by thoroughly checking and smoothing all edges before proceeding with the project.
What Next?
Congratulations on creating your very own set of tin can shakers! These handmade instruments are not only fun to play but also make wonderful gifts for friends and family. For variations, consider using different sized cans for a range of tones, or even combining different filling materials within a single can for complex rhythms. You can also explore covering the entire can with fabric for a softer aesthetic or adding embellishments like glitter glue or googly eyes. Store your shakers in a basket or box to keep them organized and ready for your next jam session. What musical adventure will you embark on next?
Free: 10 Paper Crafts Anyone Can Make in 5 Minutes
Get our beginner guide + new craft ideas weekly.
No spam. Unsubscribe anytime.
Did you complete this activity?
Related
You might also like
Cardboard Box Puppet Theater
Easter Egg Carton Critters
Recycled Resonance Instruments
Napkin Art Glassware Makeover

DIY Jigsaw Puzzle from Cardboard