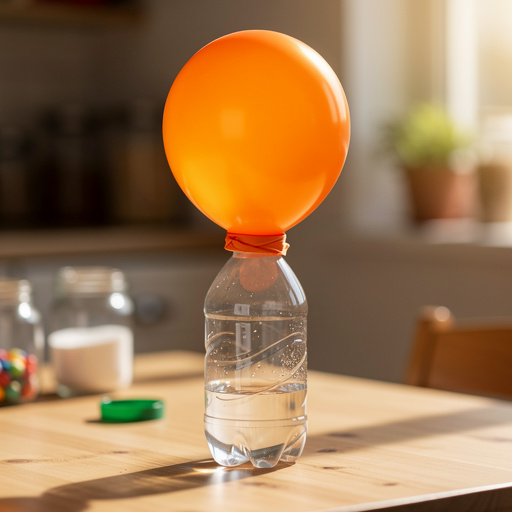
How to Create a Floating Egg Density Challenge — Easy Step-by-Step Guide
Explore the fascinating science of density by making an egg float! This simple experiment uses common kitchen ingredients and is perfect for curious young minds. Learn how to adjust salt levels to achieve the perfect buoyancy and understand the principles behind this captivating phenomenon.

Quick answer
To make an egg float, you need a raw egg, water, and salt, taking about 15 minutes. Start by placing the egg in plain water. This beginner-friendly activity has 10 steps and is perfect for kids aged 6+.
What you need
Shop on Amazon · As an Amazon Associate we earn from qualifying purchases. Links above are affiliate links — we may earn a commission at no extra cost to you.
Dive into the captivating world of science with the Floating Egg Density Challenge! This classic experiment is a fantastic way to introduce fundamental scientific principles like density and buoyancy to curious minds, especially children. It's incredibly simple, requiring only common household items, making it an accessible and engaging activity for any day. The magic of watching an egg transform from sinking to floating is truly mesmerizing, sparking wonder and encouraging further scientific exploration. This project is perfect for parents, educators, and anyone looking for a fun, hands-on learning experience that's both educational and entertaining.
On this page
Step-by-Step Instructions
- 1
Begin by gathering all your materials. Ensure you have your two clear containers, a raw egg, tap water, salt, a measuring cup, and a spoon readily available. Having everything within reach will make the experiment flow smoothly and prevent any interruptions.
- 2
Fill one of the clear cups approximately halfway with plain tap water. Aim for a consistent water level that is easily observable in your chosen container. This will serve as your baseline for comparison.
- 3
Gently, and with great care, place the raw egg into the cup of plain tap water. Lower it slowly to avoid cracking the shell and observe its behavior. Most likely, the egg will sink directly to the bottom of the cup, as its density is greater than that of plain water.
- 4
Carefully remove the egg from the plain water and set it aside on a clean surface. It's important to handle the egg gently throughout this process to prevent any accidental breakage.
- 5
Now, take the second clear cup and fill it with tap water to the same level as the first cup, approximately halfway full. This ensures you are starting with an equal volume of water for both conditions.
- 6
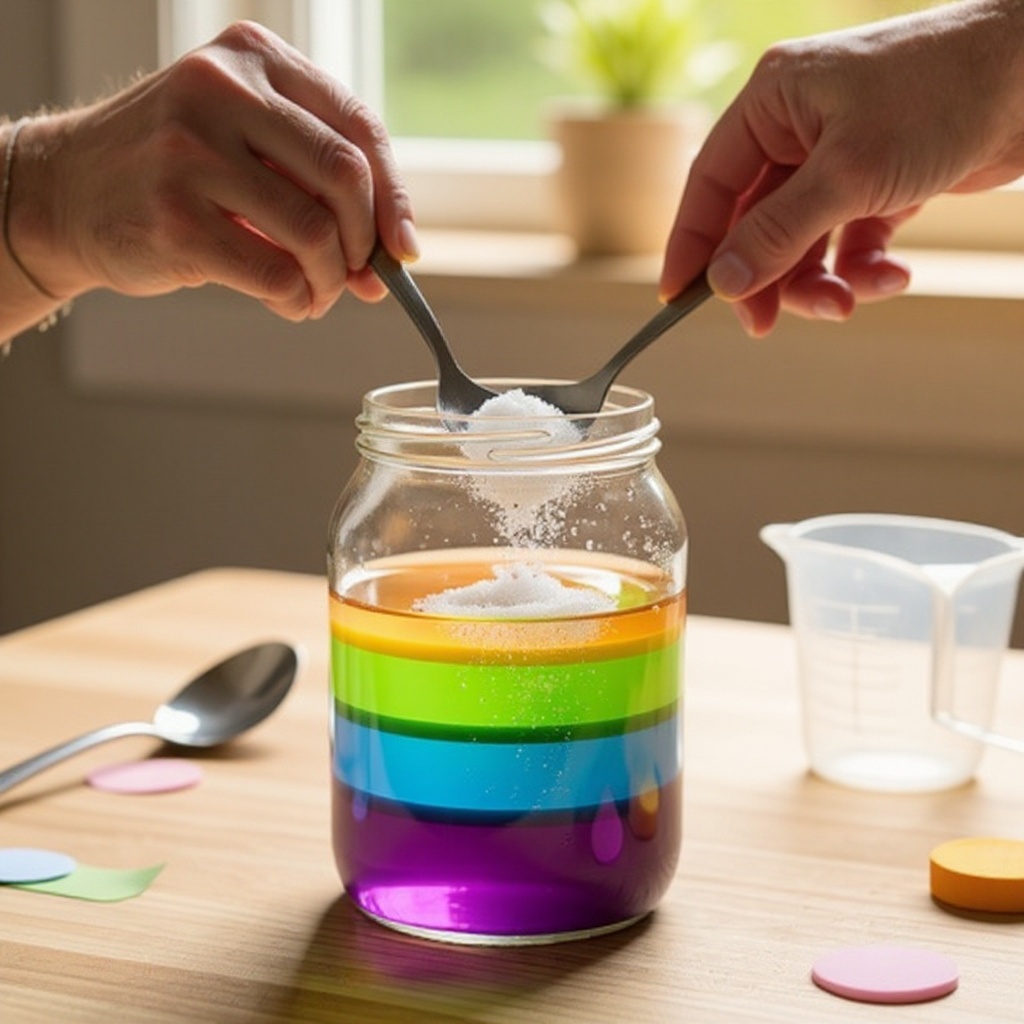
Add 4 level tablespoons of table salt to the water in the second cup. Using a measuring cup to ensure accuracy is recommended. Don't worry if the water looks cloudy at this stage; that's perfectly normal.
- 7
Stir the salt water vigorously with your spoon. Continue stirring until most of the salt has dissolved. You might notice that some salt crystals remain at the bottom, which is fine, but aim to dissolve as much as possible for the best results.
- 8
Now, gently place the raw egg into the salt water. Observe how it behaves. You will likely see a noticeable difference compared to its behavior in plain water. It might sink slower, or even hover slightly off the bottom.
- 9
If the egg still sinks to the bottom of the salt water, it means the water is not yet dense enough to support its weight. Don't be discouraged; this is a common part of the experiment and an opportunity to learn!
- 10
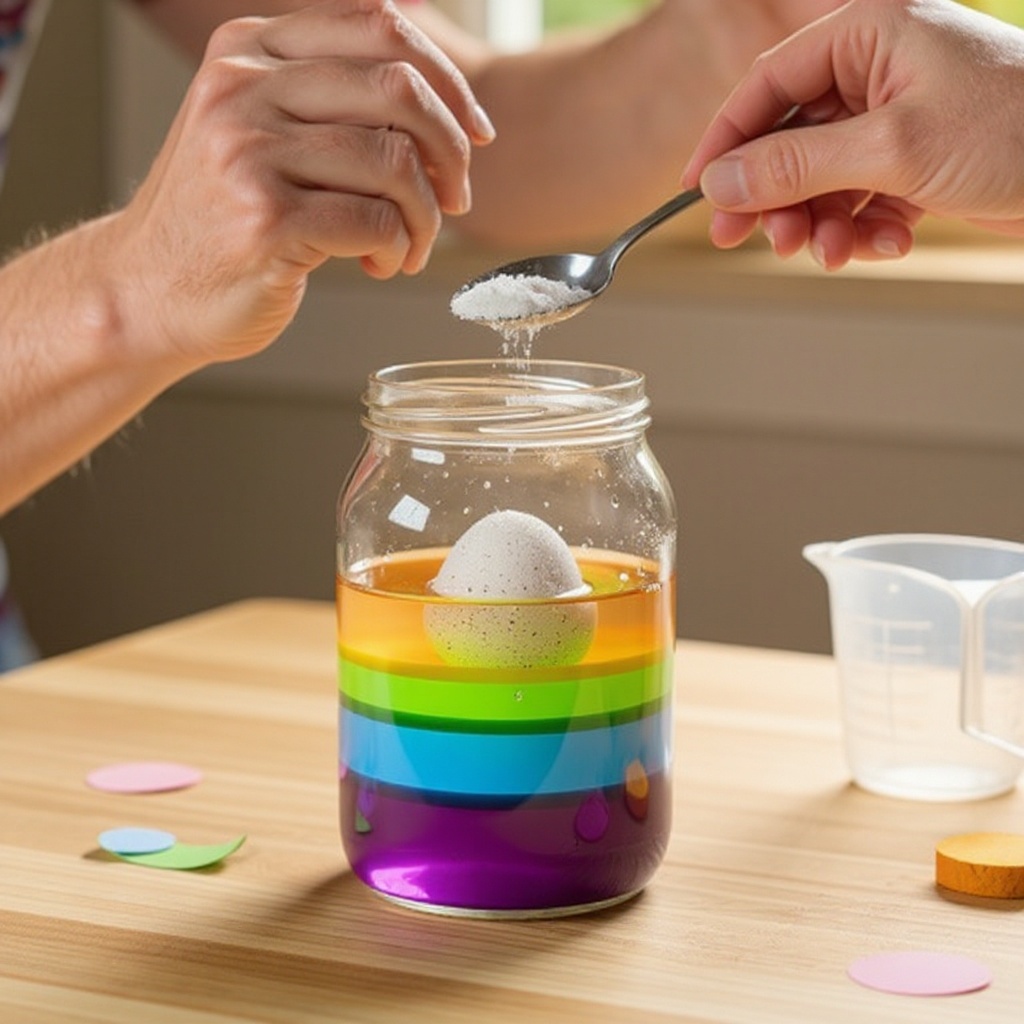
Add another 2 level tablespoons of salt to the salt water and stir thoroughly until dissolved. Continue stirring until the water becomes clearer and the salt is well incorporated. This increases the density of the water further.
- 11
Carefully place the egg back into the salt water. Observe its buoyancy. If it still sinks, you will repeat the process of adding salt and stirring.
- 12
Continue adding salt, one tablespoon at a time, to the salt water, stirring well after each addition. After each stir, gently place the egg back into the water to check its buoyancy. You are aiming for the point where the egg floats.
- 13
Once the egg is floating comfortably at the surface or suspended in the middle of the water, you have successfully created a sufficiently dense salt solution. Celebrate your achievement!
- 14
Now for an exciting extension! Carefully and slowly, begin to add plain tap water to the salt water cup, a little at a time. Use your measuring cup to pour small amounts. Observe how the egg's position changes as you dilute the salt solution.
- 15
As you add more plain water, you will notice the egg gradually sinking lower in the cup. Continue adding water until you can observe the egg sinking back towards the bottom, demonstrating how decreasing density affects buoyancy.
- 16
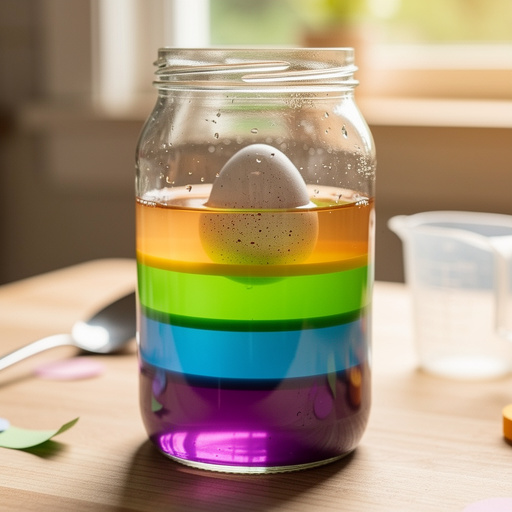
Observe the egg's behavior at different levels within the salt water. You can try to find a point where the egg hovers suspended in the middle of the water, neither sinking to the bottom nor floating to the top. This is a fantastic visual representation of achieving neutral buoyancy.
- 17
If you wish to make the demonstration more visually appealing, you can add a drop or two of food coloring to the plain water before you start, or to the salt water once the egg is floating. This can make the layers and the egg's movement more distinct.
- 18
To further explore density, try creating multiple layers. First, create a very salty solution and place the egg in it so it floats. Then, very carefully, add a layer of less salty water on top, and finally, a layer of plain water. You might be able to suspend the egg between layers!
Tips & Troubleshooting
- 1If the egg doesn't float even after adding a good amount of salt, make sure you are using enough salt. You might need to dissolve up to 1/4 cup of salt or more, depending on the volume of water and the size of your egg. Ensure you are stirring thoroughly to dissolve the salt completely, as undissolved salt won't contribute to the water's density.
- 2For a more dramatic demonstration, try using a taller, narrower container so you can add more layers of water with different salt concentrations. This allows for a clearer visual of how density changes affect buoyancy and provides more space to observe the egg's movement.
- 3Clean up any spilled water or salt immediately to prevent slippery surfaces. Salt can make floors and countertops very slick, posing a safety hazard. Have paper towels or a cloth ready for quick clean-up.
- 4This experiment is a great way to introduce the concept of density. Explain that the salt makes the water denser, so it can support the egg's weight. Density is a measure of how much mass is contained in a given volume; adding salt increases the mass of the water without significantly increasing its volume, thus increasing its density.
- 5Handle the egg with extreme care throughout the experiment. Raw eggs are fragile, and a cracked egg can make a mess and end the experiment prematurely. Gently lowering the egg into the water and avoiding sudden movements are key.
- 6Experiment with different sizes of eggs. A larger egg will require a denser solution to float than a smaller egg, providing another variable to explore in your density challenge.
- 7Consider using a flashlight to shine light through the side of the container. This can help highlight the clarity of the water and the movement of the egg, making the scientific principles more visible.
- 8If you want to make the experiment even more engaging for younger children, you can give the salt water a fun name, like 'magic potion' or 'super water,' to spark their imagination and make the learning process more playful.
Related Activities You Might Enjoy
Frequently Asked Questions
Why does the egg float in salt water but sink in plain water?
The egg floats in salt water because the salt significantly increases the density of the water. Density is a measure of how much mass is packed into a certain volume. When you dissolve salt in water, you are adding more mass to the water without adding much more volume. This makes the salt water denser than plain water. An object floats when its density is less than the density of the liquid it is placed in. The egg's density is greater than plain water, causing it to sink. However, the denser salt water can exert more buoyant force, which is the upward force exerted by a fluid that opposes the weight of an immersed object. When this buoyant force is greater than or equal to the egg's weight, the egg floats.
How much salt do I need to make the egg float?
The exact amount of salt needed to make an egg float can vary depending on several factors, including the size of the egg, the volume of water you are using, and even the temperature of the water. As a general guideline, you'll likely need around 1/4 cup of salt dissolved in about 1 cup of water to achieve sufficient density. However, it's best to add salt incrementally, stirring and testing the egg's buoyancy after each addition. You may find you need to add more, potentially up to 1/2 cup or even more, until the egg floats. The key is to keep adding salt and stirring until the salt water's density is greater than the egg's density.
Can I use other liquids besides water?
While water and salt provide the clearest and most accessible demonstration of density changes for this specific experiment, you can certainly experiment with other liquids to explore density. For instance, you could try making a very concentrated sugar water solution, as sugar also increases the density of water. Another interesting comparison would be to use oil. Since oil is less dense than water, an egg would sink in oil, and if you layered oil on top of salt water, you could observe fascinating density stratification. However, for the purpose of making an egg float by increasing liquid density, water and salt are the most straightforward and effective combination.
What age is this experiment suitable for?
This experiment is suitable for children aged 6 and up. Younger children (ages 6-8) will benefit greatly from adult supervision to help with measuring ingredients, stirring the salt water, and carefully handling the egg. They can actively participate in observing the changes and discussing what they see. Older children (ages 9+) can conduct the experiment more independently, taking on the roles of measuring, stirring, and analyzing the results. The core concepts of density and buoyancy can be simplified for younger children and explored in more depth with older ones, making it a versatile educational tool for a range of ages.
What happens if I use a hard-boiled egg instead of a raw egg?
Using a hard-boiled egg instead of a raw egg will change the outcome of this experiment, and not in a way that makes it float as easily. A hard-boiled egg is denser than a raw egg because the cooking process causes the proteins in the egg white and yolk to coagulate and become more compact. This means that even in very salty water, a hard-boiled egg is less likely to float. While you might be able to achieve some buoyancy with an extremely concentrated salt solution, it will require significantly more salt than a raw egg. The raw egg's internal structure and the slight flexibility of its shell contribute to its ability to float in a moderately dense salt solution.
Can I make the egg float in the middle of the water, not just at the top?
Absolutely! Making the egg float in the middle of the water, achieving neutral buoyancy, is a fantastic extension of this experiment. To do this, you'll need to carefully adjust the salt concentration. Start by making a salt water solution strong enough to make the egg float at the surface. Then, very slowly and gradually, add plain tap water to the salt water. As you dilute the salt water, the density decreases, and the buoyant force lessens. Continue adding small amounts of plain water and gently nudging the egg until it hovers suspended in the middle of the liquid, neither sinking to the bottom nor rising to the surface. This demonstrates a precise balance between the egg's weight and the buoyant force.
What Next?
Congratulations on successfully completing the Floating Egg Density Challenge! You've witnessed firsthand how a simple addition like salt can dramatically alter the properties of water. For further exploration, consider experimenting with different types of salt, such as Epsom salt, or trying other objects to see if they float in your prepared salt solutions. You could also try creating multiple layers of water with varying salt concentrations to see if you can suspend the egg mid-water. Once your experiment is complete, you can carefully dispose of the salt water down the drain and wash your cups. The egg can be safely discarded or, if you're feeling adventurous, you could try preserving it for a unique display!
Free: 10 Paper Crafts Anyone Can Make in 5 Minutes
Get our beginner guide + new craft ideas weekly.
No spam. Unsubscribe anytime.
Did you complete this activity?
Related
You might also like

Grape to Raisin Density Change
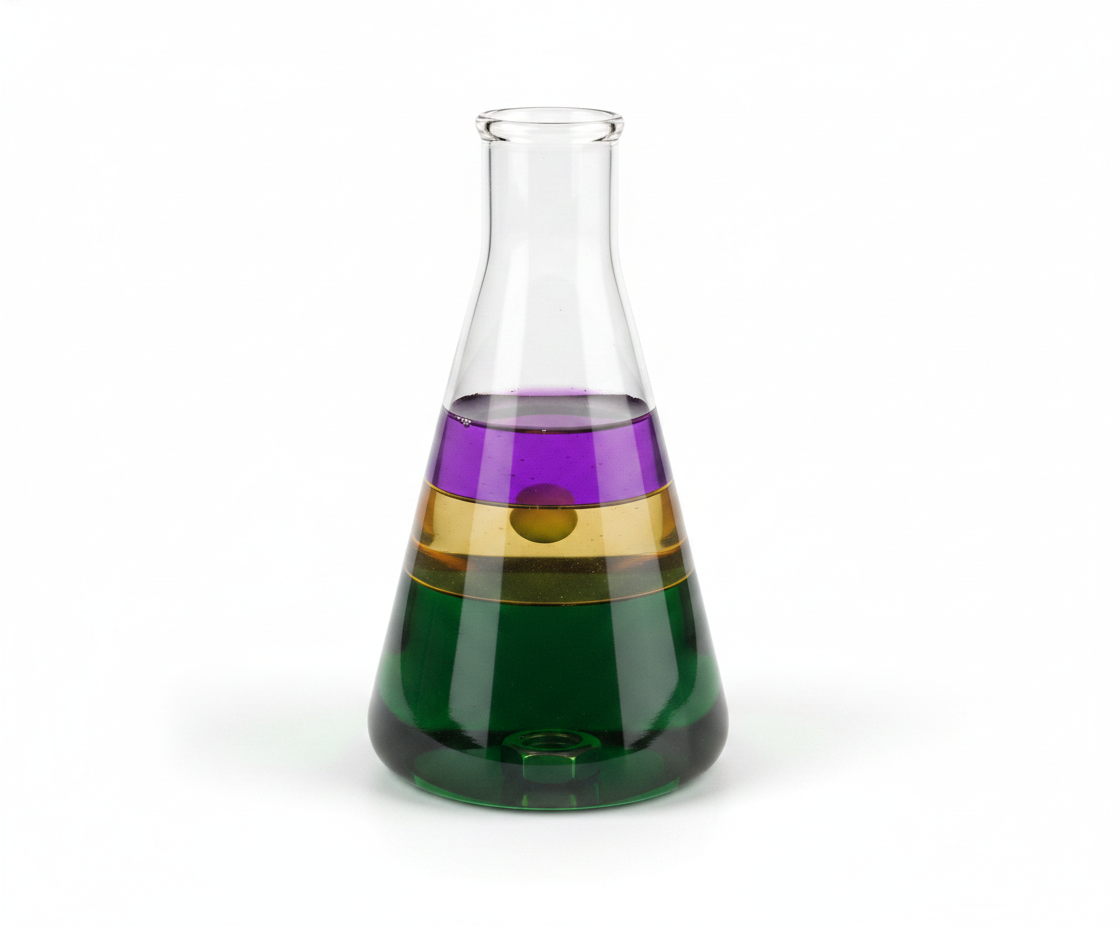
Density Bottle with Oil & Water
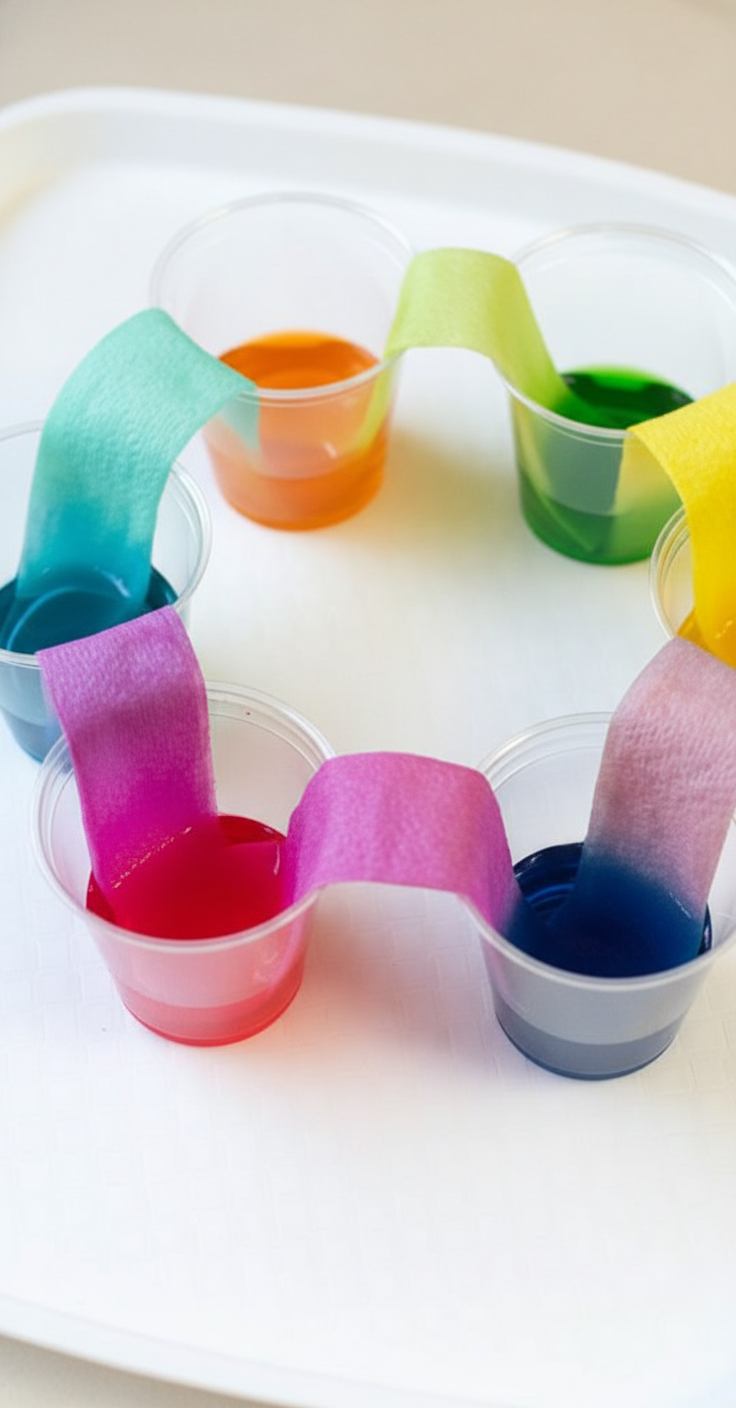
DIY Rainbow Walking Water Experiment
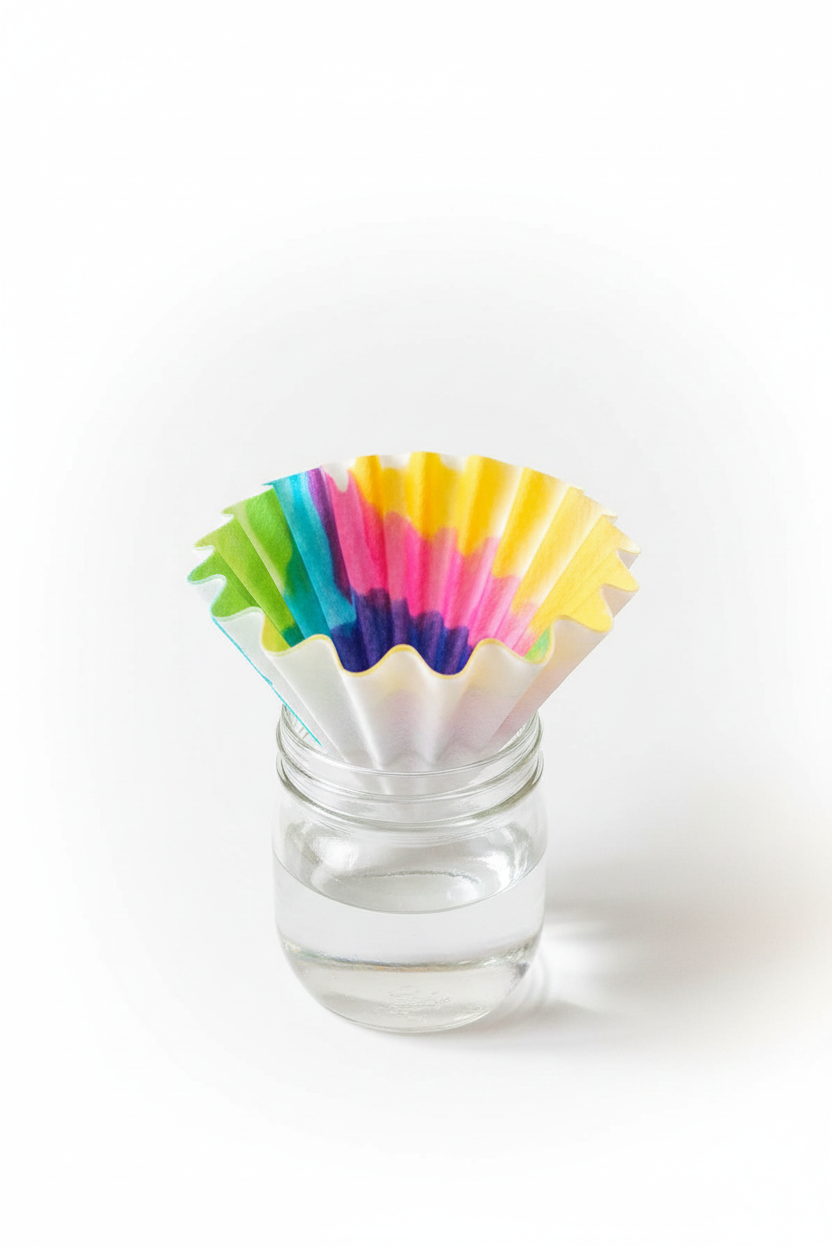
Coffee Filter Marker Chromatography Art
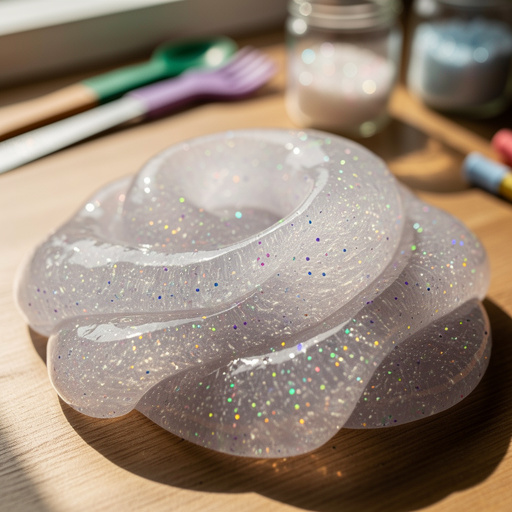
Sparkly Borax Slime Fun