How to Mod Podge Painted Terra Cotta Pots — Easy Step-by-Step Guide
Transform plain terra cotta pots into colorful, decorative pieces using Mod Podge and paint. A fun and easy way to personalize your plant pots! This beginner-friendly activity has 7 steps and is perfect for families and kids aged 6+.
Quick answer
To make Mod Podge painted terra cotta pots, you need terra cotta pots, acrylic paint, Mod Podge, and decorative paper or fabric, taking about 60 minutes. Start by painting the pots. This beginner-friendly activity has 7 steps and is perfect for families and kids aged 6+.
What you need
Shop on Amazon · As an Amazon Associate we earn from qualifying purchases. Links above are affiliate links — we may earn a commission at no extra cost to you.
Unleash your inner artist and give your plain terra cotta pots a vibrant makeover with this delightful Mod Podge project! This is more than just a craft; it's a fantastic way to inject personality into your home decor and create truly unique plant companions. Whether you're a seasoned crafter or dipping your toes into DIY for the first time, this project is incredibly accessible and rewarding. It's perfect for a relaxing afternoon, a fun family activity, or even a creative party theme, allowing you to personalize your space with handmade charm.
On this page
Step-by-Step Instructions
- 1
Clean your terra cotta pots thoroughly with a damp cloth to remove any dust or debris. Let them dry completely. This step is crucial for ensuring the paint and Mod Podge adhere properly; any residual dust can create a bumpy surface or cause peeling later on.
- 2
Apply a coat of primer or gesso to the outside of the terra cotta pots, if desired. This step is especially helpful if you're using lighter-colored paper or want a more opaque painted base, as it creates a uniform surface and prevents the natural terracotta color from showing through.
- 3
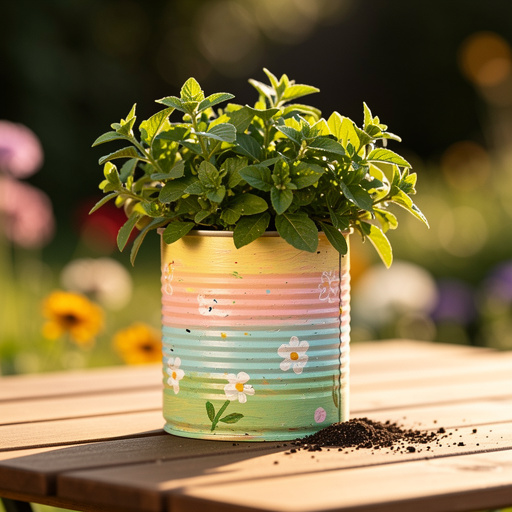
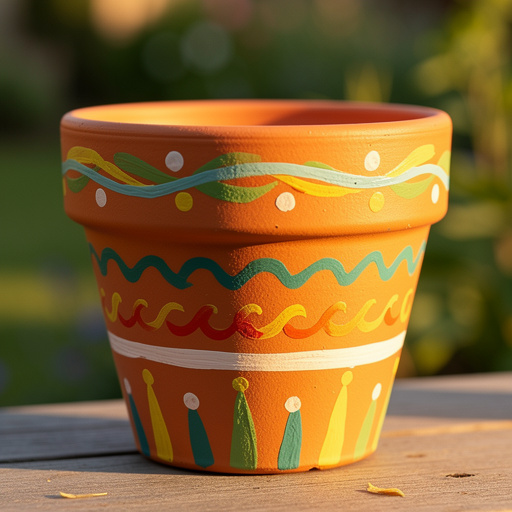
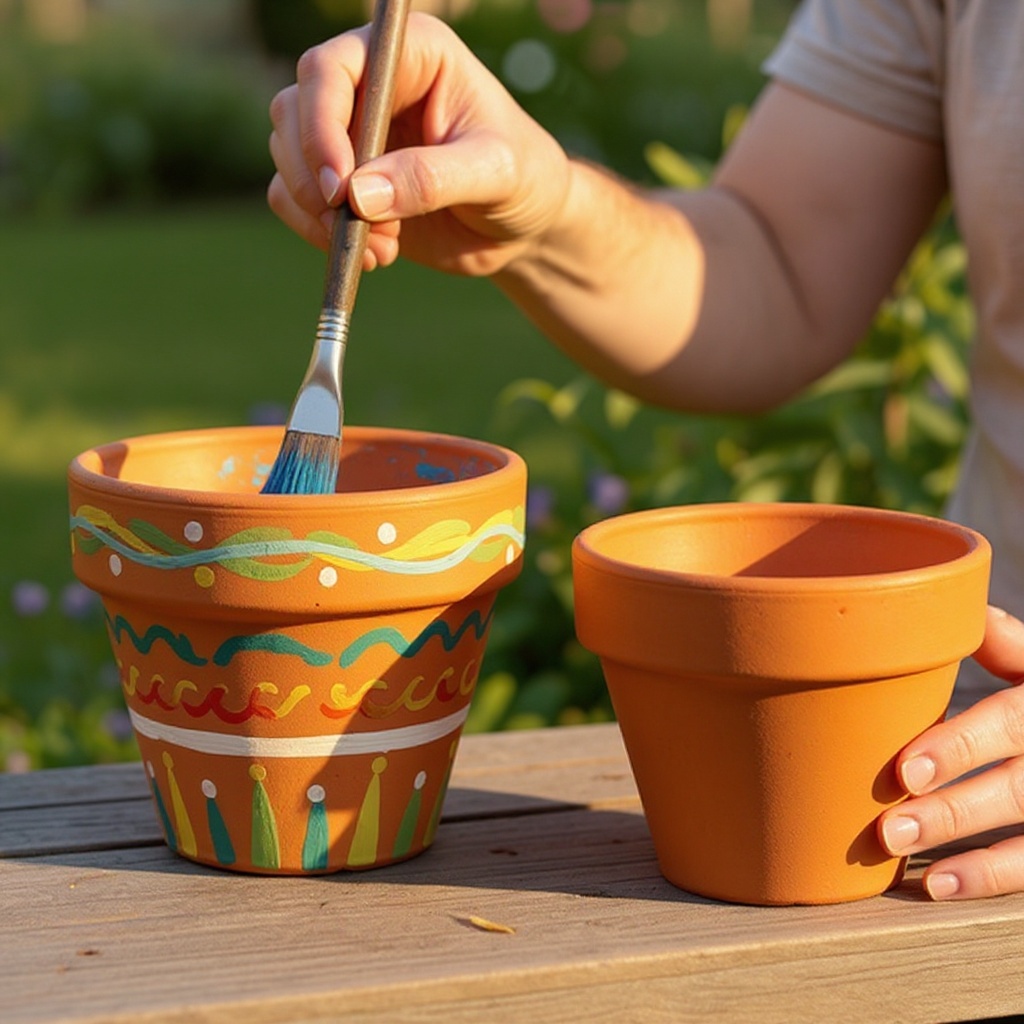
Paint the outside of the terra cotta pots with your chosen acrylic paint colors. Apply one or two thin coats, allowing each to dry completely before applying the next. For a smooth finish, use light, even strokes and avoid overloading your brush.
- 4
Once the painted base is completely dry, you can lightly sand any rough spots with fine-grit sandpaper if you desire a super smooth finish. Wipe away any dust with a dry cloth before proceeding to the next step.
- 5
While the paint dries, cut or tear your decorative paper or fabric into small pieces or strips, suitable for covering the pot. Consider the size and shape of your pot when deciding on the size of your embellishments; smaller pieces work well for curved surfaces.
- 6
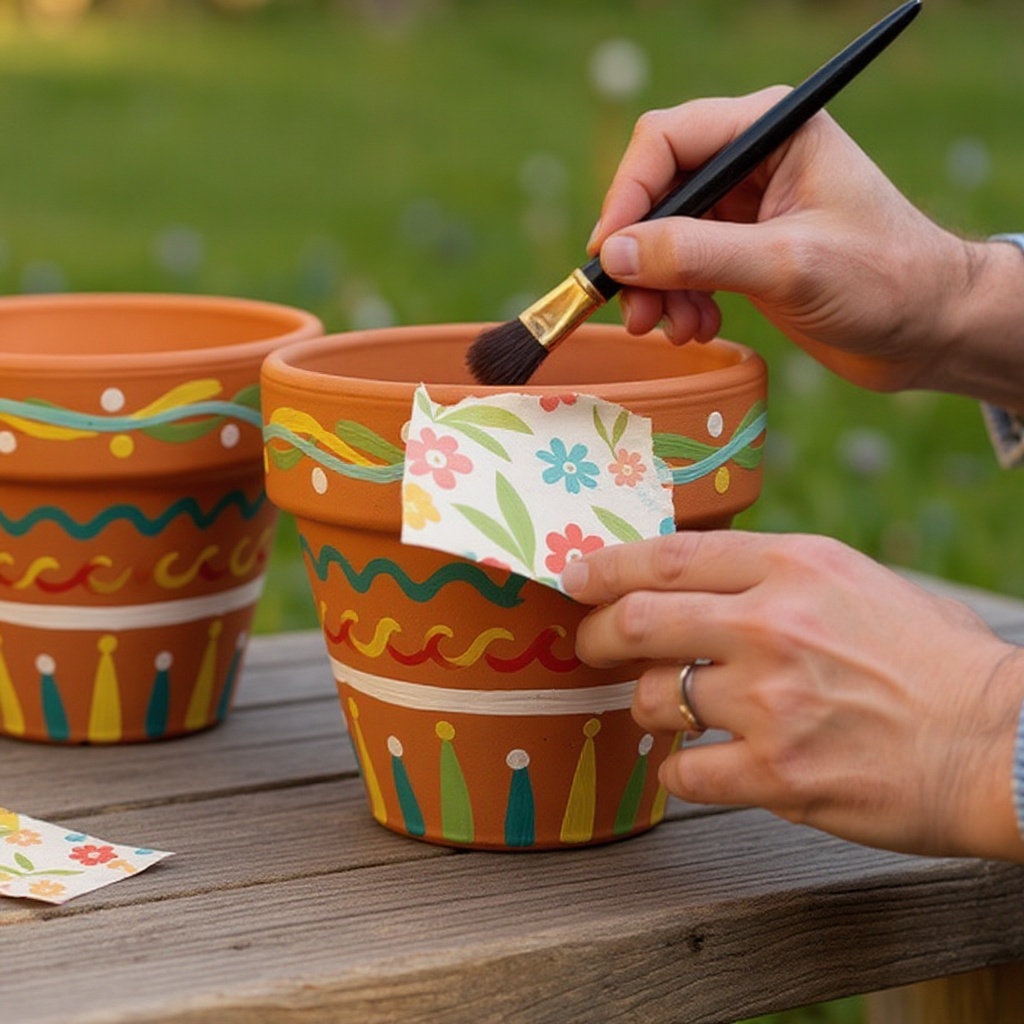
Begin applying a thin, even layer of Mod Podge to a small section of the pot using a foam brush. Work in manageable areas so the Mod Podge doesn't dry before you can adhere your paper or fabric.
- 7
Carefully place your paper or fabric pieces onto the Mod Podge-covered section, smoothing out any wrinkles or bubbles as you go. Gently press the edges down to ensure good contact and use your fingers or the brush to coax out any air pockets.
- 8
Continue applying Mod Podge and adhering paper/fabric pieces until the entire outside of the pot is covered. Overlap pieces slightly for a seamless look, ensuring that the edges of each piece are well-adhered to the pot and the Mod Podge.
- 9
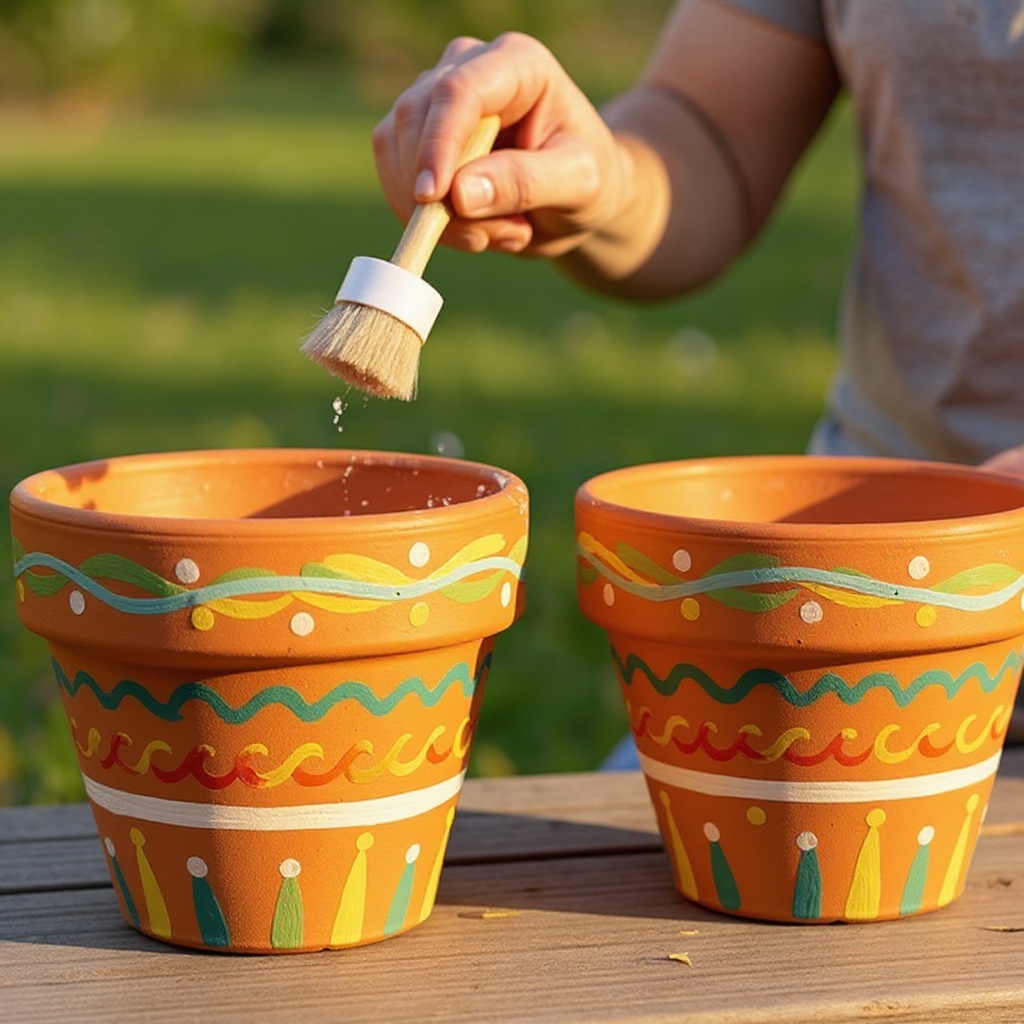
Once the pot is fully covered with decorative elements, apply a final, generous coat of Mod Podge over the entire decorated surface to seal and protect it. This top coat is essential for durability and gives your pot its finished sheen.
- 10
Allow the final Mod Podge coat to dry completely. This can take several hours, depending on humidity and the thickness of the application. Ensure it's fully dry before handling or moving the pot.
- 11
If you plan to use the pots outdoors or in areas with high moisture, consider applying an additional protective sealant spray once the Mod Podge is fully cured. This extra layer will provide enhanced protection against the elements.
- 12
Allow the sealant to dry thoroughly according to the product's instructions before potting your plants or placing the pots in their final location.
Tips & Troubleshooting
- 1For a smoother finish, ensure your paper pieces are thin and don't have too many thick textures. Tissue paper works wonderfully for this, as it conforms easily to the pot's shape and dries relatively flat.
- 2If you plan to use the pots outdoors, consider applying a sealant spray (like an outdoor Mod Podge sealant) after the final Mod Podge coat has dried for extra protection against the elements. This will help prevent water damage and fading.
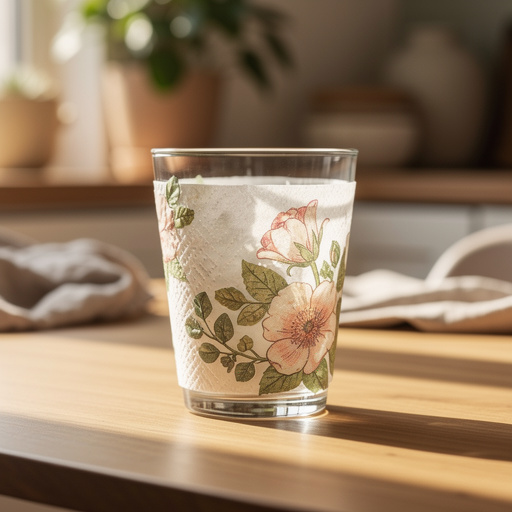
- 3Experiment with different types of paper, such as maps, book pages, old sheet music, or even patterned napkins, for unique designs. Ensure the paper isn't too thick, as this can lead to wrinkles and make it difficult to achieve a smooth finish.
- 4Don't worry about small imperfections; they can add to the handmade charm of your Mod Podge crafts. Embrace the slightly imperfect nature of handmade items – it's what makes them special and unique.
- 5For a clean, crisp line between painted sections or to create patterns, use painter's tape. Apply it after the paint is dry, Mod Podge over the tape, adhere your paper, and then carefully remove the tape while the Mod Podge is still slightly wet for the cleanest edge.
- 6If you encounter stubborn wrinkles or bubbles, you can try gently lifting the edge of the paper piece and reapplying Mod Podge underneath before smoothing it down again. A small roller tool can also be helpful for pressing out air bubbles.
- 7Consider sealing the inside rim of the pot with a thin layer of Mod Podge as well, especially if you're using absorbent paper. This can help prevent moisture from seeping into the decorative layers from the top.
- 8When working with fabric, opt for thinner materials like cotton or linen. Thicker upholstery fabrics can be challenging to adhere smoothly and may require a more liberal application of Mod Podge.
Related Activities You Might Enjoy
Frequently Asked Questions
Can I use any kind of paper for Mod Podge crafts on pots?
Yes, you can use a wide variety of paper materials for Mod Podge crafts on terra cotta pots, but some work better than others. Excellent choices include thin scrapbook paper, tissue paper, napkins (with the backing removed), old book pages, maps, and even thin fabric scraps. These materials are flexible and conform well to the curved surface of the pot, minimizing wrinkles and bubbles. Thicker cardstock or construction paper can be more challenging to adhere smoothly and may result in a less polished finish. If you do use slightly thicker paper, consider tearing it into smaller pieces rather than cutting for easier application.
How long does Mod Podge take to dry on terra cotta pots?
Mod Podge typically dries to the touch within 20-30 minutes after application. However, this is just the initial drying phase. For a full cure, which means the Mod Podge is completely hardened and ready for additional coats or handling without damage, you should allow at least 2-4 hours. For best results, especially if you plan to use the pots outdoors or in high-traffic areas, it's recommended to let the Mod Podge cure overnight. This ensures maximum durability and adhesion of your decorative elements.
Can I put plants directly into Mod Podge decorated pots?
It's best to avoid putting plants directly into Mod Podge decorated terra cotta pots, especially if you want to preserve the integrity of your craft. While Mod Podge offers some protection, prolonged exposure to moisture from watering can eventually degrade the seal and potentially cause the paper or paint to peel or warp over time. The most recommended approach is to use a liner. You can either place a plastic nursery pot with your plant inside the decorated terra cotta pot, or use a plastic liner within the terra cotta pot itself. This creates a barrier between the soil and the Mod Podge, extending the life of your beautiful creation.
How do I clean my Mod Podge decorated terra cotta pots?
Cleaning your Mod Podge decorated terra cotta pots should be done gently to avoid damaging the seal. The best method is to simply wipe the outside of the pots with a slightly damp cloth. Avoid soaking the pots in water or using abrasive cleaners, harsh detergents, or scrubbing pads, as these can wear away the Mod Podge and potentially lift the decorative paper or paint. For tougher spots, you can use a mild soap solution on your damp cloth, but always ensure you wipe it clean with a fresh, damp cloth afterward and allow it to air dry completely.
Can I paint the inside of the terra cotta pots?
While you can technically paint the inside of terra cotta pots, it's generally not recommended for the same reasons you shouldn't plant directly in them. The porous nature of terra cotta means moisture will seep through, and if the inside is painted and sealed with Mod Podge, this moisture can cause the paint and sealant to degrade over time, leading to peeling and a less attractive finish. If you wish to paint the inside for aesthetic reasons, consider using a paint specifically designed for porous surfaces and a sealant that can withstand moisture, or simply opt for a decorative liner. For most projects, focusing the decoration on the exterior is the most durable and visually effective approach.
What is the best way to achieve a smooth finish without wrinkles?
Achieving a smooth finish without wrinkles is key to a professional-looking Mod Podge project. Start by using thin, flexible papers like tissue paper or thin scrapbook paper, as they conform best to curves. When applying the paper, work in small sections, ensuring each piece is well-saturated with Mod Podge on both the pot and the back of the paper. Smooth out the paper immediately after placing it, using your fingers, a brayer, or the foam brush to gently push out any air bubbles or wrinkles towards the edges. Don't be afraid to slightly overlap pieces, as this helps create a continuous surface and can disguise minor imperfections. A final, smooth coat of Mod Podge over the entire surface also helps to seal in any slight texture.
What Next?
Congratulations on transforming your ordinary terra cotta pots into extraordinary works of art! These Mod Podge beauties are ready to house your favorite plants, adding a splash of color and personality to any windowsill, shelf, or patio. Consider creating a matching set in a cohesive color scheme or a vibrant collection of eclectic designs. For a truly cohesive look, you can even use leftover paper scraps to create matching coasters or decorative trays. Display your creations proudly and enjoy the satisfaction of your handmade decor!
Free: 10 Paper Crafts Anyone Can Make in 5 Minutes
Get our beginner guide + new craft ideas weekly.
No spam. Unsubscribe anytime.
Did you complete this activity?
Related