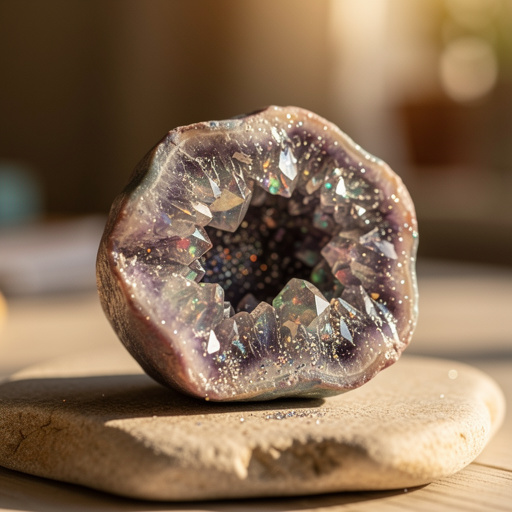
How to Create Sparkling Geode Gems — Easy Step-by-Step Guide
Transform ordinary materials into dazzling, crystal-filled geode gems! This engaging science craft is perfect for curious minds and creative hands. Discover the magic of crystallization and color mixing as you craft your own unique geological wonders.
Quick answer
To make sparkling geode gems, you need plaster of paris, water, food coloring, and a mold, taking about 30 minutes of active time. Start by mixing the plaster to a pancake batter consistency, then add colors and swirl for a geode effect. Allow them to dry for at least 24 hours. This beginner-friendly activity has 12 main steps and can be expanded with intermediate stages, making it perfect for families with kids aged 6+.
What you need
Shop on Amazon · As an Amazon Associate we earn from qualifying purchases. Links above are affiliate links — we may earn a commission at no extra cost to you.
Unleash your inner geologist and artist with this captivating DIY project: creating your very own sparkling geode gems! This activity is a fantastic blend of science and creativity, allowing you to explore the fascinating world of crystal formation in a hands-on, accessible way. It's an ideal project for curious children eager to learn about minerals and for anyone who enjoys crafting beautiful, unique decorative items. Prepare to be amazed as simple materials transform into miniature treasures that mimic the natural beauty of real geodes.
On this page
Step-by-Step Instructions
- 1
Prepare your workspace by covering it with newspaper or a plastic tablecloth to protect surfaces from plaster and food coloring. Ensure good ventilation in the area where you'll be working and drying your geodes.
- 2
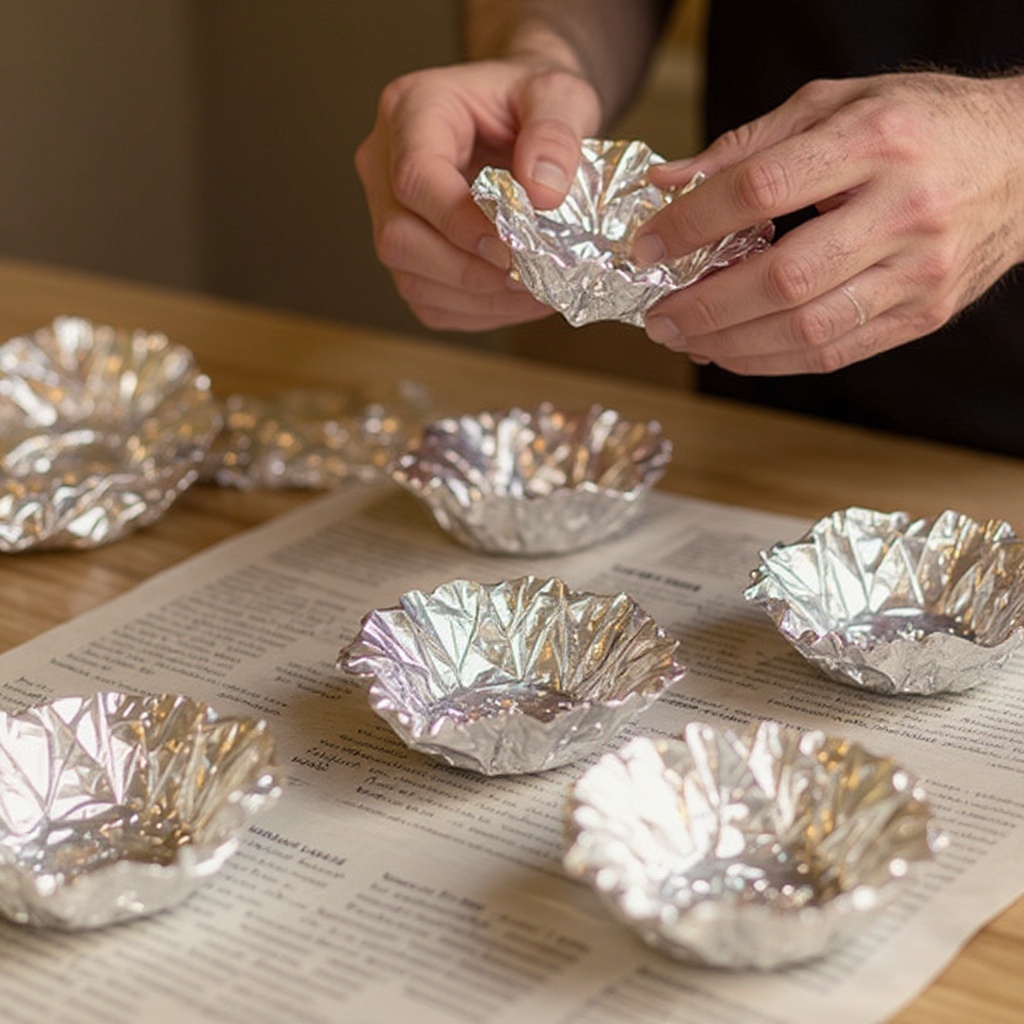
Select and prepare your geode molds. If using aluminum foil, carefully crumple it into a bowl shape with a hollow center, ensuring the foil is sturdy enough to hold the plaster mixture without collapsing. You can also shape it to create interesting internal textures.
- 3
In a clean mixing bowl, accurately measure 1 cup of Plaster of Paris. It's important to start with the correct ratio for the best consistency.
- 4
Gradually add 1/4 cup of water to the Plaster of Paris, stirring continuously with a stirring stick or spoon. Aim for a thick, smooth consistency similar to pancake batter; it should be pourable but not runny.
- 5
If the plaster mixture is too thick and difficult to stir, add more water a teaspoon at a time, mixing thoroughly after each addition until the desired consistency is reached. Conversely, if it's too thin, add more Plaster of Paris a tablespoon at a time until it thickens.
- 6
Once your base plaster mixture has the perfect consistency, divide it into smaller bowls. The number of bowls should correspond to the number of different colors you wish to use for your geode gems.
- 7
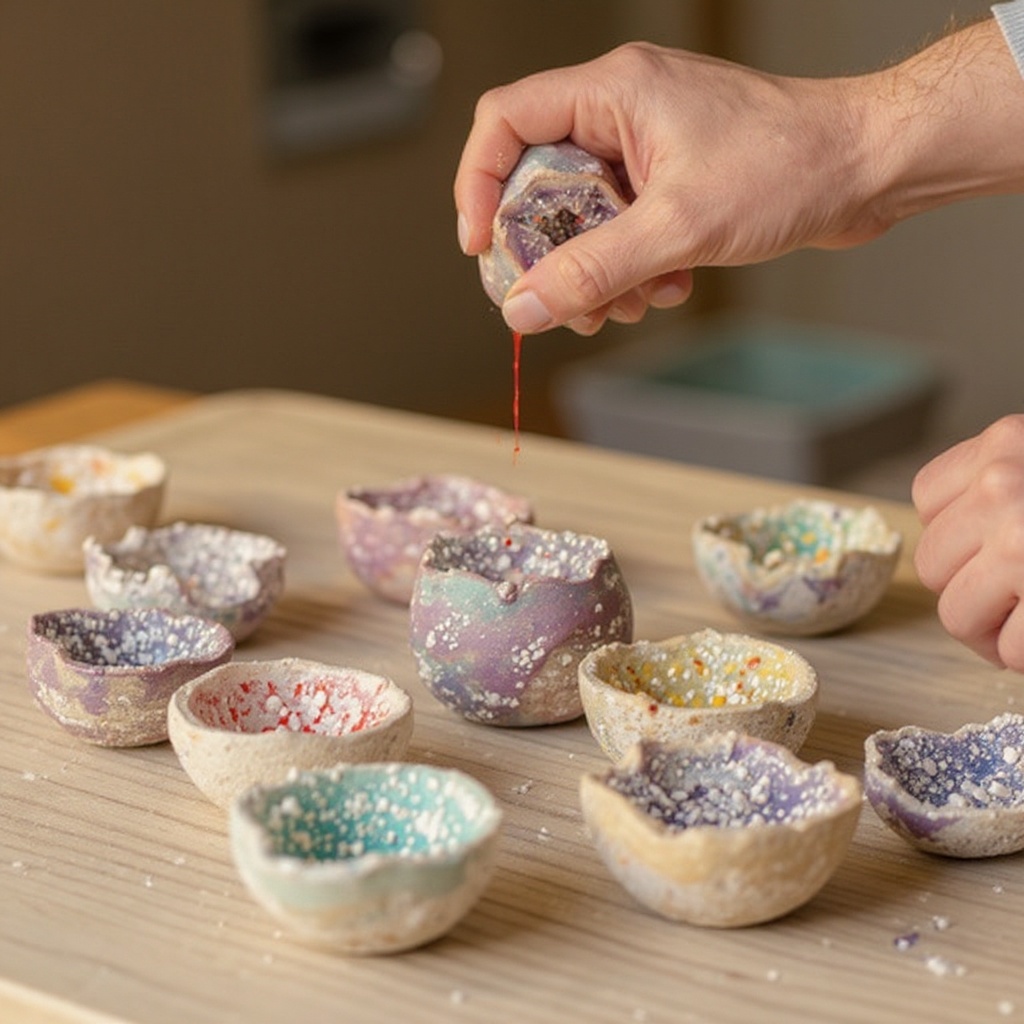
Add a few drops of food coloring to each of the smaller bowls. For a realistic geode look, consider using earthy tones like brown, grey, or deep blue for the base colors, and brighter colors like purple, pink, or teal for the 'crystal' veins.
- 8
Stir the food coloring into each portion of plaster mixture until the color is evenly distributed and vibrant. Ensure there are no streaks of uncolored plaster remaining.
- 9
Carefully spoon the colored plaster mixture into your prepared geode molds. Fill each mold about halfway, leaving enough space for additional colors or swirling.
- 10
Gently tap the molds on your workspace a few times. This crucial step helps to settle the plaster mixture, ensuring it fills all the nooks and crannies of the mold and, most importantly, helps to release any trapped air bubbles that could create imperfections.
- 11
Using a clean stirring stick or the tip of a craft stick, begin to create swirling patterns or 'veins' within the plaster. Gently drag the stick through the mixture, layering colors or creating organic lines to mimic the natural formation of geodes. Avoid over-mixing, as this can muddy the colors.
- 12
Allow the plaster to begin setting in the molds. This initial setting period typically takes about 15-20 minutes, during which the plaster will become firm to the touch but should still retain a slight pliability.
- 13
Once the plaster has firmed up considerably but is not yet completely hard, it's time to carefully remove the geode gems from their molds. If using aluminum foil, gently peel it away from the plaster. For silicone molds, flex the mold to release the geode.
- 14
Let the geode gems air dry completely in a well-ventilated area for at least 24 hours. During this time, they will continue to harden and will become noticeably lighter in color as the moisture evaporates.
- 15
After the initial 24-hour drying period, check the geodes for hardness. If they still feel cool or slightly damp, allow them to air dry for an additional 12-24 hours. They should feel completely solid and dry to the touch.
- 16
Once fully dry, your sparkling geode gems are ready to be admired! You can leave them as is, or proceed to optional finishing steps like adding glitter or sealant for extra flair.
- 17
For an optional sparkling effect, gently sprinkle fine glitter onto the wet plaster while it's still pliable, just before it begins to set. Alternatively, you can apply a clear craft sealant or spray to the fully dried geodes to enhance their shine and protect the colors.
- 18
Dispose of any excess plaster mixture responsibly. Never pour large amounts of wet plaster down the drain, as it can harden and cause serious clogs. Allow any leftover mixture to harden completely in a disposable container before discarding it in the trash.
Tips & Troubleshooting
- 1Achieving the perfect plaster consistency is key to successful geode making. If your mixture becomes too thick, add water very gradually, just a teaspoon at a time, stirring thoroughly after each addition to avoid making it too thin. If it's too thin, add more Plaster of Paris a tablespoon at a time until it reaches a thick, pancake batter-like consistency.
- 2Experimentation with color combinations and swirling techniques is where the true artistry of this project lies. Try layering different colors, using contrasting hues for the base and veins, or even creating marbled effects by gently swirling multiple colors together before they set for unique and visually stunning geode patterns.
- 3For that extra 'sparkling' geode effect, consider incorporating fine glitter into your creation. You can gently sprinkle iridescent or clear fine glitter into the wet plaster mixture just before it begins to set, or once the geodes are completely dry, you can seal them with a clear craft sealant or spray that has a glitter finish.
- 4Ensure that your chosen molds are completely dry before you begin filling them with the plaster mixture. Any residual moisture in the molds can prevent the plaster from adhering properly, potentially leading to the geode sticking or breaking when you try to remove it.
- 5Responsible disposal of excess plaster mixture is crucial for maintaining your plumbing. Do not pour any significant amounts of wet plaster down the drain, as it will harden and can cause severe clogs. Instead, let any leftover plaster mixture harden completely in a disposable container or bag, and then discard it in your regular household trash.
- 6When creating the 'veins' or internal patterns, use a light touch. Over-stirring or aggressive swirling can cause the colors to blend too much, resulting in a muddy appearance rather than distinct crystalline lines. Aim for gentle, deliberate movements to create the most realistic and appealing patterns.
- 7The initial setting time of 15-20 minutes is a critical window. If you try to remove the geodes too early, they might be too soft and lose their shape. If you wait too long, the plaster can become too hard, making it difficult to remove from intricate molds without damage.
- 8For a more naturalistic geode appearance, consider using a variety of mold shapes and sizes. Real geodes are rarely perfectly uniform, so using slightly irregular molds or even creating your own textured hollows can add to the authenticity and charm of your finished creations.
Related Activities You Might Enjoy
Frequently Asked Questions
How long does it take for the geode gems to dry completely, and what are the signs they are ready?
The geode gems require a significant amount of time to air dry to achieve their full hardness and stability, typically at least 24 hours. You'll notice they become noticeably lighter in color as the moisture evaporates. After the initial 24 hours, they should feel firm and solid to the touch, with no cool or damp spots. If they still feel slightly soft or cool, it's best to let them air dry for an additional 12-24 hours. Proper drying is essential to prevent them from being fragile or susceptible to damage.
Can I use different types of molds for my geode gems, and what makes a good mold?
Absolutely! The beauty of this project is its versatility with molds. Silicone gem molds are excellent as they offer flexibility for easy removal and often have intricate details. However, you can also get creative with household items. Crumpled aluminum foil shaped into hollows can create unique, organic shapes. Small plastic Easter egg halves, the bottom of plastic cups with textured interiors, or even small, sturdy plastic containers can work. The key is that the mold should be able to hold the plaster mixture without leaking and should have a shape that can be easily released once the plaster has set.
What if my plaster mixture turns out lumpy or has an inconsistent texture?
Lumpiness in the plaster mixture usually indicates that the water was not added gradually enough or that it wasn't stirred sufficiently. When mixing Plaster of Paris and water, it's crucial to add the water slowly while stirring continuously. If you notice lumps, try stirring vigorously for another minute or two to see if they break down. If the lumps persist and the mixture feels gritty or uneven, it's often best to discard that batch and start over with fresh Plaster of Paris and water, paying close attention to the mixing technique.
How can I make my geode gems look more realistic and visually appealing?
To achieve a more realistic geode appearance, focus on your color choices and swirling techniques. For the base layer of plaster, opt for earthy, natural tones like deep browns, grays, muted blues, or even black. These colors mimic the outer rind of a natural geode. Then, use brighter, more vibrant colors like amethyst purple, crystal clear, vibrant pink, or electric teal for the 'crystal' veins that form the inner cavity. Gently swirling these colors together before the plaster fully sets will create organic patterns that resemble natural crystalline formations, making your DIY geodes look remarkably authentic.
What is the best consistency for the Plaster of Paris mixture, and how do I adjust it?
The ideal consistency for the Plaster of Paris mixture is akin to thick pancake batter or heavy cream. It should be pourable but not runny, with enough body to hold its shape and allow for swirling. If your mixture is too thick and stiff, making it difficult to stir or pour, add more water very gradually, just a teaspoon at a time, mixing thoroughly after each addition until it reaches the desired consistency. If, conversely, your mixture is too thin and watery, add more Plaster of Paris, a tablespoon at a time, stirring well until it thickens to the correct consistency. Proper consistency is crucial for both ease of use and the final appearance of your geodes.
Can I add other materials to the plaster mixture for different effects?
Yes, you can certainly add other materials to the plaster mixture for unique effects! As mentioned in the tips, fine glitter is a popular addition for creating a sparkling, crystalline look. You can also experiment with mica powders for a subtle shimmer or even very fine sand for a slightly textured appearance. If you're aiming for a more translucent 'crystal' effect, you could try adding a small amount of clear resin to the colored plaster, though this will alter the drying time and process. Always test small batches first to see how additives affect the plaster's consistency and drying.
What Next?
Once your sparkling geode gems have fully dried, they are ready to be displayed! Arrange them in a decorative bowl, use them as unique paperweights, or even incorporate them into larger art projects. For a truly dazzling effect, consider sealing them with a clear acrylic spray or Mod Podge to enhance their shine and protect the colors. You can also experiment with different base materials like air-dry clay or even concrete for larger, more robust geodes. This project opens the door to further exploration of material science and creative expression.
Free: 10 Paper Crafts Anyone Can Make in 5 Minutes
Get our beginner guide + new craft ideas weekly.
No spam. Unsubscribe anytime.
Did you complete this activity?
Related