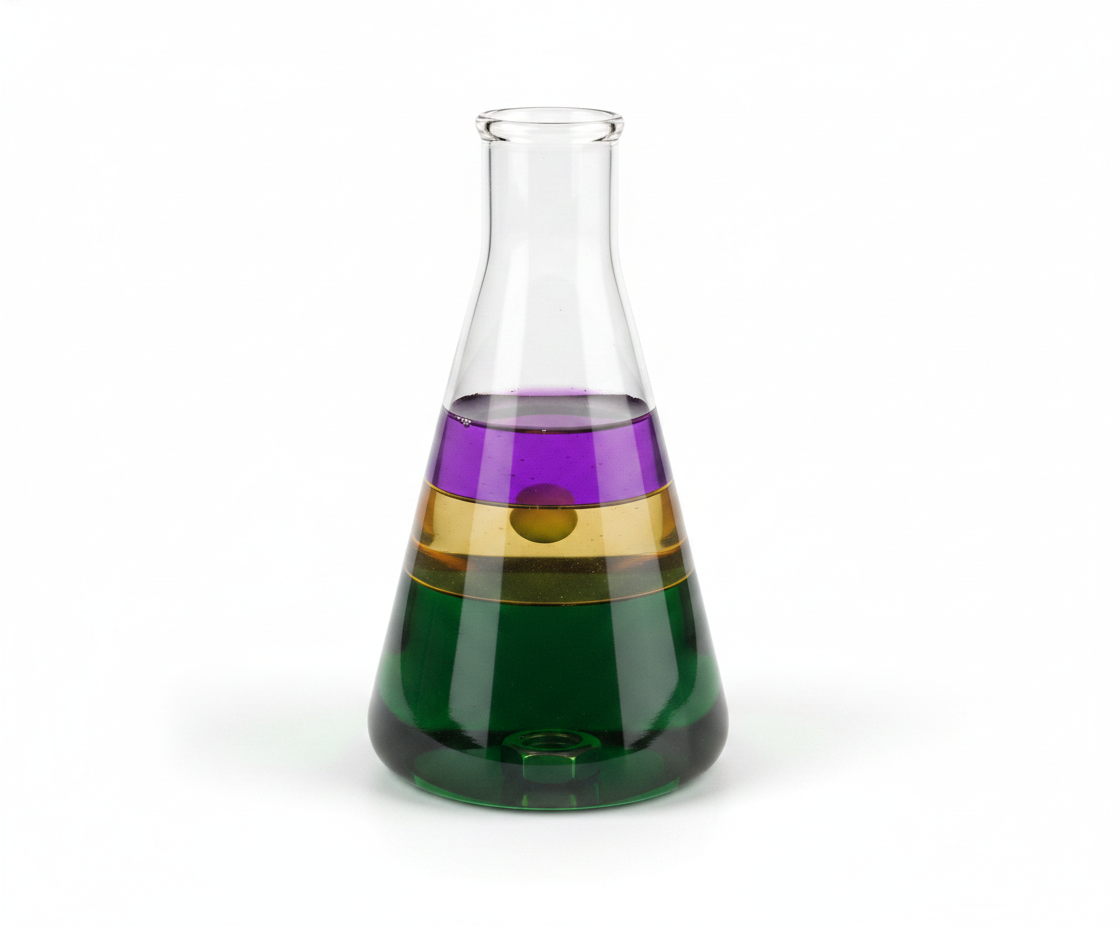
Grape to Raisin Density Change
Discover the science of dehydration by turning fresh grapes into raisins. This simple yet engaging project visually demonstrates how water loss affects density and mass. It's an excellent educational activity for kids and adults alike, requiring minimal materials and offering a tangible outcome.

Quick answer
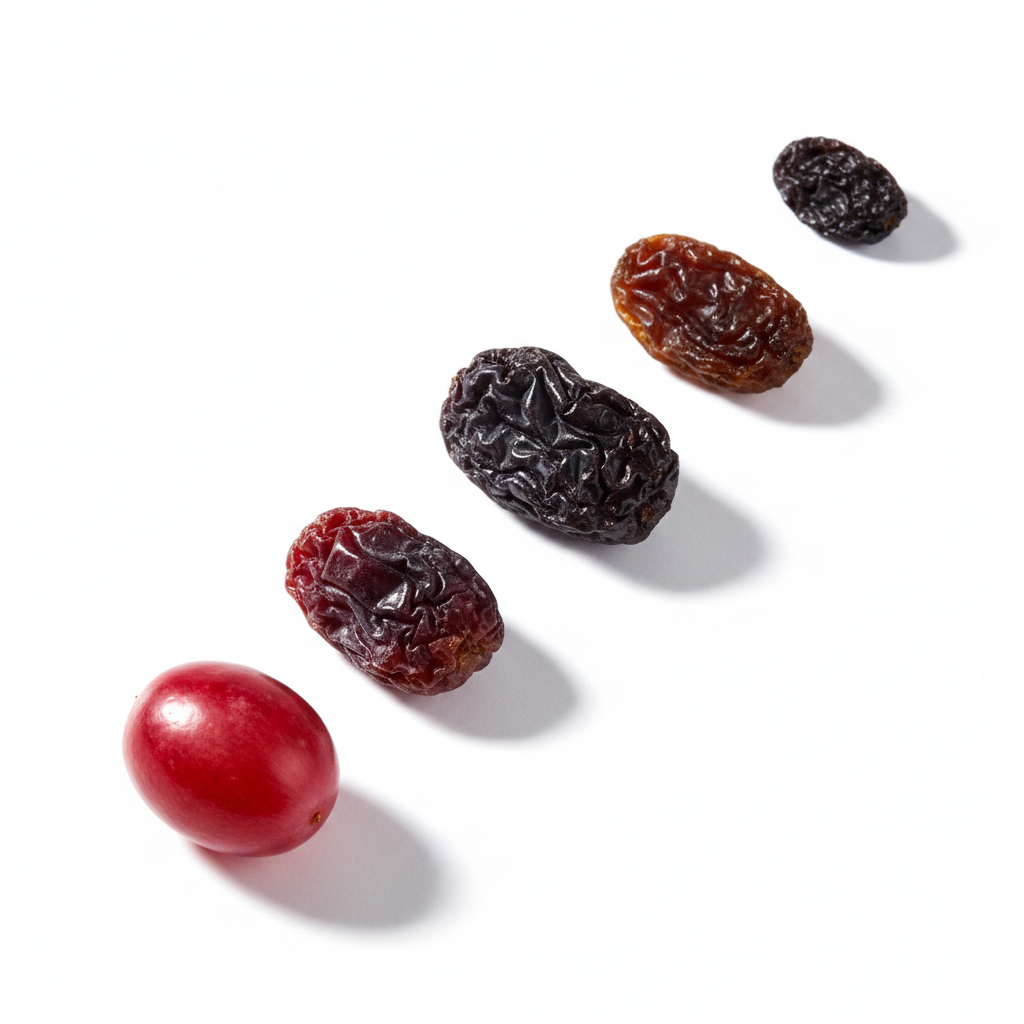
To turn grapes into raisins, place fresh grapes in a bowl and leave them uncovered in a well-ventilated area for about two months, allowing them to dry naturally. Observe the shrinking and wrinkling process as water evaporates, leading to a significant change in density.
What you need
Shop on Amazon · As an Amazon Associate we earn from qualifying purchases. Links above are affiliate links — we may earn a commission at no extra cost to you.
Embark on a captivating scientific journey right in your kitchen with the 'Grape to Raisin Density Change' project! This hands-on experiment offers a tangible way to explore the principles of dehydration and its impact on mass and density. It's a wonderfully accessible activity, perfect for budding scientists, curious families, or anyone who enjoys observing natural transformations. Witnessing a plump, juicy grape slowly transform into a shriveled, sweet raisin over weeks is a rewarding experience that sparks wonder and encourages scientific inquiry, making it a standout project for educational fun.
On this page
Step-by-Step Instructions
- 1
Gather all your necessary supplies: a pound of fresh, seedless grapes, a large clear glass bowl or shallow tray, a cup of tap water, a quarter cup of granulated sugar, and a clean spoon. Ensure your grapes are free from any blemishes or mold, as this can affect the drying process. Having everything ready beforehand will make the experiment smoother.
- 2
Gently wash the fresh grapes under cool running water to remove any dust or residue. You can use a fine-mesh sieve for this purpose. After washing, carefully pat the grapes dry with paper towels to remove excess surface moisture, as this will help prevent mold growth during the drying period.
- 3
Place the washed and dried fresh grapes in the large clear glass bowl or shallow tray. Distribute them in a single layer as much as possible, ensuring that they are not piled on top of each other. This single layer arrangement is crucial for allowing air to circulate evenly around each grape, promoting uniform drying.
- 4
Now, prepare a simple sugar-water solution. In a separate small container, combine the 1 cup of tap water with the 1/4 cup of granulated sugar. Stir thoroughly with the clean spoon until the sugar is completely dissolved. This solution is not for consumption but can be used in a related demonstration (see tips).
- 5
For the primary raisin-making process, you will *not* be using the sugar-water solution. Instead, ensure the bowl of grapes remains uncovered. This is a critical step for natural dehydration to occur effectively.
- 6
Place the uncovered bowl of grapes in a well-ventilated area of your home. Ideal locations include a sunny windowsill (but not in direct, intense heat that could cook them), a countertop near an open window, or a spot where there is consistent air movement. Avoid humid or enclosed spaces like cupboards or bathrooms, as these conditions can encourage mold and slow down the drying process significantly.
- 7
Begin observing the grapes regularly, ideally once a day or at least every other day. Look for subtle changes in their appearance. You might notice a slight dulling of their skin or a minor softening of their texture. Document these initial observations in your notebook, noting the date and time.
- 8
Over the next week, continue your daily observations. You should start to see the grapes begin to shrink slightly and their skins may start to develop a few wrinkles. The grapes will feel less firm and more pliable. Note any changes in color, though this is usually more pronounced later in the process.
- 9
As you move into the second and third weeks, the shrinking and wrinkling will become more pronounced. The grapes will noticeably decrease in size, and their skins will become more creased and textured. They will feel significantly softer and more leathery. Continue to record these changes, perhaps noting the percentage of shrinkage you estimate.
- 10
By the fourth to sixth week, the transformation should be quite evident. The grapes will have significantly shriveled, resembling miniature versions of their former selves. Their color will likely have deepened to a rich brown or dark purple, depending on the original grape color. They will feel distinctly chewy and leathery, the texture characteristic of raisins.
- 11
Continue observing the grapes for approximately two months, or until they have reached a state where they are significantly shriveled, wrinkled, and have a chewy, raisin-like texture. The exact time will depend on environmental factors like humidity and temperature. They should feel dry to the touch, with no remaining plumpness or juiciness.
- 12
Once the grapes have fully transformed into raisins, carefully remove them from the bowl. You can gently pick them out by hand or use a clean spoon. Inspect them to ensure they are uniformly dried and have the desired texture. If any feel unusually soft or sticky, they may need a little more time to dry.
- 13
Allow the newly formed raisins to air dry for an additional day or two on a clean surface, like a plate or a baking sheet lined with parchment paper, to ensure any residual moisture evaporates. This final drying step helps to prevent mold and ensures a longer shelf life for your homemade raisins.
- 14
Store your homemade raisins in an airtight container, such as a glass jar or a resealable plastic bag. Keep them in a cool, dry place away from direct sunlight. Properly stored, these raisins can last for several months, providing a delicious and healthy snack.
- 15
Consider conducting a comparative experiment. Prepare a second batch of grapes, but this time, soak them in the sugar-water solution for about 30 minutes before placing them to dry. Observe if the sugar solution affects the drying time or the final texture and taste of the 'raisins'. This adds another layer to the scientific exploration.
- 16
Weigh the grapes before you start the experiment and then weigh the finished raisins. Calculate the percentage of mass lost during the dehydration process. This quantitative data will further illustrate the impact of water evaporation on the overall mass of the grapes.
- 17
Observe the density change. While direct measurement of density might be complex, you can infer it. Compare the volume occupied by a certain number of fresh grapes versus the same number of raisins. The raisins will occupy significantly less volume, indicating a higher density due to the removal of water.
- 18
Record your observations meticulously in a science journal. Note down the date, the appearance of the grapes, any changes in texture or color, and the approximate time it takes for the transformation to complete. This detailed record-keeping is a fundamental aspect of the scientific method and will help you analyze your results.
- 19
Take photographs at different stages of the experiment. Documenting the process visually, from plump grape to shriveled raisin, provides a compelling visual narrative of the transformation and can be a great way to share your findings.
- 20
Discuss the scientific principles at play. Explain concepts like evaporation, water content, mass, volume, and density to anyone participating in or observing the experiment. Relate the process to how other foods are preserved through drying.
Tips & Troubleshooting
- 1For a faster drying process, you can try blanching the grapes. This involves briefly dipping the grapes in boiling water for about 30-60 seconds, then immediately plunging them into ice water. This process cracks the skin, allowing moisture to escape more easily, but it can slightly alter the final texture and flavor.
- 2Ensure the grapes are in a single layer in the bowl. Overcrowding will prevent adequate air circulation, leading to uneven drying and potentially encouraging mold growth. If your bowl is too small, use a larger one or divide the grapes between two containers.
- 3Monitor for mold diligently. If you notice any signs of mold on the grapes at any stage, it's best to discard that batch and start over. Mold indicates that conditions are too humid or that the grapes were not properly dried initially.
- 4The sugar-water solution mentioned in the materials can be used for a comparative study. Soak a second batch of grapes in this solution for 30 minutes before drying. This can affect the drying rate and the final product's sweetness and texture, offering a point of comparison.
- 5Consider the type of grapes you use. Seedless varieties are generally preferred for ease of handling and consumption. Different grape varieties might have slightly different water content and skin thickness, which could influence the drying time.
- 6If you live in a very humid climate, this experiment might take longer, or you might need to take extra precautions. Consider using a fan to increase air circulation around the grapes or placing them in a slightly warmer, dry location.
- 7Don't be discouraged if the process takes longer than expected. Environmental factors play a significant role. Patience is key to observing the full transformation from a fresh grape to a dried raisin.
- 8Once dried, you can gently rinse the raisins under cool water and pat them dry if you plan to consume them. This can help remove any dust that may have settled on them during the drying period.
Related Activities You Might Enjoy
Frequently Asked Questions
Why do grapes shrink and wrinkle when they turn into raisins?
The shrinking and wrinkling of grapes into raisins is a direct result of dehydration, which is the process of water loss. Grapes are composed of a significant amount of water, held within their cells. When exposed to air in a dry environment, this water begins to evaporate from the surface and through the skin. As the water leaves the cells, they lose their turgor pressure, causing them to collapse and the grape's overall structure to shrink. The skin, which is elastic, then folds and creases to accommodate the reduced volume, resulting in the characteristic wrinkled appearance of a raisin. This loss of water also concentrates the natural sugars within the grape, leading to their intensified sweetness.
How does the density of a grape change when it becomes a raisin?
The density of a grape significantly increases as it transforms into a raisin. Density is defined as mass per unit volume (Density = Mass / Volume). When a grape dries out, a large portion of its mass is lost due to the evaporation of water. However, the overall volume of the grape also decreases, but not proportionally to the mass loss. The solid components of the grape (sugars, fibers, etc.) remain, but they are packed more tightly together in a smaller space. Since the mass decreases less drastically than the volume, the ratio of mass to volume increases, meaning the raisin is denser than the original grape. This is why a handful of raisins weighs more than the same number of grapes, even though they appear smaller.
Can I speed up the process of turning grapes into raisins?
Yes, you can significantly speed up the process of turning grapes into raisins using artificial methods. The most common method is using a food dehydrator, which circulates warm air at a controlled temperature to efficiently remove moisture. Another method is to use a conventional oven set to its lowest temperature (typically between 135-150°F or 57-65°C) with the oven door slightly ajar to allow moisture to escape. Some people also try blanching the grapes by briefly boiling them and then cooling them in ice water, which cracks the skin and allows for faster evaporation. While these methods are faster, the natural air-drying method allows for a more gradual transformation and can result in a slightly different texture and flavor profile.
What are the best types of grapes to use for making raisins?
The best types of grapes for making raisins are typically seedless varieties with thin skins. This is because the absence of seeds makes them more convenient to eat, and thin skins allow moisture to evaporate more readily. Common varieties that work well include Thompson Seedless (which are the most common type of raisin), Flame Seedless, and Crimson Seedless. Green grapes like Perlette or Autumn Royal also make excellent raisins. While you can technically make raisins from seeded grapes, the process is less practical for consumption. The water content and sugar concentration of the grape also play a role, with sweeter, juicier grapes yielding more flavorful raisins.
How should I store homemade raisins to keep them fresh?
Proper storage is crucial for maintaining the freshness and preventing spoilage of your homemade raisins. Once they are completely dried and have reached the desired texture, allow them to cool down to room temperature. Then, transfer them into an airtight container. This could be a glass jar with a tight-fitting lid, a resealable plastic bag, or a food-grade storage container. Store the container in a cool, dry place, away from direct sunlight and heat sources. A pantry or a cupboard is usually ideal. If stored correctly, homemade raisins can last for several months. Avoid storing them in humid environments, as this can lead to mold growth or a sticky texture.
What scientific concepts does this project demonstrate?
This 'Grape to Raisin Density Change' project beautifully demonstrates several fundamental scientific concepts. Primarily, it illustrates **dehydration**, the process of removing water from a substance. This leads to a significant change in **mass**, as water constitutes a large percentage of a grape's weight. It also showcases the concept of **density**, explaining how the removal of mass (water) while retaining most of the solid components leads to a more compact, denser product. Furthermore, it touches upon **evaporation**, the physical process where liquid water turns into water vapor and disperses into the air. Observing the physical changes like shrinking and wrinkling also highlights concepts related to **cellular structure** and **osmosis** (though indirectly, as water moves out of cells).
What Next?
The transformation from grape to raisin is a testament to the power of simple evaporation. For variations, consider experimenting with different types of grapes or even other fruits like blueberries to see how their water content and skin thickness affect drying time and final texture. Once your raisins are ready, they can be stored in an airtight container for future snacking or incorporated into baking projects. This experiment also opens doors to exploring other dehydration techniques, such as using a food dehydrator for a faster result, or even investigating the science behind preserving food through drying.
Free: 10 Paper Crafts Anyone Can Make in 5 Minutes
Get our beginner guide + new craft ideas weekly.
No spam. Unsubscribe anytime.
Did you complete this activity?
Related
You might also like
Floating Egg Density Challenge
Balloon Inflating Science Fun
National Geographic Crystal Garden
Edible Gummy Bear Slime
DIY Rainbow Walking Water Experiment