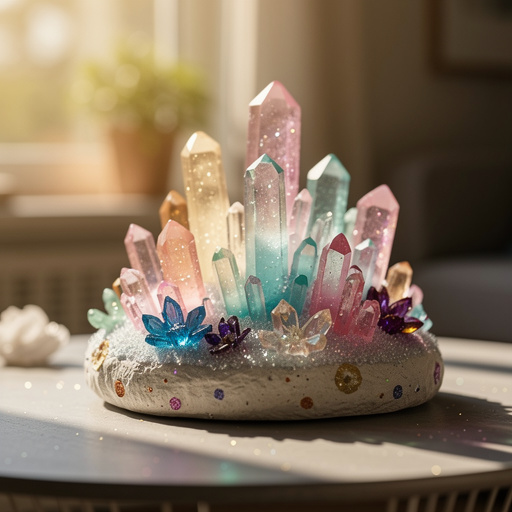
Density Bottle with Oil & Water
Discover the magic of density with a hands-on science experiment! This easy-to-create density bottle uses common household items like oil, water, and food coloring to visually explain why some things float and others sink. It's a fantastic way to introduce young learners to scientific concepts in a fun and engaging manner, sparking curiosity and encouraging observation.
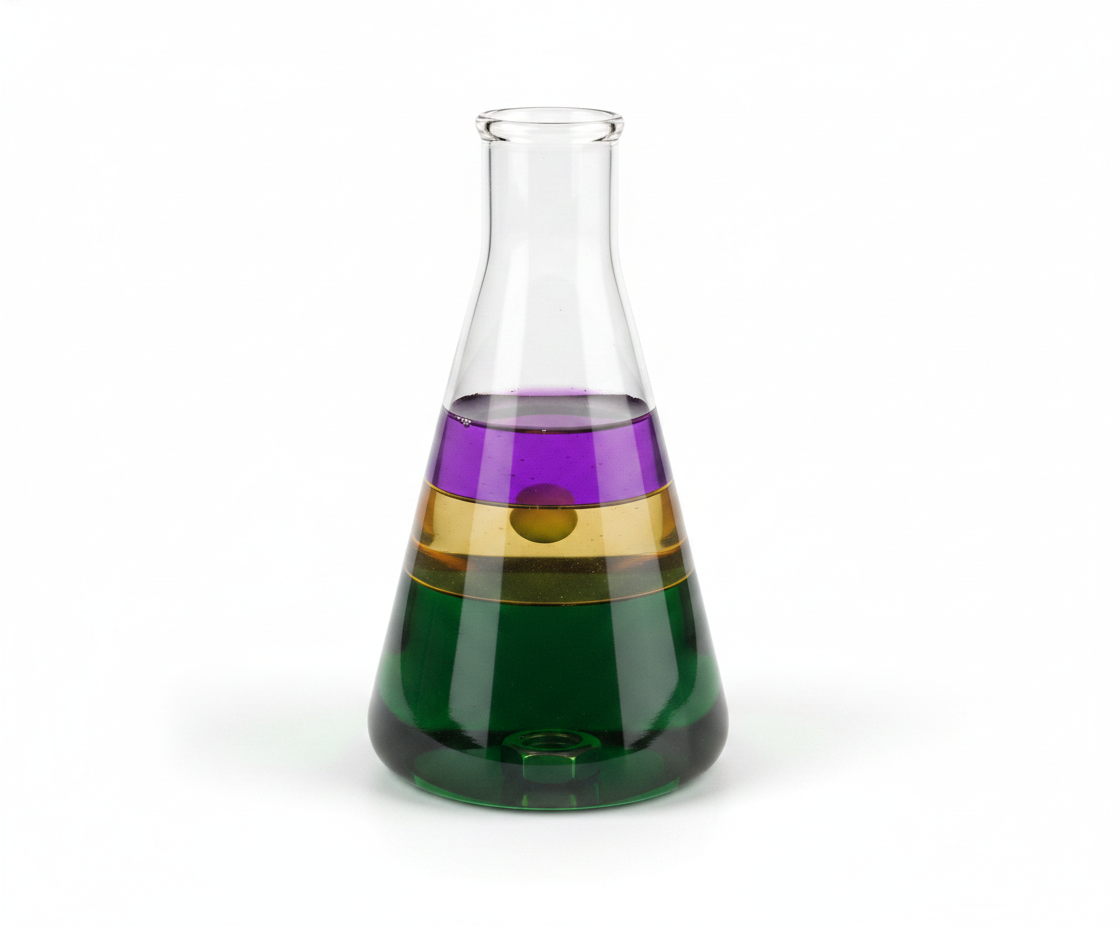
Quick answer
Create a density bottle by layering oil and water in a clear bottle, then adding food coloring and small objects to observe their behavior based on density.
What you need
Shop on Amazon · As an Amazon Associate we earn from qualifying purchases. Links above are affiliate links — we may earn a commission at no extra cost to you.
Embark on a captivating scientific adventure right in your own home with the Density Bottle experiment! This project is a cornerstone for introducing young minds to the fundamental concept of density in a way that's both visually stunning and incredibly easy to grasp. It transforms everyday kitchen staples into a mesmerizing display of liquid separation and object buoyancy, making it perfect for curious preschoolers, inquisitive elementary students, and even adults looking for a quick science refresher. Its simplicity belies its power to ignite a lifelong passion for scientific exploration and critical thinking.
On this page
Step-by-Step Instructions
- 1
Begin by asking the child what they think will happen when oil and water are mixed. Encourage them to share their predictions and perhaps even draw their ideas, fostering early scientific inquiry and hypothesis formation.
- 2
Carefully pour approximately ½ cup of vegetable oil into a clear drinking glass. Ensure you are using a glass that is transparent so the layers can be easily observed as they form.
- 3
Next, pour the same amount of water, approximately ½ cup, into the same glass. It's important to pour the water slowly and gently to minimize initial mixing and allow for clearer observation of the separation process.
- 4
Observe and discuss how the oil and water separate almost immediately. Point out the distinct boundary between the two liquids and ask the child to describe what they see, encouraging descriptive language and observation skills.
- 5
Explain the concept of density, using the separation as a visual example. Ask the child to identify which liquid is denser by observing which one settles at the bottom; the oil floats on top, indicating it is less dense than water, which sinks.
- 6
Now, ask the child what they predict will happen when a single drop of water-based food coloring is added to the oil. This prompts them to apply their understanding of density to a new scenario and make further predictions.
- 7
Have the child add one drop of food coloring to the oil. Observe how the drop initially sits on the surface of the oil or slowly makes its way down. If the drop doesn't immediately sink through the oil, a toothpick can be used gently to encourage it to move downwards, allowing observation of its behavior as it encounters the water layer.
- 8
Observe the food coloring drop as it travels through the oil. Discuss its path and whether it mixes with the oil. This step highlights that the food coloring is water-based and will eventually interact with the water layer.
- 9
Watch as the food coloring drop finally reaches the water layer. Notice how it begins to disperse and color the water. This demonstrates that the food coloring is miscible with water but not with oil.
- 10
Once the food coloring has colored the water layer, carefully pour the oil and water mixture into the clear plastic bottle. Aim to fill the bottle about two-thirds full to leave enough space for the objects and for shaking.
- 11
Securely fasten the lid onto the plastic bottle. Ensure the lid is tightly sealed to prevent any leaks during the experiment, especially if the bottle will be shaken.
- 12
Now, introduce the small objects one by one. Start with objects that are likely to sink, such as a paperclip or a coin. Ask the child to predict whether each object will float or sink in the oil and water mixture.
- 13
Carefully drop each object into the bottle. Observe where each object settles. Does it float on top of the oil, sink to the bottom of the water, or perhaps get stuck somewhere in between?
- 14
Discuss the results for each object. Relate their behavior back to the concept of density. Objects that are denser than the liquid they are in will sink, while objects less dense will float. For example, a metal paperclip is denser than both oil and water, so it sinks to the bottom.
- 15
Experiment with objects that might float. A small plastic toy or a bead might float on the surface of the oil or within the oil layer, indicating it is less dense than the oil.
- 16
Introduce an object that might have a density somewhere in between the oil and water, like a small piece of cork or a grape. Observe if it floats on the oil-water interface, demonstrating a density close to that of water.
- 17
Gently shake the bottle. Observe how the oil and water momentarily mix but then quickly separate again. This reinforces the concept that their densities are different and they do not readily mix.
- 18
Encourage the child to add more objects of varying sizes and materials to the bottle. This allows for continued exploration and prediction based on their growing understanding of density.
- 19
Discuss the different layers within the bottle. Point out the oil layer at the top, the water layer at the bottom, and how the food coloring has only colored the water. This visual reinforces the separation based on density.
- 20
Ask the child to explain in their own words why some objects sink and others float, using the density bottle as their reference. This encourages them to articulate their understanding and solidify their learning.
Tips & Troubleshooting
- 1For a more vibrant and visually striking density bottle, consider using multiple colors of food coloring. You can add different colors to separate portions of water before pouring them into the bottle, creating distinct colored layers.
- 2When adding objects, choose a variety of materials with different densities. This will provide a broader range of behaviors to observe and discuss, from heavy metal objects that sink rapidly to light plastic items that float effortlessly.
- 3Ensure the plastic bottle has a very secure lid. Before letting children handle the bottle, double-check that it is tightly sealed to prevent any accidental spills, especially if the bottle is intended for repeated play or display.
- 4If you want to create a more permanent density bottle, you can use a clear glass jar with a screw-on lid and seal the lid with strong glue or epoxy after the experiment is complete. This makes it safe for younger children to handle without the risk of spills.
- 5Encourage children to make predictions before adding each object. This active participation in the scientific process, from hypothesis to observation and conclusion, significantly enhances their learning experience and engagement.
- 6After the initial setup, gently tilting or swirling the bottle can create mesmerizing visual effects as the oil and water move. However, avoid vigorous shaking if you want to maintain distinct layers for observation.
- 7Discuss the concept of 'miscibility' – the ability of liquids to mix. Explain that oil and water are immiscible because of their different molecular structures and densities, which is why they separate.
- 8For an added educational element, you can have the child draw or write about their observations after each step. This can serve as a personal science journal, documenting their discoveries and reinforcing their understanding of density.
Related Activities You Might Enjoy
Frequently Asked Questions
What is density and why do oil and water separate?
Density is a measure of how much mass is contained in a given volume of a substance. Think of it as how 'packed' the molecules are. Water molecules are packed more tightly together than oil molecules. Because water molecules are more tightly packed, water is denser than oil. When you pour them together, the denser substance (water) sinks to the bottom, and the less dense substance (oil) floats on top. This separation is a direct visual demonstration of their differing densities, a fundamental concept in physics and chemistry that explains why many substances behave the way they do in different environments.
Can I use other types of oil besides vegetable oil?
Absolutely! You can experiment with various types of cooking oils like canola oil, sunflower oil, or even mineral oil. Each type of oil will have a slightly different density, which might subtly affect how it interacts with the water and the objects you add. For a more dramatic visual, you could even try using a denser oil like olive oil and comparing its behavior to a lighter oil like vegetable oil. The key is to use a clear or lightly colored oil so you can easily see the layers and the movement of the food coloring and objects within the bottle.
What if the food coloring doesn't sink through the oil?
It's common for water-based food coloring to initially sit on top of or slowly descend through the oil because oil and water don't mix (they are immiscible). The food coloring is water-based, so it's attracted to the water, not the oil. If a drop is struggling to make its way down, you can gently use a toothpick to nudge it towards the water layer. This allows you to observe its journey and see how it behaves as it finally encounters the water, where it will readily mix and color the water layer.
How can I make the density bottle more engaging for older children?
For older children, you can deepen the exploration of density. Introduce more complex objects with densities closer to that of water or oil, and challenge them to predict where they will settle. You can also discuss concepts like buoyancy and Archimedes' principle. Encourage them to research the densities of different common liquids and solids and then predict how they would layer if combined. Another idea is to create a 'density column' by layering multiple liquids of varying densities, such as honey, corn syrup, dish soap, water, and oil, to create a spectacular visual gradient.
What are some other objects I can use to test buoyancy?
The possibilities are vast and depend on what you have available! Beyond beads and paperclips, consider small plastic toys (like LEGO bricks or tiny action figures), buttons, small stones or pebbles, a coin, a grape, a small piece of cork, a rubber band, a small piece of wood, or even a small screw. The goal is to select items with a range of densities so that some will float on the oil, some will sink to the bottom, and perhaps some will hover in between the oil and water layers, providing a rich dataset for observation and discussion.
Is this experiment safe for very young children?
This experiment is generally very safe for young children, especially with adult supervision. The materials used are non-toxic household items. The main safety concern is ensuring the bottle lid is securely fastened to prevent spills, particularly if the child is prone to shaking the bottle vigorously. If you are concerned about spills or want to make it a permanent display, sealing the lid with glue after the experiment is a good option. Always supervise young children during any science experiment to ensure they handle materials appropriately and understand the instructions.
What Next?
Your completed density bottle is more than just a fun craft; it's a dynamic learning tool! Consider creating multiple bottles with different colored liquids or varying amounts of oil and water to explore how these changes affect the density layers. You can also experiment with different types of oils and liquids to see how their densities compare. Once your experiment is complete, the bottle can serve as a captivating display piece, a constant reminder of the scientific principles at play. Store it upright and away from direct sunlight to preserve its clarity and vibrant colors for future demonstrations.
Free: 10 Paper Crafts Anyone Can Make in 5 Minutes
Get our beginner guide + new craft ideas weekly.
No spam. Unsubscribe anytime.
Did you complete this activity?
Related
You might also like
Floating Egg Density Challenge
National Geographic Crystal Garden
Grape to Raisin Density Change
Balloon Inflating Science Fun
Coffee Filter Marker Chromatography Art