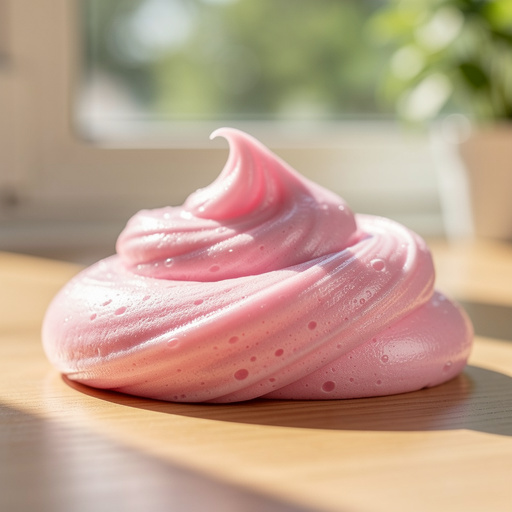
How to Make Sparkly Borax Slime — Easy Step-by-Step Guide
Whip up a batch of mesmerizing, stretchy, sparkly slime using a simple borax recipe. This classic science experiment is a blast for kids!

Quick answer
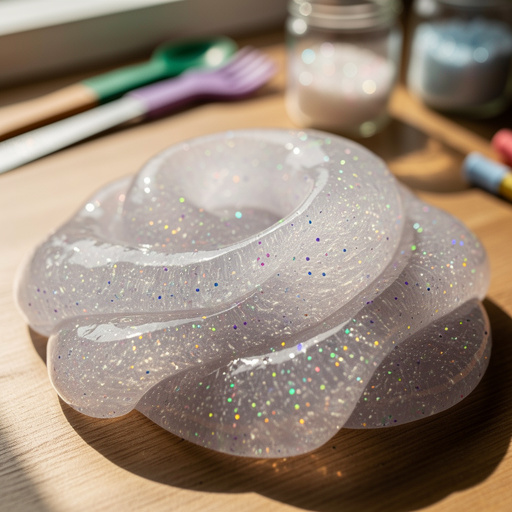
To make sparkly borax slime, you need white glue, water, borax, and glitter, taking about 15 minutes. Start by mixing glue and water. This beginner-friendly activity has 10 steps and is perfect for kids aged 6+.
What you need
Shop on Amazon · As an Amazon Associate we earn from qualifying purchases. Links above are affiliate links — we may earn a commission at no extra cost to you.
Get ready for a dazzling DIY adventure with our Sparkly Borax Slime recipe! This project is a fantastic way to introduce kids to basic chemistry principles in a fun, hands-on way. The magic of transforming simple ingredients into a stretchy, shimmering substance is captivating for young minds. It’s a perfect activity for rainy days, birthday parties, or just a fun afternoon of creative play. With minimal materials and straightforward steps, even the youngest crafters can participate with a little adult guidance, making it an accessible and rewarding science experiment for everyone.
On this page
Step-by-Step Instructions
- 1
In the first medium bowl, carefully measure and pour in 1 cup (240ml) of white school glue. This forms the base of your slime, providing its stretchy and cohesive properties.
- 2
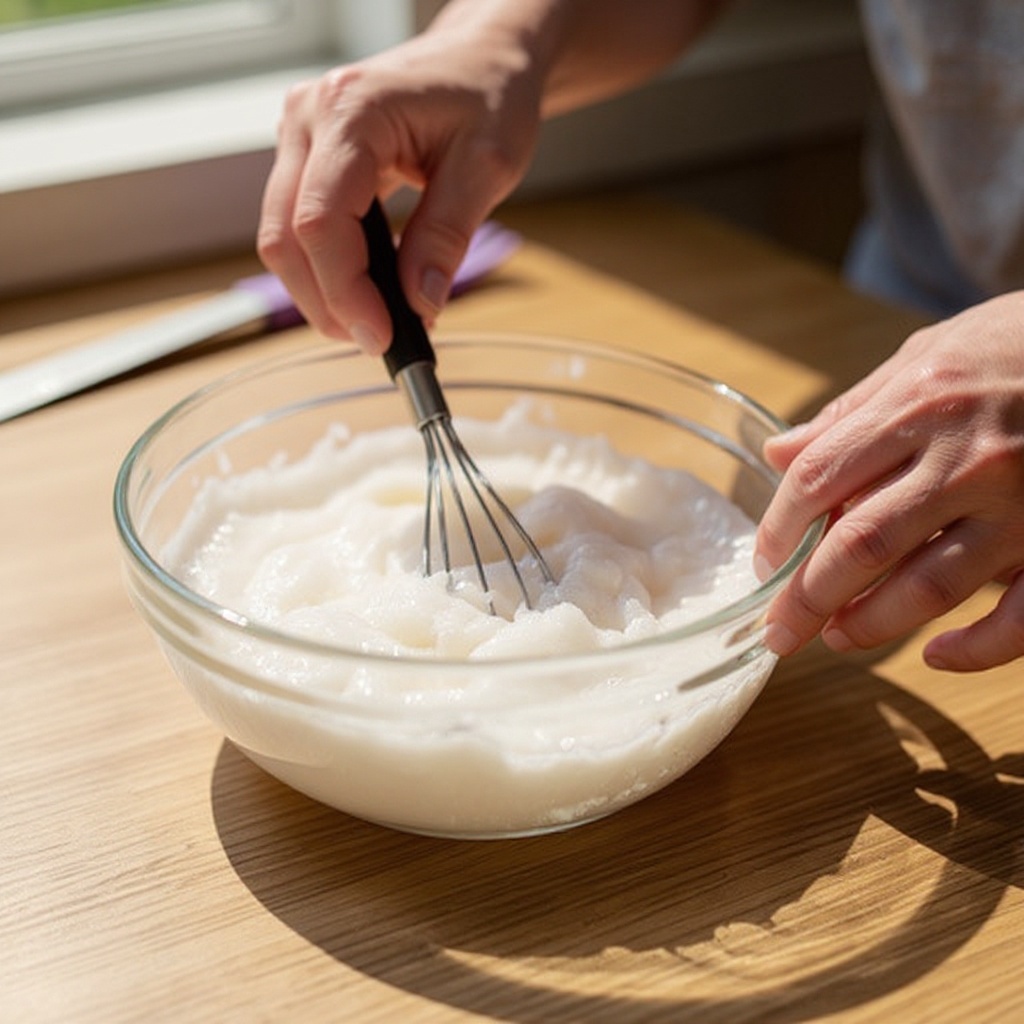
Add 1/4 cup (60ml) of warm water to the glue in the first bowl. Warm water helps the glue and water to combine more smoothly, creating a better slime base.
- 3
Stir the glue and water mixture thoroughly until it is completely combined and has a uniform consistency. Ensure there are no streaks of glue or pockets of water remaining; a well-mixed base is crucial for successful slime.
- 4
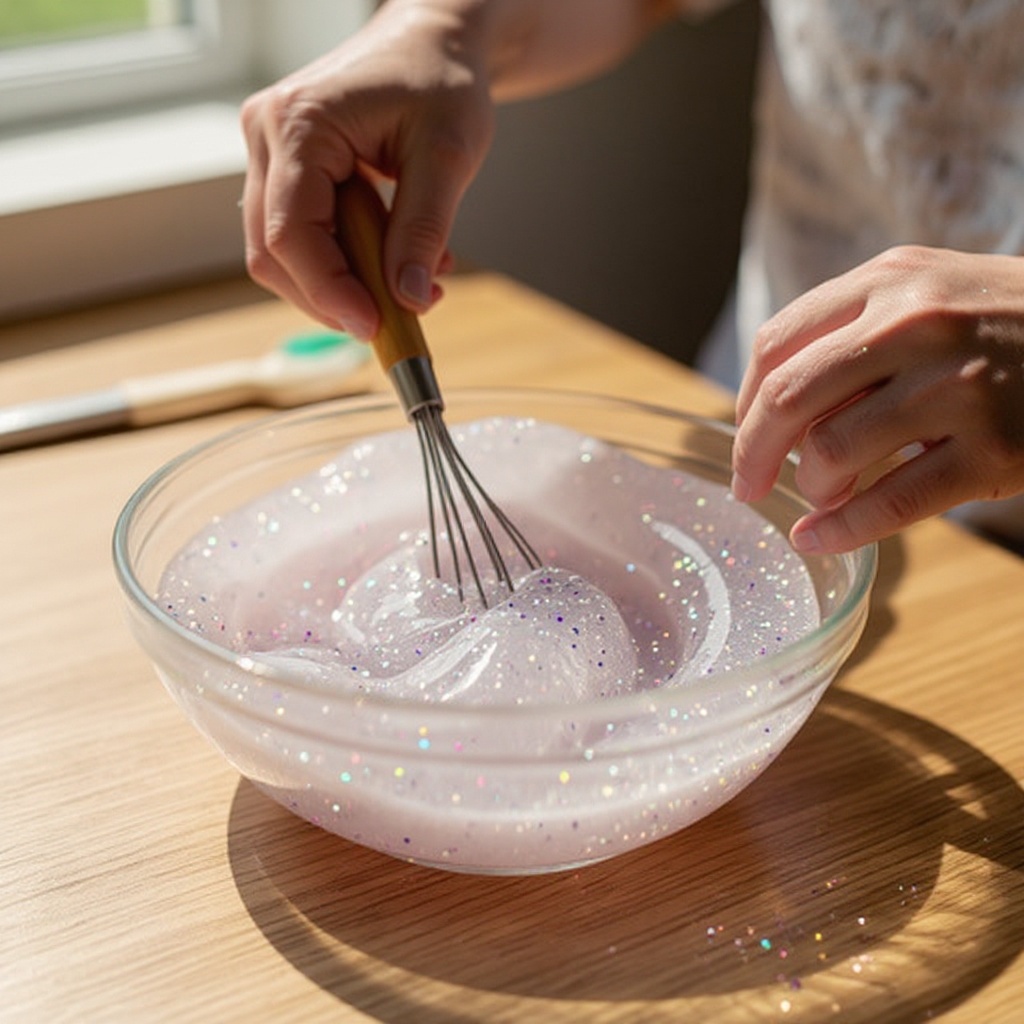
If you desire colored slime, now is the time to add your food coloring. Start with just a few drops of your chosen color and stir it into the glue mixture until the color is evenly distributed and vibrant. You can add more drops for a deeper shade.
- 5
For that extra touch of magic, stir in your desired amount of glitter into the glue mixture. Experiment with different types and amounts of glitter – fine glitter provides a subtle shimmer, while chunky glitter adds a more pronounced sparkle. Ensure the glitter is mixed in well so it's evenly dispersed throughout the slime.
- 6
In the second medium bowl, measure out 1/4 cup (60ml) of warm water. This water will be used to activate the borax.
- 7
Carefully add 1 teaspoon of borax powder to the warm water in the second bowl. It's important to use the correct amount of borax, as too much can make the slime stiff.
- 8
Stir the borax and water mixture vigorously until the borax powder is completely dissolved. You should not see any grainy particles at the bottom of the bowl; a fully dissolved borax solution is key to activating the slime properly.
- 9
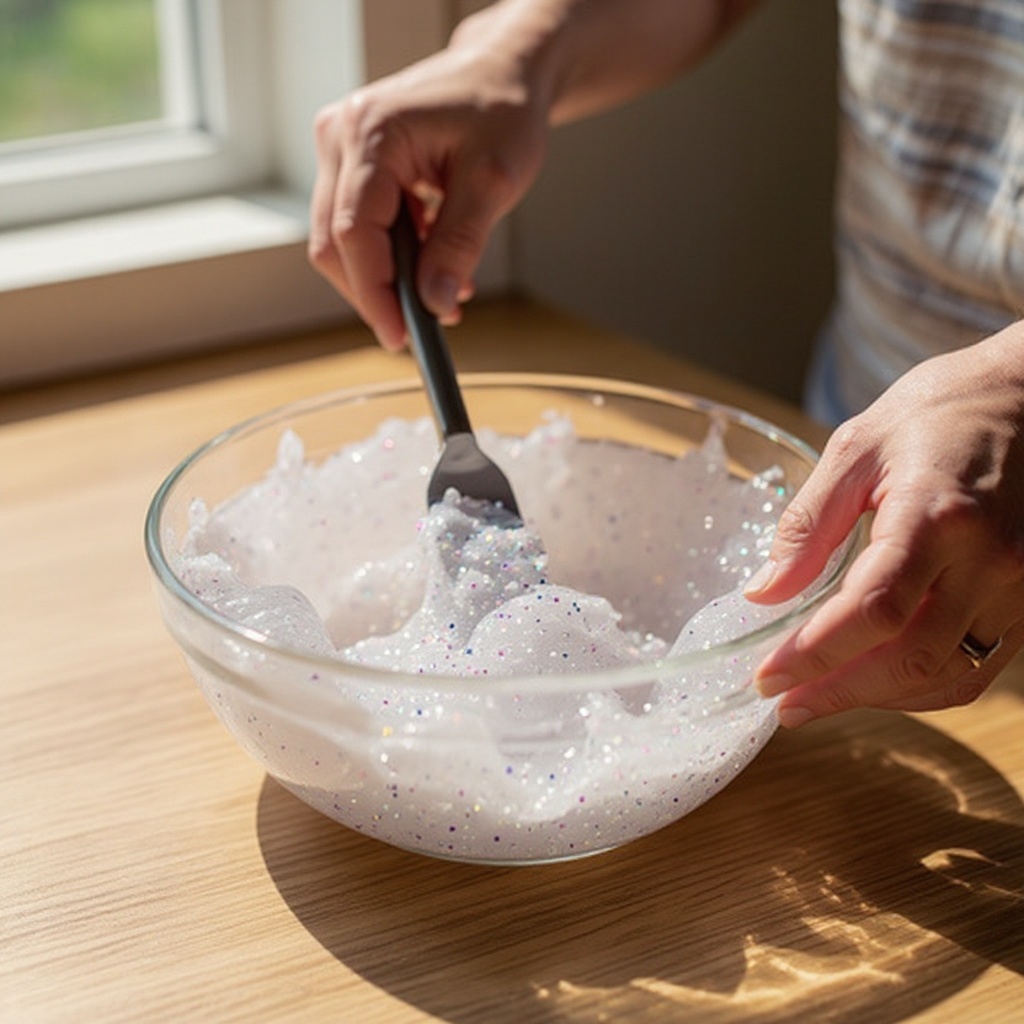
Now, it's time for the activation! Slowly pour the dissolved borax solution into the glue mixture in the first bowl, stirring continuously as you pour. Pouring slowly and stirring simultaneously helps to evenly distribute the activator.
- 10
As you continue to stir, you will immediately notice a transformation. The mixture will begin to clump together and pull away from the sides of the bowl, starting to form a cohesive slime mass. Keep stirring to encourage this process.
- 11
Continue stirring until the slime is mostly formed and appears less sticky. It might still be a bit gooey, but it should be gathering into a single mass rather than remaining a liquid.
- 12
Once the slime becomes too thick and difficult to stir effectively with your utensil, it's time to get your hands involved. Carefully remove the slime from the bowl.
- 13
Begin kneading the slime with your hands for about 2-3 minutes. It will likely feel quite sticky at first, which is completely normal. As you knead, the slime will become smoother, less sticky, and more pliable.
- 14
Continue kneading until the slime reaches your desired consistency. It should be stretchy, hold its shape, and be fun to play with. If it's still too sticky after a few minutes of kneading, you can proceed to the troubleshooting tips.
- 15
Your sparkly borax slime is now ready for endless fun! Stretch it, squish it, poke it, and enjoy the satisfying sensory experience of playing with your homemade creation.
Tips & Troubleshooting
- 1If your slime is too sticky after kneading, don't despair! You can fix it by adding a tiny bit more borax solution. Add just a teaspoon at a time, kneading it in thoroughly after each addition, until the slime reaches your desired less-sticky consistency. Be cautious not to add too much, as this can lead to stiff slime.
- 2Conversely, if your slime is too stiff, breaks easily, or feels rubbery, it likely contains too much borax. To remedy this, try adding a small amount of extra white glue and kneading it in. This will help to reintroduce flexibility and make the slime more stretchy.
- 3Get creative with your slime! Experiment with a wide array of colors and types of glitter to create truly unique slime creations. Consider mixing fine glitter with chunky glitter for a multi-dimensional sparkle, or try holographic glitter for an iridescent effect.
- 4For the smoothest slime possible, ensure your initial glue and water mixture is thoroughly combined before you even think about adding the borax solution. Any lumps or unevenness in the base mixture can affect the final texture of your slime.
- 5Always supervise young children closely during the slime-making process and while they are playing with the finished product. Ensure they understand that slime is not for eating and that they should wash their hands thoroughly with soap and water after playing to remove any residue.
- 6Consider adding a drop or two of baby oil to your slime during the kneading process. This can help to make the slime feel smoother and less sticky, enhancing the overall tactile experience.
- 7If you're aiming for a specific color intensity, it's often best to start with less food coloring and add more gradually. This prevents accidentally making the slime too dark and allows you to achieve the perfect shade.
- 8When dissolving the borax, ensure the water is warm but not boiling. Very hot water can sometimes affect the glue's properties, and lukewarm or warm water is ideal for dissolving the borax efficiently.
Related Activities You Might Enjoy
Frequently Asked Questions
Is borax slime safe for kids?
Borax slime, when made and used correctly, is generally considered safe for children aged 6 and up, provided there is adult supervision. The key is to ensure that children do not ingest any of the slime or its ingredients, as borax can be harmful if swallowed. It's also crucial for children to wash their hands thoroughly with soap and water after making and playing with slime to remove any residual borax. If you have concerns about borax, you can explore alternative slime recipes that use ingredients like contact lens solution or liquid starch as activators, which are often considered milder.
Why is my borax slime so sticky?
If your borax slime is excessively sticky, it typically indicates that the activator (the borax solution) hasn't been added in sufficient quantity or wasn't mixed thoroughly enough into the glue mixture. The borax solution is what causes the glue molecules to link together, forming the slime's structure. To fix sticky slime, gradually add more borax solution, just a teaspoon at a time, while kneading the slime thoroughly after each addition. Continue this process until the slime is no longer sticking excessively to your hands and has a more manageable, stretchy consistency. Be patient and avoid adding too much activator at once.
How do I store borax slime?
Proper storage is essential to keep your borax slime from drying out and becoming hard. The best way to store it is in an airtight container or a resealable plastic bag. Ensure that as much air as possible is squeezed out of the bag before sealing it. Store the container or bag at room temperature, away from direct sunlight or extreme heat, which can cause the slime to degrade. With proper storage, your homemade borax slime can remain playable and enjoyable for several days, or even longer.
Can I make borax slime without glitter?
Absolutely! Glitter is entirely optional and is added purely for aesthetic appeal. If you prefer a plain slime or want to focus on the texture and stretchiness, simply omit the glitter from the recipe. You can still achieve vibrant and fun slime by using food coloring to add a splash of color. This allows you to customize the slime's appearance to your liking, whether you want a bold, solid color or a subtle pastel shade, without the sparkle.
What is the role of borax in slime making?
Borax, also known as sodium tetraborate, acts as a cross-linking agent in slime making. When dissolved in water, it forms borate ions. These borate ions then interact with the long polymer chains in PVA (polyvinyl acetate) glue. The borate ions essentially 'tie' these long chains together, creating a network structure. This process, called cross-linking, transforms the liquid glue into a more solid, stretchy, and cohesive substance – the slime we know and love. Without the borax activator, the glue would remain a sticky liquid.
My slime broke when I tried to stretch it. What went wrong?
If your slime breaks easily when stretched, it's a common sign that you've likely added too much borax solution, the activator. An excess of borax causes the polymer chains to become too tightly cross-linked, making the slime brittle and prone to snapping rather than stretching. To fix this, try adding a little more white glue to the broken slime and kneading it in thoroughly. The extra glue will help to loosen the cross-links and reintroduce flexibility. You might need to add a bit more glue than you think, so knead well to incorporate it.
Can I use different types of glue for borax slime?
While white school glue (PVA-based) is the most common and reliable choice for borax slime, you can experiment with other PVA glues. Clear school glue also works very well and is excellent for making transparent or glitter-filled slime. However, glues that are not PVA-based, such as wood glue or super glue, will not work with borax as an activator because they lack the necessary polymer structure. Always ensure you are using a PVA-based glue for the best slime-making results.
What Next?
Congratulations on creating your own shimmering slime masterpiece! This borax slime recipe is just the beginning of your slime-making journey. Feel free to experiment with different color combinations, add more glitter for extra sparkle, or even mix in small, safe embellishments like beads or sequins for unique textures. Once you've had your fill of stretchy fun, store your slime in an airtight container at room temperature to keep it fresh for days. For your next project, consider exploring other slime recipes like fluffy slime or clear slime to discover even more fascinating textures and properties!
Free: 10 Paper Crafts Anyone Can Make in 5 Minutes
Get our beginner guide + new craft ideas weekly.
No spam. Unsubscribe anytime.
Did you complete this activity?
Related
You might also like
Sparkly Glue Slime Fun
Simple Glue and Water Slime
Cloud Dough Slime Creation
Super Fluffy Cloud Slime
Fluffy Glue Cloud Dough