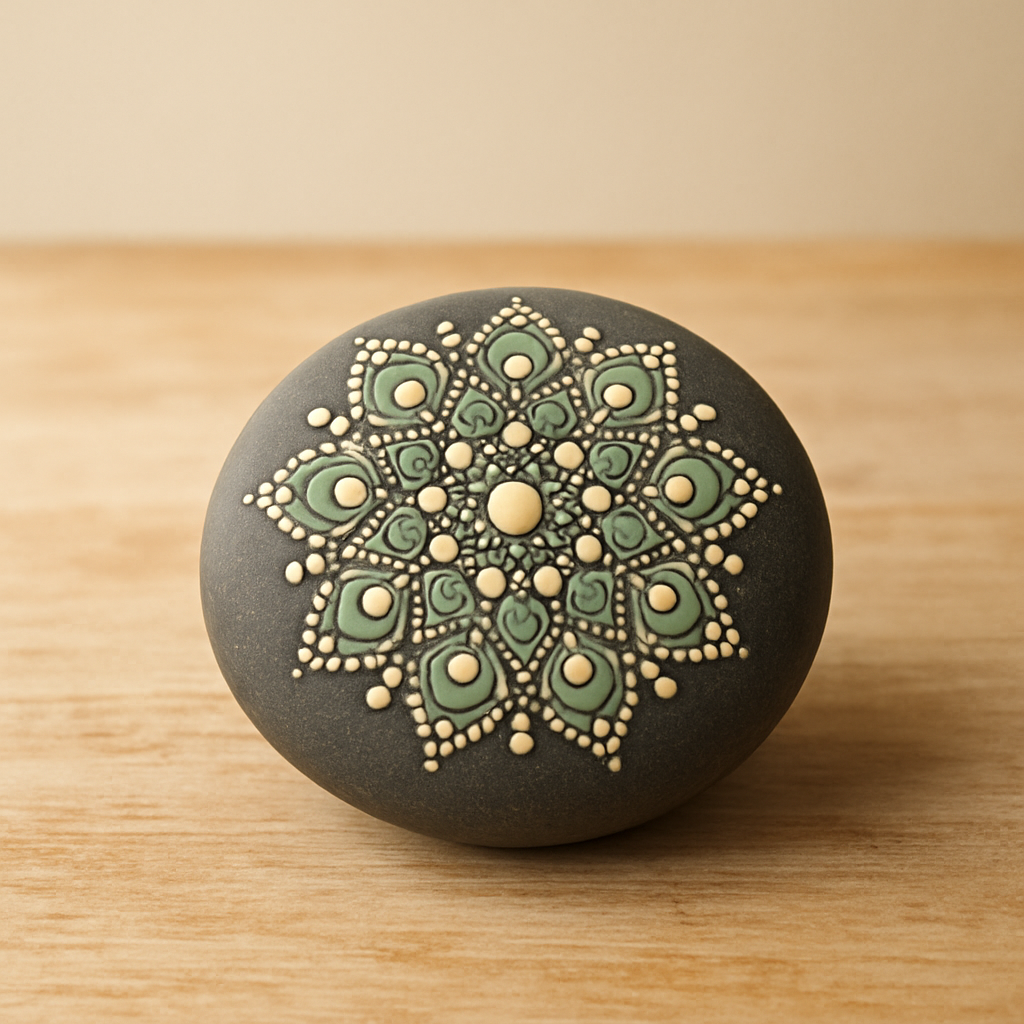
How to Create Zen Mandala Stone Art — A Mindful, Step-by-Step Guide for Adults
Discover the meditative art of painting intricate mandalas on stones. This tutorial guides adults through creating beautiful, calming designs perfect for mindfulness, offering unique insights and troubleshooting tips.
Quick answer
To create Zen mandala stones, you'll need smooth rocks (approx. 3-4 inches), acrylic paints, fine-tip paint pens (0.5mm & 1.0mm), a fine brush (size 0/00), and clear sealant. Expect to spend about 60-90 minutes per stone for detailed designs.
What you need
Shop on Amazon · As an Amazon Associate we earn from qualifying purchases. Links above are affiliate links — we may earn a commission at no extra cost to you.
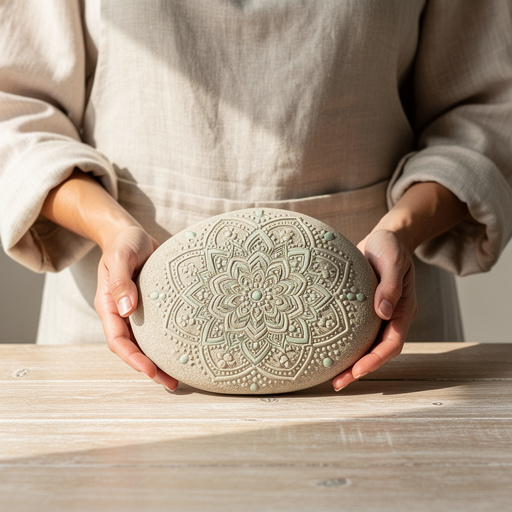
There's a unique kind of peace I find in transforming ordinary rocks into something beautiful, and this Zen Mandala Stone Art project has become my go-to when I need to truly disconnect and find my center. This tutorial guides you through creating these intricate, calming designs, offering a deeply relaxing and rewarding experience specifically for adults. It's more than just a craft; it's about embracing the process – the slow, deliberate application of paint that fosters focus and a sense of calm, much like a moving meditation. We'll delve into selecting the perfect stones, mastering foundational mandala patterns, and exploring techniques for achieving crisp lines and balanced designs, even tackling common issues like paint bleed. It’s ideal for anyone seeking a screen-free way to de-stress, express their artistic side, or create unique decorative pieces for their home or garden.
On this page
Step-by-Step Instructions
- 1
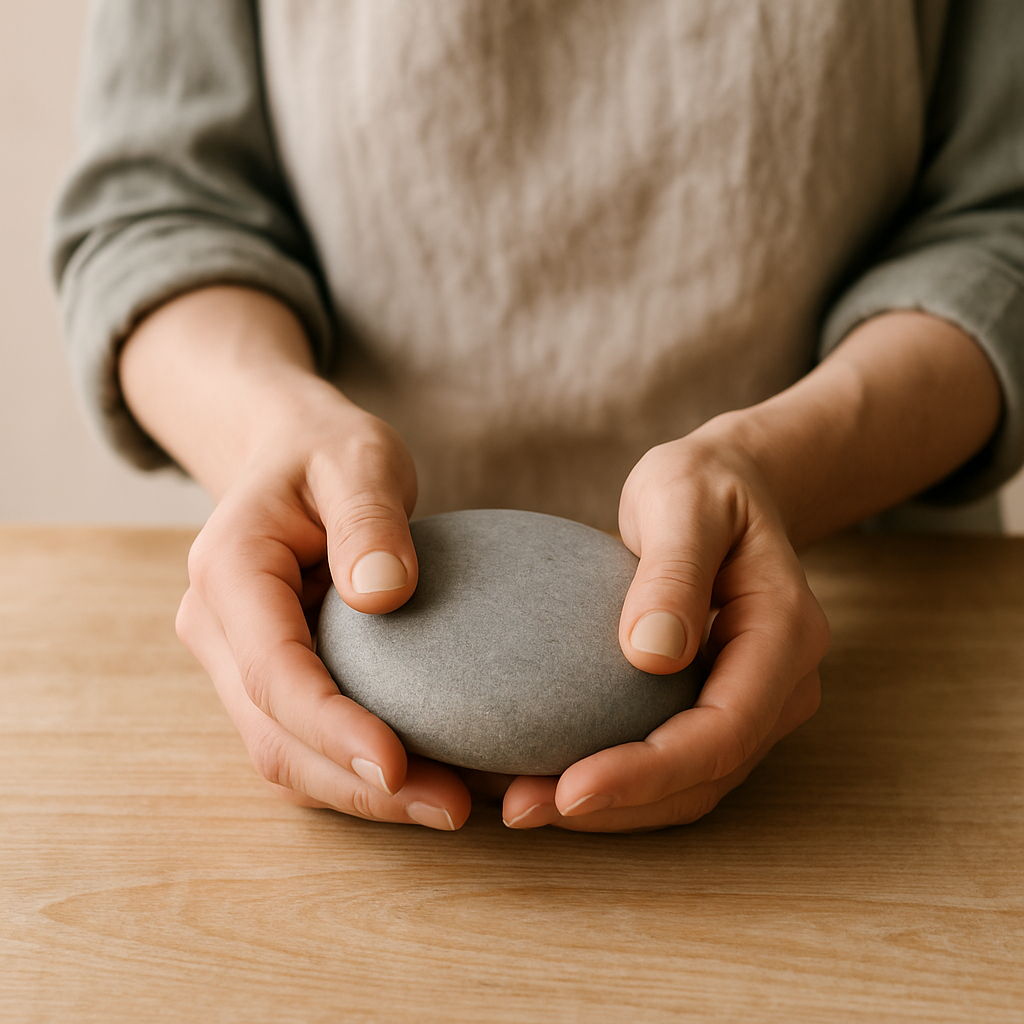
Step 1: Prepare your rocks. Ensure your rocks are clean and completely dry. If they have a chalky residue, gently scrub them with a stiff brush under running water and rinse thoroughly. Allow them to air dry for at least 24 hours to ensure no moisture remains trapped within the stone's pores; if using particularly porous rocks, consider applying a light coat of clear primer spray at this stage and letting it dry completely for better paint adhesion.
- 2
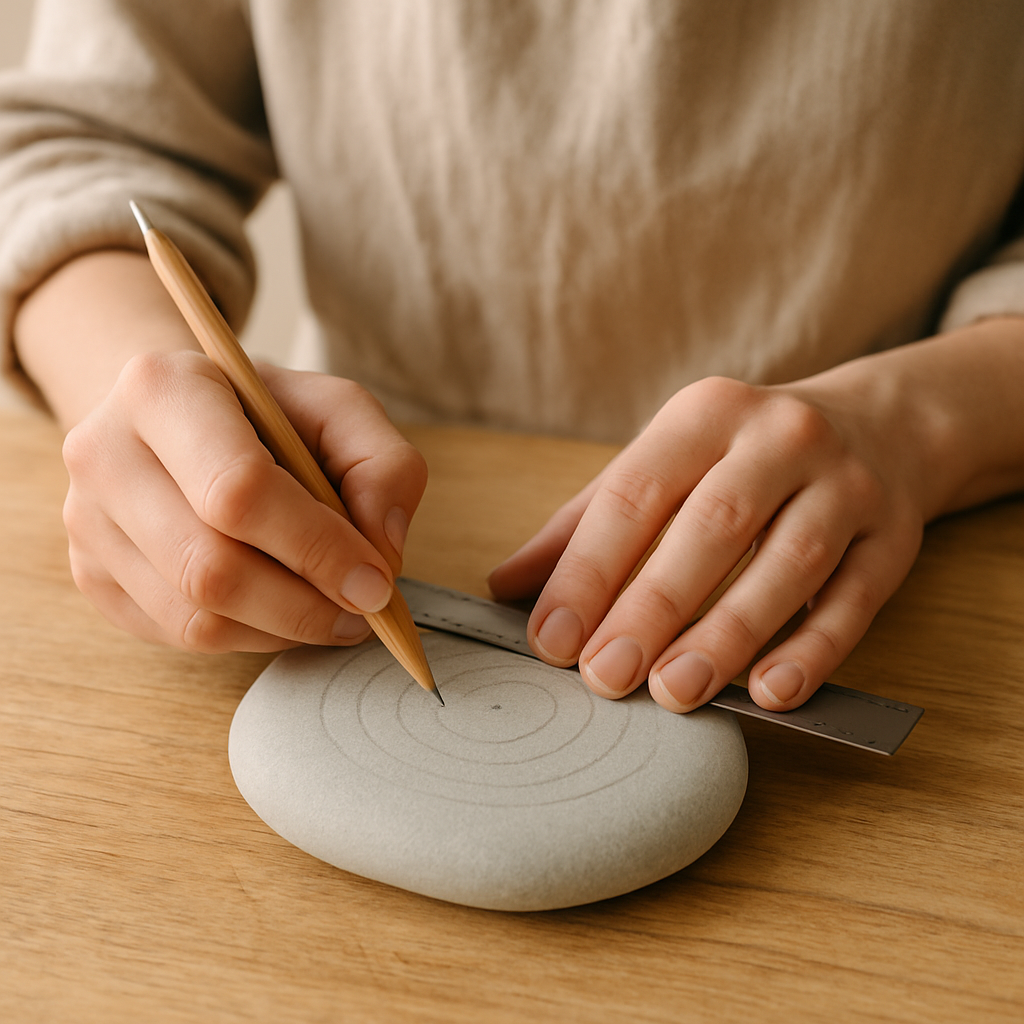
Step 2: Plan your design. Lightly sketch a central dot and a few concentric circles with your pencil on the rock's surface if desired, using your ruler for precision. These are optional guidelines; many mandalas are painted freehand, but they can help with initial symmetry, especially for beginners. If you make a mistake, gently erase it with a soft eraser.
- 3
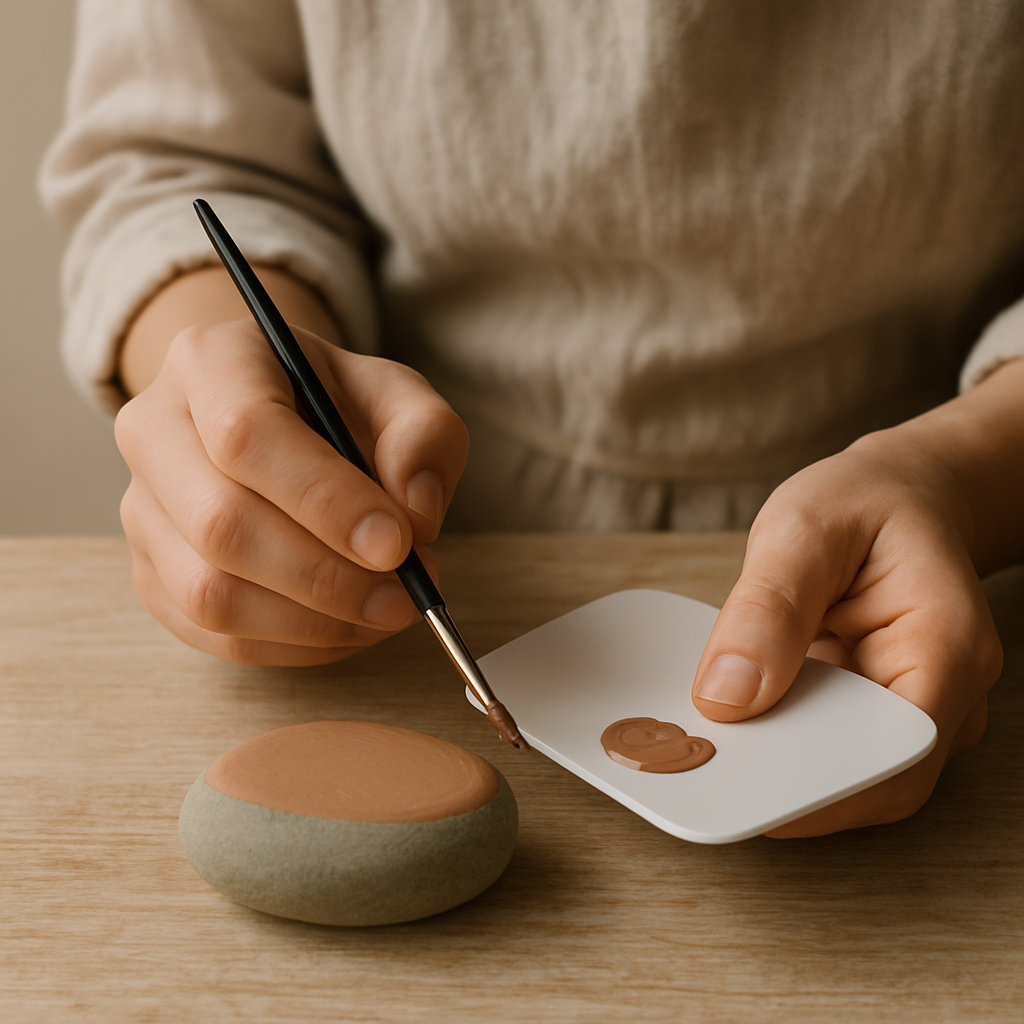
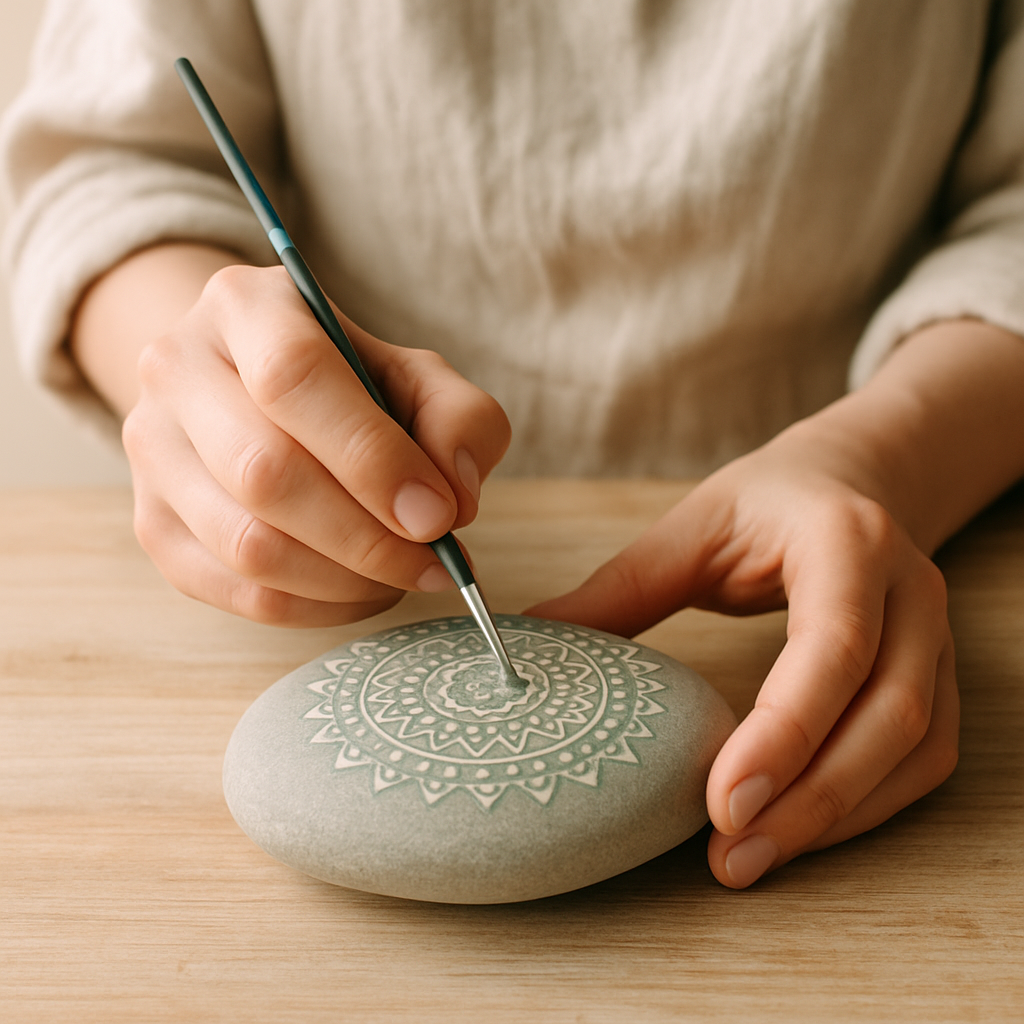
Step 3: Apply the base coat. Using your acrylic paints and the size 0 brush, paint a solid base color onto the top surface of the rock, ensuring even coverage. Let this layer dry completely, which may take 15-30 minutes depending on humidity; a second thin coat can be applied if needed for opacity. If the paint seems to be absorbing too quickly, this indicates a porous rock, and a primer might have been beneficial.
- 4
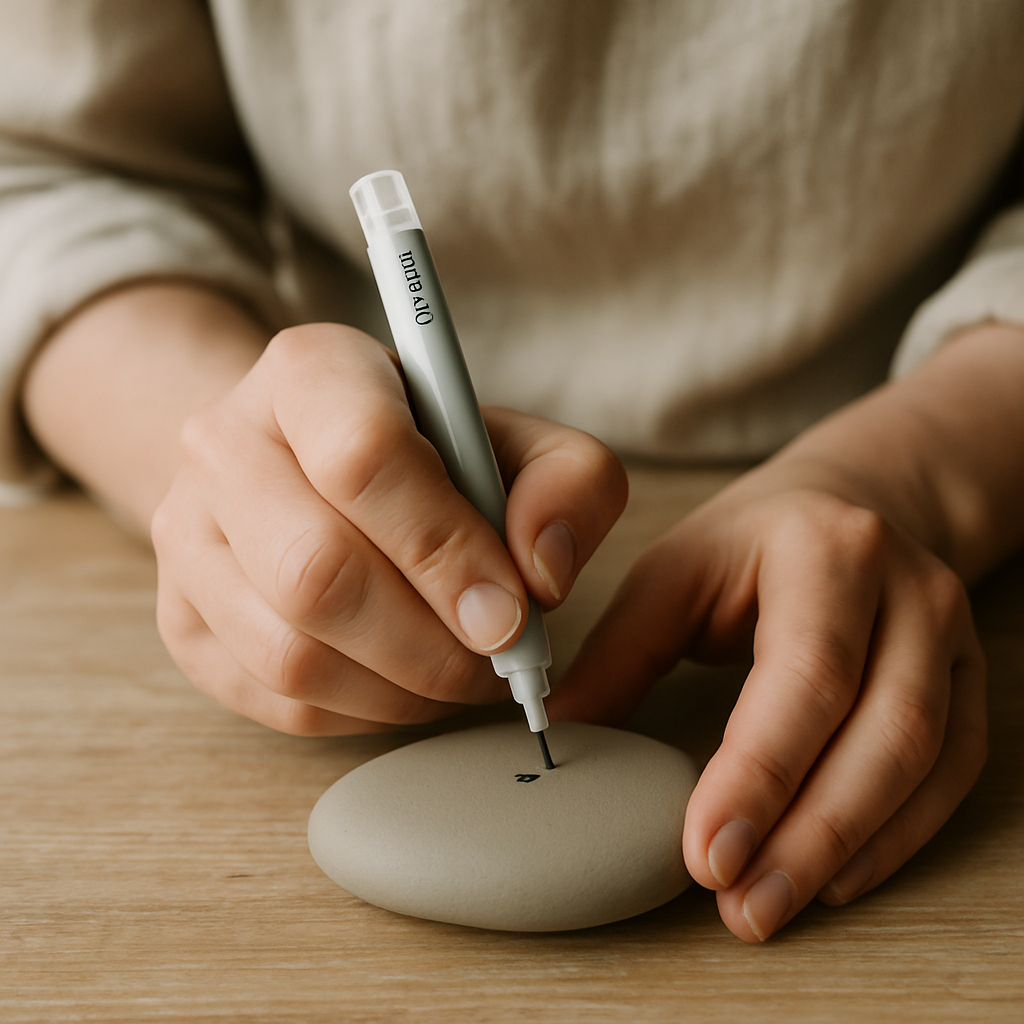
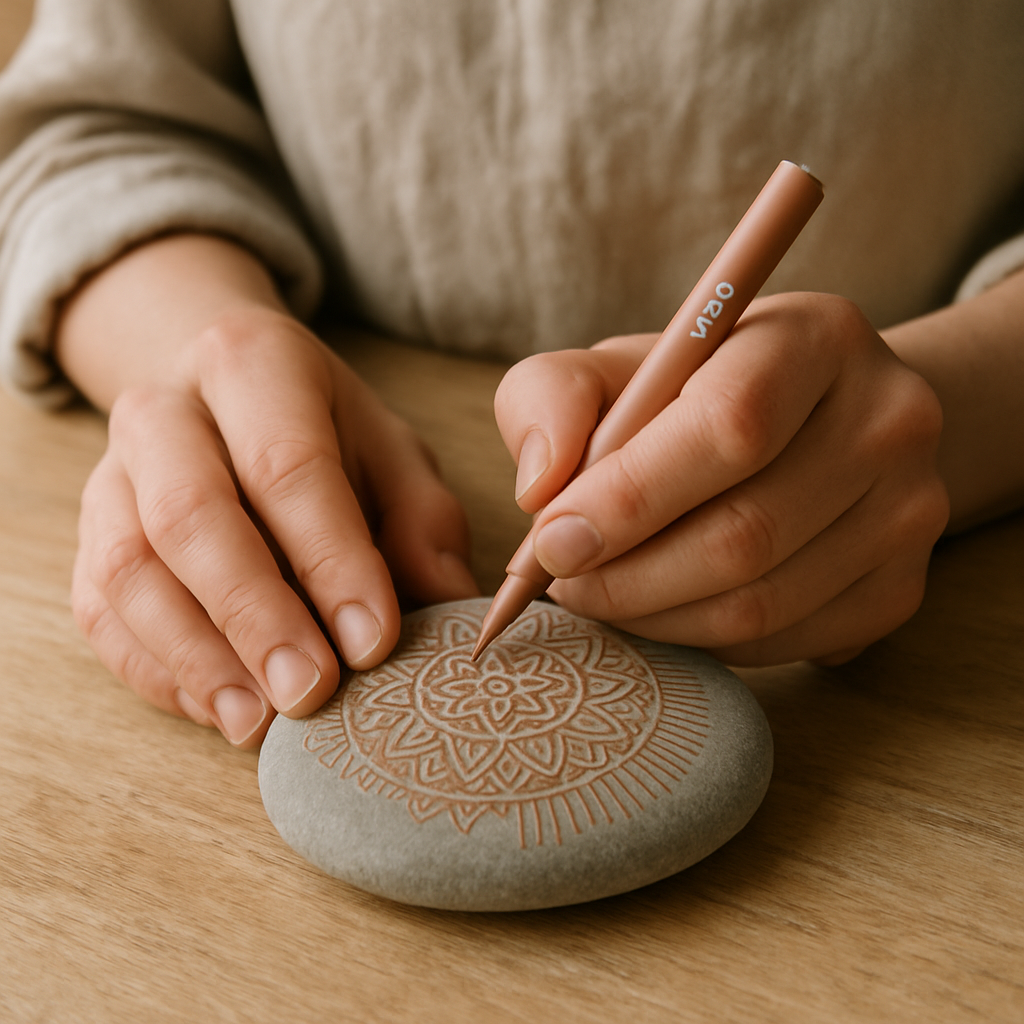
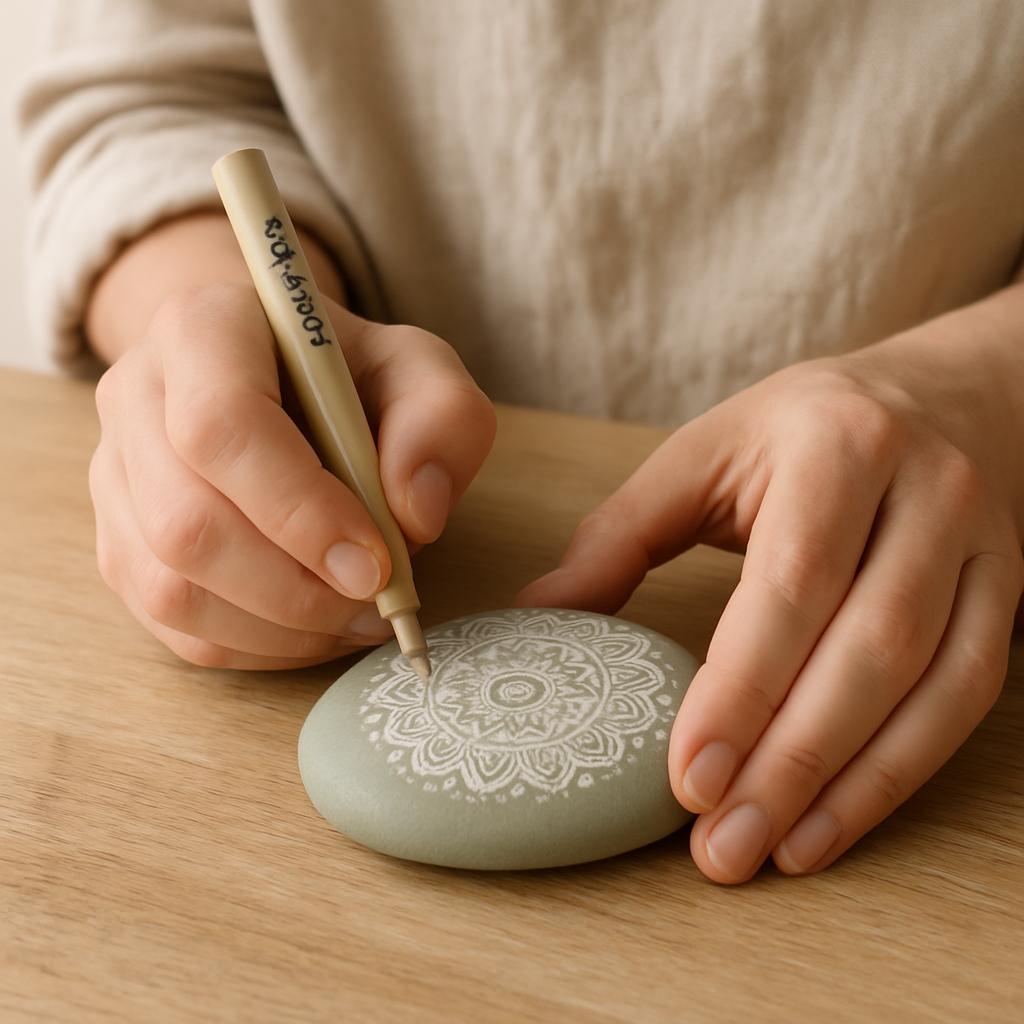
Step 4: Add the central dot. Once the base coat is dry, use a fine-tip paint pen (0.5mm) or the tip of your brush to add a precise, solid dot in the exact center of the rock. This dot serves as the anchor for your entire mandala design. If the dot isn't perfectly round, don't worry; subsequent layers can help camouflage minor imperfections.
- 5
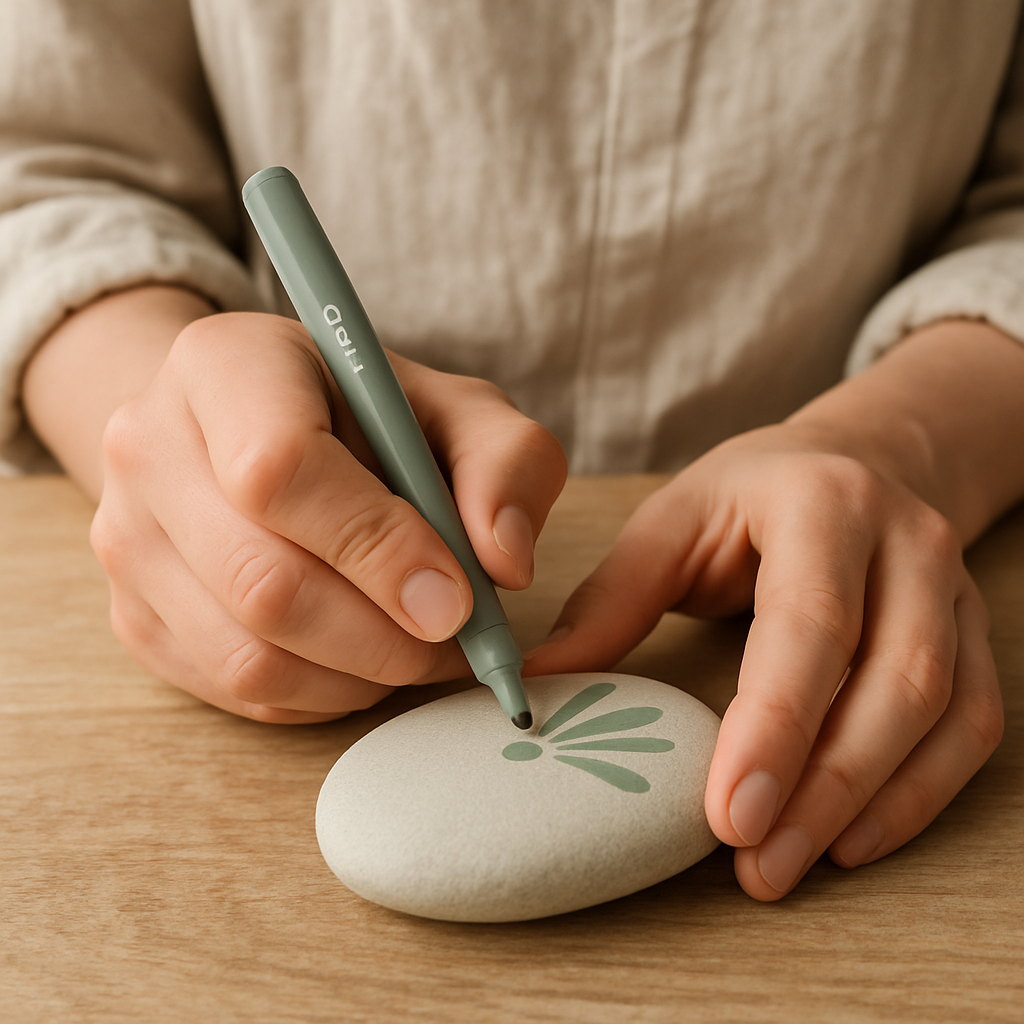
Step 5: Create the first layer of petals/lines. Using a contrasting color with your 0.5mm paint pen, carefully draw elongated teardrop shapes radiating outwards from the central dot, ensuring the pointed end touches the dot and the rounded end points outwards. Aim for symmetry by ensuring each element is mirrored on the opposite side of the dot; if a line isn't perfectly straight, don't worry, we can refine it later.
- 6
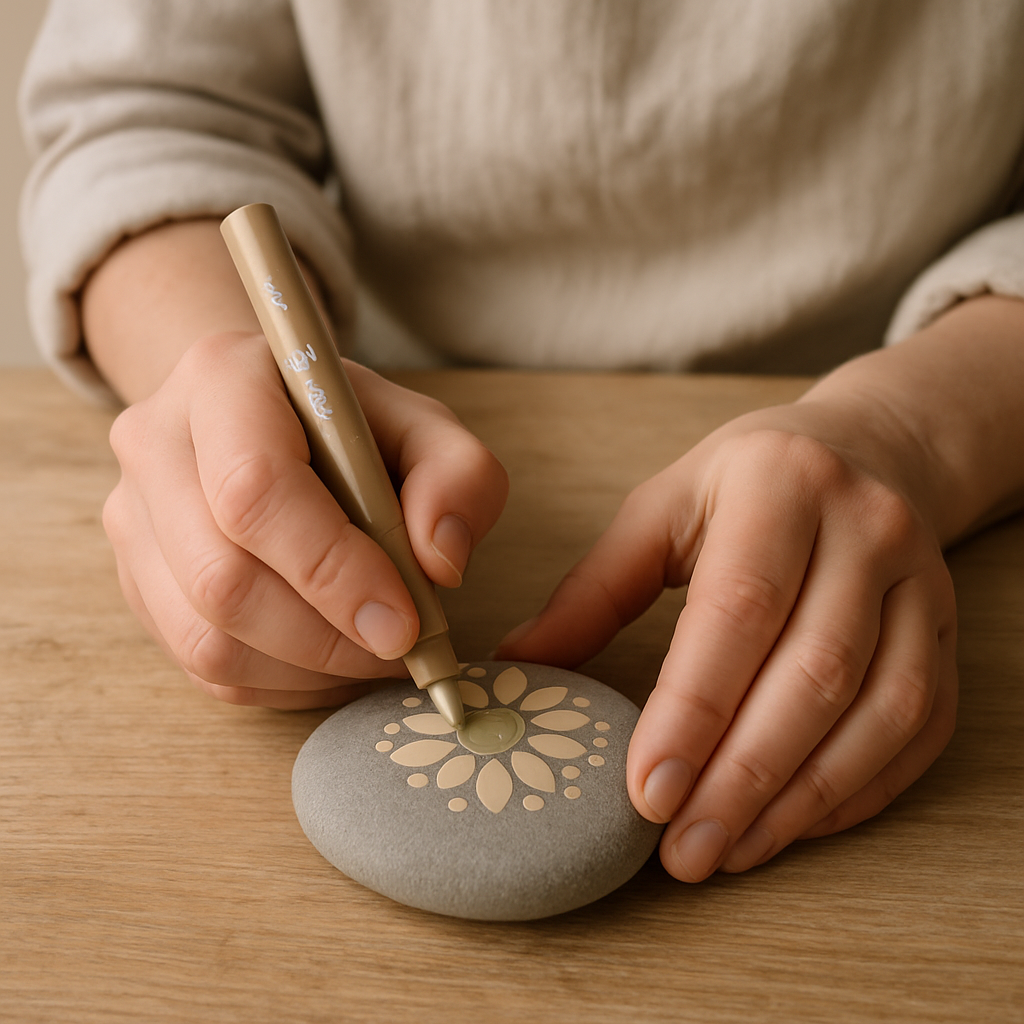
Step 6: Build the second layer. Switch to a different color and your 1.0mm paint pen. Draw another set of shapes or lines just outside the first layer, ensuring they are positioned directly between the elements of the previous layer, or directly aligned with them, depending on the symmetry you're aiming for. For instance, if your first layer had petals, your second layer could have small dots placed in the gaps between those petals.
- 7
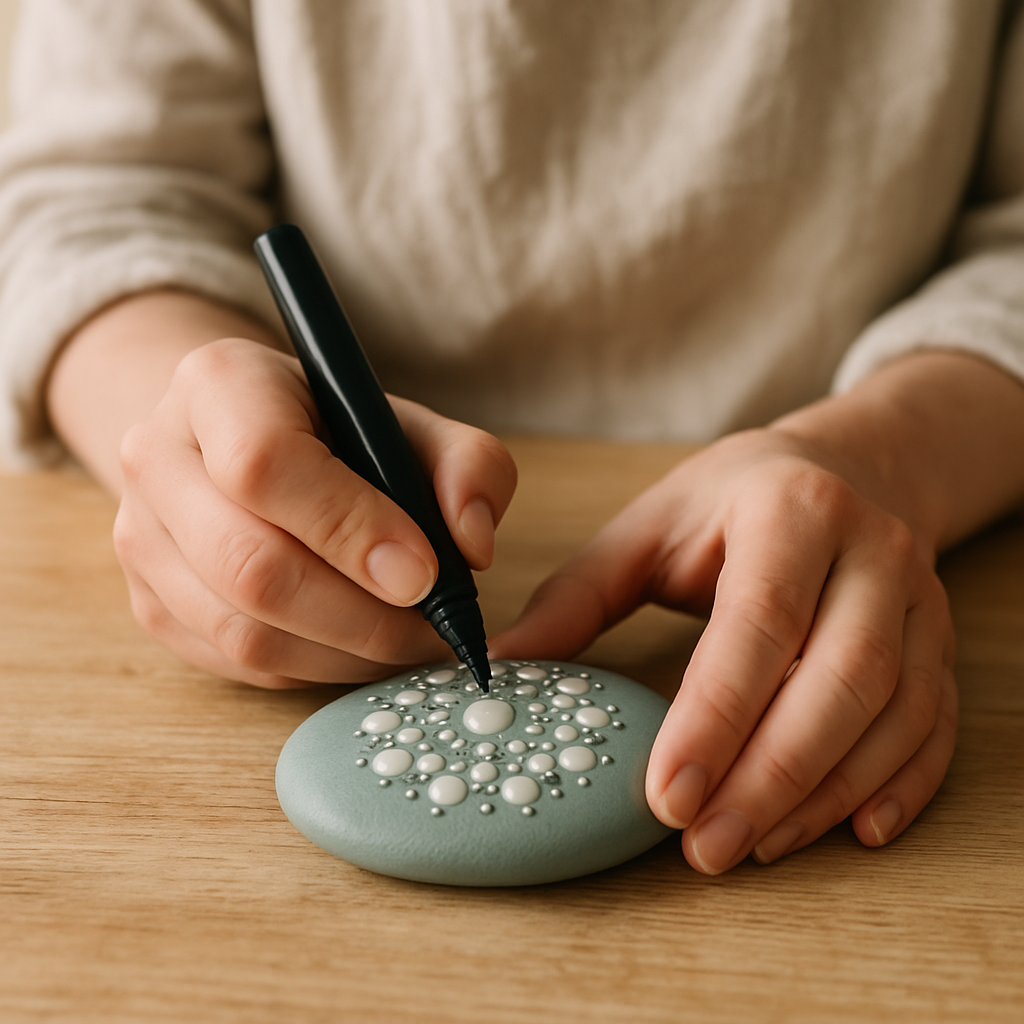
Step 7: Introduce geometric patterns. Use black or white paint pens to add small dots, squares, or triangles between the larger elements, or along the radiating lines. These details add depth and complexity; if a dot is too large, gently dab it with a slightly damp brush to shrink it before it dries. If a line is wobbly, let it dry and then carefully paint over it with your base color to correct.
- 8
Step 8: Continue radiating outwards. Alternate colors and pen sizes (0.5mm and 1.0mm) to add more layers of patterns, dots, and lines, working your way towards the edge of the rock. Focus on maintaining an even spacing between elements, using your pencil guidelines if you sketched them. If you find yourself running out of space, you can slightly overlap elements or create a border.
- 9
Step 9: Add detail to the outer edge. Use the 0.5mm pen to create a border pattern around the very edge of the painted area, connecting the outermost elements of your mandala. This final layer helps to frame the design and give it a finished look. Consider a repeating pattern like small arches or a series of dots for a clean finish.
- 10
Step 10: Refine and correct. Once the main design is complete, examine it for any uneven lines or smudges. Use a fine brush with your base color to carefully cover mistakes, or use a white or black paint pen to strategically cover small errors and create new, intentional details. If paint bleeds, it might be due to the rock's porous surface; ensure your base coat is thick and fully dry, or consider a clear primer spray *before* the base coat for better adhesion on challenging rocks.
- 11
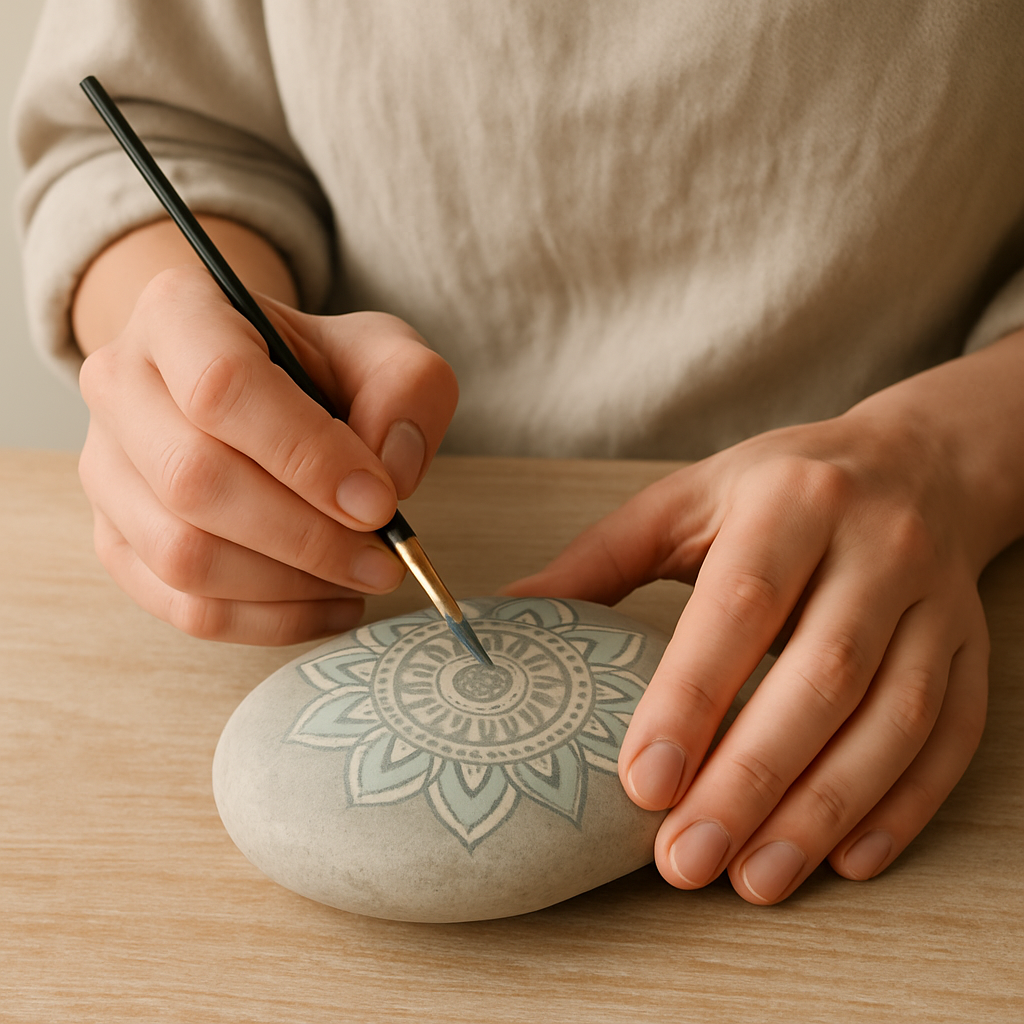
Step 11: Add shading (optional). For added dimension, mix a slightly darker shade of your base color with a touch of black acrylic paint on your palette. Using your fine brush, add subtle shading along the bottom edge of the larger petal shapes or behind prominent elements to create a sense of depth and shadow. If the shading looks too harsh, gently blend it with a clean, slightly damp brush while the paint is still wet.
- 12
Step 12: Allow to cure. Let the painted rock sit undisturbed in a dry, well-ventilated area for at least 24 hours to ensure the paint is thoroughly dry and cured before sealing. This prevents smudging and ensures the sealant adheres properly. Rushing this step can lead to sealant issues or paint lifting.
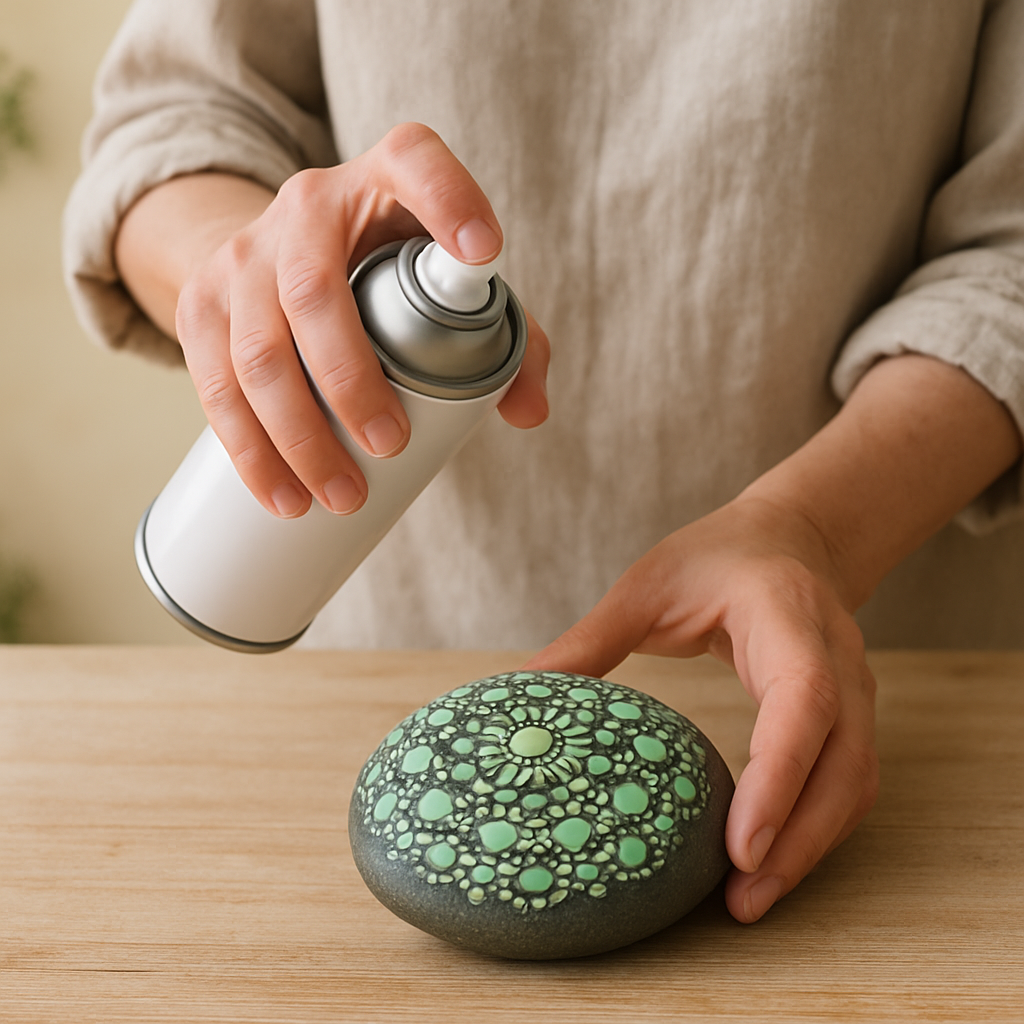
- 13
Step 13: Apply sealant. In a well-ventilated area (preferably outdoors), hold the sealant spray can about 8-10 inches away from the rock and apply a thin, even coat using sweeping motions. If using brush-on sealant, apply a thin layer with a foam brush, ensuring complete coverage. If you notice any drips, gently sand them down once dry and reapply a thin coat.
- 14
Step 14: Apply second coat. Once the first coat of sealant is dry to the touch (usually 15-20 minutes), apply a second thin coat for full protection. Allow the sealant to cure completely according to the product's instructions (typically 24-72 hours) before handling or placing outdoors. This ensures maximum durability against the elements.
Tips & Troubleshooting
- 1Achieving Symmetry: If freehand symmetry is challenging, use a pencil to lightly mark equidistant points around your central dot for each layer. You can also use a ruler to ensure consistent spacing between radiating lines, or even use a compass app on your phone to get perfect circles. For a truly unique look, embrace slight imperfections; they add character and a handmade feel.
- 2Paint Pen Troubleshooting: If a paint pen seems clogged, try gently pressing the tip on a scrap surface or priming it by shaking well and pressing the tip down firmly until the paint flows. If paint bleeds, it might be due to the rock's porous surface; ensure your base coat is thick and fully dry, or consider a clear primer spray *before* the base coat for better adhesion on challenging rocks. If a pen runs out of ink unexpectedly, have a backup of the same color ready.
- 3Smooth Finish: For a super smooth finish, ensure each layer of paint and pen work is completely dry before adding the next. Avoid applying thick blobs of paint, as these can crack when dry or when sealing. Thin, even layers are key, and if you get a drip, gently sand it down once dry and reapply a thin coat. For an ultra-smooth surface, you can lightly sand the rock before the base coat.
- 4Color Mixing: Don't be afraid to mix your own shades! Start with a small amount of white or black acrylic paint on your palette and gradually add your chosen color to create lighter or darker tones for subtle variations within your mandala. This adds a professional touch and unique depth to your design. For instance, try mixing a deep teal by adding a touch of black to a vibrant blue.
- 5Sealant Application: Apply sealant in thin, even coats. Too much sealant applied at once can cause drips or a cloudy finish. If you notice drips, gently sand them down once dry and reapply a thin coat. For extra durability, consider a marine-grade varnish for outdoor use. Ensure you are in a well-ventilated area when applying, as the fumes can be strong.
Related Activities You Might Enjoy
Frequently Asked Questions
What kind of rocks are best for painting mandalas?
The best rocks for mandala painting are smooth, relatively flat, and dense. River rocks or beach stones that have been naturally smoothed by water are ideal. Avoid porous or rough-textured rocks, as the paint won't adhere well and details will be lost. Look for rocks that are roughly the same size and shape if you plan to create a set. Before painting, ensure the rock is thoroughly cleaned and completely dry; any moisture trapped within the stone can cause paint to bubble or peel later. For adult projects, denser stones like granite or basalt often provide a superior surface, offering a satisfying weight and smooth canvas.
How do I get crisp lines and dots on my mandala rocks?
Crisp lines and dots are achieved through a combination of the right tools and technique. Use high-quality acrylic paints and fine-tip paint pens specifically designed for smooth surfaces. For paint pens, ensure they are well-shaken and primed before use. When painting with a brush, load it with a small amount of paint and use a steady hand; rest your wrist or elbow on a stable surface if you struggle with shaky hands. For dots, use the very tip of your pen or brush and apply gentle, consistent pressure. If lines aren't perfect, allow them to dry completely and then carefully paint over them with the base color or a contrasting color to correct.
Can I use regular craft acrylics or do I need special rock painting paints?
Standard craft acrylic paints work perfectly well for rock painting, including mandalas. You don't necessarily need 'special' rock painting paints, though some brands offer formulations that adhere well to stone. The key is to ensure your rocks are clean and dry, and to apply a good quality clear sealant afterward to protect your design. For intricate details like mandala patterns, fine-tip paint pens (like Posca or similar brands) are highly recommended as they provide consistent, opaque lines that are difficult to achieve with a brush alone, especially for beginners.
How do I seal my painted rocks to make them weatherproof?
To make your mandala rocks weatherproof, you need a durable clear sealant. Acrylic spray sealants (matte, satin, or gloss finish) are popular and easy to use. Apply in a well-ventilated area, holding the can about 8-10 inches away and using light, sweeping motions to create thin, even coats. Avoid spraying too heavily, as this can cause drips or a cloudy appearance. Brush-on varnishes or sealants are also effective; use a foam brush for a smooth finish. Apply 2-3 thin coats, allowing each to dry completely according to the manufacturer's instructions before handling or placing outdoors. This protective layer shields the paint from rain, sun, and general wear.
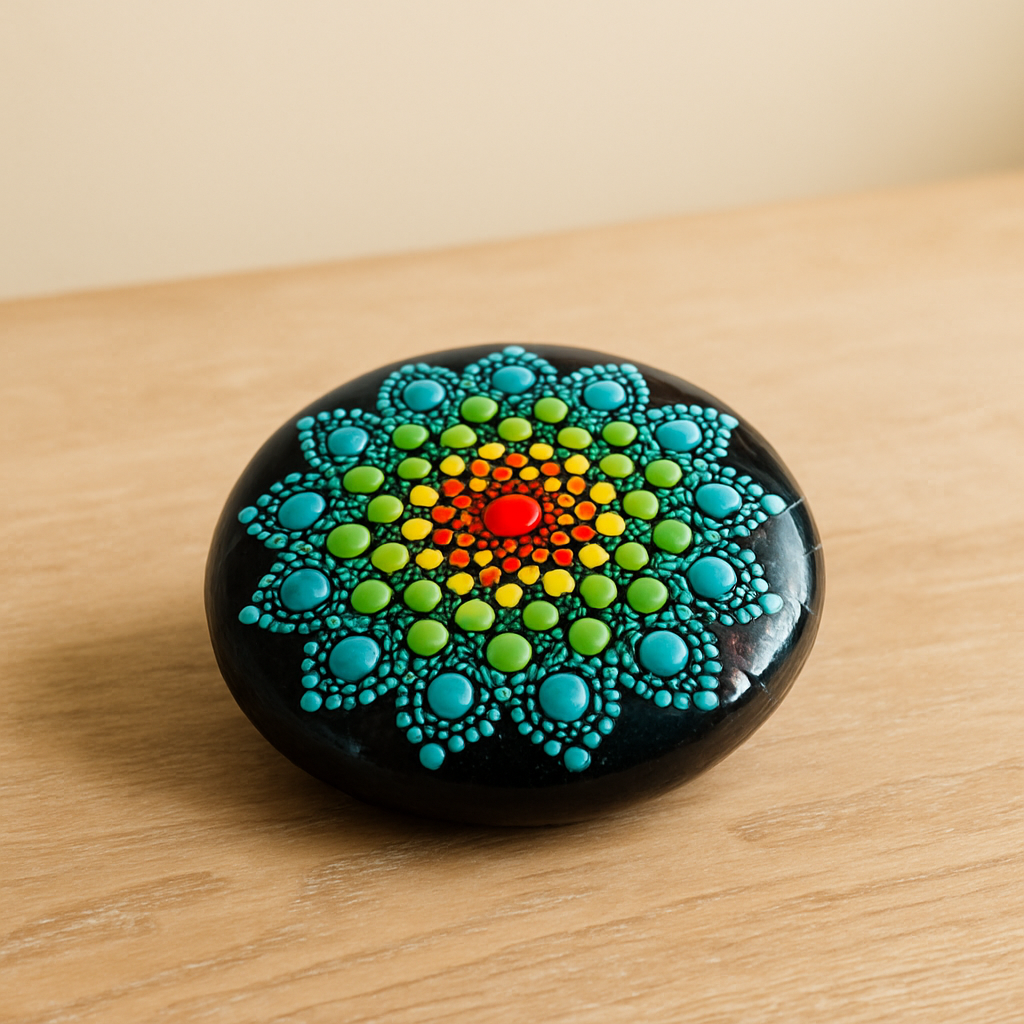
What Next?
Once your Zen mandala stones are complete and thoroughly dry, it's time to protect your masterpiece. Apply 2-3 thin coats of a clear, waterproof sealant spray or varnish, allowing each coat to dry completely (about 15-20 minutes between coats). These beautiful stones can be used as paperweights, garden decorations, or thoughtful gifts. For your next project, consider exploring our upcoming tutorial on 'Seasonal Mandala Rock Collections' or dive into 'Layering Techniques for Depth in Rock Painting' to add even more dimension to your designs. Embrace the calm and continue your rock painting journey!
Free: 10 Paper Crafts Anyone Can Make in 5 Minutes
Get our beginner guide + new craft ideas weekly.
No spam. Unsubscribe anytime.
Did you complete this activity?
Related