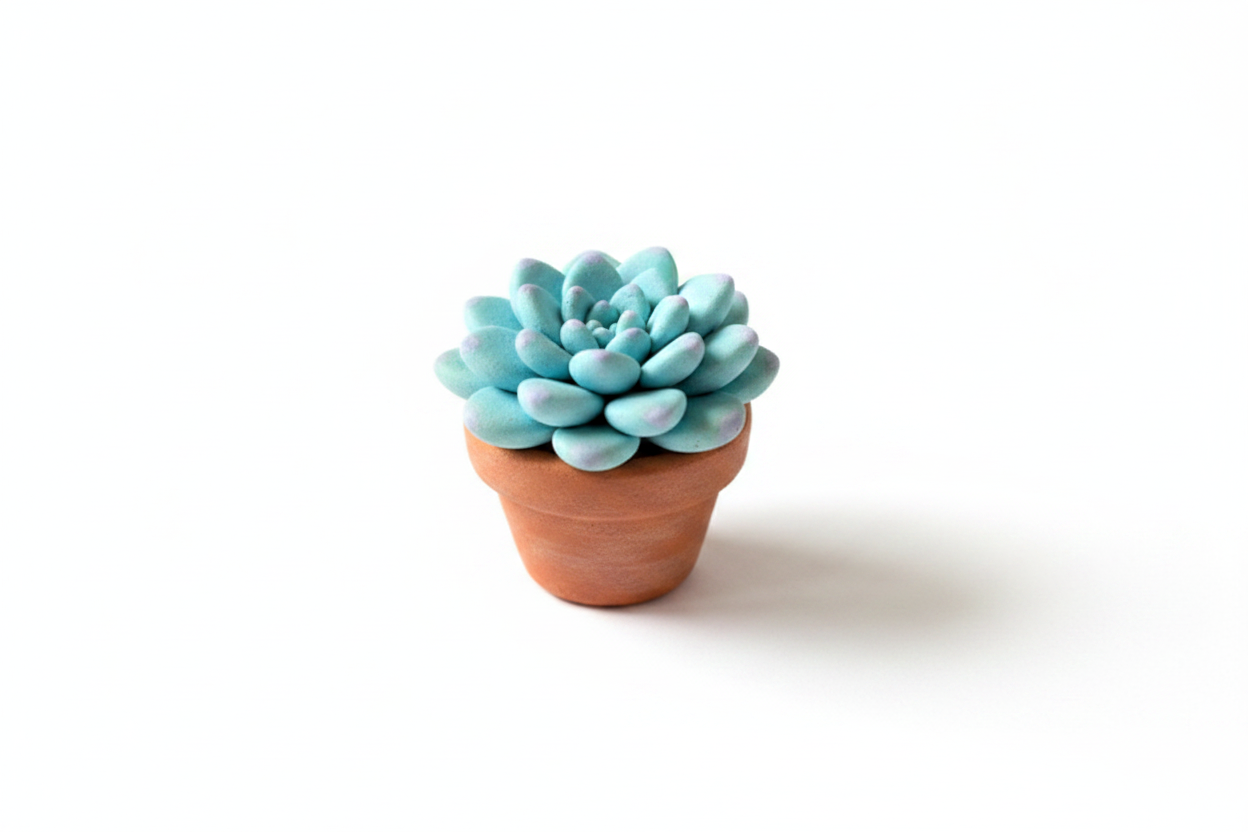
Air Dry Clay Geometric Trinket Dish: A Simple Sculpting Project
This tutorial guides you through creating a beautiful geometric trinket dish using air dry clay. It's a beginner-friendly sculpting project that allows for endless customization with paint and design. Perfect for organizing small items or as a decorative accent piece.
Quick answer
Knead air dry clay, roll it flat, cut a circle using a bowl as a guide, drape it over the bowl to form a dish, smooth edges, let it dry, and then paint with geometric designs. Seal with Mod Podge if desired.
What you need
Shop on Amazon · As an Amazon Associate we earn from qualifying purchases. Links above are affiliate links — we may earn a commission at no extra cost to you.
Looking for a simple yet stylish way to organize your small treasures or add a handmade touch to your decor? This Air Dry Clay Geometric Trinket Dish project is your answer! Air dry clay is incredibly forgiving and requires no special firing, making it accessible for crafters of all levels. The geometric design offers a modern aesthetic that can be personalized to match any style. Whether you're a seasoned crafter or just starting out, this project is a fantastic way to unleash your creativity and produce a functional piece of art you'll be proud to display.
On this page
Step-by-Step Instructions
- 1
Begin by preparing your air dry clay. Take a portion of the clay from the package and knead it thoroughly on a clean, dry surface. This process warms the clay, making it more pliable and easier to work with, while also removing any air bubbles that could cause cracking later.
- 2
Once the clay is soft and pliable, place it on your clean, flat work surface. Use a rolling pin to evenly flatten the clay into a disc. Aim for a consistent thickness of approximately 1/4 inch (about 0.6 cm) across the entire disc, ensuring there are no thin or thick spots.
- 3
Select a bowl that will serve as your mold for the trinket dish. Turn the bowl upside down on your flattened clay disc. Position it centrally or slightly off-center, depending on the desired placement of your dish.
- 4
Using a plastic knife or a craft tool, carefully trace around the rim of the inverted bowl. Apply gentle but firm pressure to cut through the clay, creating a clean, circular shape that matches the bowl's opening. Ensure the cut is as smooth as possible.
- 5
Gently lift the cut clay circle from the work surface. Carefully drape the clay circle over the inverted bowl, allowing gravity to help it conform to the bowl's shape. Press the clay gently against the sides and bottom of the bowl to create the desired dish form.
- 6
As the clay drapes over the bowl, you may notice wrinkles or uneven edges forming. Use your fingers, slightly dampened with water, to gently smooth out these imperfections. Work slowly and deliberately to achieve a clean, seamless dish shape.
- 7
Once you are satisfied with the shape and smoothness of the clay dish on the bowl, carefully lift the entire structure. Gently peel the clay dish away from the inverted bowl, ensuring it maintains its form without collapsing.
- 8
Examine the rim of the newly formed clay dish. Use your plastic knife or craft tool to carefully trim away any excess clay or uneven edges. This step is crucial for achieving a professional and neat finish on your trinket dish.
- 9
Allow the clay dish to air dry completely. This is a critical step for the longevity and durability of your project. Follow the specific drying time recommended by the clay manufacturer, which typically ranges from 24 to 72 hours, depending on humidity and thickness.
- 10
Once the clay dish is thoroughly dry and hard, it's time to bring it to life with color! Using acrylic paints and your chosen paintbrushes, begin painting your trinket dish. You can opt for solid colors, intricate geometric patterns, abstract designs, or a combination of techniques.
- 11
Let the painted trinket dish dry completely. Ensure that all layers of paint are dry to the touch before proceeding to the next step. This prevents smudging and ensures a smooth surface for any optional sealing.
- 12
For added durability and a polished look, you can apply a thin layer of Mod Podge over the entire painted surface of the trinket dish. This acts as a sealant, protecting the paintwork from wear and tear. Allow the Mod Podge to dry completely according to its instructions.
Tips & Troubleshooting
- 1When kneading the clay, ensure you're working on a non-porous surface to prevent the clay from sticking. If it becomes too sticky, a light dusting of cornstarch can help, but use it sparingly.
- 2For a perfectly even disc, consider using clay cutters or rolling out the clay between two guides of the same thickness, like wooden dowels or rulers, to ensure consistent depth.
- 3When draping the clay over the bowl, work from the top down, gently pressing the clay into the contours. If the clay starts to tear, a little bit of water on your fingertips can help mend it.
- 4To achieve crisp geometric lines, use painter's tape to mask off sections before painting. Apply the tape firmly to prevent paint from bleeding underneath.
- 5If you want a smoother finish on the dried clay before painting, you can lightly sand the surface with fine-grit sandpaper. Wipe away any dust with a dry cloth before applying paint.
- 6Don't be afraid to experiment with different color palettes and geometric patterns. Think about repeating shapes, contrasting colors, or creating a gradient effect for a unique look.
- 7If you notice any small cracks forming during the drying process, you can often fill them with a bit of wet clay and smooth them over. Once dry, these areas can be painted over.
- 8For a more professional finish, consider using a sealant like Mod Podge or a clear acrylic spray after the paint has dried. This will protect your design and give it a lovely sheen.
Related Activities You Might Enjoy
Frequently Asked Questions
What kind of air dry clay is best for this project?
For this Air Dry Clay Geometric Trinket Dish project, any good quality air dry clay will work well. Look for brands that are known for their smooth texture and minimal shrinkage. Brands like DAS, Crayola Air Dry Clay, or Sculpey Air Dry are excellent choices for beginners. The key is to select a clay that dries hard and is easy to shape without cracking. When purchasing, consider the amount you'll need; one pound should be sufficient for several small trinket dishes, allowing for some experimentation or making multiple pieces.
How can I ensure my trinket dish doesn't crack while drying?
Cracking during the drying process is a common concern with air dry clay, but it can be minimized with proper technique. Ensure you knead the clay thoroughly to remove air bubbles, as these are often the culprits behind cracks. Rolling the clay to a consistent thickness, around 1/4 inch, is also crucial; thin areas can dry too quickly and pull away from thicker sections. Avoid placing the clay in direct sunlight or near a heat source, as rapid drying can cause stress and cracking. If you do notice small cracks, you can often mend them by gently pressing a little wet clay into the crack and smoothing it over before it fully dries.
What are some creative geometric design ideas for painting?
The geometric theme offers endless creative possibilities! You can start with simple repeating shapes like triangles, squares, or diamonds. Consider creating a 'stained glass' effect by painting bold outlines and filling in sections with contrasting colors. Another idea is to use a gradient of colors that blend into each other across the dish. For a more modern look, try asymmetrical patterns or a minimalist approach with just a few strategic lines or dots. You can also use painter's tape to create sharp, clean lines and geometric blocks of color. Don't be afraid to mix and match different shapes and color combinations to make your dish truly unique.
Can I make the trinket dish waterproof or food-safe?
Air dry clay, once dried and sealed with Mod Podge or a similar sealant, becomes water-resistant but not entirely waterproof. It's suitable for holding dry items like jewelry, keys, or coins. However, it is generally not recommended for direct food contact, as even with sealing, it may not be completely food-safe and could be porous. If you intend to use it for something that might come into contact with moisture, like holding soap, ensure you use a waterproof sealant specifically designed for such applications, and always test its durability.
How do I clean and care for my air dry clay trinket dish?
Caring for your air dry clay trinket dish is quite simple. Since it's painted and potentially sealed, it can be gently cleaned. Avoid submerging it in water for extended periods, as this can degrade the clay and the sealant over time. Instead, use a soft, damp cloth to wipe away dust or light smudges. For more stubborn marks, you can use a mild soap solution on the damp cloth, but be sure to wipe it clean with a fresh damp cloth afterward and allow it to air dry completely. Avoid using abrasive cleaners or scrub brushes, as these can scratch the painted surface.
What if my clay is too dry or too sticky to work with?
If your air dry clay is too dry and crumbly, you can try to rehydrate it by kneading in small amounts of water, a few drops at a time, until it becomes pliable. Be careful not to add too much water, as this can make it sticky. If the clay is too sticky, a light dusting of cornstarch or a bit of talcum powder on your work surface and hands can help prevent it from sticking. Work the powder into the clay gradually until it reaches a manageable consistency. Always store your air dry clay in an airtight container when not in use to prevent it from drying out.
What Next?
Congratulations on creating your beautiful Air Dry Clay Geometric Trinket Dish! This versatile piece is perfect for holding keys, jewelry, coins, or even as a decorative accent on a shelf. For variations, consider adding texture to the clay before it dries, using different sized bowls for varied dish shapes, or incorporating metallic paints for a touch of glamour. Next, you might explore creating matching coasters or larger decorative bowls. To display your creation, place it on a dresser, entryway table, or desk. Store it in a dry place to ensure its longevity.
Free: 10 Paper Crafts Anyone Can Make in 5 Minutes
Get our beginner guide + new craft ideas weekly.
No spam. Unsubscribe anytime.
Did you complete this activity?
Related
You might also like
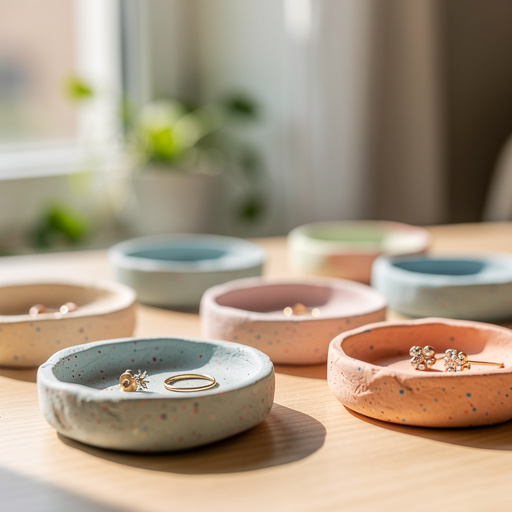
Air Dry Clay Trinket Dishes
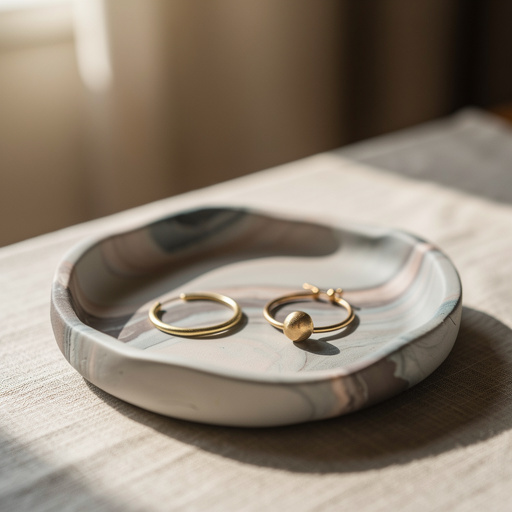
Polymer Clay Jewelry Dishes
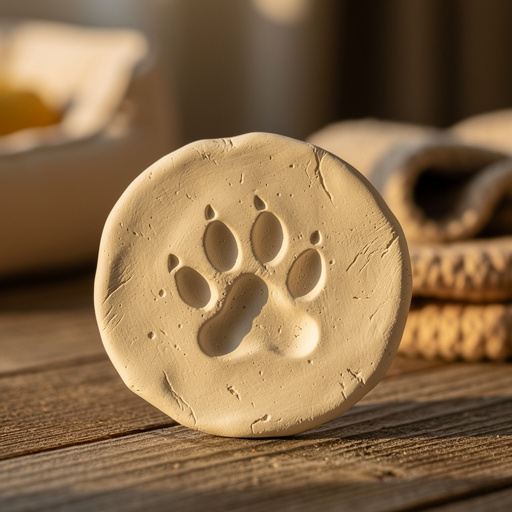
Air Dry Clay Pet Paw Prints
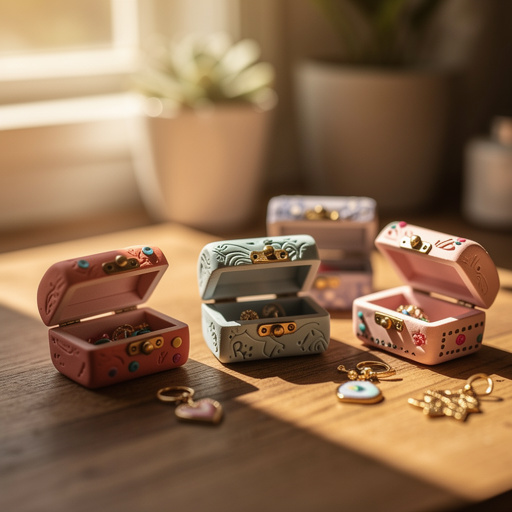
Polymer Clay Tiny Trinket Boxes
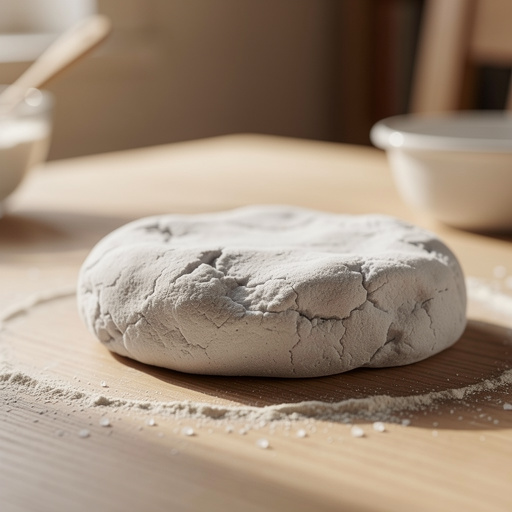
Easy Salt Dough Creations