How to Create Recycled Cardboard Sculptures — Easy Step-by-Step Guide
Transform everyday cardboard into amazing 3D sculptures with this fun and budget-friendly DIY project. Unleash your creativity with simple materials!
Quick answer
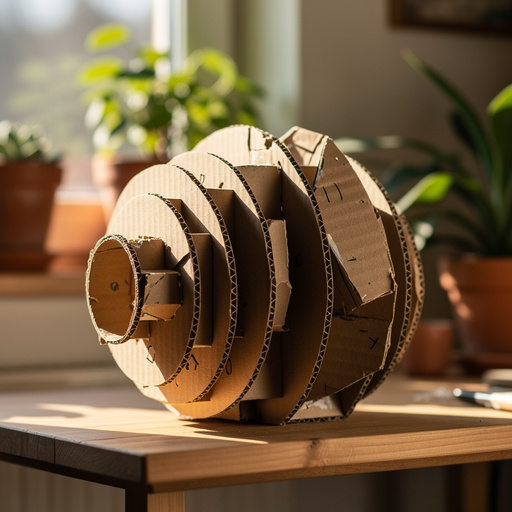
To make recycled cardboard sculptures, you need cardboard scraps (various types), scissors or a craft knife, white craft glue, and acrylic paints. Optional items include a hot glue gun, ruler, and brushes. The process involves sketching, cutting, layering, gluing, and painting, taking approximately 60-90 minutes for a basic piece, but can extend for more complex designs. This beginner-friendly activity has 12-15 steps and is perfect for adults and older children looking for easy, cheap DIY crafts that are both creative and sustainable.
What you need
Shop on Amazon · As an Amazon Associate we earn from qualifying purchases. Links above are affiliate links — we may earn a commission at no extra cost to you.
Dive into the world of sustainable art with our guide to creating recycled cardboard sculptures! This project is a fantastic way to give new life to discarded materials, transforming humble cardboard boxes into captivating 3D artworks. It's an incredibly accessible craft, requiring minimal specialized tools and offering boundless creative freedom. Whether you're a seasoned crafter looking for a new medium or a complete beginner seeking a rewarding and budget-friendly hobby, this project is perfect for you. Get ready to unleash your imagination and build something truly unique from what you might otherwise throw away.
On this page
Step-by-Step Instructions
- 1
Gather a variety of clean cardboard scraps of different thicknesses and textures. Ensure all pieces are free from food residue or excessive tape, as this can affect glue adhesion and paint finish. Different types of cardboard, like thin cereal boxes versus thick corrugated shipping boxes, will offer unique structural properties and visual appeal to your sculpture.
- 2
Sketch a simple 3D design idea on paper, or decide to build organically by letting the shapes and forms emerge as you work. For beginners, starting with a clear sketch can help visualize the final outcome and plan your cuts. If building organically, consider the overall balance and silhouette you want to achieve.
- 3
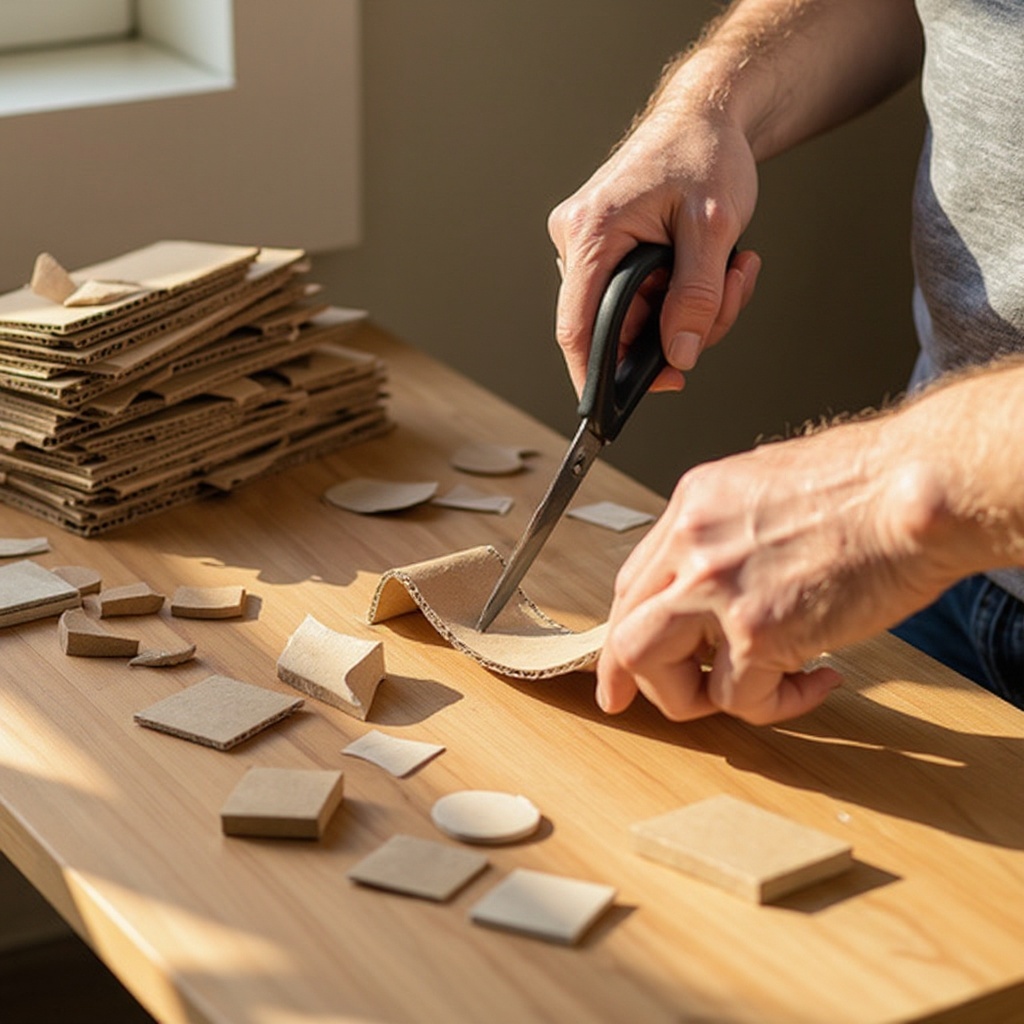
Using a craft knife or scissors, begin cutting out basic shapes from the cardboard. Think about geometric forms like squares, circles, triangles, or even more organic shapes like curves and blobs. Don't be afraid to cut multiple identical shapes for layering, or varied sizes to create depth and dimension.
- 4
Start building the base of your sculpture by layering and gluing pieces together. Apply a generous amount of white craft glue to the surfaces that will connect, pressing them firmly together. For thicker cardboard, you might need to hold pieces in place for a minute or two until the glue begins to set.
- 5
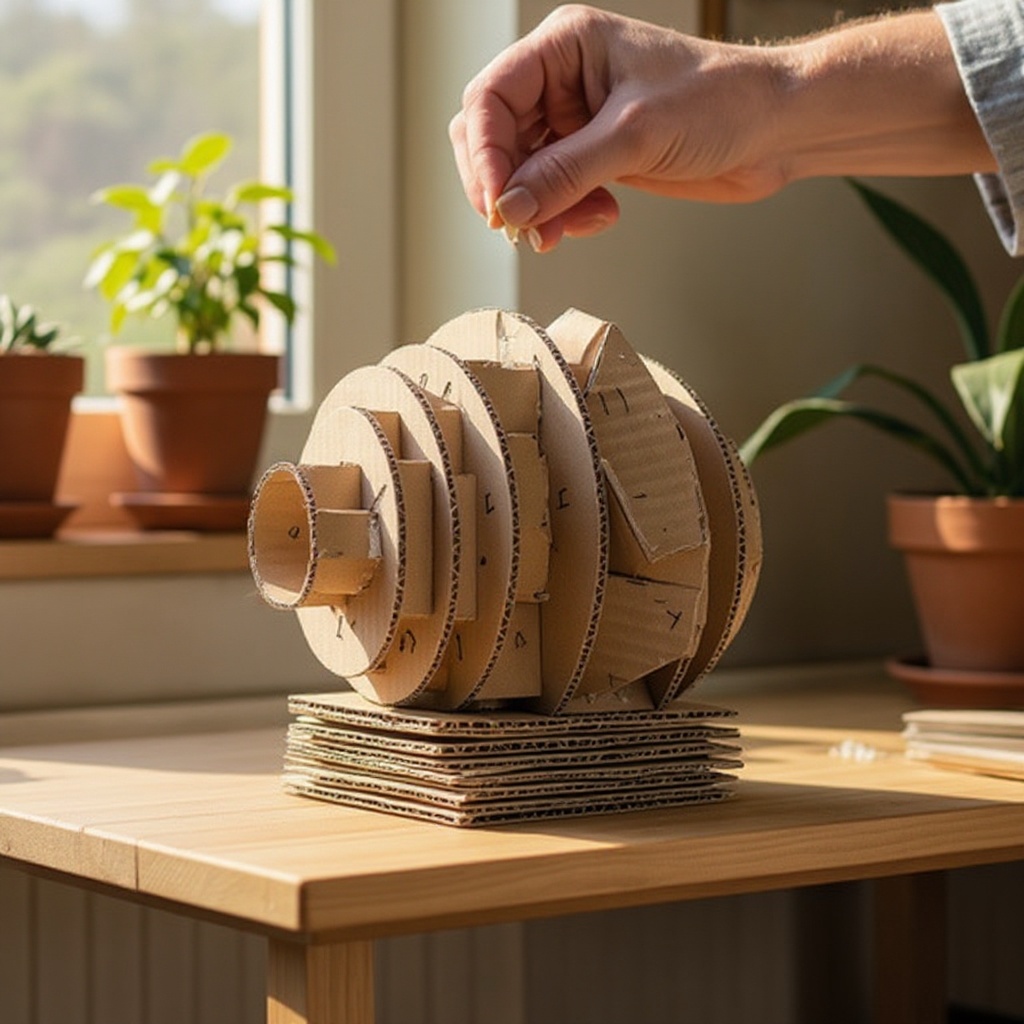
Continue adding layers and shapes, gradually building up the form of your sculpture. Consider how different pieces will connect and support each other. Experiment with different heights, angles, and orientations to create a dynamic and visually interesting structure. This is where your design truly starts to take shape.
- 6
If using a hot glue gun, apply small, controlled amounts to quickly secure pieces, especially for structural support or areas that need immediate stability. Be cautious with the hot glue gun to avoid burns and ensure the glue is applied neatly to prevent unsightly blobs on your sculpture.
- 7
Allow the white craft glue to dry completely before proceeding to the painting stage. This is crucial for ensuring the sculpture is stable and won't fall apart when handled. Depending on the amount of glue used and humidity, this can take anywhere from 30 minutes to a few hours. You can gently test a few glued joints to ensure they are firm.
- 8
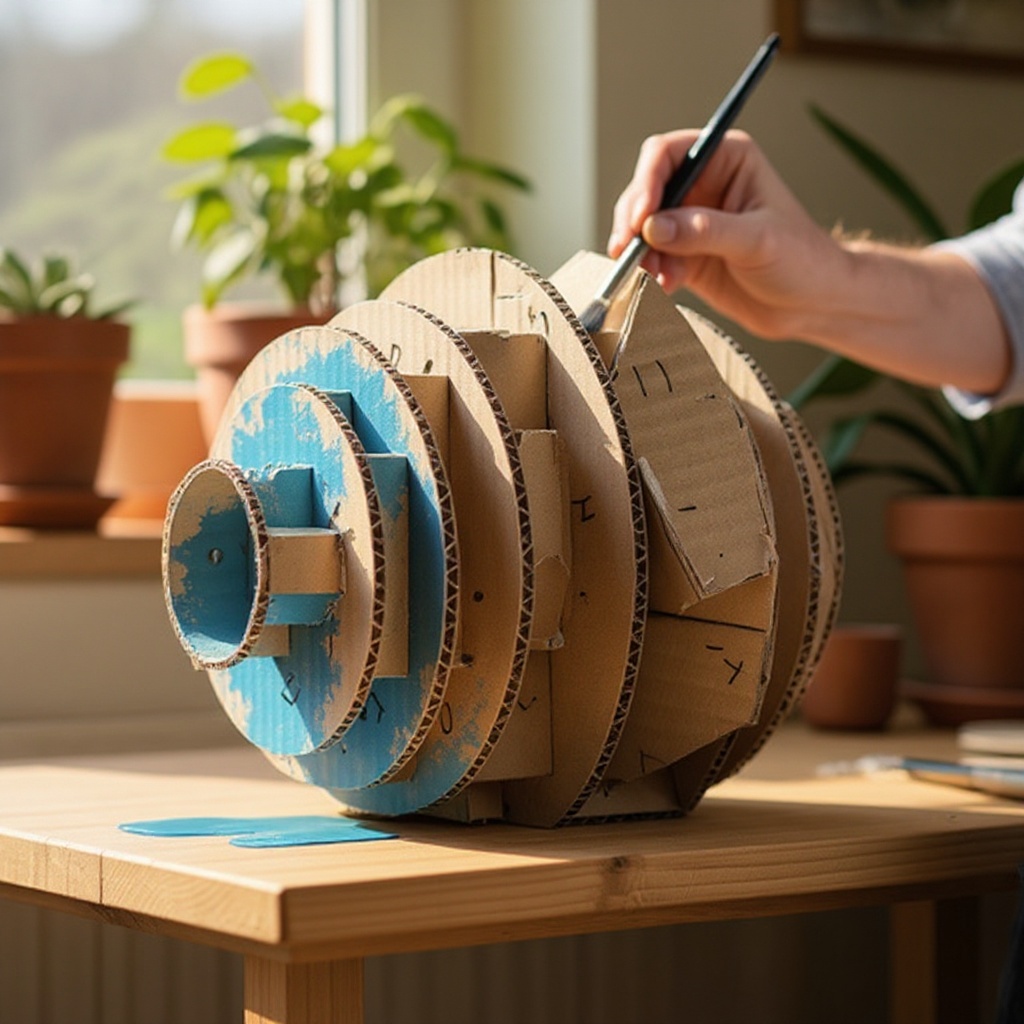
Once the glue is thoroughly dry and your sculpture is structurally sound, begin painting. You can use solid colors for a bold look, create intricate patterns, or combine both. Consider the overall color scheme you want for your artwork and how the colors will interact with the forms you've created.
- 9
Apply multiple thin coats of paint rather than one thick coat to achieve full coverage and vibrant colors. This will prevent drips and ensure a smooth, even finish. Allow each coat to dry completely before applying the next, which will help build up the color intensity.
- 10
Let the paint dry completely before adding any final decorative touches or details. This might include adding smaller painted elements, outlining shapes, or even applying a sealant for protection and a finished sheen.
- 11
Consider adding a base to your sculpture for added stability and a professional finish. This can be as simple as a larger, flat piece of cardboard glued to the bottom, or a more elaborate structure that complements your design. Ensure the base is securely attached.
- 12
Once all paint and any additional elements are completely dry, your recycled cardboard sculpture is ready to be displayed! Admire your work and the sustainable art you've created from everyday materials.
Tips & Troubleshooting
- 1For sharper, cleaner folds when creating curved or angled sections, score the cardboard with a craft knife before folding. Use a ruler as a guide for straight scores, applying just enough pressure to cut through the top layer of paper without going all the way through the cardboard. This technique allows for precise bending and creates professional-looking edges.
- 2Experiment with different types of cardboard for varied textures and structural integrity. Corrugated cardboard offers strength and a distinctive ribbed texture, while thinner cardstock from cereal boxes is easier to cut and bend for finer details. Mixing these can add visual interest and structural diversity to your sculptures.
- 3Don't be afraid to mix and match different shapes and sizes to create unique and complex forms. Overlapping, interlocking, and juxtaposing various geometric and organic shapes can lead to unexpected and captivating results. Embrace the abstract and let your intuition guide your design process.
- 4Consider adding found objects like bottle caps, buttons, small pebbles, or even bits of fabric for extra detail and texture. These elements can be glued on during the assembly stage or added as decorative accents after painting, adding a unique personal touch to your sculpture.
- 5Protect your work surface with newspaper or a drop cloth before painting to prevent accidental stains. Cardboard can absorb paint and glue, so it's essential to have a barrier in place. This will make cleanup much easier and prevent damage to your tables or floors.
- 6When cutting, always cut away from yourself with a craft knife for safety. If using scissors, ensure they are sharp enough to cut through the cardboard cleanly without tearing. For thick corrugated cardboard, multiple passes with a craft knife might be necessary.
- 7Build your sculpture from the base up, ensuring each layer is securely attached before adding more weight. This prevents the structure from becoming unstable as you build. Consider the center of gravity and try to distribute weight evenly to avoid tipping.
- 8If you're aiming for a smooth, painted finish, you can prime your cardboard sculpture with a layer of white gesso or diluted white craft glue before painting. This will help seal the cardboard surface, reduce paint absorption, and create a more uniform base for your colors.
Related Activities You Might Enjoy
Frequently Asked Questions
What kind of glue is best for cardboard sculptures?
White craft glue, also known as PVA glue, is excellent for creating a strong, permanent bond between cardboard pieces. It dries clear and is flexible enough to prevent the cardboard from becoming brittle. For faster assembly, especially for structural elements or when working with younger crafters who might have less patience, a hot glue gun can be very effective. However, be mindful of the heat from the hot glue gun to avoid burns and ensure it's applied neatly to prevent unsightly blobs. For very thick or heavy cardboard, a combination of both white glue for strength and hot glue for quick tacking can be ideal.
Can I make detailed sculptures with just cardboard?
Absolutely! By cutting smaller pieces, layering them precisely, and using techniques like scoring and folding, you can achieve intricate details in your cardboard sculptures. Thin cardboard, like that from cereal boxes or cardstock, is ideal for creating delicate features, small components, or rolled elements. Scoring the cardboard with a craft knife before bending allows for clean, sharp folds, which are essential for detailed work. Layering multiple thin pieces can also build up complex shapes and fine lines, proving that even simple materials can yield sophisticated results.
How do I make my cardboard sculpture stand up?
Ensuring your cardboard sculpture stands up involves careful planning and construction. Start by creating a stable base by layering and gluing several pieces of cardboard together to form a solid foundation. Consider the weight distribution of your design; if one side is heavier or more elaborate, ensure the base is wide enough to counterbalance it. For taller or more complex sculptures, adding internal supports made from rolled cardboard tubes or strategically placed cardboard struts can provide crucial structural integrity. Think of it like building a house – a strong foundation and internal framework are key.
What are some easy ideas for cardboard sculptures?
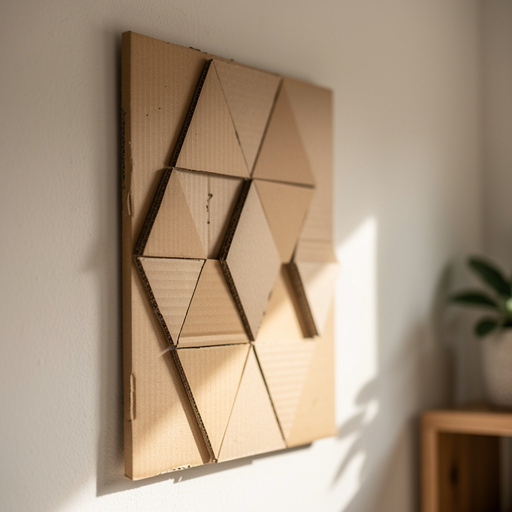
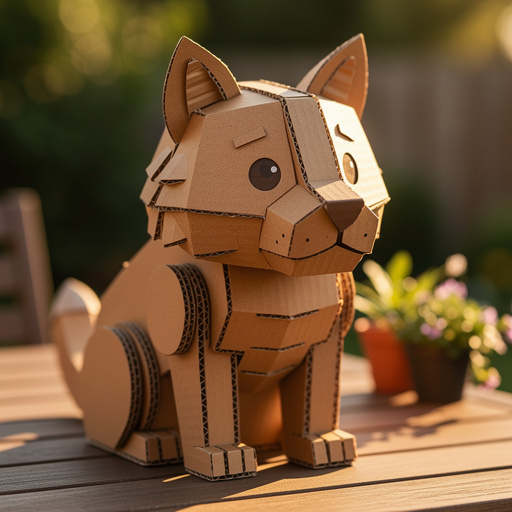
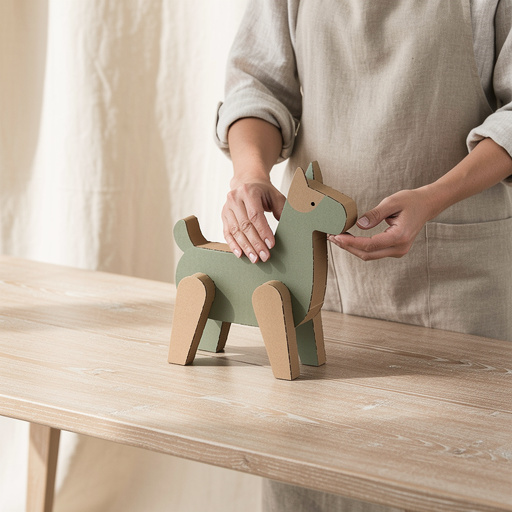
Start with simple geometric shapes, abstract forms, or even basic animal silhouettes. Building up layers of simple shapes can create surprisingly complex and interesting sculptures. For example, you could create a stack of cubes to form a robot, layer circles to make a flower, or cut out multiple identical animal outlines and glue them together to create a 3D effect. Abstract art is also very forgiving; simply cut various shapes and let them evolve into an interesting form as you glue them together. Even simple objects like houses, trees, or abstract towers can be easily constructed.
What is the best way to paint cardboard sculptures?
The best way to paint cardboard sculptures is to use acrylic paints. They adhere well to cardboard, dry quickly, and come in a vast array of vibrant colors. For a smooth finish, you can prime your sculpture first with a layer of white gesso or even diluted white craft glue. Apply paint in thin, even coats, allowing each layer to dry completely before applying the next. This prevents drips and ensures full coverage. You can use various brush sizes to achieve different effects, from broad strokes to fine details. Consider using a sealant like a clear acrylic spray or varnish once the paint is dry to protect your artwork.
How can I make my cardboard sculpture more durable?
To make your cardboard sculpture more durable, consider using thicker, corrugated cardboard for the main structure, as it offers greater strength. Reinforce key joints and stress points with extra layers of cardboard or by using hot glue for a stronger, faster bond. Once assembled and painted, applying a clear sealant or varnish can add a protective layer against moisture and wear. For sculptures that will be handled frequently, building a solid, wide base is crucial for stability. Additionally, avoid exposing your finished sculpture to excessive moisture or direct sunlight, which can degrade the cardboard over time.
What Next?
Congratulations on creating your very own recycled cardboard sculpture! The possibilities are truly endless, from abstract forms to recognizable objects and creatures. For variations, consider incorporating different types of recycled materials like paper tubes, egg cartons, or even plastic bottle caps for added texture and visual interest. You could also explore different painting techniques, such as washes, dry brushing, or stenciling, to enhance your sculpture's aesthetic. Once complete, your sculpture can be a striking decorative piece for your home or a thoughtful handmade gift. Store it in a dry place away from direct sunlight to preserve its longevity.
Free: 10 Paper Crafts Anyone Can Make in 5 Minutes
Get our beginner guide + new craft ideas weekly.
No spam. Unsubscribe anytime.
Did you complete this activity?
Related