How to Make Popsicle Stick Lanterns — Easy Step-by-Step Guide
Learn to build charming popsicle stick lanterns that add a warm glow to any space. This engaging craft is perfect for a relaxing afternoon.
Quick answer
To make popsicle stick lanterns, you need popsicle sticks, glue, and optional paint. This intermediate activity has 10 steps and takes about 60 minutes. Start by gluing sticks together to form a base. This is perfect for adults seeking creative, screen-free projects.
What you need
Shop on Amazon · As an Amazon Associate we earn from qualifying purchases. Links above are affiliate links — we may earn a commission at no extra cost to you.
Discover the simple joy of crafting with everyday materials by creating your own charming popsicle stick lanterns. These delightful creations offer a warm, inviting glow, perfect for adding a touch of handmade magic to your home decor. Whether you're looking for a relaxing solo project, a fun activity to share with older children, or a unique way to personalize your living space, these lanterns are an accessible and rewarding endeavor. They transform humble popsicle sticks into elegant light fixtures, proving that beautiful design can come from the simplest of sources.
On this page
Step-by-Step Instructions
- 1
Gather all your materials. Ensure your popsicle sticks are clean and dry, as any moisture can affect the glue's adhesion and potentially warp the wood.
- 2
Decide on the size of your lantern. A good starting point for a sturdy base is a 4x4 inch square, which will require approximately 16 sticks per layer for the initial panels.
- 3
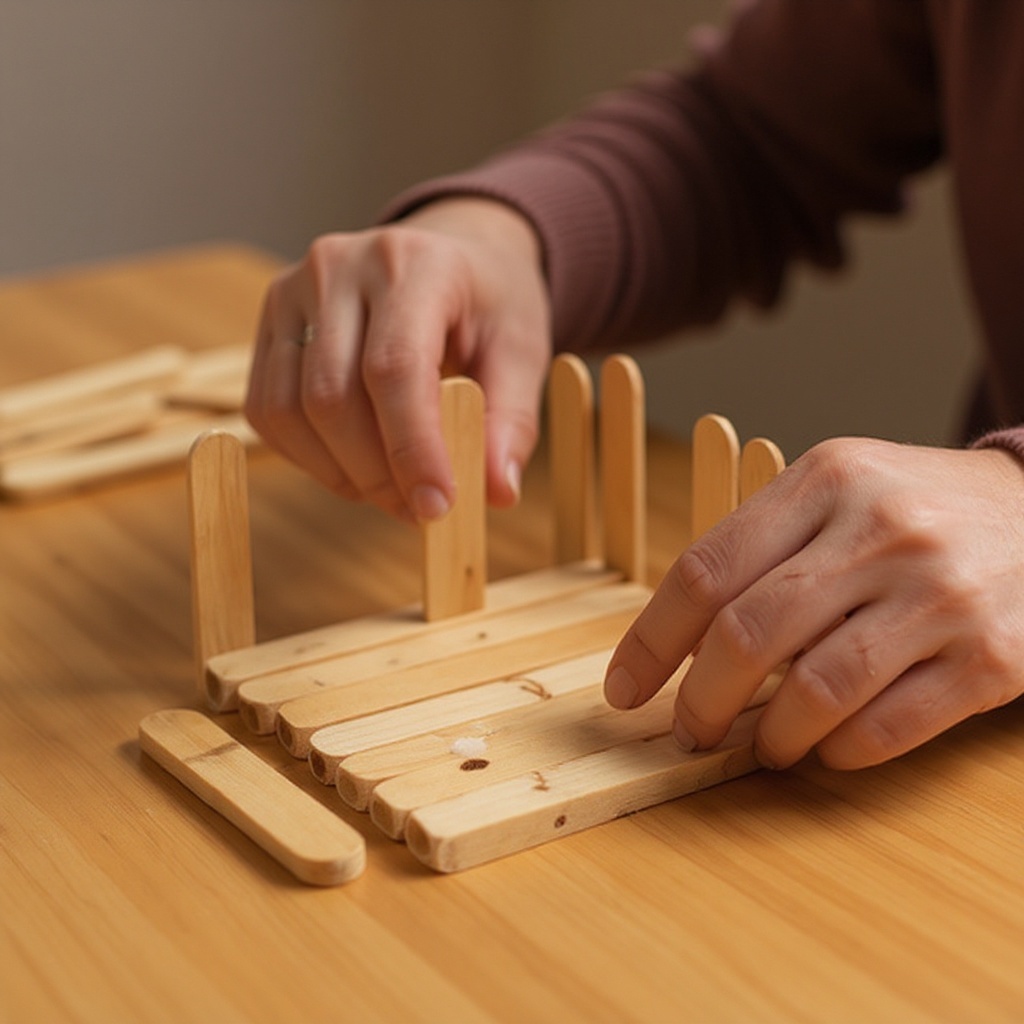
Lay out 16 popsicle sticks side-by-side on a flat surface to form a perfect square, ensuring they are tightly packed with no gaps. Apply a thin, even line of white craft glue along the edges of the outermost sticks.
- 4
Carefully place another 16 popsicle sticks on top of the glued layer, perpendicular to the first layer, to create a tightly woven effect. Press down firmly to ensure good contact and a solid panel. This alternating pattern adds structural integrity and visual interest.
- 5
Continue layering and alternating the direction of the popsicle sticks until you have a solid square panel of your desired height, for example, about 6 inches tall. Allow each layer to set slightly before adding the next if not using hot glue, to prevent shifting.
- 6
Repeat steps 3-5 to create a second identical square panel for the opposite side of your lantern. Ensure both panels are the same dimensions and have a consistent height for a symmetrical lantern.
- 7
Now, create two more square panels for the remaining two sides of your lantern. For these panels, you will need to cut some popsicle sticks to fit the width of your lantern. Measure and mark the desired width of your lantern (e.g., 4 inches).
- 8
Using a craft knife or sturdy scissors, carefully cut 16 popsicle sticks to this measured length. If using a craft knife, score the stick multiple times and then snap it for a cleaner break, always cutting on a protected surface.
- 9
Assemble these two side panels using the same layering technique as the base, ensuring they are the same height as your first two panels. This consistency is crucial for the lantern to assemble correctly.
- 10
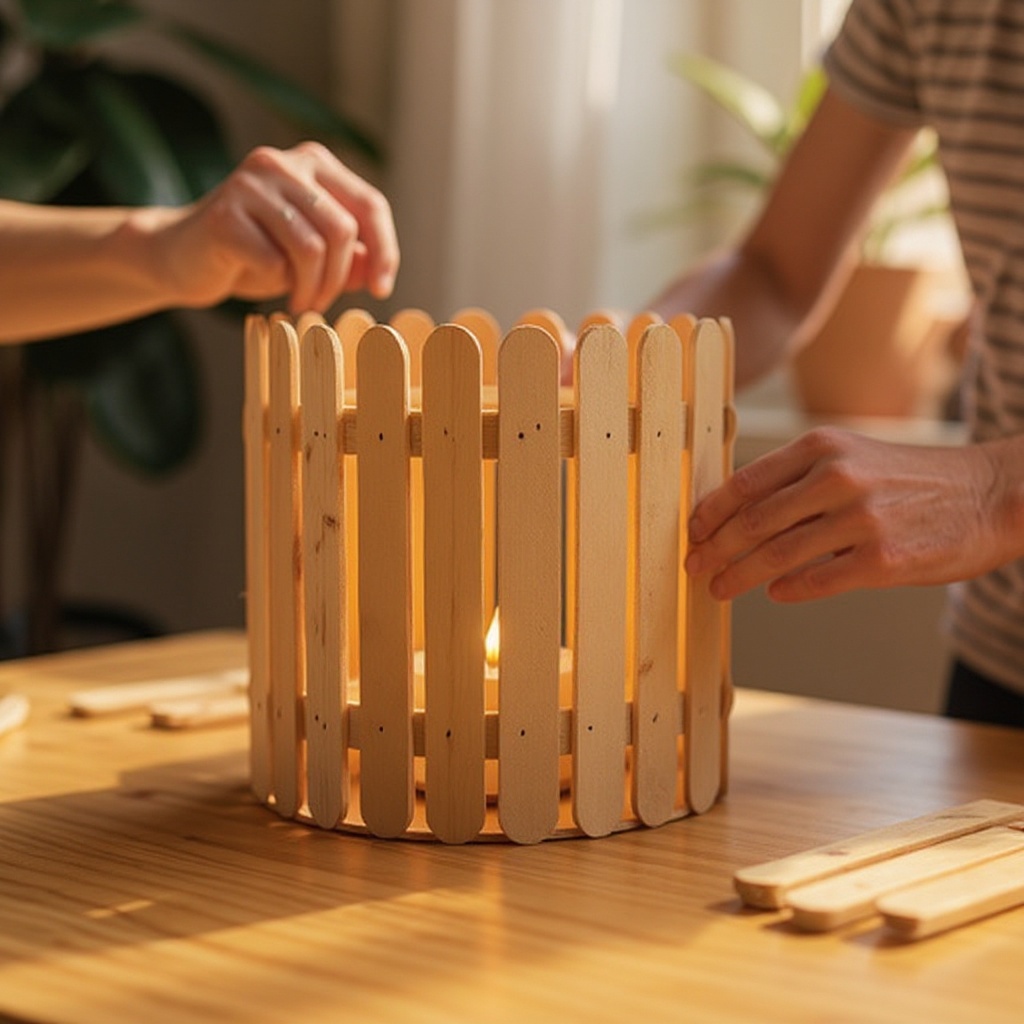
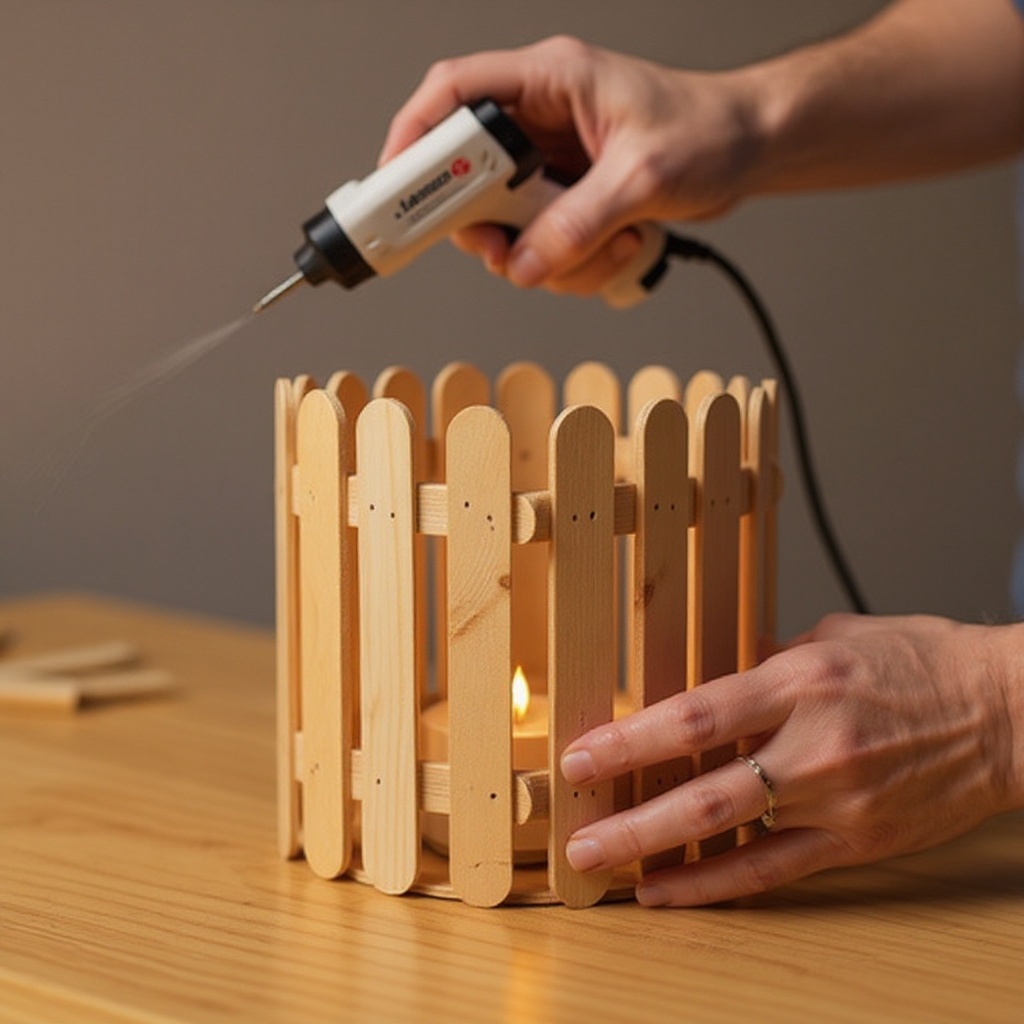
Once all four panels are completely dry and sturdy, use a hot glue gun (or craft glue, allowing ample extra drying time) to carefully join the edges of the panels together, forming an open box shape. Apply glue generously but neatly along the joining edges.
- 11
To create the top of your lantern, you have a few options. You can either repeat the layering process to make another square panel, or for a simpler design, glue 4-6 popsicle sticks across the top opening, spaced slightly apart to allow light to escape.
- 12
Once the glue is completely dry and the lantern structure is firm, gently sand any rough edges or excess glue with medium-grit sandpaper for a smooth, polished finish. This step significantly enhances the professional look of your lantern.
- 13
If desired, paint or stain your lantern to match your decor. Apply thin, even coats of acrylic paint or wood stain, allowing each coat to dry completely before applying the next. Experiment with distressed finishes or ombre effects for added flair.
- 14
Apply a clear sealant spray over the painted or stained surface to protect the finish and add a subtle sheen. Let it dry thoroughly in a well-ventilated area according to the product's instructions.
- 15
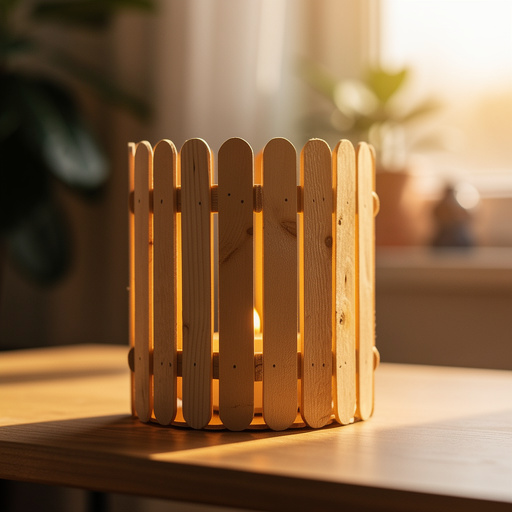
Place a battery-operated LED tea light inside your finished popsicle stick lantern and enjoy its warm, ambient glow! Ensure the tea light is securely placed and the lantern is stable before lighting.
Tips & Troubleshooting
- 1For a stronger bond, especially if you are not using hot glue, let each layer of popsicle sticks dry for at least 15-20 minutes before adding the next. This prevents the panels from shifting or becoming misshapen during construction.
- 2Experiment with different patterns by arranging the popsicle sticks in diagonal, chevron, or even herringbone designs instead of simple horizontal and vertical layers. This can add a unique visual texture and complexity to your lantern.
- 3If you want a more intricate design, you can cut small shapes (like stars, hearts, or geometric patterns) out of the center of some popsicle sticks before gluing them into the panels. This allows light to filter through in interesting ways.
- 4Ensure your LED tea lights are battery-operated for safety. Never use real candles in a popsicle stick lantern, as the wood and glue are highly flammable and pose a significant fire risk.
- 5Store your finished lanterns in a dry place, away from direct sunlight and moisture, to prevent the glue and wood from degrading over time. This will help maintain their structural integrity and appearance.
- 6Consider adding a small handle made from twine or wire to your lantern for easy carrying or hanging. Attach it securely to the top edges of the lantern panels.
- 7For a more rustic look, you can leave the popsicle sticks natural and simply seal them. Alternatively, explore wood stains in various shades to achieve a sophisticated finish that complements your existing decor.
- 8When cutting popsicle sticks, always use a sharp blade and cut on a self-healing mat or a thick piece of cardboard to protect your work surface. For very precise cuts, a small hobby saw or a miter box can be invaluable.
Related Activities You Might Enjoy
Frequently Asked Questions
What kind of glue is best for popsicle stick crafts?
White craft glue, also known as PVA glue, is an excellent choice for most popsicle stick crafts because it dries clear, is non-toxic, and provides a strong bond once fully cured. For projects where speed and immediate strength are paramount, a hot glue gun can be a valuable tool, but it requires adult supervision due to the high temperatures involved. Some crafters prefer to use a combination of both: white glue for the main structure and hot glue for quick tacking or reinforcing joints. Always ensure the glue is suitable for wood and dries to a durable finish.
Can I make popsicle stick crafts for outdoor decoration?
While you can certainly paint and seal popsicle stick crafts for outdoor use, they are best suited for covered areas like porches, patios, or gazebos where they are protected from direct rain and harsh sunlight. Prolonged exposure to the elements can cause the wood and glue to degrade over time, leading to a loss of structural integrity and a faded appearance. Applying multiple coats of a high-quality outdoor sealant can offer some protection, but it's still advisable to bring them indoors during inclement weather or the off-season to prolong their lifespan.
How do I cut popsicle sticks for crafts?
For clean and precise cuts on popsicle sticks, a sharp craft knife or heavy-duty scissors are generally effective. For thicker stacks or more intricate shapes, a small hobby saw, a miter box, or even a pair of wire cutters can be helpful. When using a craft knife, it's best to score the stick multiple times along your cutting line and then snap it for a cleaner break. Always cut on a protected surface, such as a self-healing mat or a thick piece of cardboard, and exercise caution to avoid slips and injuries. For very precise angles, a miter box is an excellent investment.
Are popsicle stick crafts safe for kids?
Popsicle stick crafts are generally safe for older children with adult supervision, especially when using standard craft glue. The materials are non-toxic and easy to handle. However, if a hot glue gun or sharp cutting tools like craft knives are involved, adult involvement is absolutely essential to ensure safety. Children should be taught proper handling techniques for these tools and always work under the direct supervision of an adult. Emphasize safety rules, such as keeping fingers away from glue gun tips and cutting away from themselves with knives.
How many popsicle sticks do I need for one lantern?
The number of popsicle sticks required for one lantern can vary depending on its size and the complexity of the design. For a medium-sized lantern, like the one described in this guide with approximately 4x4 inch panels and a height of about 6 inches, you can expect to use around 200-250 standard popsicle sticks. This accounts for the layered panels, the top, and any potential mistakes or extra sticks needed for reinforcement. It's always a good idea to have a few extra on hand to ensure you don't run out mid-project.
Can I make different shapes or sizes of lanterns?
Absolutely! The beauty of this project lies in its versatility. You can easily adjust the dimensions to create square, rectangular, or even hexagonal lanterns by modifying the number of sticks used per layer and the way you assemble the panels. Experimenting with different heights will also yield varied aesthetic results. For more advanced crafters, you could even explore creating cylindrical lanterns by carefully bending or scoring popsicle sticks, though this requires more advanced techniques and potentially different adhesives.
What Next?
Your handcrafted popsicle stick lantern is now ready to cast a warm, inviting glow! Consider creating a set in various sizes or colors to adorn a mantelpiece, bookshelf, or patio table. For an even more personalized touch, experiment with different wood stains or even decoupage techniques before sealing. These lanterns also make thoughtful, handmade gifts for friends and family. Remember to store them in a dry environment to ensure their longevity, and enjoy the cozy ambiance they bring to your home.
Free: 10 Paper Crafts Anyone Can Make in 5 Minutes
Get our beginner guide + new craft ideas weekly.
No spam. Unsubscribe anytime.
Did you complete this activity?
Related
You might also like
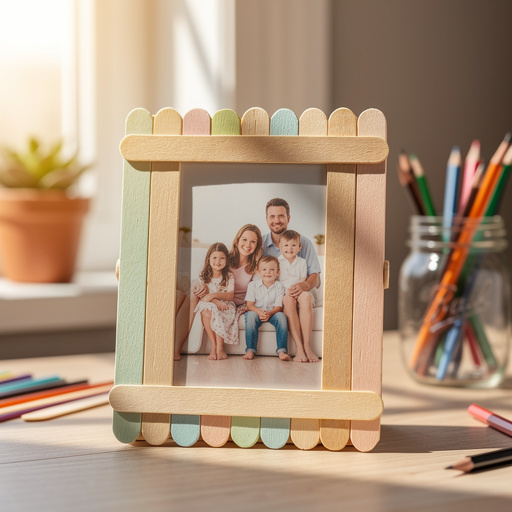
Popsicle Stick Photo Frames
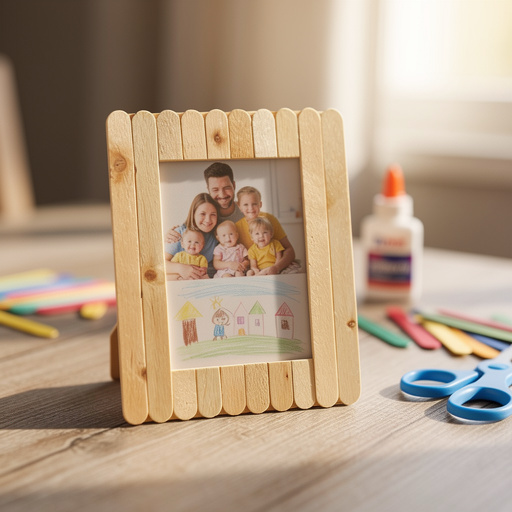
Popsicle Stick Picture Frames
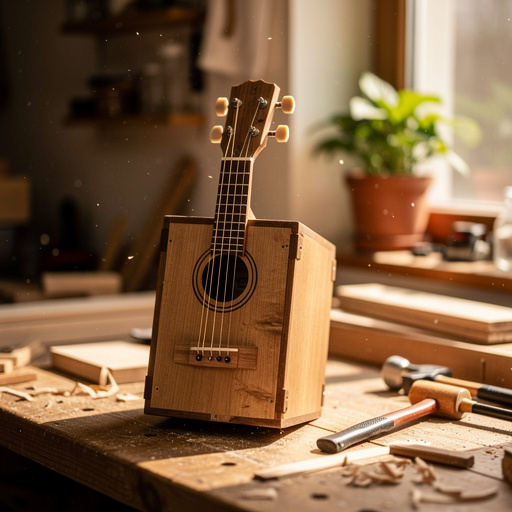
Resonant Box Guitar Craft
Recycled Magazine Coil Coasters
Cardboard Marble Run