How to Build a Simple Candle Making Machine — Easy Step-by-Step Guide
Discover how to construct a basic candle making machine at home for endless creative fun. Perfect for families looking for screen-free activities.
Quick answer
To make a candle making machine, you need basic craft supplies and about 60 minutes. Start by assembling the core structure. This beginner-friendly activity has 10 steps and is perfect for families with kids aged 8 and up.
What you need
Shop on Amazon · As an Amazon Associate we earn from qualifying purchases. Links above are affiliate links — we may earn a commission at no extra cost to you.
Unleash your inner artisan and embark on a delightful crafting journey with this DIY candle making machine project! Perfect for sparking creativity and providing a wonderful screen-free activity for families, this machine transforms simple materials into a functional tool for crafting beautiful, custom candles. Imagine the joy of creating unique scents and colors, perfect for gifts or adding a personal touch to your home decor. This project is designed for beginners and offers a rewarding experience that's both educational and fun for crafters of all ages, especially those aged 8 and up with adult supervision.
On this page
Step-by-Step Instructions
- 1
Prepare the cardboard box: Begin by carefully cutting off the top flaps of the cardboard box using scissors or a craft knife. This will create an open-top structure that serves as the main body of your candle making machine. Ensure the cuts are as straight as possible for a cleaner finish.
- 2
Mark the center for the dowel: On one of the side panels of the box, use your ruler and pencil to measure and mark the exact center point. This precise marking is crucial for ensuring the dowel is balanced and rotates smoothly, which is essential for even wax distribution.
- 3
Create the dowel hole: With adult supervision, carefully use the craft knife to cut a small hole at the marked center point. The hole should be just large enough for the wooden dowel to pass through snugly, creating a stable pivot point for the rotating mechanism. Avoid making the hole too large, as this can lead to wobbling.
- 4
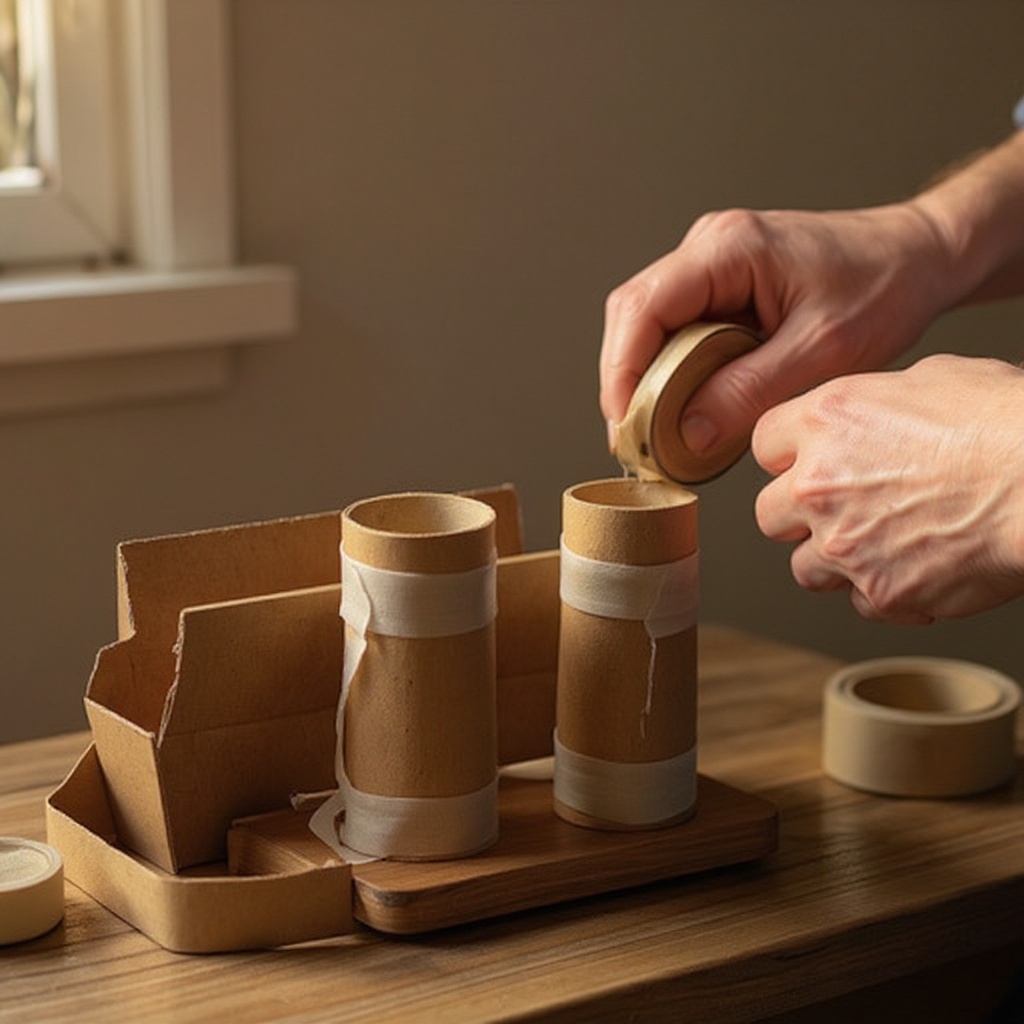
Prepare the cardboard tubes for support: Cut two identical lengths from the cardboard tubes, approximately 4 inches each. These tubes will act as internal supports for the dowel, ensuring it remains stable and can rotate freely within the box structure. Ensure the cuts are clean and even.
- 5
Attach the first tube support: On the inside of the box, directly below the dowel hole you created, tape one of the prepared cardboard tubes vertically. Position it so that when the dowel is inserted, it will rest securely within this tube. Use plenty of strong tape to ensure it's firmly attached.
- 6
Attach the second tube support: Repeat the process with the second cardboard tube, placing it a few inches away from the first one on the inside of the box. This creates a stable cradle for the dowel, preventing it from sagging and ensuring it can rotate without friction.
- 7
Insert the wooden dowel: Carefully slide the wooden dowel through the hole you cut in the side panel of the box. The dowel should extend out from both sides of the box, with the majority of its length positioned inside the box between the two cardboard tube supports.
- 8
Secure the dowel to the supports: Now, tape the cardboard tubes to the wooden dowel on the inside of the box. This step is critical for creating a stable and rotatable mechanism. Ensure the tape is applied firmly, creating a secure connection that allows the dowel to spin freely while remaining supported by the tubes.
- 9
Reinforce the dowel supports: For added stability, consider adding extra tape around the dowel where it passes through the cardboard tubes. This will prevent any shifting or loosening during the pouring process, ensuring a consistent flow of wax.
- 10
Create the pouring spout opening: On the bottom corner of the box, use your craft knife (with adult supervision) to cut a small opening. This opening should be just large enough for the spout of your plastic funnel to fit through securely. Aim for a clean, precise cut.
- 11
Assemble the pouring mechanism: Insert the plastic funnel into the opening you just cut at the bottom corner of the box. Ensure the funnel is positioned so that its spout extends slightly outside the box, creating a directed pouring channel. Secure the funnel in place with strong tape, making sure there are no gaps where wax could leak.
- 12
Prepare your workspace: Before melting any wax, lay down newspaper or a protective covering on your workspace to catch any potential drips or spills. This will make cleanup much easier and protect your surfaces.
- 13
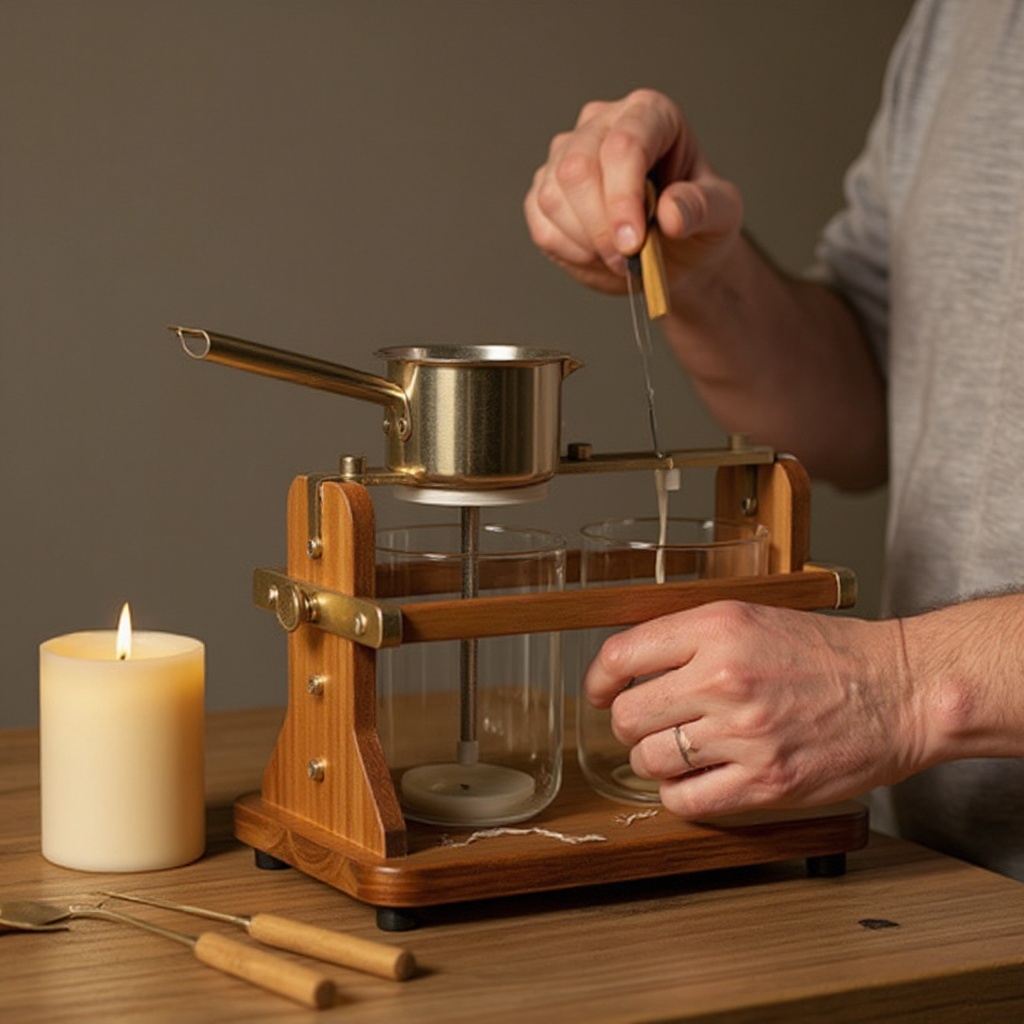
Melt the wax: In a double boiler or a heat-safe pouring pot placed over low heat, begin melting the soy wax flakes according to the package directions. Stir the wax occasionally with your stirring stick to ensure even melting. Use your thermometer to monitor the temperature closely, as overheating can damage the wax.
- 14
Monitor wax temperature: Pay close attention to the thermometer as the wax melts. Different waxes have different optimal pouring temperatures, so consult your wax packaging for specific guidelines. Overheating can lead to a dull finish or even burning the wax.
- 15
Add color and scent (optional): Once the wax is fully melted and has reached the desired temperature, you can carefully stir in candle dye and fragrance oil if you choose to customize your candles. Add dye a little at a time until you achieve your desired color, and add fragrance oil according to the manufacturer's recommendations, stirring gently to incorporate.
- 16
Prepare your candle mold: Select a heat-safe container to use as your candle mold. This could be a jar, tin, or a specialized candle mold. Place your pre-tabbed candle wick into the center of the mold, ensuring it stands upright. You can secure the bottom of the wick to the mold using a wick sticker or a small dab of melted wax.
- 17
Secure the top of the wick: To keep the wick centered and upright while pouring the wax, use a wick holder, a small piece of metal, or even two pencils laid across the top of the mold with the wick threaded between them. This prevents the wick from falling into the melted wax.
- 18
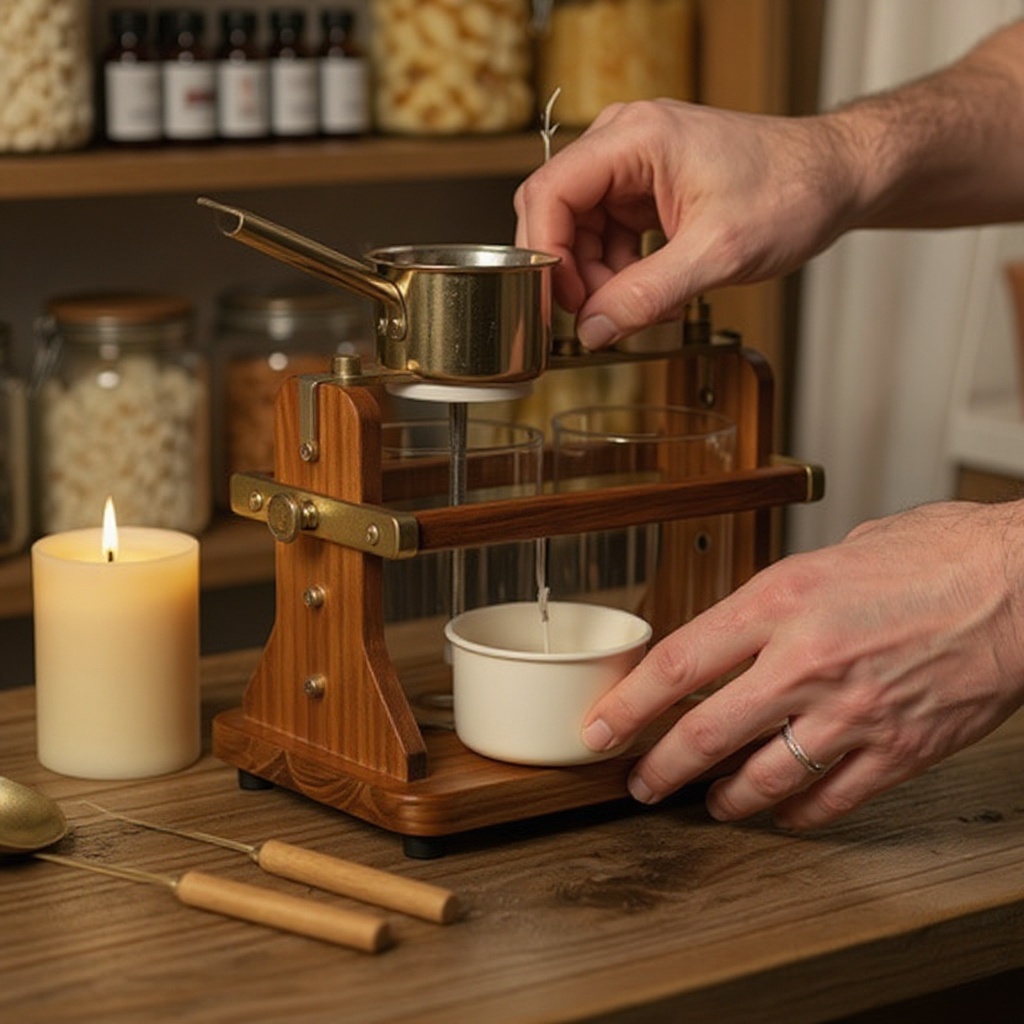
Pour the melted wax into the machine: Carefully pour the melted, scented, and colored wax into the funnel of your DIY candle making machine. The wax will flow down through the funnel, into the cardboard tubes, and then be directed into your prepared candle mold below. Pour slowly and steadily to avoid splashing.
- 19
Allow the candle to cool and cure: Once the mold is filled, allow the candle to cool and harden completely. This can take several hours, depending on the size of the candle and the type of wax used. Avoid moving the candle during this time to prevent imperfections.
- 20
Remove the candle from the mold: Once the candle is fully hardened, carefully remove it from its mold. If using a jar or tin, this is straightforward. For other molds, you may need to gently flex the mold to release the candle.
- 21
Trim the candle wick: Before burning your new candle, trim the wick to about 1/4 inch. This ensures a clean and safe burn, preventing excessive flickering or soot buildup. Trim the wick with scissors or a wick trimmer.
Tips & Troubleshooting
- 1Ensure the dowel rotates smoothly before adding wax. If it's too tight, widen the hole slightly or ensure the cardboard tube supports are not pressing too hard against the dowel. A smooth rotation is key to an even pour.
- 2For cleaner pouring, ensure the funnel is positioned correctly over the mold to minimize spills. You might want to place a small tray or piece of cardboard beneath the funnel and mold as an extra precaution against drips.
- 3Experiment with different candle molds for various shapes and sizes. Jars, tins, or silicone molds work well, but ensure they are heat-safe and can accommodate the size of your candle machine's output.
- 4Always supervise children when using scissors or a craft knife, and when melting wax. Ensure good ventilation in your crafting area and keep flammable materials away from heat sources.
- 5If the wax doesn't flow smoothly, gently warm the outside of the box or the funnel with a hairdryer on a low setting. This can help to loosen any wax that might be starting to solidify prematurely.
- 6Consider adding a second layer of tape to reinforce the cardboard tube supports and the funnel attachment. This will increase the durability of your machine, especially if you plan on making many candles.
- 7Test the flow of water through the funnel and tubes before using wax. This will help you identify any potential blockages or leaks and ensure the mechanism works as intended.
- 8For a more professional finish, you can decorate the outside of the cardboard box with paint, wrapping paper, or stickers before you start making candles. This adds a personal touch to your crafting tool.
Related Activities You Might Enjoy
Frequently Asked Questions
Can I use this candle making machine for different types of wax?
Yes, this machine can be used with various candle waxes like paraffin or beeswax, in addition to soy wax. However, it's crucial to always follow the specific melting and pouring temperature guidelines provided by the manufacturer for each wax type. Different waxes have unique properties and require precise temperature control for optimal results and safety. For instance, beeswax typically requires a higher pouring temperature than soy wax. Always use your thermometer to ensure you're within the recommended range for the wax you are using.
How do I clean the candle making machine?
Once the wax has cooled and hardened, you can gently scrape out any residue from the box and funnel using a plastic scraper or an old credit card. For stubborn bits, you can carefully re-melt a small amount of wax (using a separate container, not the machine itself) and wipe the interior clean with paper towels. Ensure the machine is completely dry before storing it to prevent mold or mildew. It's best to clean it immediately after use while any residual wax is still pliable.
What safety precautions should I take when using a candle making machine?
Always have adult supervision, especially when melting wax and using cutting tools like scissors or a craft knife. Ensure good ventilation in your crafting area and keep flammable materials such as paper or fabric away from heat sources. Never leave melting wax unattended, as it can be a fire hazard. Wear heat-resistant gloves when handling hot wax and containers. It's also advisable to have a fire extinguisher or baking soda readily available in case of a wax fire.
Can I make multiple candles at once with this machine?
This specific design is optimized for making one candle at a time. You would need to refill the funnel with melted wax for each new candle you wish to create. However, you can significantly speed up your production by setting up multiple candle molds in advance and pouring into them sequentially. Once the first candle is poured, you can immediately prepare the next mold and pour into it while the first candle cools.
What is the ideal pouring temperature for soy wax using this machine?
The ideal pouring temperature for soy wax can vary slightly depending on the specific brand and type of soy wax flakes you are using. Generally, a pouring temperature between 130°F and 145°F (54°C to 63°C) is recommended for soy wax. It's always best to consult the packaging of your soy wax for the most accurate temperature guidelines. Pouring at the correct temperature helps ensure a smooth surface and good adhesion to the container.
My wax isn't flowing smoothly through the funnel. What could be the problem?
If your wax isn't flowing smoothly, it's likely due to the temperature being too low, causing it to solidify prematurely in the funnel or tubes. Gently warm the outside of the cardboard box or the funnel with a hairdryer on a low setting to help the wax flow. Ensure your pouring pot is hot enough when you transfer the wax to the funnel. Also, check that the funnel opening isn't blocked by any solidified wax or debris. A slightly wider funnel opening might also improve flow.
How can I ensure my candle wick stays centered in the mold?
Keeping the wick centered is crucial for an even burn. Before pouring, ensure the wick is taut and positioned directly in the middle of your mold. You can achieve this by using a wick holder, a clothespin, or by laying two pencils or chopsticks across the top of the mold and securing the wick between them. If the wick shifts during pouring, you can gently adjust it with a thin, heat-resistant tool while the wax is still liquid, but be very careful not to burn yourself.
What Next?
Congratulations on building your very own candle making machine! This versatile tool opens up a world of possibilities for personalized home decor and thoughtful gifts. Don't stop at basic candles; consider experimenting with layered colors, embedded botanicals, or even unique container shapes. Once your candles are made, display them proudly on shelves or use them to create a cozy ambiance. Store any leftover wax flakes and supplies in a cool, dry place, and keep your machine clean for future crafting sessions. For your next project, explore more advanced candle making techniques or even try building a wax melting station to complement your new machine.
Free: 10 Paper Crafts Anyone Can Make in 5 Minutes
Get our beginner guide + new craft ideas weekly.
No spam. Unsubscribe anytime.
Did you complete this activity?