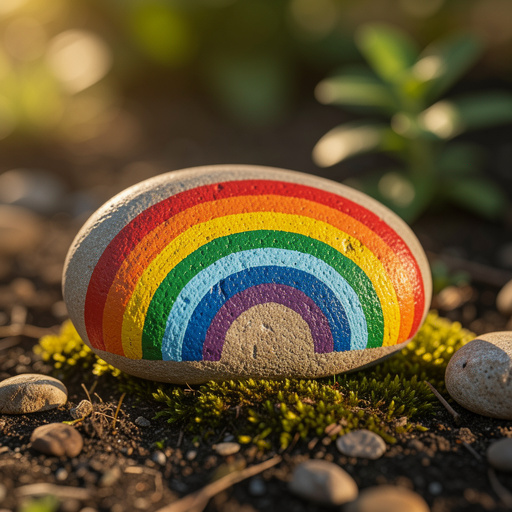
How to Create Beautiful Rock Painting Ideas for All Ages
Unleash your creativity with these simple rock painting ideas! Transform ordinary stones into vibrant works of art, perfect for decorating or spreading kindness. This beginner-friendly project is ideal for families and individuals looking for a fun, accessible way to connect with nature and art.
Quick answer
To make painted rocks, you need smooth rocks (about 3-5 inches in diameter), acrylic paints in various colors, fine-tip and medium-tip paintbrushes, a water cup for rinsing brushes, paper towels or old rags, and a clear acrylic sealant spray or brush-on varnish. The process involves washing and drying rocks, applying a base coat, painting designs, and sealing. This beginner-friendly activity takes about 30-60 minutes per rock, depending on drying time and design complexity, and is perfect for families with kids aged 4+.
What you need
Shop on Amazon · As an Amazon Associate we earn from qualifying purchases. Links above are affiliate links — we may earn a commission at no extra cost to you.
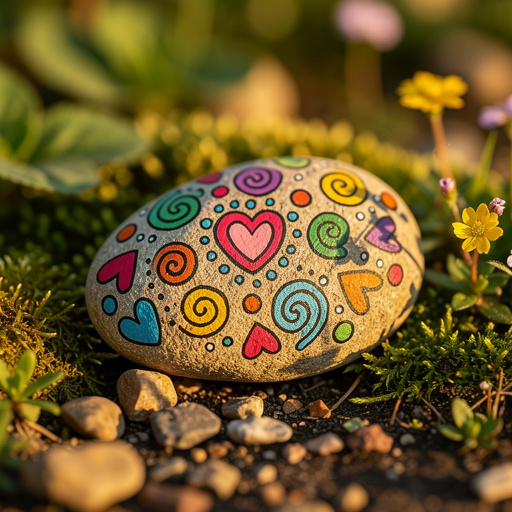
Embark on a delightful journey of creativity and connection with painted kindness rocks! This accessible and rewarding craft transforms ordinary stones into miniature masterpieces, perfect for brightening someone's day or adding a touch of whimsy to your garden. Whether you're a seasoned artist or a complete beginner, this project offers a wonderful opportunity to engage with nature, express yourself, and spread positivity. It's an ideal activity for families, classrooms, community groups, or anyone seeking a simple yet impactful way to share joy.
On this page
Step-by-Step Instructions
- 1
Gather a collection of smooth, clean rocks. Select rocks that are relatively flat and free of major cracks or holes for the best painting surface. Wash them thoroughly with soap and water to remove any dirt, mud, or loose debris, ensuring all grime is gone. After washing, let them dry completely in the sun or on a towel; any remaining moisture can prevent paint from adhering properly.
- 2
Prepare your workspace by laying out your rocks on a protected surface, such as newspaper or a drop cloth. This will catch any stray paint drips and make cleanup much easier. Arrange the rocks so they are stable and won't roll around while you're painting them.
- 3
Choose your first color of acrylic paint and apply a base coat to the entire surface of a rock using a medium-tip paintbrush. Ensure you cover the entire rock, including the sides and any slightly curved areas, for a uniform look. Apply a thin, even layer to avoid thick, clumpy paint.
- 4
Allow the base coat to dry completely before proceeding to the next step. This may take anywhere from 10 to 20 minutes, depending on the paint thickness, humidity, and air circulation. You can gently touch the surface with a dry finger to check for tackiness; if it feels sticky, it needs more drying time.
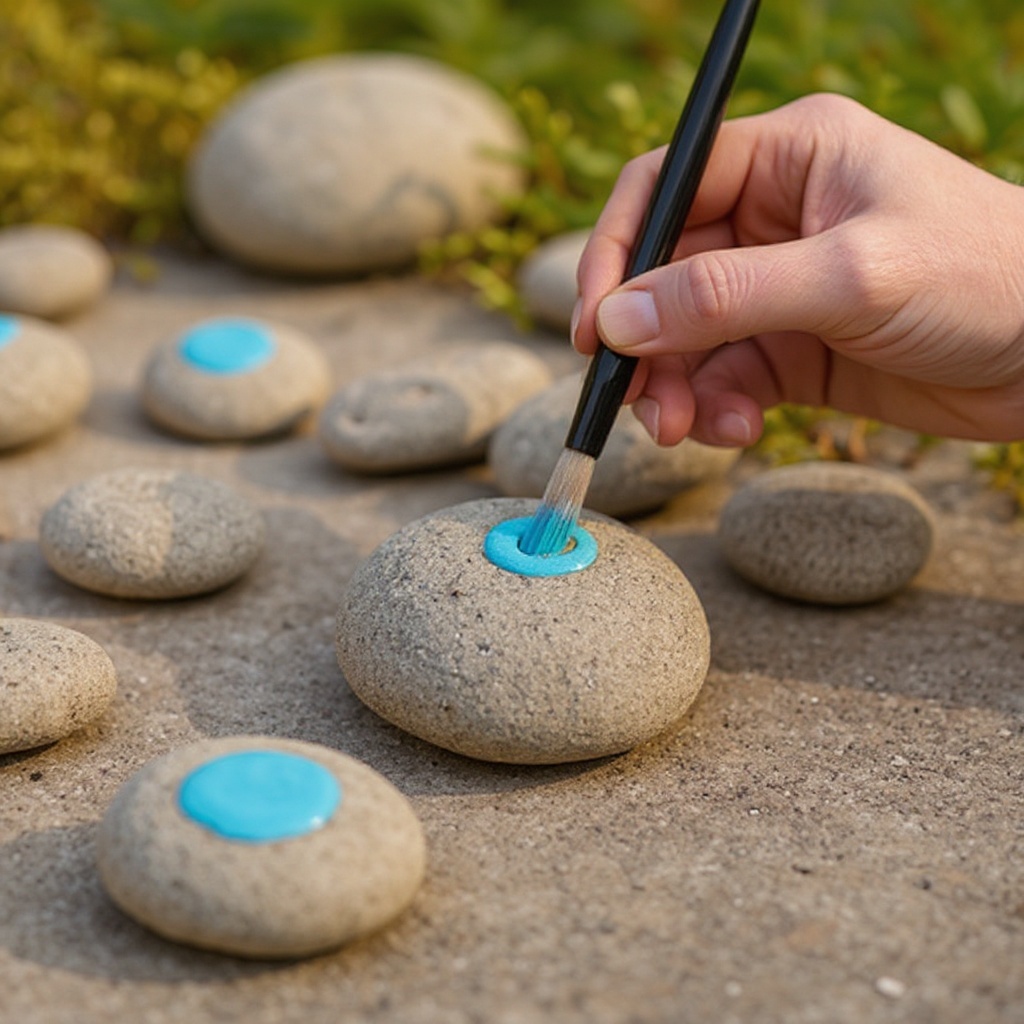
- 5
Once the base coat is thoroughly dry, it's time to add your designs! Use fine-tip paintbrushes to carefully paint patterns, animals, mandalas, or write inspiring words onto the rock. For intricate designs, consider sketching your idea lightly with a pencil first, which can be easily painted over.
- 6
Experiment with different color combinations and brush strokes to create unique effects and textures. For example, try dabbing paint with the tip of your brush for a stippled effect or using a dry brush technique to create a textured look. Don't be afraid to layer colors once the previous layer is dry.
- 7
If you're painting multiple colors or layers, ensure each layer is completely dry before adding the next. This prevents colors from bleeding into each other unintentionally and ensures crisp, clean lines. Patience is key to achieving a professional-looking finish.
- 8
Let all the painted designs dry thoroughly. This can take another 20 to 30 minutes, or even longer if you've applied thicker layers of paint. Ensure the paint is not tacky to the touch before moving on to the sealing stage.
- 9
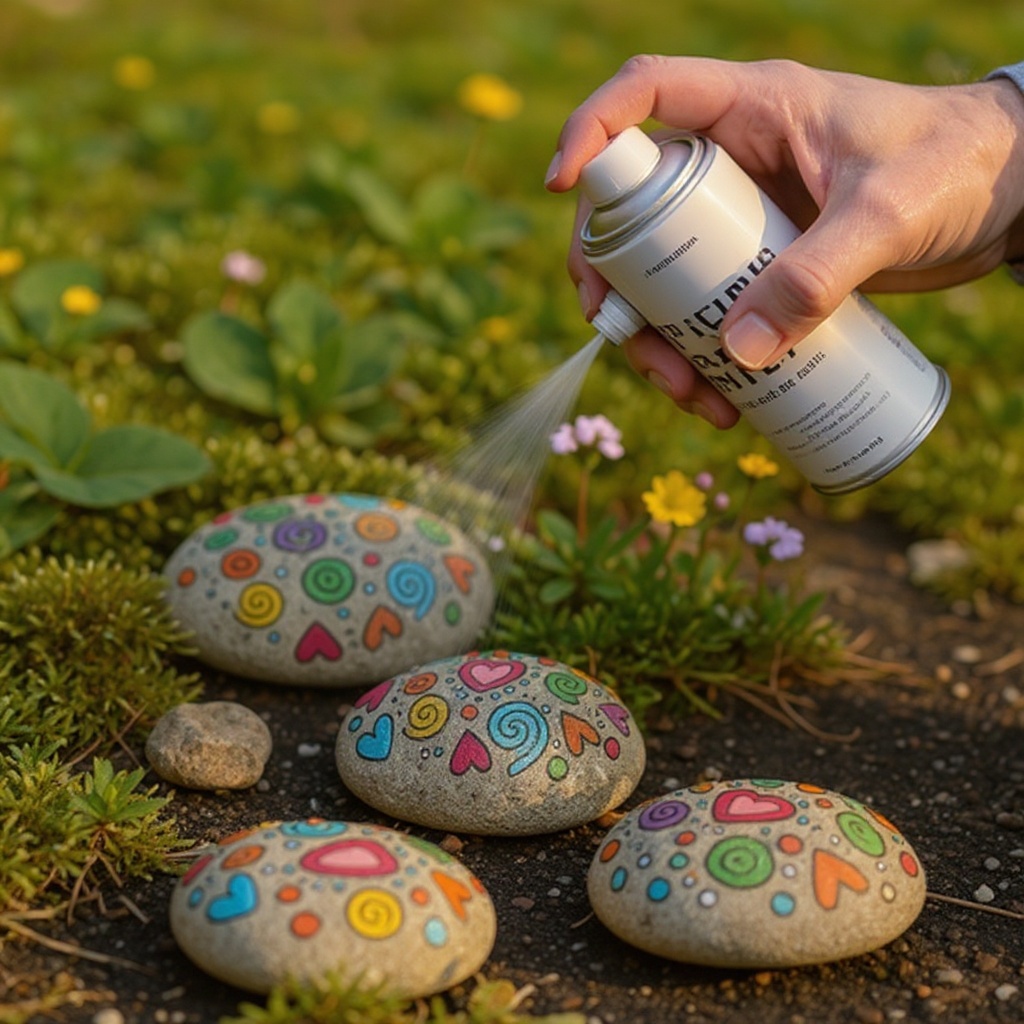
Once your painted designs are completely dry, it's time to protect your artwork. Apply a clear acrylic sealant spray or brush-on varnish to protect your painted rock from the elements and give it a glossy, finished look. If using spray sealant, ensure you are in a well-ventilated area, such as outdoors or in a garage with open doors, and wear a mask to avoid inhaling fumes.
- 10
Apply the sealant in thin, even coats, ensuring you cover the entire painted surface. If using a spray, hold the can about 8-12 inches away from the rock and use a sweeping motion. For brush-on varnish, use smooth, even strokes.
- 11
Allow the first coat of sealant to dry completely according to the product's instructions. This is crucial for creating a durable barrier. Drying times can vary, so check the product label for specific recommendations.
- 12
Apply a second (or even a third) thin coat of sealant for maximum protection, especially if your rocks will be displayed outdoors. This extra layer will significantly enhance the longevity and weather resistance of your painted rocks, preventing chipping and fading over time.
- 13
Let the final coat of sealant dry completely before handling or displaying your finished rock. This final drying period is essential for the sealant to cure properly and provide its full protective benefits. This can take several hours to a full day, depending on the product and environmental conditions.
Tips & Troubleshooting
- 1If your rocks have a rough texture, consider a light sanding before painting for a smoother surface. Use fine-grit sandpaper (around 120-220 grit) to gently buff away any rough patches. This will create a more even canvas for your paint and make detailed work much easier.
- 2For intricate designs or lettering, use a pencil to lightly sketch your idea onto the rock before painting. This allows you to plan your composition and make adjustments without committing to paint. The pencil lines can be easily covered by the acrylic paint.
- 3Mix a drop of dish soap into your acrylic paint to help it flow more smoothly and prevent it from drying too quickly on the brush. This trick is especially helpful when working with smaller brushes or when painting in warm, dry conditions, as it keeps the paint workable for longer.
- 4If you make a mistake, don't despair! You can often wipe away wet acrylic paint with a damp cloth or paper towel. For dried paint, gently scrape it off with a craft knife or the edge of a palette knife (adult supervision is required for this method). You can then repaint the area.
- 5Seal your rocks even if they are for indoor display to prevent chipping and fading over time. The sealant acts as a protective barrier against scuffs, dust, and accidental bumps, ensuring your artwork remains vibrant and intact for years to come.
- 6Consider using a primer if your rocks are very dark or have a porous surface. A white acrylic primer will help your colors pop and ensure better adhesion of the subsequent paint layers. Allow the primer to dry completely before applying your base coat.
- 7For a professional finish, consider using a sealant that offers UV protection. This is particularly important for rocks that will be displayed outdoors, as it will help prevent the colors from fading due to sun exposure.
- 8When painting, work in a well-lit area to ensure you can see your colors accurately and apply details precisely. Good lighting will also help you spot any missed spots or areas that need touch-ups before sealing.
Related Activities You Might Enjoy
Frequently Asked Questions
What kind of paint is best for painting rocks?
Acrylic paints are the best choice for rock painting due to their versatility, vibrant colors, and durability. They adhere well to most rock surfaces, dry relatively quickly, and are water-resistant once fully cured. For outdoor use, it's highly recommended to use outdoor acrylics or multi-surface acrylics, as these are formulated to withstand various weather conditions. Water-based acrylics are generally non-toxic and easy to clean up with soap and water when wet, making them ideal for crafters of all ages. Avoid oil-based paints, as they can be more difficult to work with and require solvents for cleanup.
How do I make my painted rocks last longer outdoors?
To ensure your painted rocks withstand the elements and maintain their vibrant appearance outdoors, it's crucial to seal them properly. Apply at least two, and preferably three, thin coats of a clear acrylic sealant spray or a brush-on varnish specifically designed for outdoor use. Ensure each coat is completely dry before applying the next, as this builds up a protective barrier against moisture, UV rays, and general wear and tear. Look for sealants that offer UV protection to prevent fading and are waterproof. Proper sealing is the most critical step for outdoor longevity.
Can I use regular markers to paint rocks?
While you can use permanent markers for adding fine details or lettering to rocks, they are generally not ideal for covering large areas or for creating a full painted design. Markers often have a limited color palette compared to acrylic paints, and their ink may not adhere as well or last as long outdoors, even with sealing. Acrylic paints offer better coverage, color vibrancy, and durability, especially when sealed, making them the superior choice for most rock painting projects. For best results, use markers only for small accents after the acrylic paint has dried.
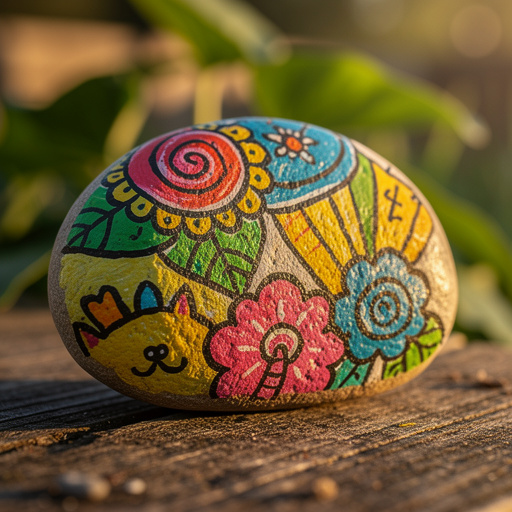
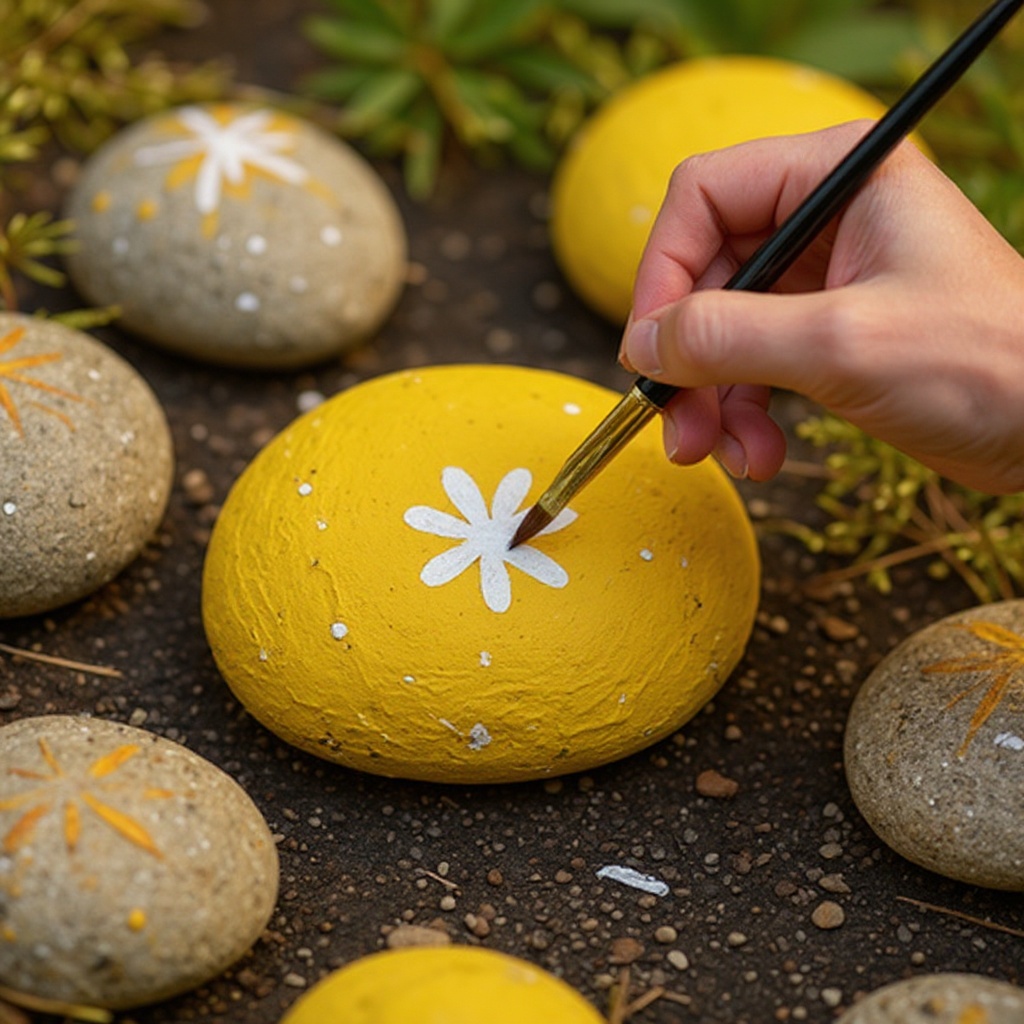
What are some simple rock painting ideas for beginners?
Beginner-friendly ideas should focus on simplicity and ease of execution. Excellent starting points include painting simple ladybugs with red bodies and black dots, creating colorful abstract patterns with stripes or polka dots, or painting basic flowers with a few petals. Inspirational words like 'love,' 'joy,' 'hope,' or 'kindness' are also great options, as they require minimal artistic skill. You can also paint simple landscapes with a blue sky and green grass, or abstract swirls of color. Focusing on one or two colors and straightforward shapes will build confidence and lead to satisfying results.
How do I prepare rocks for painting?
Proper preparation is key to ensuring your paint adheres well and your designs last. Start by gathering smooth, clean rocks that are free from loose dirt, moss, or debris. Wash them thoroughly with soap and water, using a stiff brush if necessary to scrub away any stubborn grime. After washing, rinse them completely and allow them to air dry thoroughly, preferably in the sun, until they are bone dry. Any residual moisture can prevent the paint from sticking properly and may lead to peeling later on. If your rocks are particularly rough, a light sanding can create a smoother surface.
Can kids paint rocks?
Absolutely! Rock painting is a fantastic activity for kids of all ages, typically starting around age 4 with supervision. It's a wonderful way to encourage creativity, fine motor skills, and an appreciation for nature. For younger children, focus on simple designs like dots, stripes, or basic shapes using bright colors. Ensure you use non-toxic acrylic paints and supervise them closely, especially during the sealing process if using spray sealants. It's a rewarding project that allows them to create something tangible and beautiful to share or keep.
What Next?
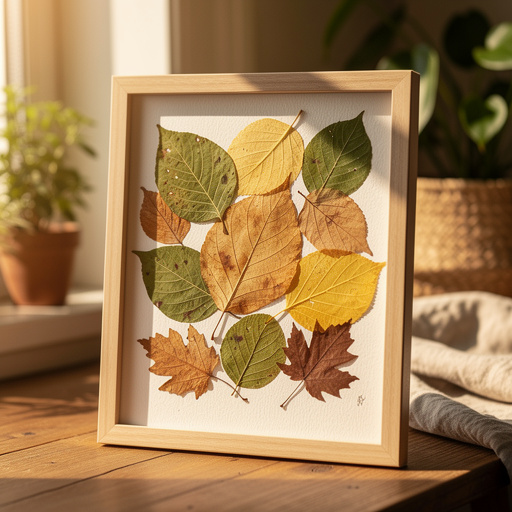
Once your painted kindness rocks are fully dry and sealed, the possibilities for their use are endless! Consider creating a 'kindness rock garden' in your neighborhood, leaving them on park benches for others to find, or using them as unique garden markers. For indoor display, arrange them in bowls or on shelves as charming decorative accents. If you enjoyed this project, explore variations like painting mandalas, creating themed rock sets, or even trying out different mediums like chalk paint for a matte finish. Remember to store any unused supplies in a cool, dry place to ensure their longevity for future creative endeavors.
Free: 10 Paper Crafts Anyone Can Make in 5 Minutes
Get our beginner guide + new craft ideas weekly.
No spam. Unsubscribe anytime.
Did you complete this activity?
Related