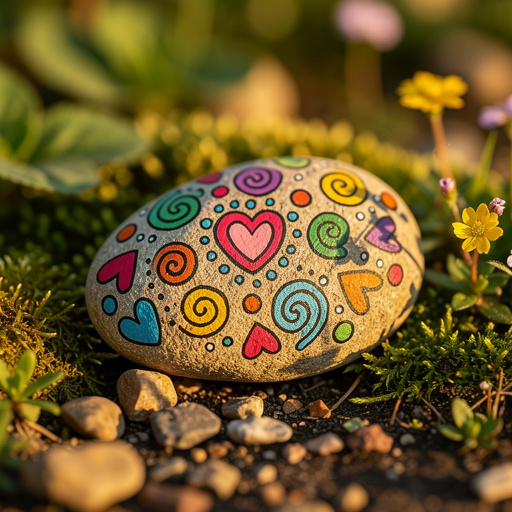
How to Create a Rock Painting Kit — Easy Step-by-Step Guide
Transform ordinary rocks into colorful masterpieces with a DIY rock painting kit! This fun, screen-free activity is perfect for all ages.

Quick answer
To make a rock painting kit, you need smooth rocks, acrylic paints, brushes, and sealant, taking about 30 minutes to assemble. Start by gathering your supplies. This beginner-friendly activity has 7 steps and is perfect for families looking for creative, screen-free fun.
What you need
Shop on Amazon · As an Amazon Associate we earn from qualifying purchases. Links above are affiliate links — we may earn a commission at no extra cost to you.
Unleash your inner artist and spread a little joy with a DIY rock painting kit! This wonderfully simple yet incredibly rewarding project transforms humble stones into vibrant works of art. It's a fantastic way to connect with nature, engage in mindful creativity, and create something beautiful to share. Perfect for a rainy afternoon, a family craft session, or a solo escape, this kit provides everything you need for hours of screen-free fun, fostering imagination and a sense of accomplishment for crafters of all ages.
On this page
Step-by-Step Instructions
- 1
Gather all your rock painting supplies on a protected surface. Lay down newspaper or a drop cloth to safeguard your table or floor from paint splatters and sealant mist. Ensure you have enough space to comfortably work with your rocks and paints.
- 2
Wash and thoroughly dry the rocks to ensure a clean painting surface. Use soap and water to remove any dirt, mud, or debris. A stiff brush can help scrub away stubborn grime. Allow them to air dry completely or use a towel; any moisture can prevent paint from adhering properly.
- 3
Prepare your workspace by arranging your materials for easy access. Open your acrylic paints and squeeze small amounts onto a palette or disposable plate. Have your water cups and paper towels within reach, and position your rocks so they are stable and ready for painting.
- 4
Dip a paintbrush into your chosen paint color and apply it to a rock. Start with a base coat or directly with your design. For even coverage, use smooth, consistent strokes. Avoid overloading your brush, which can lead to drips.
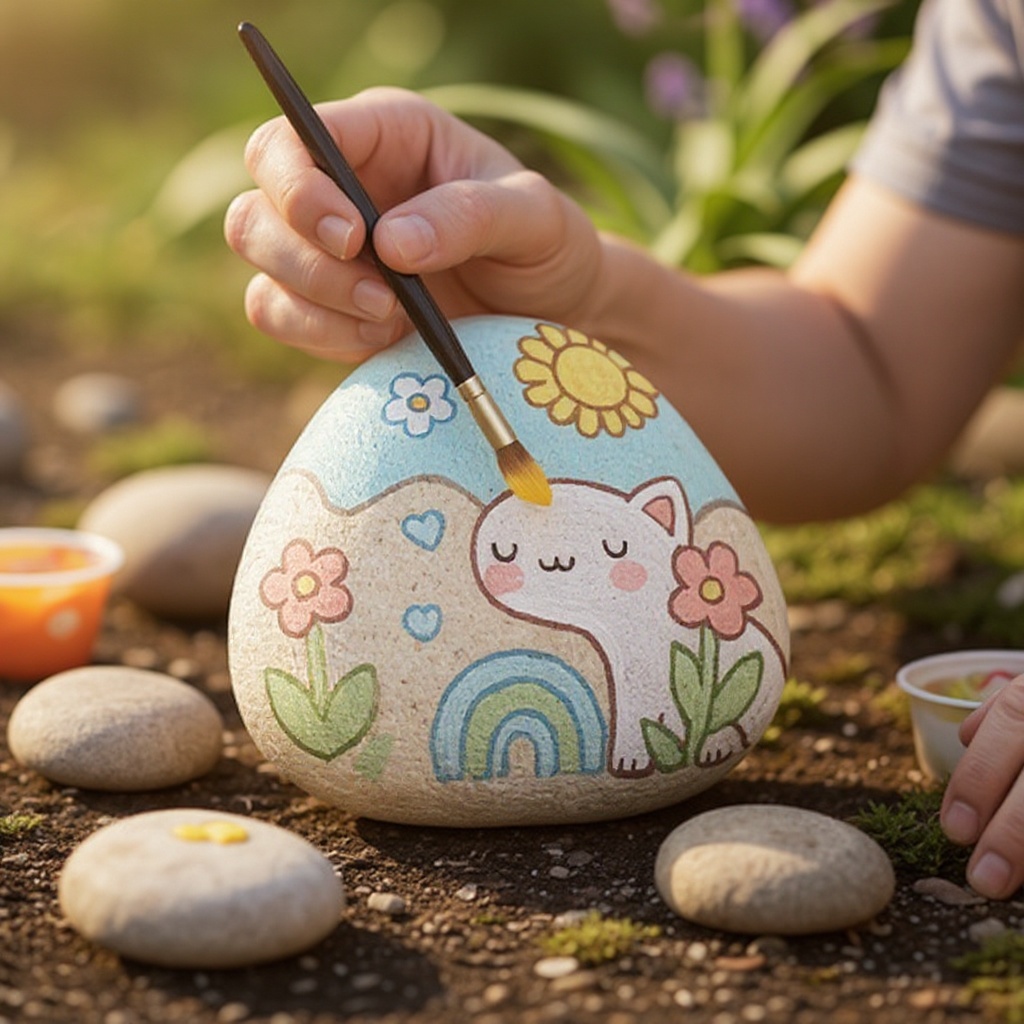
- 5
Continue painting designs, patterns, or pictures onto the rocks. Let your creativity flow! You can paint simple dots, intricate mandalas, inspirational words, cute animals, or abstract designs. Don't be afraid to mix colors on your palette to create new shades.
- 6
Allow the first layer of paint to dry completely before adding more colors or details. This is crucial to prevent colors from bleeding into each other and to achieve crisp lines. Acrylic paints dry relatively quickly, but thicker layers may take longer.
- 7
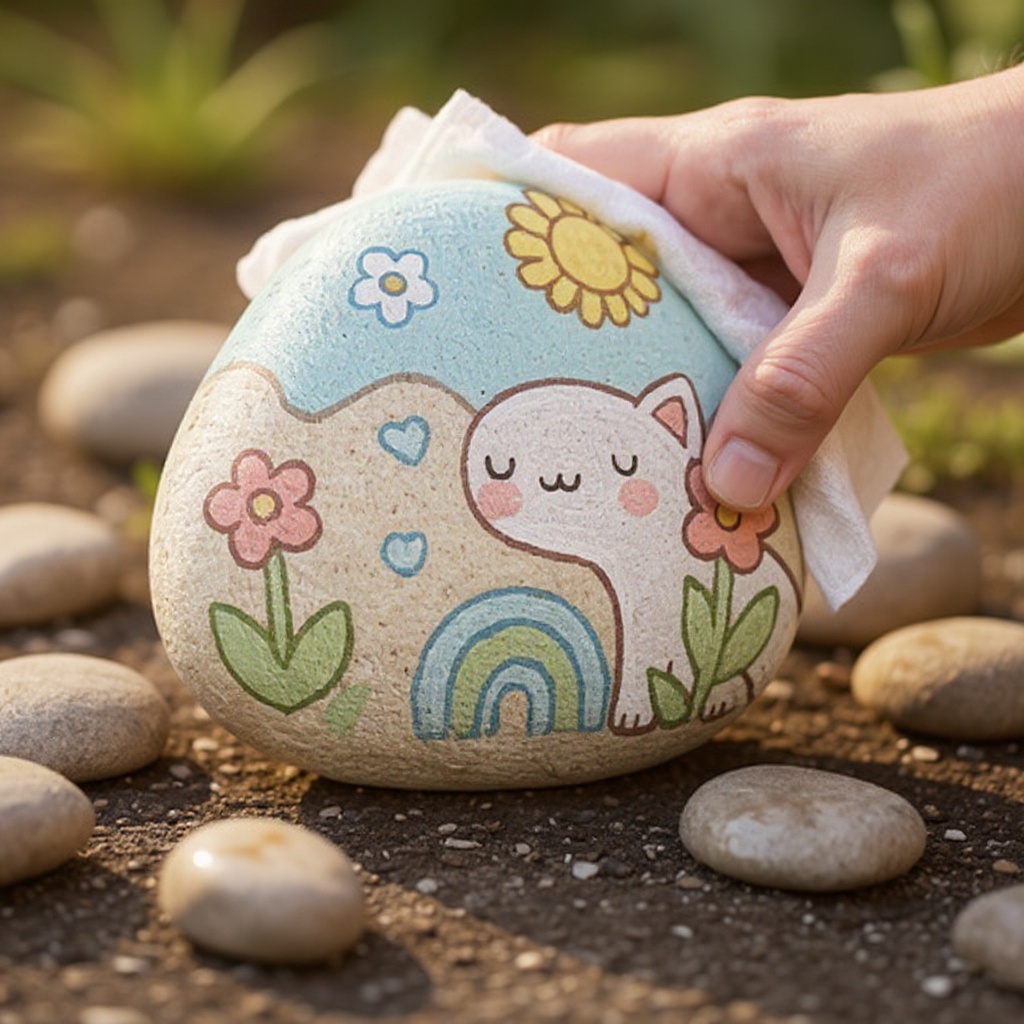
Once your designs are finished and dry, apply a coat of clear acrylic sealant to protect your artwork. This step is vital for outdoor display, as it shields the paint from moisture, UV rays, and general wear and tear. Ensure you are in a well-ventilated area for spray sealants.
- 8
Let the sealant dry completely according to the product's instructions. This usually takes at least a few hours, but some sealants recommend a full 24-hour cure time for maximum durability. Avoid touching the rocks until they are fully dry to prevent smudges.
- 9
Your painted rocks are now ready to be shared or displayed! Admire your handiwork and decide where you'll place them to bring a smile to someone's face or add a splash of color to your surroundings.
Tips & Troubleshooting
- 1For a smoother finish and brighter colors, apply a base coat of white or light-colored paint to the rocks before adding your designs. This creates a uniform canvas and makes your chosen colors pop, especially darker shades on lighter backgrounds.
- 2Experiment with different brushstrokes and techniques to add texture and depth to your artwork. Use a fine-tip brush for intricate details like outlines, lettering, or tiny patterns, and a wider brush for larger areas, backgrounds, or solid color fills.
- 3If you're painting rocks for a community rock garden or public display, it's essential to check local guidelines for acceptable designs and sealant use. Some areas may have restrictions on certain imagery or require specific types of sealant to ensure longevity and safety.
- 4To make your rocks extra durable for outdoor display, apply two coats of sealant, allowing each to dry thoroughly between applications. This provides an extra layer of protection against the elements, ensuring your painted creations can withstand rain, sun, and frost.
- 5Consider adding a personalized touch with permanent markers for outlines or small details after the acrylic paint has dried. Black or white markers can define shapes, add lettering, or create fine lines that enhance the overall design and give it a polished look.
- 6Don't be afraid to embrace imperfections! Sometimes the most charming rock art has a slightly rustic or handmade feel. Focus on the joy of the creative process rather than striving for absolute perfection.
- 7Clean your brushes thoroughly immediately after use with soap and water to prevent the acrylic paint from drying and hardening them. This will ensure your brushes remain in good condition for future painting projects.
- 8If you're working with children, consider pre-priming the rocks with a base coat of paint for them, or using simpler designs and larger brushes to make the process more manageable and enjoyable for younger hands.
Related Activities You Might Enjoy
Frequently Asked Questions
What kind of rocks are best for painting?
Smooth, flat rocks are ideal for painting as they provide a stable and even surface for your artwork. Look for river rocks or beach stones that are free of rough edges, crevices, or debris. The smoother the surface, the easier it will be to achieve clean lines and detailed designs. Before painting, wash them thoroughly with soap and water, using a stiff brush to remove any dirt or algae, and ensure they are completely dry. Rocks that are too porous might absorb the paint, so denser stones are generally preferred. Aim for rocks that are roughly palm-sized or slightly larger for a good painting area.
What type of paint should I use for rock painting?
Acrylic paints are the best choice for rock painting due to their versatility and durability. They are vibrant, water-resistant when dry, and adhere well to most rock surfaces, creating a lasting finish. Ensure you use non-toxic acrylic paints, especially if children will be participating in the activity, to guarantee safety. Acrylics come in a wide range of colors and can be easily mixed to create custom shades. For outdoor rocks, it's advisable to use outdoor-grade acrylics or ensure a robust sealant is applied over standard acrylics to protect them from the elements.
Do I need to seal painted rocks?
Yes, sealing painted rocks is highly recommended, especially if they will be displayed outdoors or handled frequently. A clear acrylic sealant acts as a protective barrier, shielding your artwork from moisture, UV rays, fading, chipping, and general wear and tear. This significantly extends the lifespan of your painted creations, keeping them vibrant and intact for longer. For maximum durability, especially in harsh weather conditions, applying two coats of a good quality, weather-resistant sealant is advisable, allowing each coat to dry thoroughly before the next application.
How do I make my rock painting designs last longer?
To ensure your rock painting designs last longer, several key steps are crucial. First, ensure your acrylic paint is completely dry before applying any sealant; this prevents smudging and ensures proper adhesion. Use a good quality, weather-resistant clear acrylic sealant, and apply at least one, preferably two, coats for maximum durability. Allow each coat to dry thoroughly according to the product's instructions. Painting on smooth, clean rocks and avoiding overly thick paint applications can also contribute to longevity, as thick paint is more prone to chipping. Proper storage, if not displayed outdoors, can also help.
Can children use a rock painting kit?
Absolutely! A rock painting kit is a fantastic screen-free activity for children, fostering creativity, fine motor skills, and imagination. Adult supervision is recommended, especially when using paints and sealants, to ensure safety and help with the creative process. You can simplify the process for younger children by providing larger rocks, simpler designs, and larger brushes. Using non-toxic paints and ensuring a well-ventilated area for sealant application are paramount for their well-being. It's a wonderful way for families to bond and create lasting memories together.
What are some popular designs for painted rocks?
Popular designs for painted rocks range from simple to intricate, catering to various skill levels and preferences. Many people opt for inspirational words and positive affirmations like 'You are loved,' 'Be kind,' or 'Smile.' Cute animals, such as ladybugs, owls, cats, and dogs, are also perennial favorites. Mandalas, geometric patterns, and abstract designs offer opportunities for creative expression and color exploration. Seasonal themes, like pumpkins for autumn or snowflakes for winter, are also common. For community rock gardens, simple, cheerful designs that bring a smile to anyone's face are generally well-received.
How do I store my painted rocks if I'm not displaying them outdoors?
If you're not displaying your painted rocks outdoors, proper storage is key to preserving their beauty. You can store them in a decorative box, a basket, or even on shelves indoors. If you have a large collection, consider organizing them by theme or color. Avoid stacking them directly on top of each other if they have textured finishes or raised elements, as this could cause damage. If you've used a sealant, they are generally quite durable, but keeping them away from direct sunlight can prevent any potential fading over extended periods. A cool, dry place is ideal for long-term storage.
What Next?
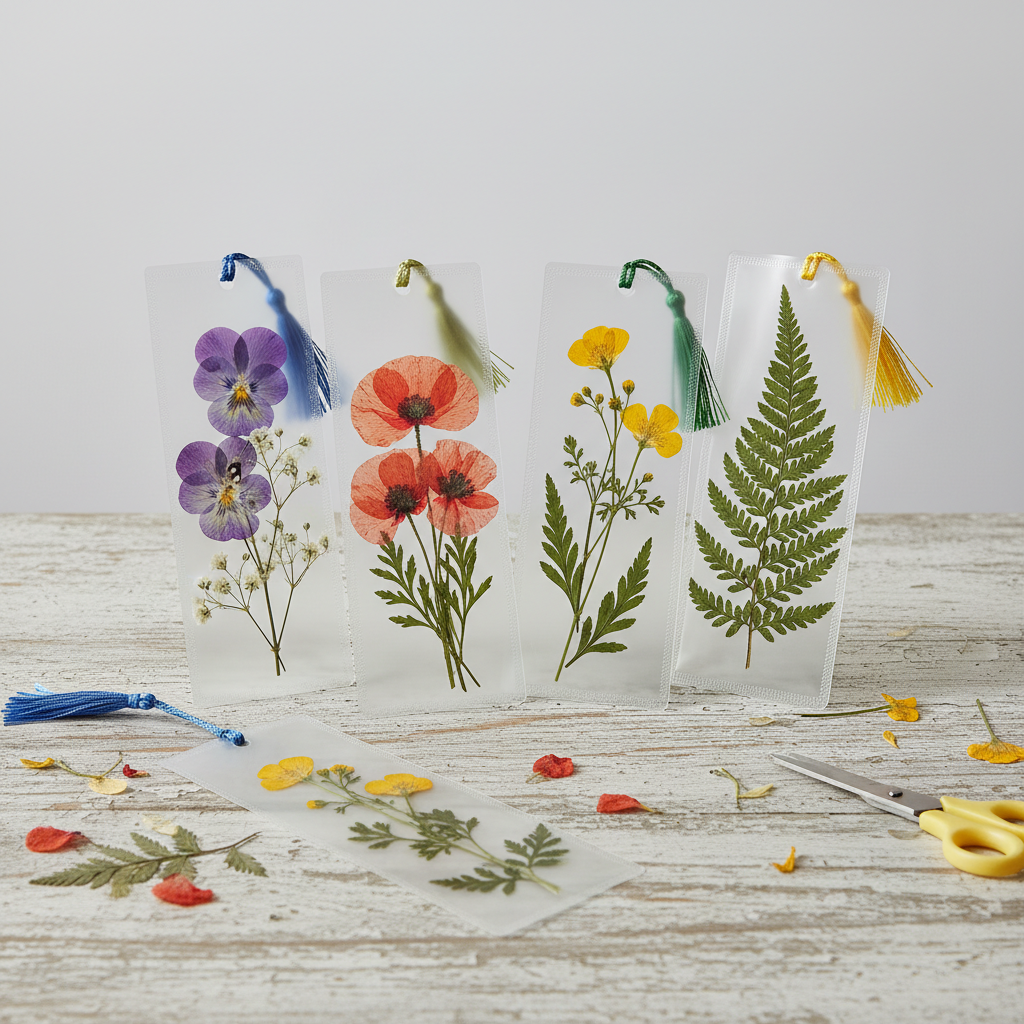
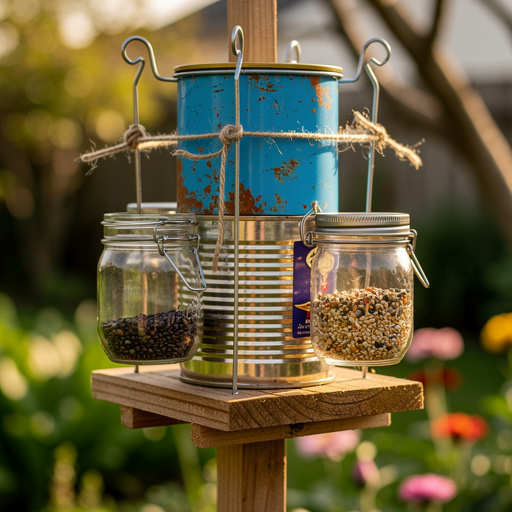
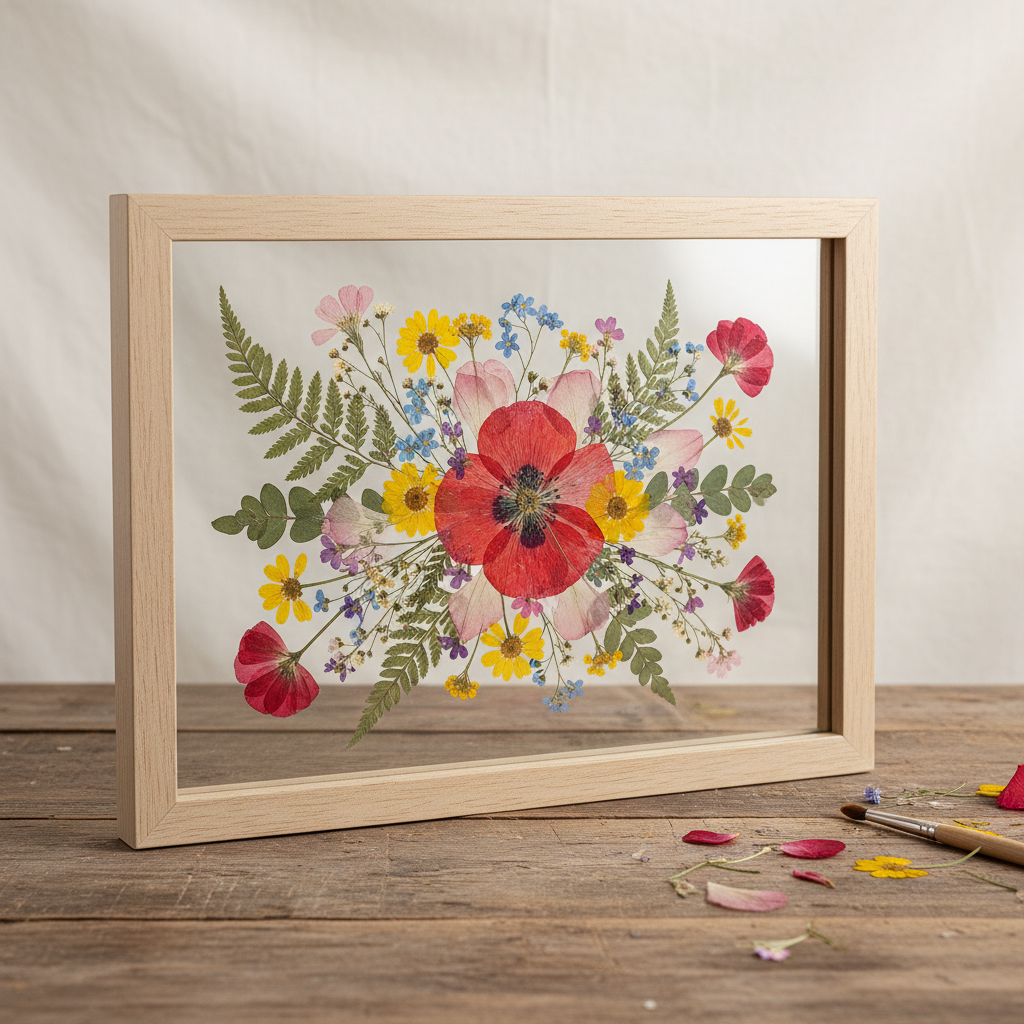
Once your painted rocks are sealed and dry, the real fun begins: sharing them! Hide them in your local park for others to find, leave them on a friend's doorstep as a surprise, or contribute them to a community rock garden. You can also create a beautiful display in your own garden or home. For variations, consider using paint pens for intricate details, adding glow-in-the-dark paint for a magical touch, or even trying decoupage with tissue paper. Next, explore other nature crafts like pressed flower art or DIY bird feeders!
Free: 10 Paper Crafts Anyone Can Make in 5 Minutes
Get our beginner guide + new craft ideas weekly.
No spam. Unsubscribe anytime.
Did you complete this activity?
Related