How to Make Painted Rock Garden Markers — Easy Step-by-Step Guide
Transform ordinary rocks into charming garden markers with this simple painting project. A fun and creative way to identify your plants and add a personal touch to your outdoor space.
Quick answer
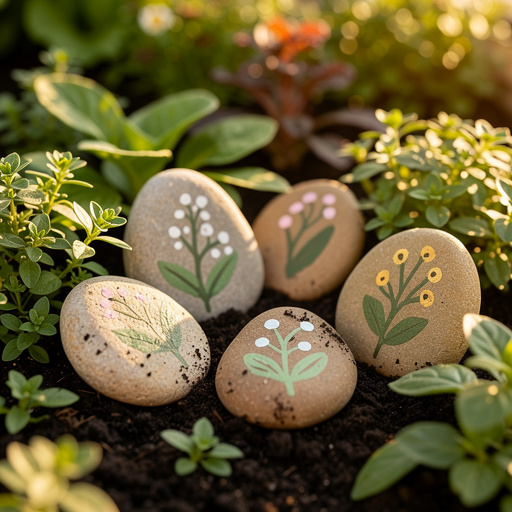
To make painted rock garden markers, you need smooth rocks, acrylic paints, and sealant, taking about 45 minutes. Start by cleaning your rocks. This easy activity has 7 steps and is perfect for families with children aged 5+.
What you need
Shop on Amazon · As an Amazon Associate we earn from qualifying purchases. Links above are affiliate links — we may earn a commission at no extra cost to you.
Elevate your garden's charm and functionality with a delightful DIY project: painted rock garden markers! This accessible craft transforms humble stones into vibrant, personalized plant identifiers. It’s a fantastic way to add a unique artistic flair to your flowerbeds, herb gardens, or vegetable patches, making it easier to remember what's growing where. Perfect for crafters of all ages, especially families looking for a fun outdoor activity, this project requires minimal supplies and offers maximum creative freedom. Get ready to infuse your garden with personality, one painted rock at a time!
On this page
Step-by-Step Instructions
- 1
Gather your smooth, flat rocks. Ensure they are clean and dry before you begin painting. Gently scrub them with a stiff brush and water to remove any dirt, mud, or debris, then allow them to air dry completely.
- 2
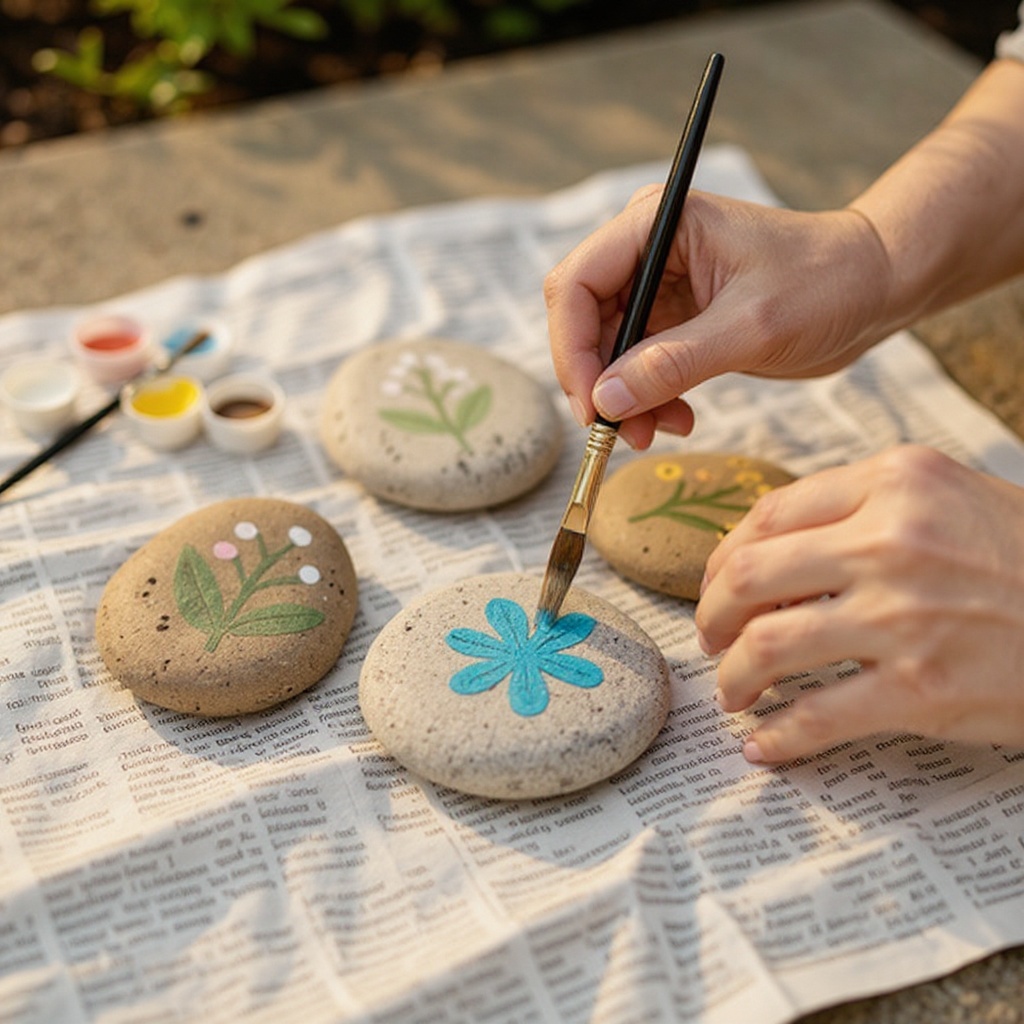
Lay down newspaper or a drop cloth to protect your work surface. This project can get a little messy, so it's important to cover your area thoroughly, especially if you're working indoors or on a surface you want to keep pristine.
- 3
Choose your first rock and decide what plant or message you want to paint on it. Consider the size and shape of the rock when planning your design; a longer rock might be perfect for a plant name, while a rounder one could feature a symbol or a short word.
- 4
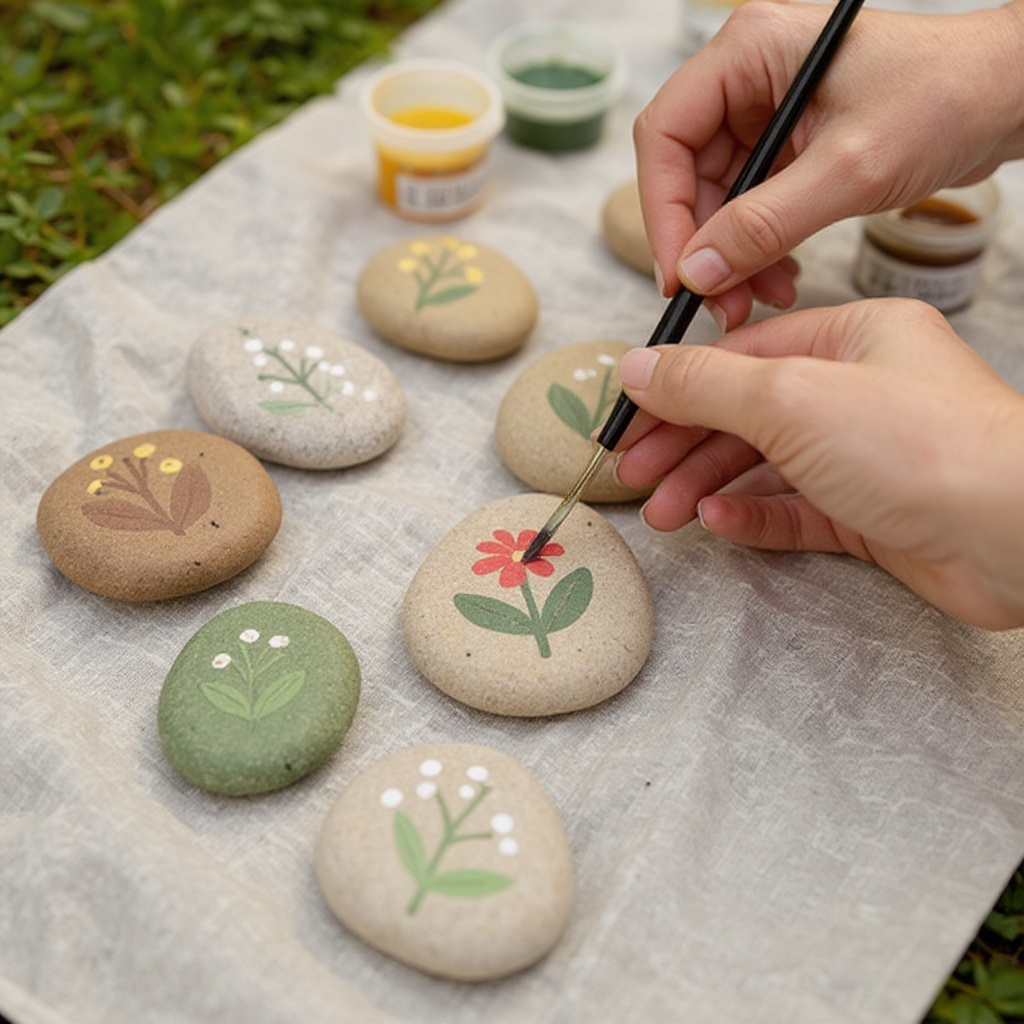
If you're painting on darker rocks, consider applying a base coat of white or a light color first. This will help your chosen colors appear more vibrant and opaque, making your designs truly pop against the darker background.
- 5
Using your paintbrushes, apply your chosen acrylic paint colors to the rock. You can paint words, symbols, or simple pictures. For lettering, start with a pencil sketch to get the spacing and size right before committing to paint.
- 6
Allow the first layer of paint to dry completely. This may take 10-20 minutes depending on the paint thickness, humidity, and air circulation. You can gently touch a small, inconspicuous area to check for tackiness; if it feels sticky, it needs more drying time.
- 7
Apply a second coat of paint if needed for better coverage or to add details. This is especially important for opaque colors or if you want to achieve a solid, even finish. For intricate designs or lettering, ensure each layer is dry before adding the next to prevent colors from bleeding.
- 8
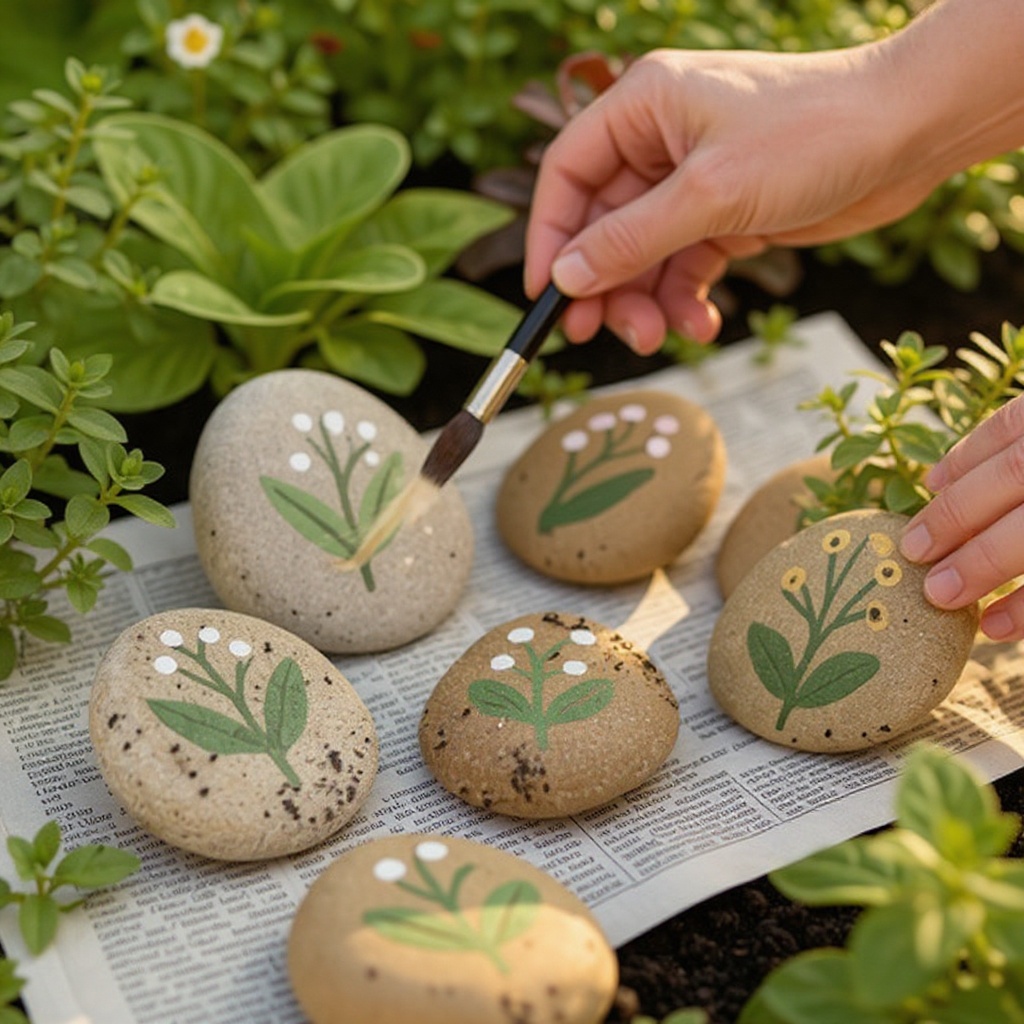
Once all paint is completely dry, it's time to seal your rock markers. Apply a generous coat of clear acrylic sealant over the entire painted surface. Ensure you cover all painted areas, including the edges and any unpainted portions of the rock.
- 9
Let the sealant dry thoroughly according to the product instructions before placing your rock markers in the garden. This step is crucial for protecting the paint from moisture, UV rays, and general wear and tear, ensuring your garden art lasts.
- 10
For extra durability, consider applying a second coat of sealant after the first coat has dried completely. This creates an even more robust barrier against the elements, making your markers even more weather-resistant.
- 11
Carefully place your finished rock markers in your garden. Position them near the plants they identify, ensuring they are stable and won't be easily knocked over by wind or garden activity.
- 12
Step back and admire your personalized garden! You've successfully transformed simple rocks into functional and beautiful garden art that adds a unique touch to your outdoor space.
Tips & Troubleshooting
- 1If your rocks aren't perfectly flat, try to paint on the smoothest side. You can also use smaller rocks for simpler designs or focus on abstract patterns that can accommodate slight irregularities in the rock's surface.
- 2Experiment with different paint finishes like metallic or glitter paints for extra sparkle. Ensure they are outdoor-safe as some craft glitters can wash away or fade quickly when exposed to the elements.
- 3For longer-lasting markers, apply two coats of sealant. Store them indoors during harsh weather, such as heavy rain, snow, or frost, if possible. This will significantly extend their lifespan and keep the colors vibrant.
- 4Consider painting a base coat of white or a light color on darker rocks to make your designs pop. This provides a neutral canvas that allows your chosen colors to appear brighter and more true to their original shade.
- 5Safety first! Ensure children are supervised when using paints and sealants, and work in a well-ventilated area when applying sealant. Open windows or work outdoors to avoid inhaling fumes from the sealant.
- 6Use painter's tape to create clean lines for lettering or geometric designs. Apply the tape firmly to the dry painted surface, paint over it, and then carefully peel it away while the paint is still slightly wet for the crispest edges.
- 7Don't be afraid to embrace imperfections! Sometimes the natural texture and shape of the rock can add character to your design. Focus on simple, bold designs if the rock surface is particularly uneven.
- 8Clean your brushes thoroughly immediately after use with soap and water to prevent the acrylic paint from drying and hardening them. This ensures your brushes remain in good condition for future projects.
Related Activities You Might Enjoy
Frequently Asked Questions
What kind of rocks are best for painting garden markers?
Smooth, flat rocks are ideal for painting garden markers because they provide a stable and even surface for your artwork. Look for river rocks, beach stones, or any naturally smoothed stones that are easy to paint on and will lie stably in your garden without rolling. Avoid porous or rough rocks, as paint may not adhere well and could chip or wear away more quickly. The size of the rock is also a consideration; larger rocks can accommodate more detailed designs or longer plant names, while smaller ones are perfect for simple symbols or short words. Ensure the rocks you choose are clean and dry before you begin painting for the best adhesion.
How do I make sure my painted rock garden markers last outdoors?
To ensure your painted rock garden markers withstand the elements, it's crucial to use the right materials and techniques. Opt for outdoor-rated acrylic paints, which are formulated to resist fading from UV rays and cracking from temperature fluctuations. After painting, apply at least two generous coats of a clear, outdoor-rated acrylic sealant. This sealant acts as a protective barrier against moisture, sun, and frost. For maximum longevity, consider storing your markers indoors during harsh winter months or periods of extreme weather. Regularly inspecting your markers for any signs of wear and touching up as needed will also help maintain their appearance over time.
Can I use regular craft paints for my garden markers?
While regular craft paints can work for a temporary or indoor display, they may fade, chip, or wash away more quickly when exposed to outdoor conditions like sunlight, rain, and temperature changes. For best results and longevity in your garden, it is highly recommended to use acrylic paints specifically labeled as outdoor-safe. These paints are designed to be more durable and resistant to weathering. If you do choose to use regular craft paints, be prepared for them to have a shorter lifespan and consider applying multiple layers of a robust outdoor sealant to offer them some protection.
What if I don't have smooth rocks?
Don't let a lack of perfectly smooth rocks deter you! You can still create beautiful garden markers with slightly textured or uneven stones. Just be aware that the paint might not adhere as smoothly, and intricate details might be more challenging. Focus on simpler designs, abstract patterns, or bold shapes that can embrace the rock's natural texture. You can also use a primer specifically designed for outdoor surfaces before painting to help the acrylic paint adhere better. Alternatively, consider using smaller, more manageable rocks for simpler designs or even collecting rocks from a beach or riverbed where they are naturally smoothed by water.
How long does this project typically take?
The actual painting time for each rock is quite quick, often taking only 10-20 minutes per rock, depending on the complexity of your design. However, the total time commitment includes drying periods between paint coats and the crucial drying time for the sealant. If you're painting 5-10 rocks, and each requires two coats of paint and two coats of sealant, with adequate drying time in between (which can range from 20 minutes to several hours per coat depending on conditions), the entire project can take anywhere from 2 to 6 hours spread out over a day or two. The initial gathering and cleaning of rocks also adds a small amount of time.
What are some design ideas for painted rock garden markers?
The design possibilities are endless! For practical markers, simply paint the name of the plant in clear, legible lettering. You can also add a small illustration of the plant, like a leaf shape or a flower. For a more whimsical touch, paint friendly creatures like ladybugs, bees, or snails. Inspirational quotes or positive affirmations can add a thoughtful element to your garden. Consider creating themed sets, such as markers for a herb garden with images of basil or rosemary, or for a children's garden with colorful patterns and simple shapes. Even abstract designs using vibrant color combinations can add a striking visual appeal to your garden beds.
What Next?
Once your painted rock garden markers are fully dry and sealed, they're ready to bring a splash of color and helpful identification to your garden. Consider arranging them artfully along pathways or nestled amongst your plants. For variations, try different themes like whimsical creatures, inspirational quotes, or even abstract patterns. You could also create a set of themed markers for different areas of your garden, such as a 'herb garden' set or a 'pollinator-friendly plants' collection. If you enjoy this project, explore other garden art ideas like painted stepping stones or decorative bird feeders. Store your markers indoors during harsh winter months to ensure their longevity and vibrant appearance for seasons to come.
Free: 10 Paper Crafts Anyone Can Make in 5 Minutes
Get our beginner guide + new craft ideas weekly.
No spam. Unsubscribe anytime.
Did you complete this activity?