How to Make Pressed Flower Bookmarks — Easy Step-by-Step Guide
Transform delicate flowers and leaves into beautiful, personalized bookmarks. A wonderful way to preserve nature's beauty and enjoy your favorite books.
Quick answer
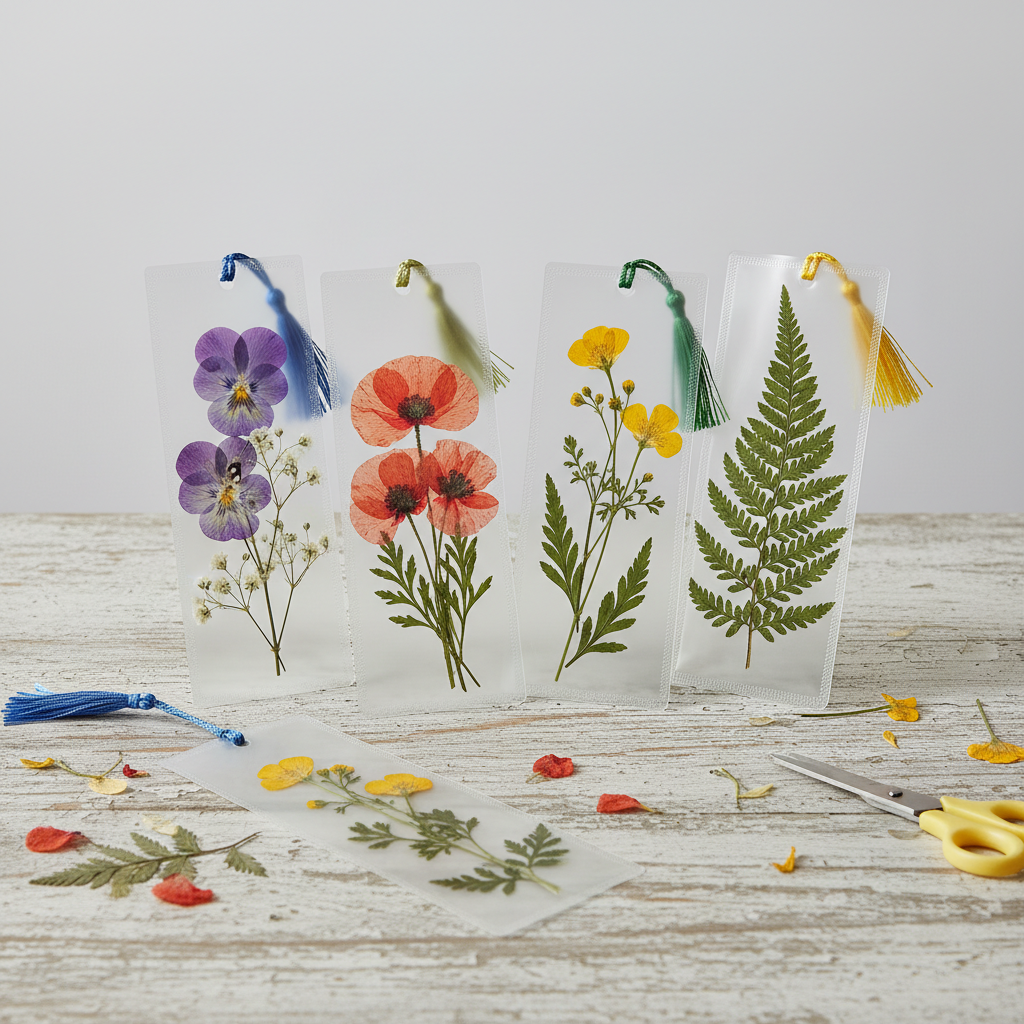
To make pressed flower bookmarks, you need flowers, paper, and a heavy book, taking about 2-3 weeks for pressing. Start by carefully pressing your chosen blooms. This beginner-friendly activity has 10 steps and is perfect for families and nature lovers.
What you need
Shop on Amazon · As an Amazon Associate we earn from qualifying purchases. Links above are affiliate links — we may earn a commission at no extra cost to you.
Embark on a delightful crafting journey that connects you with the beauty of nature! Creating pressed flower bookmarks is an incredibly rewarding and accessible project, perfect for anyone who loves books, gardening, or simply appreciates the delicate artistry of the natural world. This activity is not only a wonderful way to preserve the fleeting beauty of flowers and leaves but also results in a unique, personalized accessory for your reading adventures. It’s an ideal project for a quiet afternoon, a family craft session, or a thoughtful handmade gift for fellow bookworms.
On this page
Step-by-Step Instructions
- 1
**Step 1: Select Your Botanical Treasures.** Begin by carefully gathering your fresh, flat flowers and leaves. It's best to collect them on a dry, sunny day after the morning dew has evaporated, ensuring they are completely dry and free from any moisture, as this can lead to mold during the pressing process. Look for specimens that are not wilting or damaged, as their beauty will be best preserved.
- 2
**Step 2: Prepare Your Pressing Surface.** Lay out two sheets of absorbent paper, such as newspaper or paper towels, on a flat surface. This paper will wick away moisture from the flowers, aiding in the drying and flattening process.
- 3
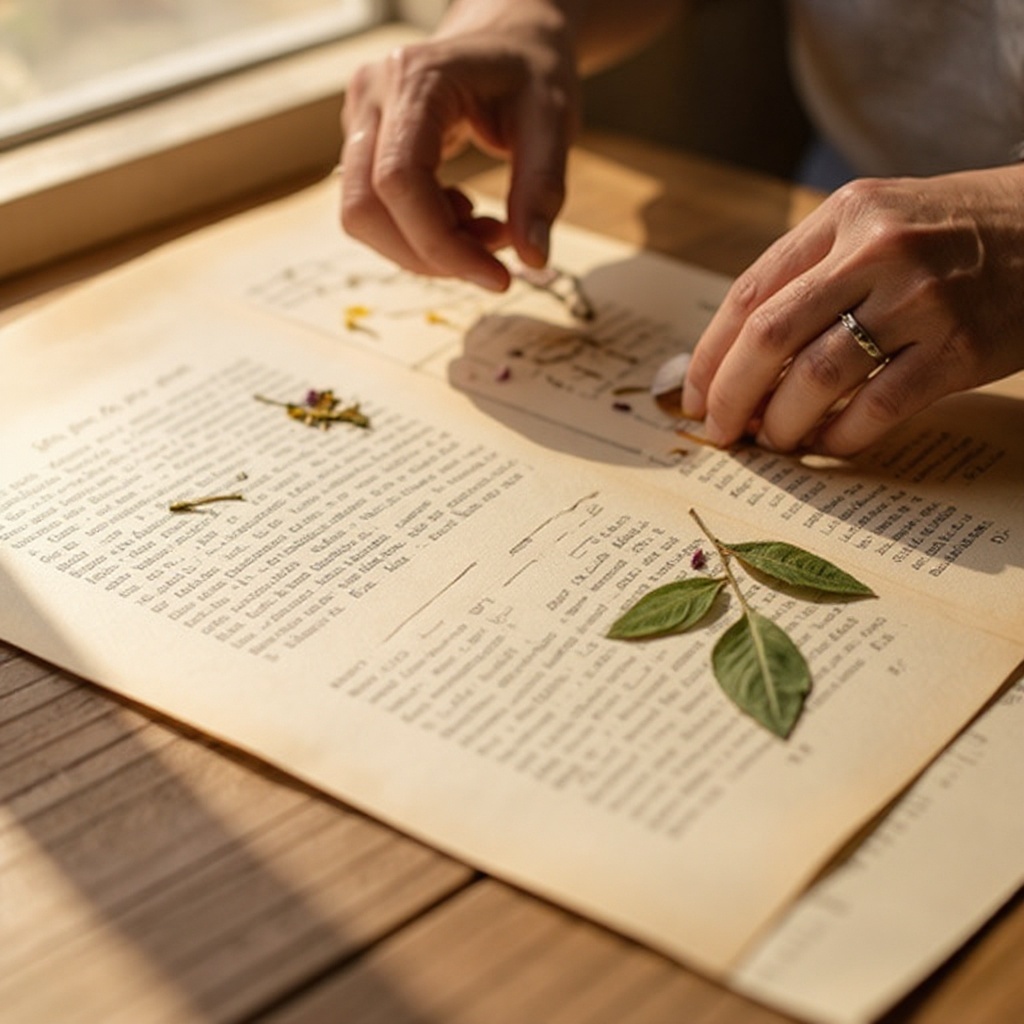
**Step 3: Arrange Your Blooms.** Carefully arrange the selected flowers and leaves between the two sheets of absorbent paper. Ensure that the petals and leaves are spread out as much as possible and do not overlap excessively, as this can hinder even pressing and lead to discoloration. For delicate flowers, consider using tweezers for precise placement.
- 4
**Step 4: Create Your Flower Press.** Place the paper-wrapped flowers inside a heavy book, ensuring the book lies flat on a stable surface. This initial book acts as the base for your makeshift flower press.
- 5
**Step 5: Apply Pressure.** Stack more heavy books on top of the initial book, ensuring the weight is distributed evenly across the entire surface. The more weight you can apply, the flatter and more effectively your flowers will be pressed. Aim for a stack of at least 3-5 heavy books, totaling several inches in thickness.
- 6
**Step 6: Begin the Pressing Process.** Leave the flowers to press undisturbed for at least 1 to 2 weeks. This extended period allows sufficient time for the moisture to be drawn out and the flowers to become completely flat and dry. Patience is key to achieving beautifully pressed specimens.
- 7
**Step 7: Monitor and Refresh.** Crucially, check the absorbent paper every 2-3 days and change it out for fresh sheets. This step is vital for preventing mold and mildew from forming on the delicate plant material and ensures a cleaner, more successful pressing. Gently replace the old paper with new, dry sheets, being careful not to disturb the flowers too much.
- 8
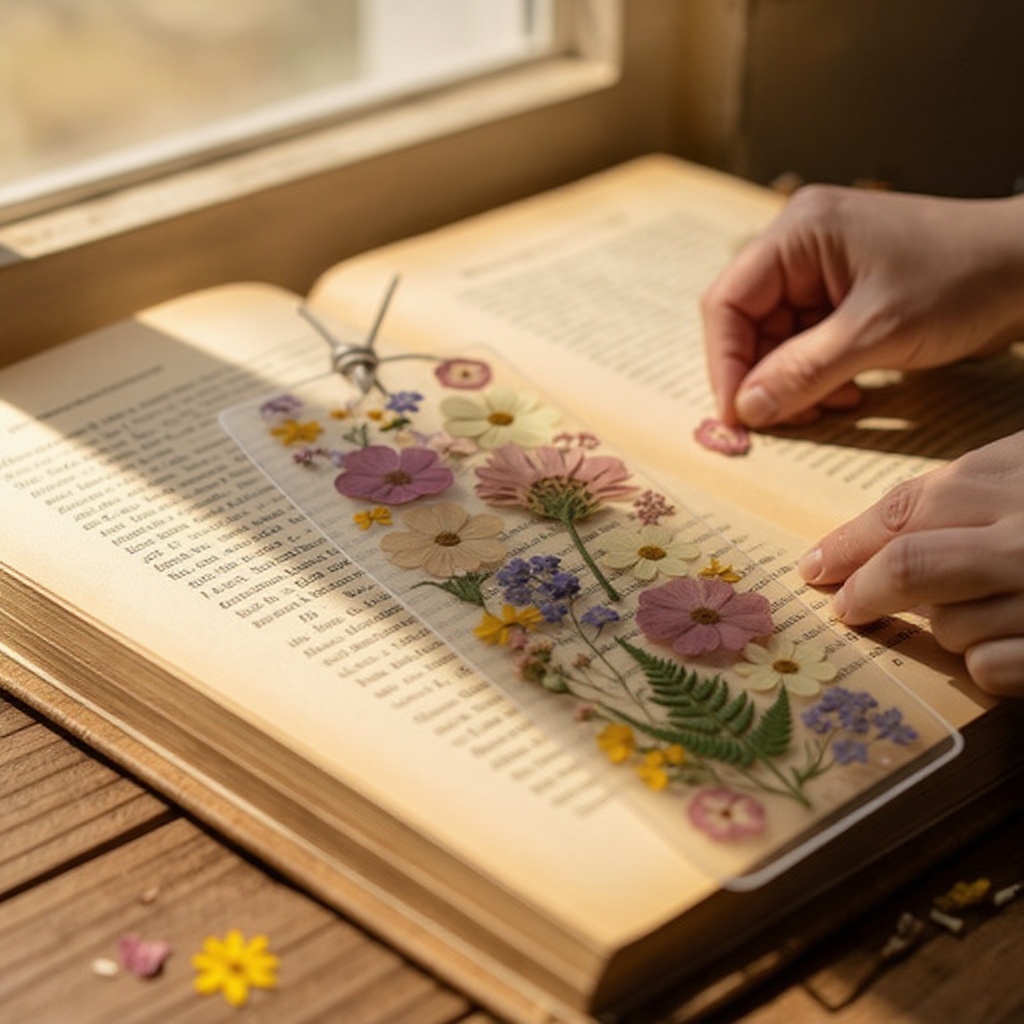
**Step 8: Assess for Readiness.** Once the pressing period is complete (typically 1-2 weeks, but can be longer for thicker specimens), carefully open the book and examine your pressed flowers. They should feel dry to the touch, slightly translucent, and have retained much of their color. If any feel damp or still pliable, return them to the press with fresh paper for a few more days.
- 9
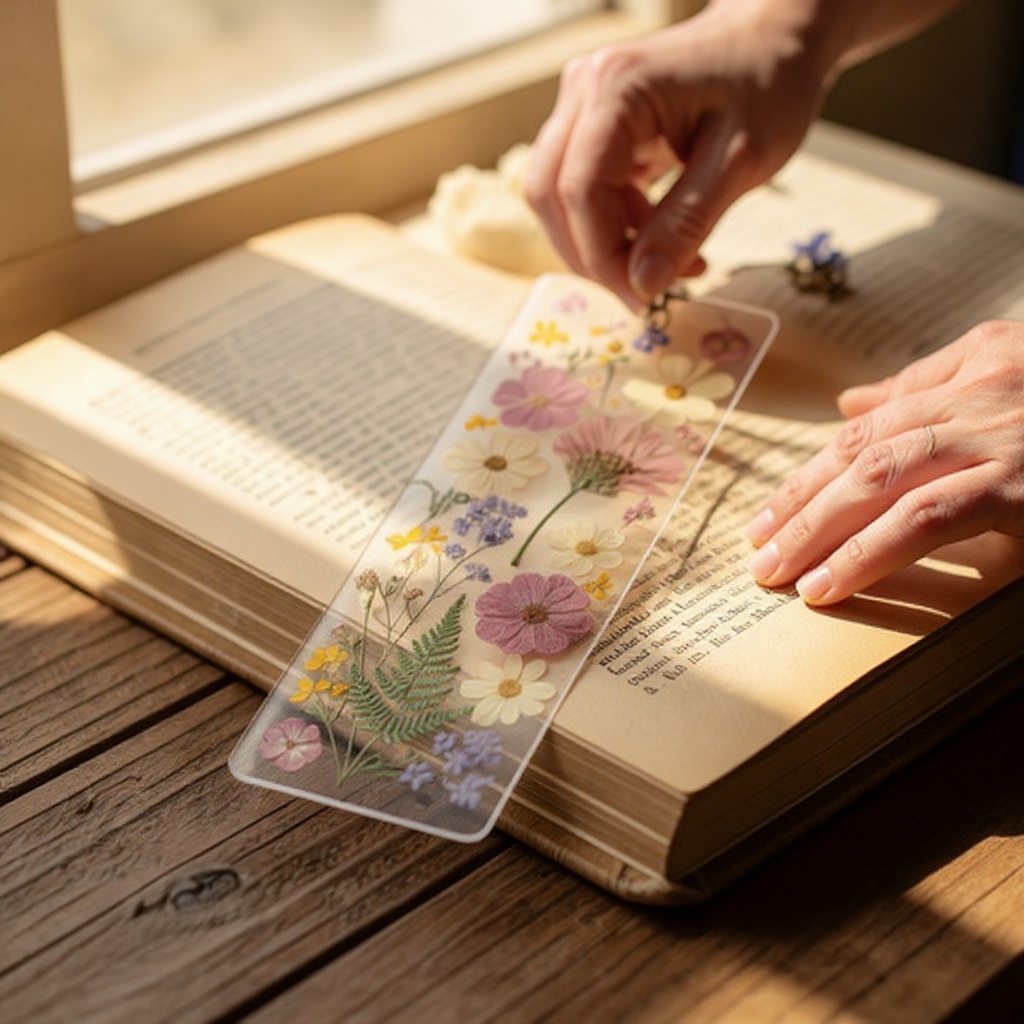
**Step 9: Prepare Your Bookmark Base.** Cut your cardstock or heavy paper into your desired bookmark dimensions. A common size is approximately 2 inches wide by 6 inches long, but you can adjust this to your preference. Ensure the edges are clean and straight.
- 10
**Step 10: Design Your Bookmark.** Carefully arrange your fully pressed and dried flowers and leaves onto the prepared cardstock base. Experiment with different layouts, color combinations, and textures until you achieve a design you love. Consider the overall aesthetic and how the flowers will complement each other.
- 11
**Step 11: Secure Your Arrangement (Tape Method).** Once you are happy with the arrangement, carefully cover the entire front of the cardstock, including the pressed flowers, with clear packing tape. Apply the tape smoothly, starting from one edge and pressing down firmly to avoid any air bubbles or wrinkles. Overlap subsequent strips of tape slightly to ensure a complete and secure seal.
- 12
**Step 12: Secure Your Arrangement (Laminating Method).** Alternatively, for a more durable and professional finish, use self-adhesive laminating sheets. Carefully peel the backing from one side of the laminating sheet and align it over your pressed flower design on the cardstock. Gently press it down, smoothing out any air pockets as you go, then peel off the remaining backing and press the second side to seal the bookmark completely.
- 13
**Step 13: Trim Excess Material.** Once the tape or laminating sheet is securely adhered, use your scissors to carefully trim any excess tape or laminating material from the edges of the cardstock. Aim for a clean, neat finish that mirrors the shape of your bookmark base.
- 14
**Step 14: Add a Finishing Touch (Optional).** If desired, use a hole punch to create a neat hole at the top of your finished bookmark. This allows you to thread a decorative ribbon or twine through, adding an extra element of charm and making it easier to find your place in a book.
- 15
**Step 15: Attach Embellishments (Optional).** If you've punched a hole, thread your chosen ribbon or twine through it and tie a knot to secure it. You can also add other small embellishments at this stage if you wish, such as beads or small charms, ensuring they are securely attached.
Tips & Troubleshooting
- 1Choose flowers that are naturally flat or can be easily flattened. Avoid thick, fleshy flowers like roses or dahlias, as they may not press well and can retain too much moisture, leading to spoilage. Delicate blooms like pansies, violets, and small wildflowers are ideal.
- 2For the most vibrant colors, press flowers that have been picked on a dry, sunny day. Avoid pressing flowers that are wilting, damaged, or have been exposed to rain or heavy dew, as their colors will likely fade and their structure may degrade during the pressing process.
- 3If using packing tape, overlap the edges slightly when applying the second strip to ensure a secure seal and prevent the flowers from peeling or lifting over time. A good overlap creates a continuous barrier that protects the delicate specimens.
- 4Experiment with different arrangements and combinations of flowers and leaves to create unique designs. Consider the color palettes, textures, and shapes of your botanical elements to craft visually appealing compositions. You can even add small handwritten notes or quotes for a personal touch.
- 5Store your finished pressed flower bookmarks in a dry place away from direct sunlight to preserve their colors and prevent them from becoming brittle. Direct sunlight is a primary cause of fading in dried botanicals.
- 6For an extra layer of protection during the pressing stage, especially for more delicate flowers, you can place a sheet of wax paper or parchment paper between the flowers and the absorbent paper. This can help prevent any discoloration transfer and provides a smoother surface.
- 7When removing pressed flowers from the paper, be extremely gentle. They are very fragile at this stage and can easily tear or crumble. If a flower seems stuck, try gently coaxing it with a thin, flat tool like a palette knife or the edge of a ruler.
- 8Consider the transparency of your chosen bookmark base. If using a lighter cardstock, the translucence of the pressed flowers will be more apparent, creating a beautiful layered effect. Darker cardstock can provide a bolder contrast.
Related Activities You Might Enjoy
Frequently Asked Questions
How long does it take to press flowers for bookmarks?
It typically takes 1 to 2 weeks to properly press flowers for bookmarks, though some thicker specimens might require a bit longer. The key is ensuring they are completely dry and flat. Changing the absorbent paper every 2-3 days is crucial as it helps to wick away moisture efficiently, speeding up the drying process and, most importantly, preventing the formation of mold and mildew, which can ruin your delicate botanicals. Monitor the flowers closely during this period and replace the paper as needed for optimal results.
What kind of flowers are best for pressing?
Flat flowers and leaves work best for pressing, as they have less moisture and a simpler structure that flattens easily. Excellent choices include pansies, violets, clover, ferns, small wildflowers like daisies, and delicate grasses. Avoid thick or fleshy flowers such as roses, dahlias, or peonies, as they contain a lot of moisture and their layered petals make them difficult to press flat without becoming discolored or developing mold. The goal is to find botanicals that are naturally thin and have a good surface area for drying.
Can I use regular tape for pressed flower bookmarks?
While regular clear tape can work in a pinch, it's not the ideal choice for preserving your pressed flower bookmarks. Regular tape may not offer a strong enough adhesive or a completely airtight seal, which can lead to the flowers peeling or the tape yellowing over time. Clear packing tape or self-adhesive laminating sheets are highly recommended because they provide a stronger, more durable, and often more transparent seal that better protects the delicate pressed flowers from moisture, dust, and physical damage, ensuring your bookmarks last longer.
How do I prevent my pressed flower bookmarks from fading?
To prevent your pressed flower bookmarks from fading, proper storage is key. Always store your finished bookmarks in a cool, dry place away from direct sunlight, as UV rays are the primary culprit for fading. Laminating them also offers an extra layer of protection against fading and damage by creating a barrier. Additionally, ensuring the flowers are completely dry before sealing them into the bookmark helps prevent any internal degradation that can also lead to color loss over time. Handle them with care to avoid damaging the delicate petals.
What if my pressed flowers still feel damp after pressing?
If your pressed flowers still feel damp or pliable after the initial pressing period, they are not yet ready. Don't despair! Simply place them back into your flower press with fresh sheets of absorbent paper. Ensure the paper is completely dry before use. You may need to repeat this process several times, changing the paper every 2-3 days, until the flowers feel completely dry and slightly brittle to the touch. This might take an extra few days or even a week, depending on the flower type and humidity.
Can I press flowers that have been picked a while ago?
It's best to press flowers as soon as possible after picking them, ideally within a few hours. Flowers that have been picked for a while may have already started to wilt, lose their vibrant color, or dry out unevenly, which will negatively impact the final pressed result. Freshly picked flowers retain more of their natural moisture and structure, leading to a more beautiful and well-preserved pressed specimen. If you must press older flowers, choose only those that still look firm and vibrant.
What Next?
Once your beautiful pressed flower bookmarks are complete, they are ready to accompany you on countless literary journeys. Consider creating a set for different seasons or moods, or even pressing flowers from a special occasion to commemorate it. These bookmarks also make incredibly thoughtful and personalized gifts for friends, family, or teachers. For an extra touch, you could explore other pressed flower crafts like framed art, resin jewelry, or decorative cards. Store your finished bookmarks in a cool, dry place, perhaps within a favorite book, to keep their colors vibrant and their delicate forms intact for years to come.
Free: 10 Paper Crafts Anyone Can Make in 5 Minutes
Get our beginner guide + new craft ideas weekly.
No spam. Unsubscribe anytime.
Did you complete this activity?