How to Create Beautiful Pressed Leaf Art — Easy Step-by-Step Guide
Transform fallen leaves into beautiful artwork with this simple pressed leaf art tutorial. A wonderful way to connect with nature and get creative!
Quick answer
To make pressed leaf art, you need fallen leaves, heavy books, and paper, taking about 15 minutes to prepare and 1-2 weeks for pressing. Start by collecting and cleaning leaves. This beginner-friendly activity has 7 steps and is perfect for families and kids aged 6+.
What you need
Shop on Amazon · As an Amazon Associate we earn from qualifying purchases. Links above are affiliate links — we may earn a commission at no extra cost to you.
Embrace the beauty of autumn and the magic of nature with this delightful pressed leaf art project. It’s a wonderfully simple yet profoundly rewarding craft that allows you to capture the vibrant colors and intricate textures of fallen leaves. Perfect for a rainy afternoon, a family activity, or a mindful solo pursuit, this project connects you directly with the natural world. Whether you're a seasoned crafter or a complete beginner, creating pressed leaf art is an accessible and enjoyable way to bring the outdoors in and create lasting keepsakes.
On this page
Step-by-Step Instructions
- 1
Begin your artistic journey by venturing outdoors to collect a diverse array of fallen leaves. Look for specimens that showcase the rich tapestry of autumn colors – vibrant reds, sunny yellows, warm oranges, and deep browns are ideal, but don't shy away from interesting green or variegated leaves. Aim for variety in shape and size; think delicate maple leaves, sturdy oak leaves, intricate fern fronds, and any other unique shapes you discover. It's best to collect leaves after a dry spell, as overly wet leaves can lead to mold during the pressing process.
- 2
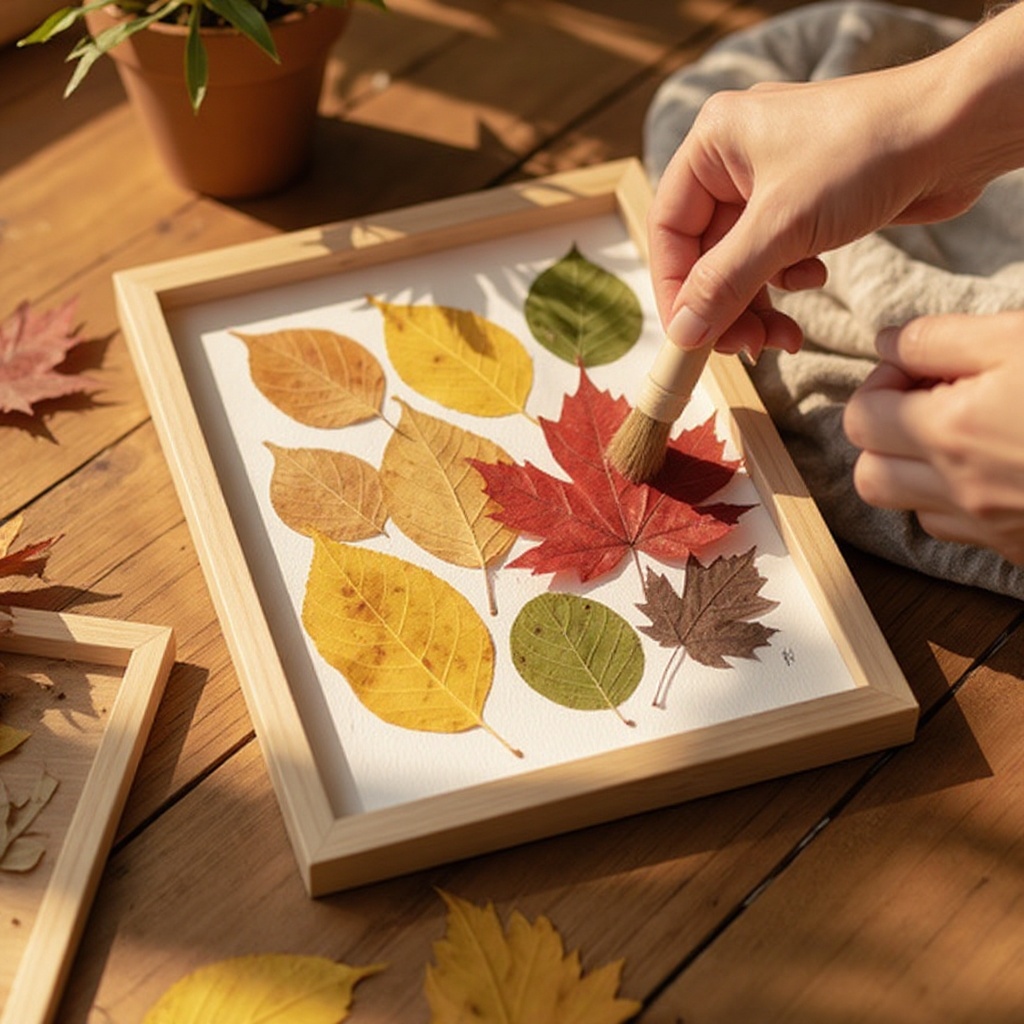
Once you've gathered your leafy treasures, it's crucial to prepare them for pressing by giving them a gentle cleaning. Use a soft brush or a dry cloth to carefully remove any dirt, mud, or tiny insects clinging to the leaves. Avoid using water if possible, as excess moisture can hinder the drying process and potentially lead to discoloration or mold. If a leaf is particularly dirty, a very lightly damp cloth can be used, but ensure it dries completely before proceeding.
- 3
Now, it's time to prepare your leaves for their transformation. Carefully lay each leaf flat on a sheet of plain white printer paper. Ensure that the leaves do not overlap at this stage, as this can prevent them from pressing evenly and may cause them to stick together. If you have very delicate or curled leaves, you might need to gently coax them into a flatter position using your fingers or tweezers.
- 4
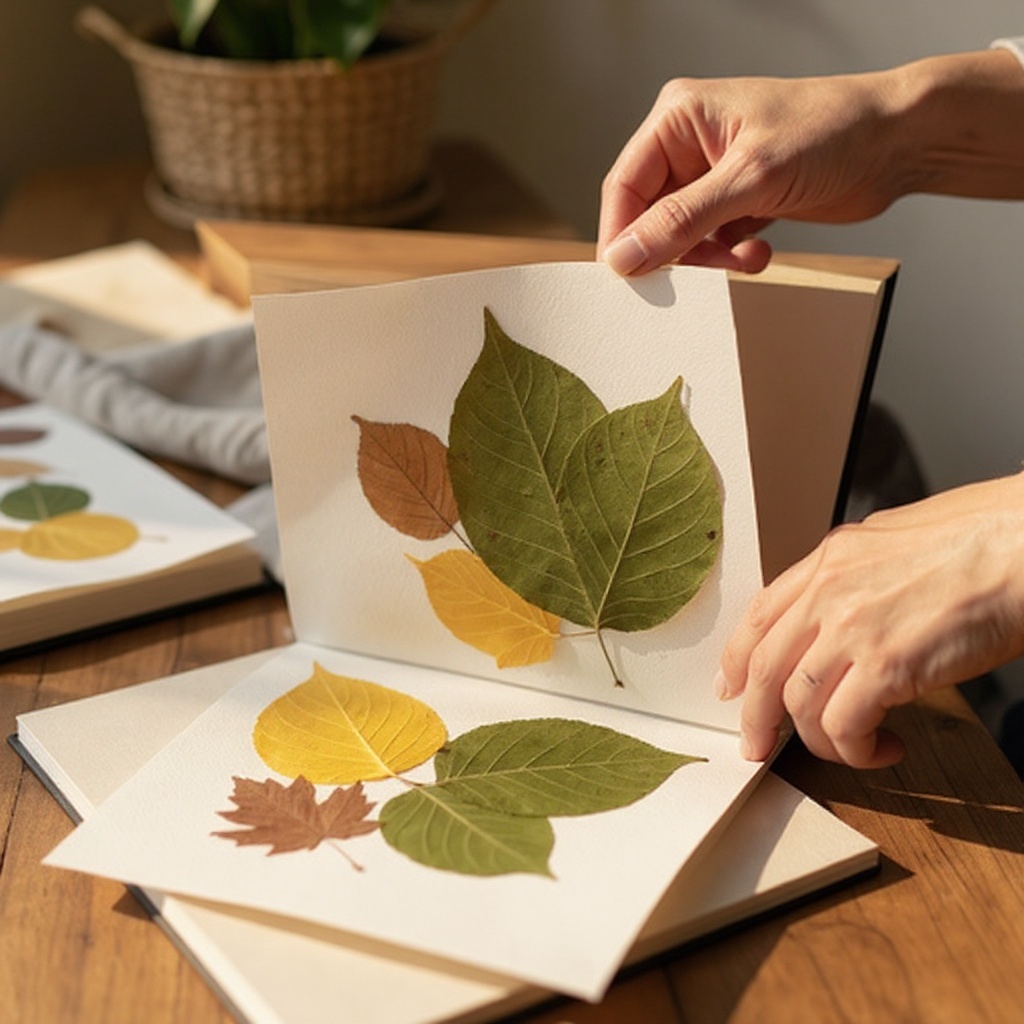
This is where the magic of pressure begins. Take the sheet of paper with your arranged leaves and carefully place another sheet of plain white printer paper on top, essentially creating a leaf sandwich. This double layer of paper will absorb moisture from the leaves and prevent them from sticking to the book pages. Ensure the leaves remain flat within the paper layers.
- 5
Select one of your heaviest books and open it to a page roughly in the middle. Carefully slide your paper-covered leaves into the book, ensuring that the book lies completely flat and the leaves are not bent or creased. The goal is to create a stable, flat surface for the pressing process to begin effectively.
- 6
To apply sufficient and even pressure, stack several more heavy books directly on top of the book containing your leaves. The more weight you can apply, the flatter and more thoroughly your leaves will be pressed. Imagine you are creating a sturdy, multi-layered press. Ensure the stack is stable and won't topple over.
- 7
Patience is key in this step. Leave the leaves to press undisturbed for a minimum of 1 to 2 weeks. During this time, the moisture will be drawn out of the leaves, and they will become beautifully flat and dry. You can check on them periodically, perhaps after a week, to see how they are progressing, but avoid disturbing them too much.
- 8
After the initial pressing period, carefully open the heavy book and gently remove the paper containing your leaves. Inspect them to ensure they are completely dry and flat. If any leaves still feel slightly pliable or damp, you can re-wrap them in fresh paper and return them to the book with more weight for an additional few days.
- 9
Once you are satisfied that your leaves are perfectly pressed and dry, it's time to bring your artwork to life. Carefully remove the pressed leaves from their paper confines. Handle them with extreme care, as they can be quite delicate at this stage. You can use tweezers for this if the leaves are very fragile.
- 10
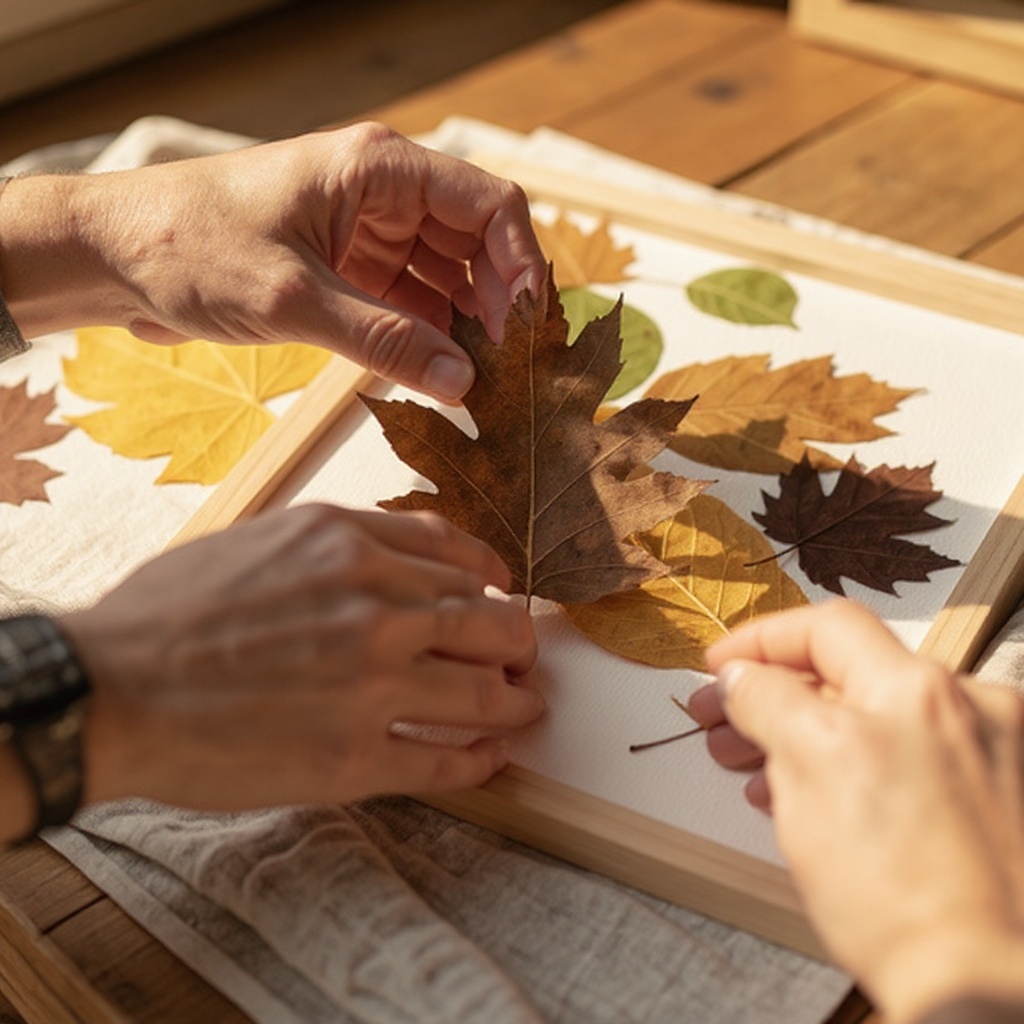
Now, the creative part truly begins! Arrange your collection of pressed leaves on a fresh piece of cardstock or sturdy art paper. Experiment with different layouts, creating patterns, landscapes, or abstract designs. Consider how the colors and shapes of the leaves complement each other to form a cohesive and visually appealing composition.
- 11
When you are happy with your arrangement, it's time to secure the leaves permanently. Apply a small amount of craft glue or a glue stick to the back of each pressed leaf. Gently press each leaf onto the cardstock, ensuring it adheres well without smudging or damaging the delicate leaf. Work methodically to avoid shifting the leaves once you've placed them.
- 12
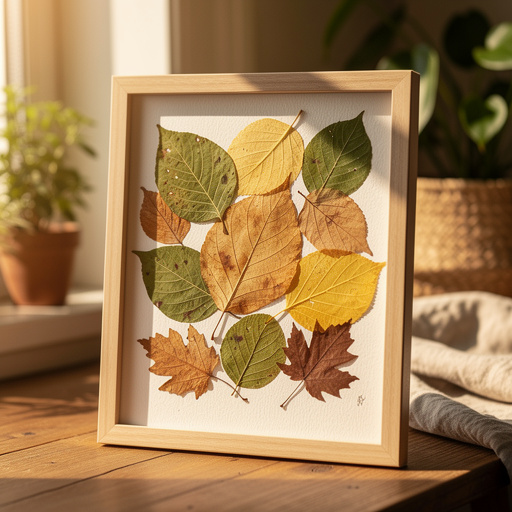
For an extra layer of protection and a professional finish, you can consider framing your pressed leaf art. Choose a frame that complements the colors and style of your artwork. You can also opt to place a mat around the artwork before framing to give it more visual breathing room and a polished look. Ensure the glass of the frame doesn't press directly onto the leaves, which could cause them to stick over time.
Tips & Troubleshooting
- 1For the best pressing results, select leaves that are relatively flat and not excessively thick or brittle. Slightly damp leaves, collected after a light rain but before they become waterlogged, often press better than completely dry ones, as they retain more of their natural oils and flexibility. Avoid leaves that are already decaying or have significant holes, as these will not hold up well to the pressing process.
- 2If you're aiming to create a beautiful collage or a more intricate design, use a minimal amount of craft glue or a glue stick to secure the pressed leaves to your cardstock once you've finalized your arrangement. Apply the adhesive sparingly to the underside of the leaf, focusing on the central vein or thicker parts, to prevent excess glue from seeping out and creating an unsightly mess.
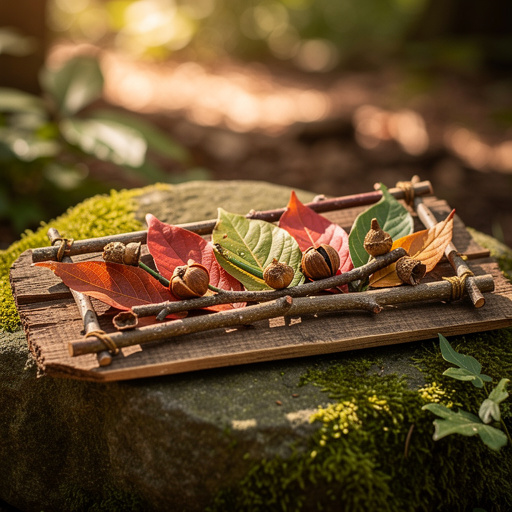
- 3Don't be afraid to experiment with different leaf combinations and arrangements to create truly unique patterns and pictures. Try layering different leaf shapes, juxtaposing contrasting colors, or even using the negative space between leaves to form interesting shapes. You can also combine pressed leaves with other natural elements like small twigs or dried flowers for added texture and visual interest.
- 4To preserve the vibrant colors and delicate structure of your pressed leaf art for as long as possible, store it in a cool, dry place away from direct sunlight. Prolonged exposure to UV rays can cause the colors to fade significantly, diminishing the beauty of your artwork. Consider framing your pieces behind UV-protective glass or storing them in acid-free portfolios.
- 5Consider using a variety of paper types for pressing. While plain printer paper is excellent for absorbing moisture, you might find that slightly thicker paper, like drawing paper, can offer more support for very delicate leaves. If you are pressing particularly vibrant or potentially staining leaves, placing a sheet of wax paper or parchment paper between the leaf and the printer paper can provide an extra barrier against color transfer.
- 6When arranging your pressed leaves, think about creating a narrative or a theme. You could arrange them to depict a scene, like a forest floor or a winding path, or create abstract patterns that highlight the natural beauty of each individual leaf. Don't be afraid to trim leaves with scissors if a specific shape isn't working or if you need to fit them into a particular design element.
- 7For a more advanced technique, consider using a flower press instead of heavy books. Flower presses offer more controlled and even pressure, which can result in exceptionally flat and well-preserved specimens. This is especially useful if you are working with a larger quantity of leaves or particularly delicate botanical specimens. Ensure the felt or blotting paper within the press is changed regularly to maintain optimal drying conditions.
Related Activities You Might Enjoy
Frequently Asked Questions
How long does it take to press leaves for art?
Leaves typically need to be pressed for at least 1 to 2 weeks to become fully dry and flat, ensuring they are ready for artistic application. The exact duration can vary depending on the thickness and moisture content of the leaves; thicker leaves, such as those from oak trees, might require a bit longer to achieve optimal dryness and flatness. For best results, it's advisable to check the leaves after the initial two-week period. If they still feel pliable or retain a noticeable amount of moisture, they can be re-wrapped in fresh paper and pressed for an additional few days until they are completely rigid and dry to the touch. This extended pressing time is crucial for preventing mold and ensuring the longevity of your pressed leaf art.
What kind of leaves are best for pressing?
For pressed leaf art, look for leaves that are relatively flat and not too thick or damaged, as these will press more evenly and retain their shape better. Maple, oak, and fern leaves often press exceptionally well and offer a beautiful range of colors and intricate shapes that are perfect for artistic compositions. Other good choices include ginkgo leaves for their unique fan shape, or the vibrant hues of sumac leaves. It's also beneficial to select leaves that have fallen naturally, as they are often drier and less prone to damage than those picked directly from a tree. Avoid leaves that are already decaying, have large holes, or are excessively waxy, as these may not press well or could lead to undesirable results.
Can I use fresh leaves for pressed leaf art?
Yes, you can absolutely use fresh leaves for pressed leaf art, and in fact, slightly damp leaves often press better than completely dry ones. This is because fresh leaves retain more of their natural moisture and oils, which helps them to flatten out more effectively and prevents them from becoming overly brittle during the pressing process. However, it's crucial to ensure that the leaves are clean and free of excess surface moisture before pressing. Gently brush off any dirt or debris, and if they are wet from rain, allow them to air dry slightly for a few hours before placing them between paper. This initial drying step helps prevent mold and ensures a cleaner pressing outcome.
How do I keep my pressed leaf art from crumbling?
Once pressed, handle the leaves with extreme gentleness, as they can become quite delicate and prone to crumbling. Using a small amount of craft glue or a reliable glue stick to secure them to a sturdy backing, such as cardstock or heavy art paper, is the most effective way to prevent them from falling apart. Apply the adhesive sparingly to the back of the leaf, focusing on the thicker parts like the stem or main veins. Store the finished art in a cool, dry place away from humidity and direct sunlight, as moisture and light can degrade the leaf material over time. Framing your artwork behind glass can also offer a protective barrier against physical damage and environmental factors.
What are some creative ways to use pressed leaves in my art?
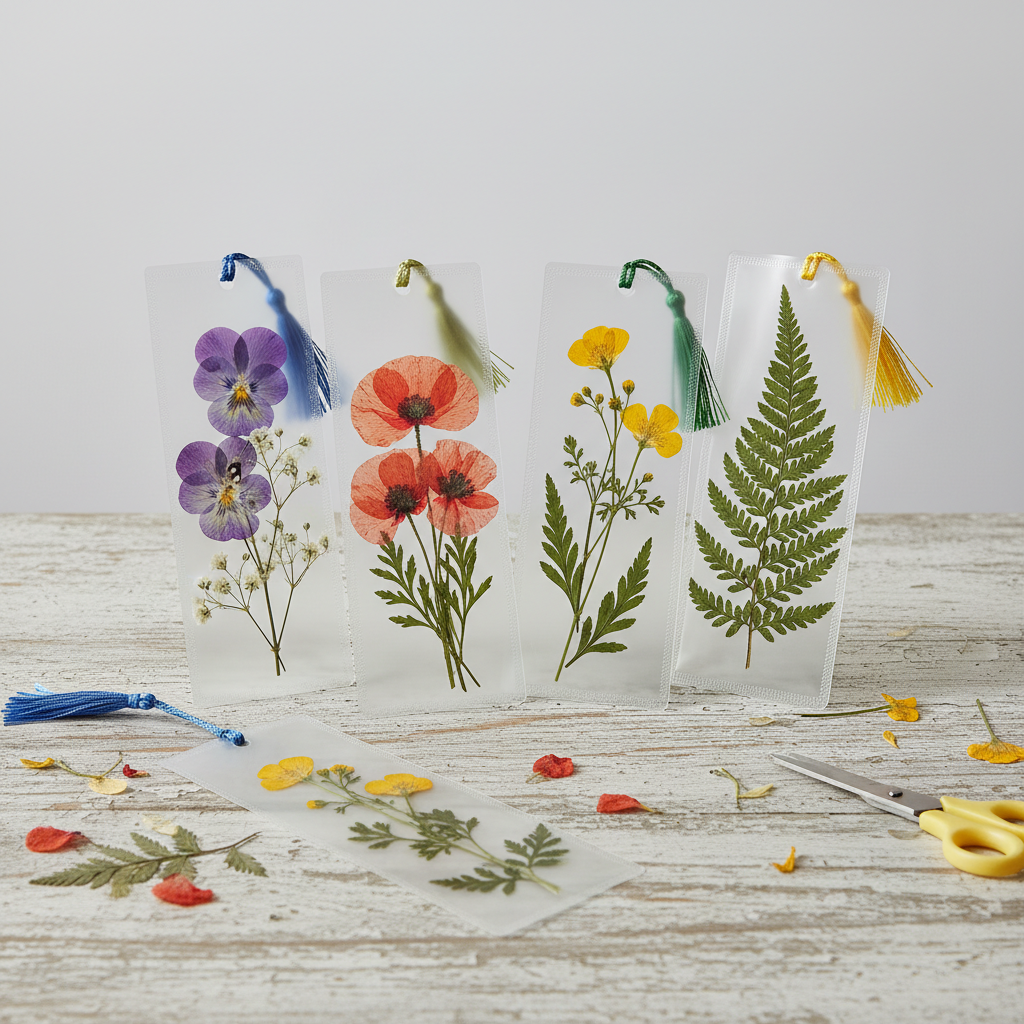
Pressed leaves offer a versatile medium for a wide array of creative projects beyond simple arrangements. You can create stunning collages by layering different leaf shapes and colors to form intricate patterns, landscapes, or even portraits. Consider using them to embellish handmade greeting cards, bookmarks, or journal covers, adding a unique, natural touch. For a more ambitious endeavor, you could create a mosaic-style artwork by cutting leaves into smaller pieces or arrange them to form a beautiful mobile. Pressed leaves can also be incorporated into resin crafts, such as coasters or jewelry, preserving their beauty in a durable form. Experimenting with different arrangements and combinations will unlock endless artistic possibilities.
Can I press leaves that have already started to dry out on the tree?
Yes, you can certainly press leaves that have already begun to dry out on the tree, but with a few considerations. These leaves might be more brittle and prone to breaking, so handle them with extra care during collection and preparation. They may also have lost some of their vibrant color, often leaning towards browns and muted tones, which can still be beautiful for certain artistic effects. Ensure they are free of mold or excessive dryness that would cause them to disintegrate upon touch. If they are very brittle, you might want to press them for a slightly shorter duration to avoid them becoming too fragile. The key is gentle handling and careful arrangement to preserve their integrity.
What Next?
Once your pressed leaf art is complete, the possibilities for display are endless! You can frame your creations, mount them in a scrapbook, or even use them to embellish greeting cards. For a more ambitious project, consider creating a larger mosaic or a series of smaller pieces to form a gallery wall. Remember to store your finished artwork in a cool, dry place, away from direct sunlight, to help preserve the vibrant colors of the leaves for years to come. This project is a fantastic gateway to other nature-inspired crafts, such as leaf rubbings, nature journaling, or even creating botanical prints.
Free: 10 Paper Crafts Anyone Can Make in 5 Minutes
Get our beginner guide + new craft ideas weekly.
No spam. Unsubscribe anytime.
Did you complete this activity?
Related