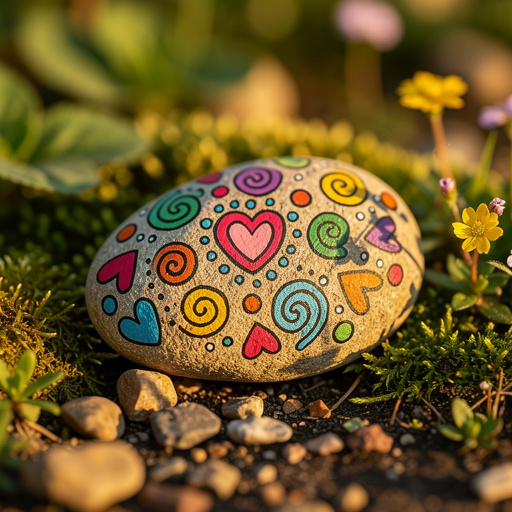
How to Make Heart-Shaped Kindness Rocks — Easy Step-by-Step Guide
Spread love and positivity this Valentine's Day by painting uplifting messages on heart-shaped rocks. A simple and meaningful craft for all ages.
Quick answer
To make heart-shaped kindness rocks, you need smooth rocks, acrylic paint, paintbrushes, and sealant, taking about 60 minutes. Start by washing and drying your rocks. This beginner-friendly activity has 7 steps and is perfect for families.
What you need
Shop on Amazon · As an Amazon Associate we earn from qualifying purchases. Links above are affiliate links — we may earn a commission at no extra cost to you.
Looking for a heartwarming craft that spreads joy and positivity? Creating heart-shaped kindness rocks is a wonderfully simple yet profoundly meaningful project, perfect for individuals and families alike. This activity offers a creative outlet to express love and encouragement, making it an ideal way to celebrate Valentine's Day or simply brighten someone's day. Whether you're a seasoned crafter or a complete beginner, these easy-to-follow steps will guide you in transforming ordinary stones into little messengers of happiness that can be shared with your community.
On this page
Step-by-Step Instructions
- 1
Gather your smooth, flat rocks and wash them thoroughly with soap and water. Use a stiff brush to remove any dirt or debris, ensuring a clean surface for optimal paint adhesion. Let them dry completely on a towel or in a well-ventilated area; any residual moisture can affect how the paint adheres.
- 2
Lay down newspaper or a drop cloth to protect your workspace from paint. This step is crucial for preventing accidental spills and making cleanup much easier, especially if you're working indoors or on a delicate surface.
- 3
If your rocks have any rough edges or slightly uneven surfaces, you can gently sand them down with fine-grit sandpaper. This will create a smoother canvas for your artwork, allowing for more precise painting and a more professional finish.
- 4
Using a medium-tip paintbrush, paint the entire surface of a rock with your chosen base color, such as red or pink. Apply a thin, even coat, ensuring full coverage without excessive pooling. Allow this base coat to dry completely before proceeding to the next step; this usually takes about 15-20 minutes.

- 5
Once the base coat is dry, it's time to add the heart! Using a fine-tip paintbrush, carefully paint a heart shape onto the rock. You can opt for a simple outline, a solid filled-in heart, or even experiment with different styles like a slightly imperfect, hand-drawn heart for a more rustic charm.
- 6
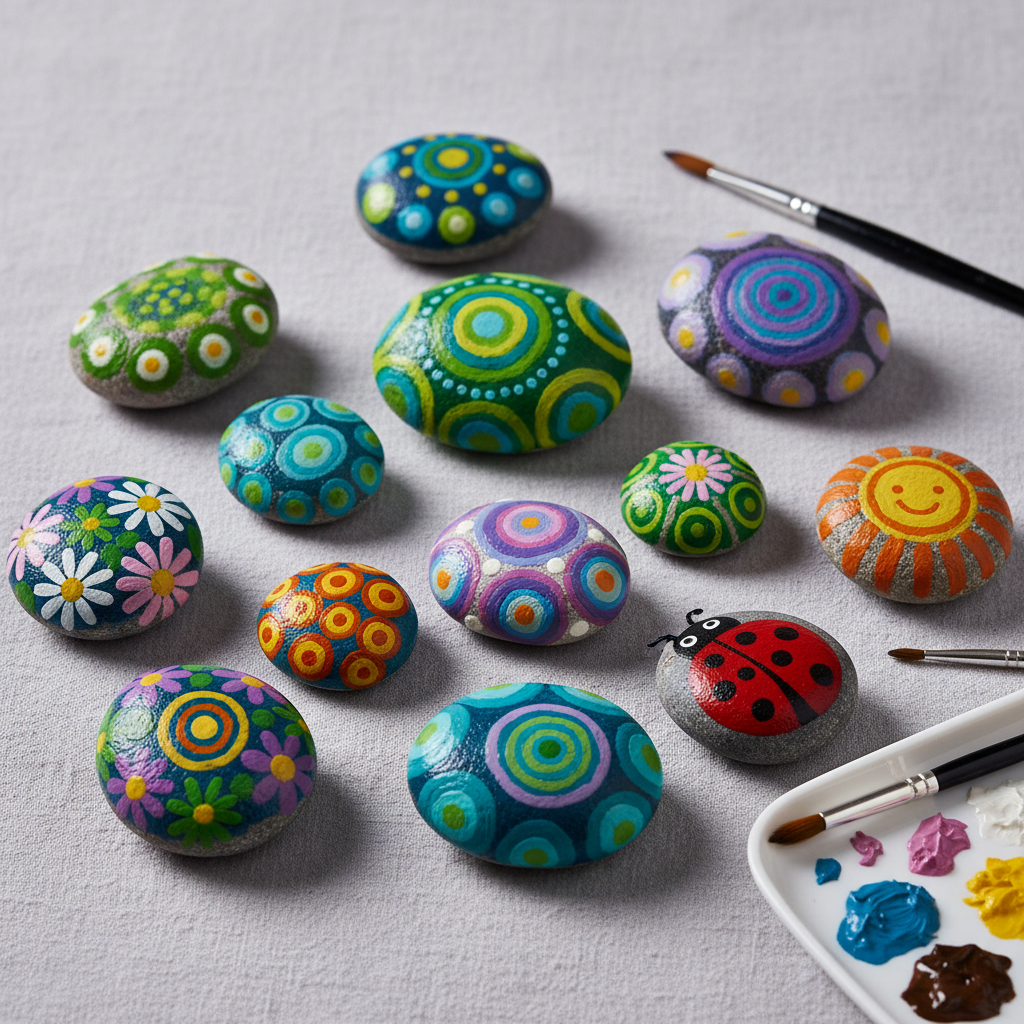
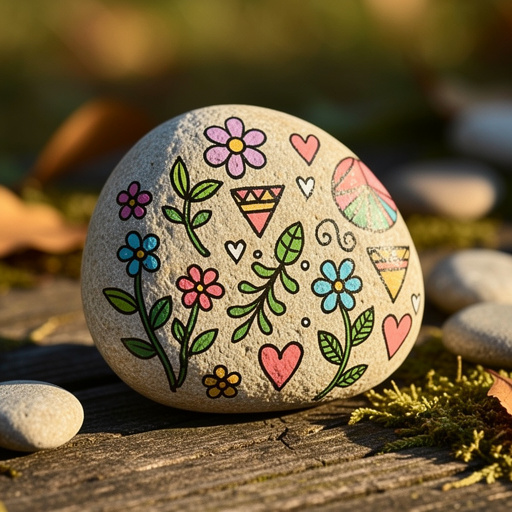
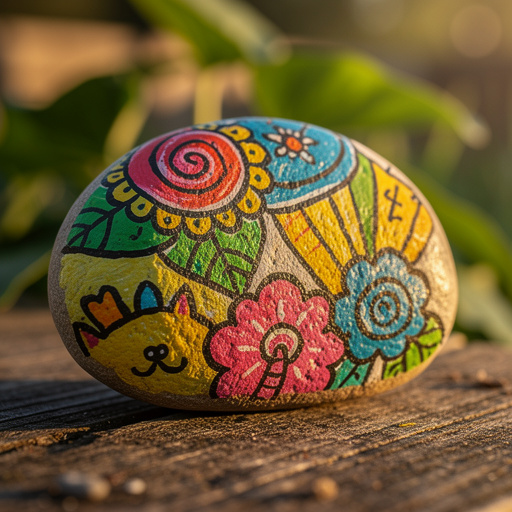
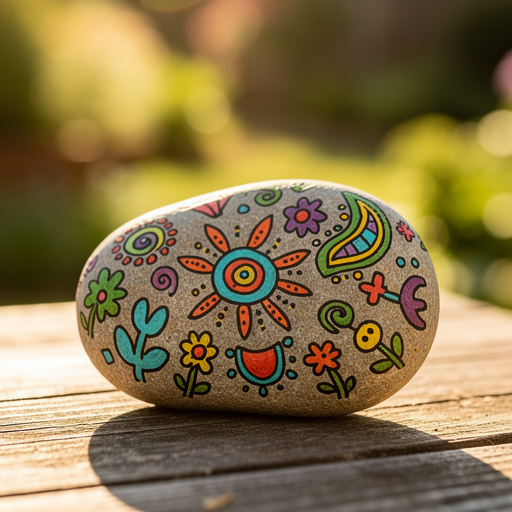
Now, let your creativity flow with smaller details and patterns around the heart. Use different colors and fine-tip brushes to add elements like delicate dots, elegant swirls, tiny flowers, or even abstract splatters. Consider the color palette you're using to ensure a harmonious and visually appealing design.
- 7
This is where you add the 'kindness' element! With a very fine-tip brush, write a positive word or a short, uplifting message inside or near the heart. Popular choices include 'Love,' 'Kindness,' 'Friendship,' 'Smile,' 'Hope,' or 'You Are Loved.' Ensure your handwriting is clear and legible.
- 8
If you're using multiple colors for your design, allow each color layer to dry slightly before applying the next to prevent colors from bleeding into each other. For intricate details, a quick drying time is essential for clean lines.
- 9
Allow all the paint to dry completely before moving on to the sealing stage. This drying period can range from 30 to 60 minutes, depending on the thickness of the paint application and the humidity of your environment. Rushing this step can lead to smudged designs.
- 10
Once the paint is thoroughly dry to the touch, take the rocks to a well-ventilated outdoor area or a space with excellent airflow. This is important for safely applying the sealant spray.
- 11
Apply a thin, even coat of clear acrylic sealant over the entire painted surface of the rock. If using spray sealant, hold the can about 8-12 inches away and use a sweeping motion to avoid drips and ensure uniform coverage. If using brush-on sealant, apply it smoothly with a clean brush.
- 12
Allow the first coat of sealant to dry completely according to the product's instructions. This is crucial for creating a durable protective layer. Depending on the sealant, this might take anywhere from 20 minutes to a few hours.
- 13
For added durability and a more robust finish, especially if the rocks will be placed outdoors, apply a second thin coat of sealant. Ensure the first coat is dry before applying the second to prevent any tackiness or unevenness.
- 14
Once the final coat of sealant is completely dry and cured (check the product's instructions for full curing time, which can be up to 24 hours), your heart-shaped kindness rocks are ready to be shared and spread their positive messages.
Tips & Troubleshooting
- 1If your rocks aren't perfectly flat, try to find the smoothest side to paint on, or use a slightly thicker paint application to fill minor imperfections. You can also use a primer specifically designed for porous surfaces before applying your base coat for better adhesion and a smoother finish.
- 2Experiment with different heart shapes and styles – a classic symmetrical heart, a slightly lopsided hand-drawn one, a cluster of small hearts, or even a heart made up of tiny dots. Don't be afraid to get creative with your heart designs!
- 3Consider adding glitter paint for extra sparkle and a touch of magic, but be aware that glitter can be messy and may require extra sealing to prevent shedding. You can also use glitter glue for more controlled application.
- 4Once sealed, these rocks are durable enough to be placed in your garden, on a windowsill, or even hidden for others to find as part of a 'kindness rock' initiative. They can withstand moderate weather conditions, but extreme elements might eventually degrade the paint.
- 5Ensure the sealant is completely dry and cured before handling the rocks extensively to avoid smudging your beautiful designs. Check the sealant's instructions for specific drying and curing times, as these can vary significantly between products.
- 6For a professional look, consider using painter's tape to create crisp edges for your base coat or to mask off areas for different colors. This technique is especially helpful for geometric patterns or clean lines around your heart design.
- 7When writing messages, use a pencil to lightly sketch out your words before painting them with a fine-tip brush. This allows you to correct any mistakes easily before committing to paint, ensuring your message is clear and well-placed.
- 8Think about the recipient or the intended location of your kindness rocks. If they are for a garden, consider using nature-inspired colors. If they are for a child, use bright, cheerful colors and simple, positive words.
Related Activities You Might Enjoy
Frequently Asked Questions
What kind of rocks are best for painting kindness rocks?
Smooth, flat rocks are ideal for painting kindness rocks. Look for river rocks, beach stones, or even craft store rocks that are free of major cracks, holes, or rough textures. The smoother the surface, the easier it is to create detailed designs and for the paint to adhere properly. If you can't find perfectly flat rocks, try to select ones with a relatively uniform surface and consider using a primer to help fill in minor imperfections before you begin painting. Rocks that are roughly 2-4 inches in diameter are a good size for holding and displaying messages.
What type of paint should I use for kindness rocks?
Acrylic paints are the best choice for painting kindness rocks. They are vibrant, water-resistant when dry, and adhere well to stone surfaces, especially when the rocks are properly cleaned and prepped. Ensure you use outdoor-appropriate acrylics if the rocks will be placed outside, as these are formulated to withstand various weather conditions. You can use both craft acrylics and artist-grade acrylics. For best results, consider using a primer designed for porous surfaces before applying your base coat, and always finish with a good quality sealant to protect your artwork.
How do I make the paint last on the rocks, especially outdoors?
The key to making your painted rocks last, particularly when exposed to the elements, is to use a good quality clear acrylic sealant. This acts as a protective barrier, shielding the paint from weather, UV rays, moisture, and general wear and tear, ensuring your messages of kindness endure. Apply at least two thin, even coats of a waterproof and UV-resistant sealant. Ensure the paint is completely dry before sealing, and allow the sealant to cure fully according to the product's instructions for maximum durability. Storing the rocks in a sheltered area when possible can also extend their lifespan.
Can kids paint kindness rocks? What age is appropriate?
Yes, kindness rock painting is a fantastic and highly recommended activity for kids of all ages! Younger children can focus on simple shapes, bright colors, and basic messages like 'Smile' or 'Happy.' Older children can create more intricate designs, detailed patterns, and longer messages. Adult supervision is recommended for younger artists, especially when using paintbrushes and sealant. It's a wonderful way to encourage creativity, fine motor skills, and a sense of community spirit in children, teaching them the joy of giving and spreading positivity.
What are some creative design ideas for heart-shaped kindness rocks?
Beyond a simple painted heart, consider various creative designs. You could create a watercolor effect by blending different shades of pink and red, or use a marbling technique with two or three colors. For a romantic touch, paint delicate floral patterns around the heart or use metallic paints like gold or silver for an elegant outline. You can also incorporate stencils for precise lettering or intricate patterns. Another idea is to create a 'stained glass' effect using black paint for outlines and vibrant translucent colors within. Don't forget to experiment with different textures, like adding small pebbles or sand to the paint for a unique finish before sealing.
Where can I place or hide my kindness rocks?
Once your kindness rocks are sealed and ready, the possibilities for placement are endless! You can place them in your own garden as decorative elements or to add a splash of color. A popular way to share them is through 'kindness rock' initiatives in your community; simply leave them in public places like parks, walking trails, playgrounds, or outside local businesses for others to find and enjoy. You can also gift them to friends, family members, neighbors, or even leave them at nursing homes, hospitals, or community centers to brighten someone's day. Remember to check local guidelines if you're unsure about leaving items in public spaces.
What Next?
Once your heart-shaped kindness rocks are sealed and dry, they are ready to spread their message of love! Consider organizing a 'kindness rock drop' in your neighborhood or at a local park, leaving them for others to discover. You can also gift them to friends, family, or even place them in nursing homes or hospitals to bring smiles to those who need them. For variations, try painting different shapes like stars or simple smiley faces, or explore more intricate designs like mandalas or floral patterns. If you enjoyed this project, you might also like creating painted garden markers or personalized coasters.
Free: 10 Paper Crafts Anyone Can Make in 5 Minutes
Get our beginner guide + new craft ideas weekly.
No spam. Unsubscribe anytime.
Did you complete this activity?
Related