How to Create Painted Kindness Rocks — Easy Step-by-Step Guide
Transform ordinary rocks into vibrant messages of hope and kindness with this simple acrylic painting project. A wonderful way to spread positivity in your community. This beginner-friendly activity is perfect for families and takes about 60 minutes to complete.

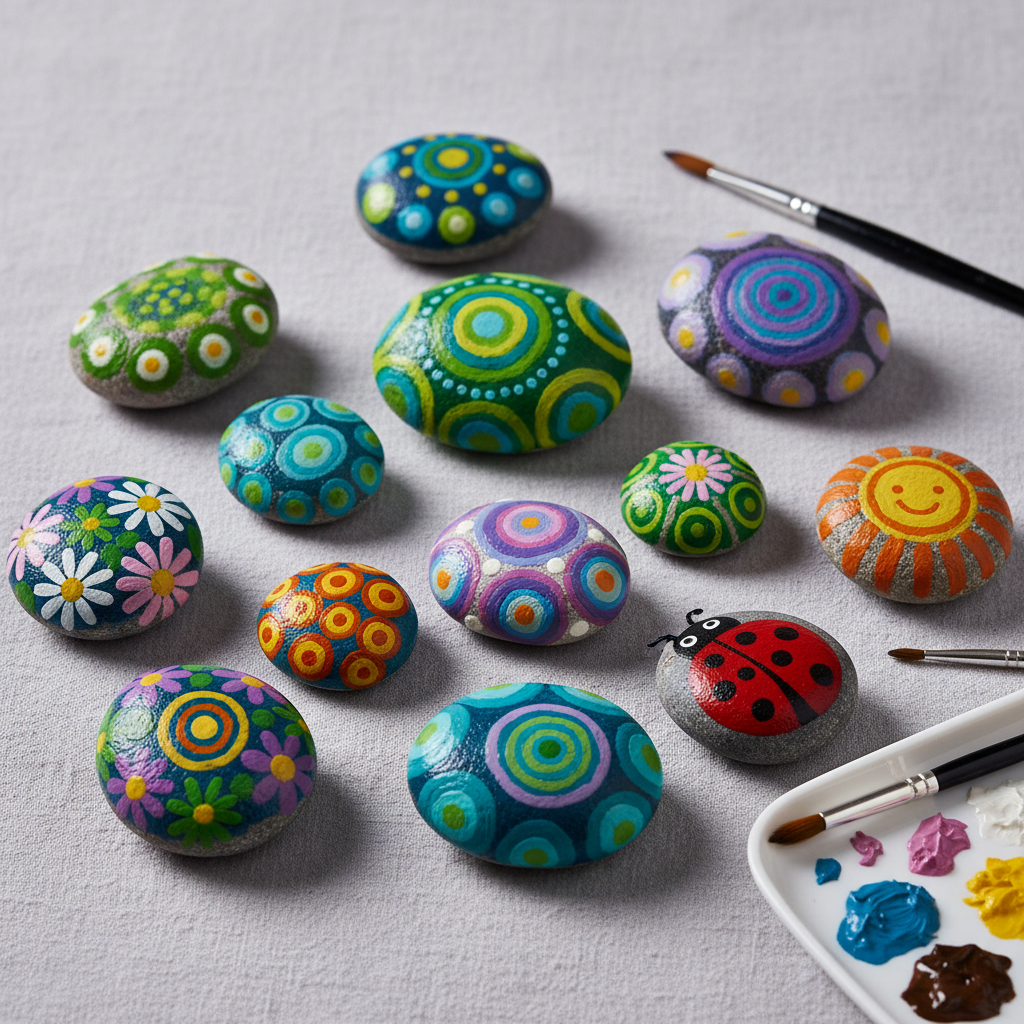
Quick answer
To make painted kindness rocks, you need smooth rocks (about 5-10, 3-5 inches in diameter), acrylic paint set (various colors), paintbrushes (various sizes, including fine-tip), a water cup for rinsing brushes, paper towels or old rags, and clear acrylic sealant spray or brush-on varnish. The project takes about 60 minutes. Start by cleaning your rocks. This beginner-friendly activity has 10 steps and is perfect for families.
What you need
Shop on Amazon · As an Amazon Associate we earn from qualifying purchases. Links above are affiliate links — we may earn a commission at no extra cost to you.
Discover the joy of spreading positivity one rock at a time with this delightful painted kindness rocks project. In a world that often feels overwhelming, these small, handcrafted treasures offer a simple yet profound way to brighten someone's day. This accessible DIY is perfect for all ages, fostering creativity and community spirit. Whether you're looking for a family-friendly craft, a mindful solo activity, or a unique way to engage with your neighborhood, painting kindness rocks is a rewarding endeavor that leaves a lasting, uplifting impression.
On this page
Step-by-Step Instructions
- 1
Gather your smooth, clean rocks. Ensure they are completely dry before you begin painting. If your rocks have any loose dirt or debris, a quick rinse and thorough drying is essential for paint adhesion.
- 2
Prepare your workspace by laying out your acrylic paint set, brushes, water cups, and paper towels on a protected surface. Covering your table with old newspaper or a drop cloth will make cleanup much easier and prevent accidental paint stains.
- 3
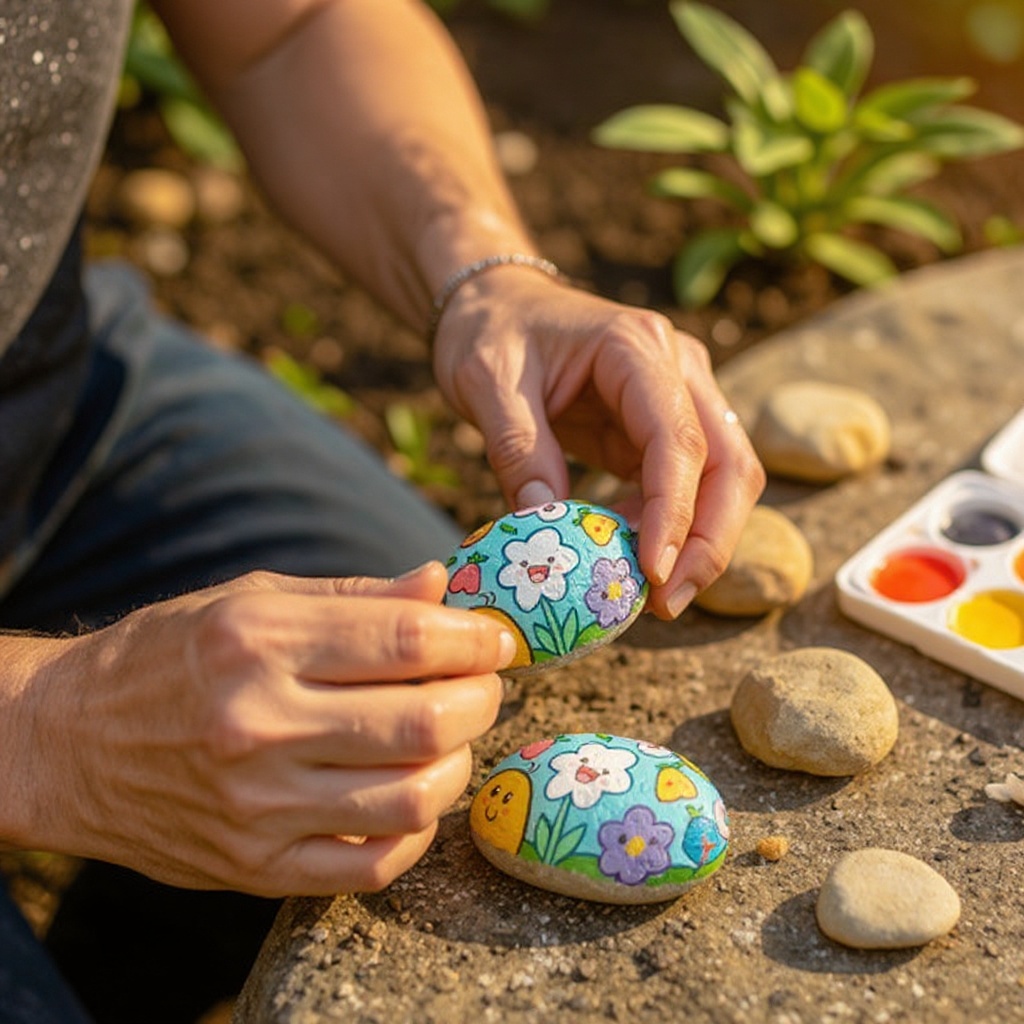
Select your first rock and envision your design or message. Consider the shape and natural contours of the rock as inspiration for your artwork, or decide on a specific quote or image you wish to convey.
- 4
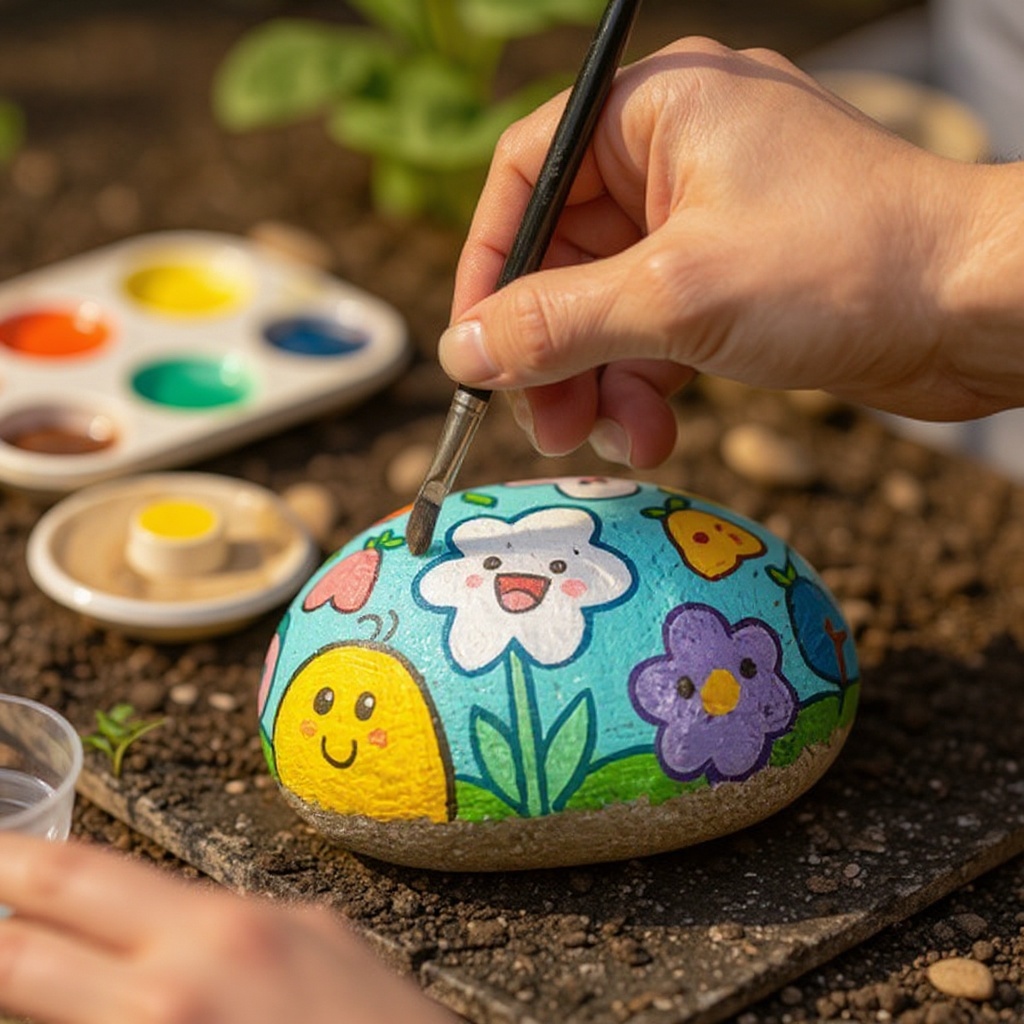
Paint a base coat of your chosen color onto the rock, ensuring even coverage. Allow this base coat to dry completely before proceeding to the next step; this prevents colors from mixing unintentionally and provides a solid foundation for your design.
- 5
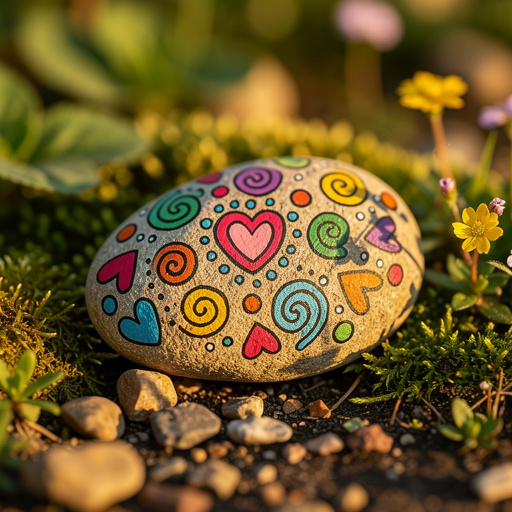
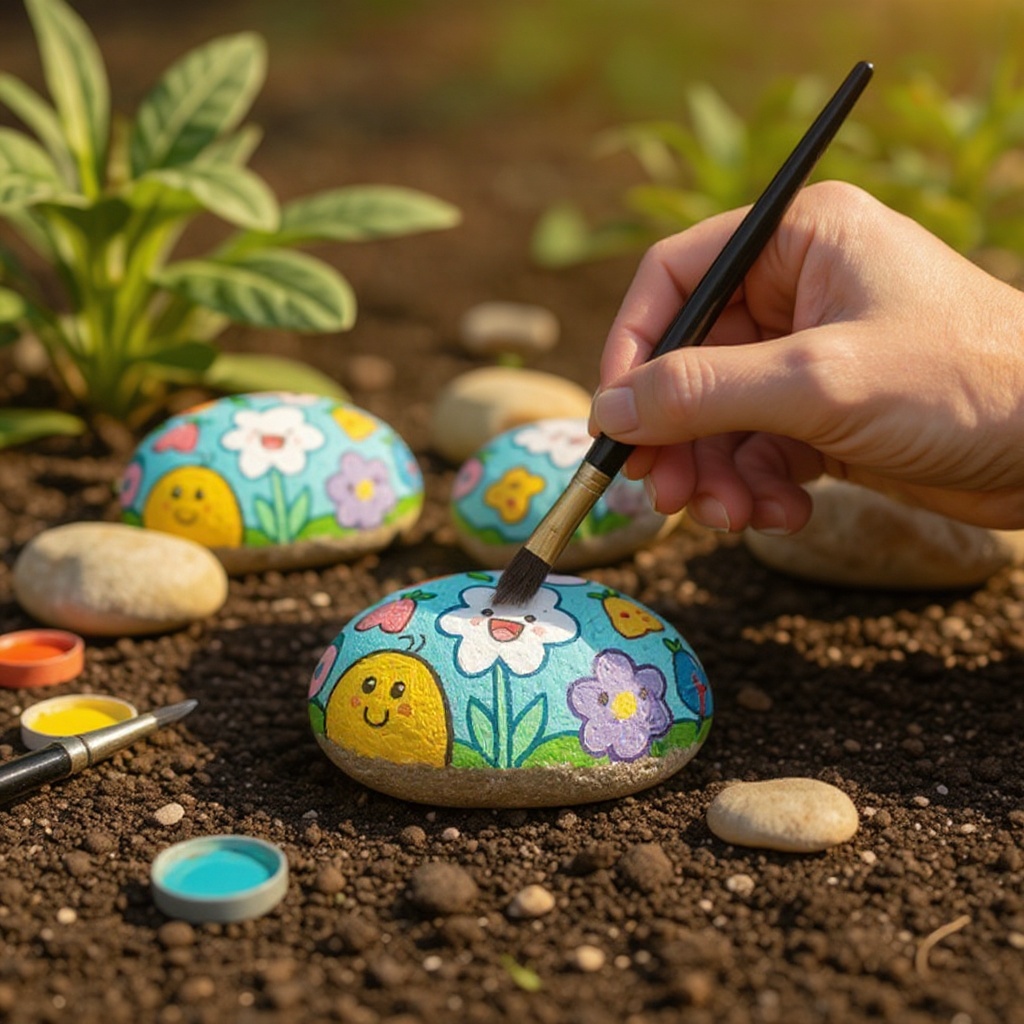
Begin adding your design elements, patterns, or inspirational words using different colors and brush sizes. You can create simple dots, stripes, swirls, or more complex imagery depending on your skill and preference.
- 6
Utilize a fine-tip brush for intricate details and lettering to ensure clarity and readability. Take your time with this step, as precise lines and well-formed letters will make your message stand out and be easily understood.
- 7
Allow the paint to dry thoroughly between layers or color applications. This is crucial to prevent smudging and to achieve crisp, clean lines. Patience here will significantly improve the final appearance of your kindness rock.
- 8
Once the paint is completely dry and you are satisfied with your design, take the rocks to a well-ventilated outdoor area or a space with good airflow. This is important for safely applying the sealant.
- 9
Apply a thin, even coat of clear acrylic sealant to protect the paint and give your rock a finished, durable look. Ensure you cover all painted surfaces, but avoid applying excessively thick coats, which can cause drips.
- 10
Let the sealant dry completely according to the product instructions before handling or placing your kindness rocks. This curing process ensures the sealant fully hardens and protects your artwork from the elements.
- 11
Inspect your rocks for any missed spots or areas that need a second coat of sealant. If necessary, apply another thin layer and allow it to dry thoroughly.
- 12
Once the sealant is fully cured and the rocks are dry to the touch, they are ready to be shared with the world!
Tips & Troubleshooting
- 1If your rocks have rough spots or uneven surfaces, you can lightly sand them before painting for a smoother canvas. Use fine-grit sandpaper and wipe away any dust with a damp cloth before applying your base coat.
- 2Experiment with different color combinations and painting techniques like stenciling, dotting, or even using a sponge to create unique textures and visual interest. Don't be afraid to try new things and discover your personal style.
- 3Consider adding a small, universally recognized image or symbol that represents kindness, such as a heart, a smiling sun, a dove, or a simple rainbow. These symbols can convey a positive message even without words.
- 4Once sealed and dry, you can leave your kindness rocks in public places for others to find and enjoy. Think parks, walking trails, library shelves, or even outside local businesses. The surprise discovery is part of the magic.
- 5Store any leftover acrylic paints with the lids tightly sealed to prevent them from drying out. For longer storage, you can wrap the lids in plastic wrap before screwing them on tightly.
- 6When painting lettering, practice writing your chosen words on paper first to get a feel for the spacing and flow. Consider using a pencil to lightly sketch the words onto the rock before painting them with acrylics.
- 7If you're painting for a specific event or season, tailor your designs accordingly. Think holiday themes, encouraging messages for graduations, or simple 'thinking of you' notes.
- 8Take photos of your finished kindness rocks before you hide them! It's a fun way to document your creations and share your efforts with friends and family online, inspiring others to join in.
Related Activities You Might Enjoy
Frequently Asked Questions
What kind of rocks are best for painting kindness rocks, and how should I prepare them?
Smooth, flat rocks are ideal for painting kindness rocks as they provide a stable surface for your artwork and make it easier to write messages. Look for rocks that are free of dirt, debris, and significant cracks or holes; river rocks or beach stones often work well. Before painting, give your rocks a good scrub with water and a brush to remove any dirt or moss, and ensure they are completely dry. If a rock has particularly rough patches, you can use fine-grit sandpaper to smooth them down for a better painting experience. Properly prepared rocks will ensure your paint adheres well and your designs last longer.
Do I absolutely need to seal acrylic paint on rocks, and what type of sealant is best?
Yes, sealing your painted rocks with a clear acrylic sealant is highly recommended, especially if you plan to place them outdoors. The sealant acts as a protective barrier, shielding the paint from chipping, fading due to sunlight, and weathering from rain or moisture, ensuring your artwork remains vibrant and intact for a longer period. You can choose between a spray sealant or a brush-on varnish. Both offer good protection; spray sealants are often quicker to apply over larger areas, while brush-on varnishes offer more control for detailed work. Opt for a product labeled 'outdoor' or 'weather-resistant' for maximum durability.
Can children participate in painting kindness rocks, and what safety precautions should be taken?
Absolutely! Painting kindness rocks is a fantastic and engaging activity for children of all ages. Acrylic paints are generally safe for kids as they are water-based and easy to clean up with soap and water, making them a great choice for children's art projects. However, adult supervision is always recommended, especially for younger children, to ensure they use the paints and brushes safely and don't ingest any materials. Ensure the workspace is protected, and consider using washable aprons or old clothes for the children. The sealant should be applied by an adult in a well-ventilated area, away from young children.
How long does acrylic paint typically take to dry on rocks, and what's the best way to speed up the process?
Acrylic paint typically dries to the touch within 15-30 minutes on rocks, depending on the thickness of the paint application, the humidity, and the temperature of your environment. For best results and to avoid smudging, it's crucial to allow each layer of paint to dry completely before adding another color or detail. While you can't drastically speed up the drying time, ensuring good air circulation by painting in a well-ventilated area can help. Avoid painting in extremely humid conditions, as this will significantly slow down the drying process. Patience is key; rushing the drying can lead to muddy colors and smudged designs.
What are some creative design ideas for kindness rocks, beyond simple messages?
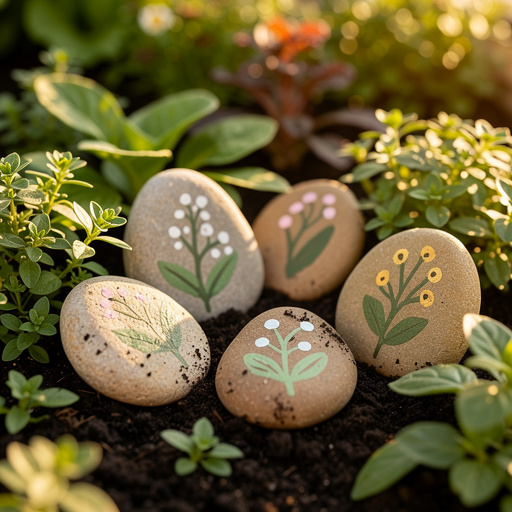
Beyond simple inspirational words, kindness rocks offer a canvas for boundless creativity! Consider painting small, cheerful landscapes with rolling hills and a bright sun, or intricate mandala patterns using dotting tools for a meditative effect. You could also paint cute animal faces, whimsical flowers, or abstract designs with vibrant color gradients. Another popular idea is to paint a series of rocks that tell a small story or create a puzzle when placed together. For a more interactive element, you could paint a 'seek and find' rock with a hidden object or symbol that the finder has to locate. The possibilities are truly endless, limited only by your imagination!
Where is the best place to leave kindness rocks for others to find, and how can I ensure they are appreciated?
The best places to leave kindness rocks are public areas where people are likely to stumble upon them unexpectedly and find joy in the discovery. Think about local parks, walking trails, nature preserves, community gardens, library entrances, outside coffee shops, or even on park benches. Avoid leaving them on private property without permission or in areas that might be considered hazardous. To ensure they are appreciated, make sure your designs are positive and uplifting, and that the rocks are well-sealed to withstand the elements. A simple, clear message or a universally appealing image often resonates most with finders. The act of finding a hidden treasure is inherently delightful!
What Next?
Once your kindness rocks are sealed and completely dry, they are ready to embark on their journey of spreading joy! Consider creating a dedicated 'kindness rock garden' in your yard or a community park, or simply leave them in unexpected places for others to discover. For variations, explore different themes like seasonal designs, animal motifs, or abstract patterns. You could also try using paint pens for more intricate details or even decoupage techniques. Store any unused paints and brushes properly, and keep your finished, unplaced rocks in a dry, safe spot until you're ready to share them.
Free: 10 Paper Crafts Anyone Can Make in 5 Minutes
Get our beginner guide + new craft ideas weekly.
No spam. Unsubscribe anytime.
Did you complete this activity?
Related