How to Create Adorable Cardboard Tube Animal Masks — Easy Step-by-Step Guide
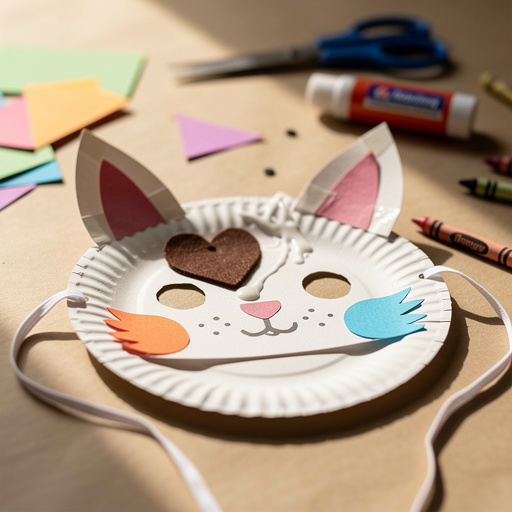
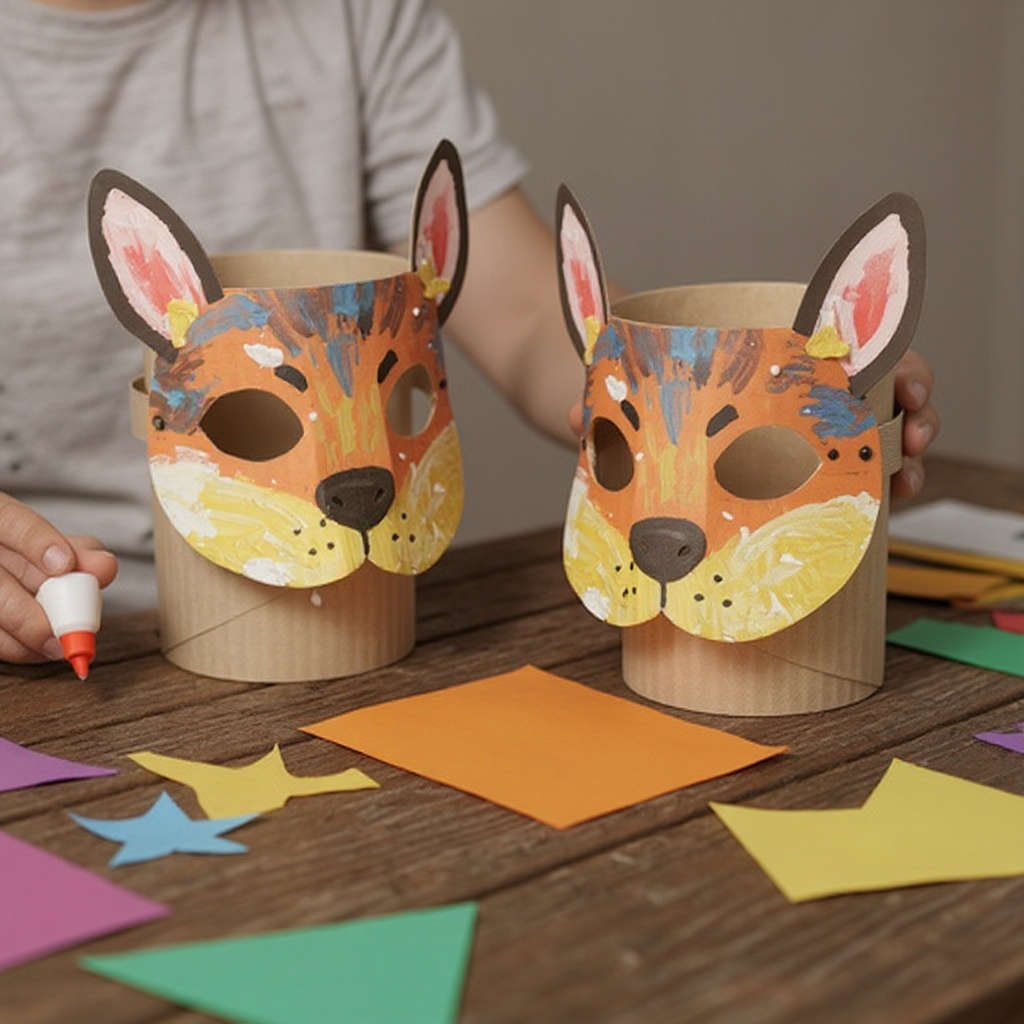
Transform simple cardboard tubes into a menagerie of playful animal masks! This easy recycled craft for preschoolers sparks creativity and encourages imaginative play.
Quick answer
To make cardboard tube animal masks, you need cardboard tubes, paint, scissors, and glue, taking about 30 minutes. Start by cutting eye holes. This beginner-friendly activity has 10 steps and is perfect for preschoolers aged 3-6.
What you need
Shop on Amazon · As an Amazon Associate we earn from qualifying purchases. Links above are affiliate links — we may earn a commission at no extra cost to you.
On this page
Step-by-Step Instructions
- 1
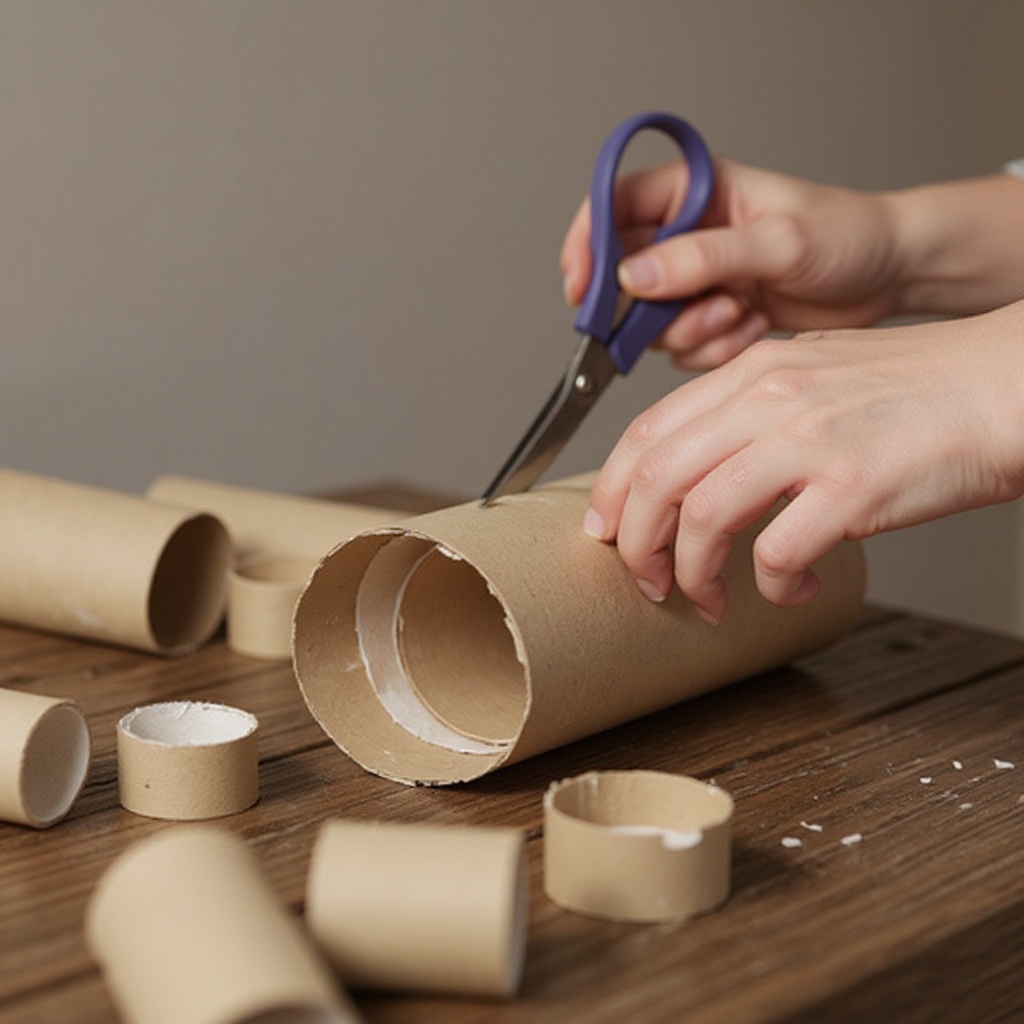
Flatten each toilet paper roll slightly and cut it in half to create two mask shapes.
- 2
Using child-safe scissors, carefully cut out eye holes in the center of each mask shape. Make sure the holes are large enough for your preschooler to see through comfortably.
- 3
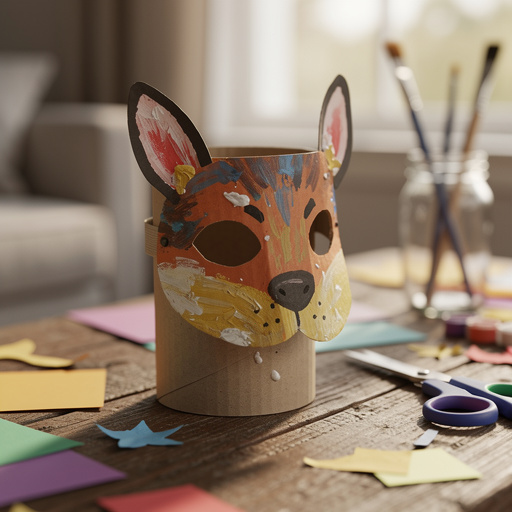
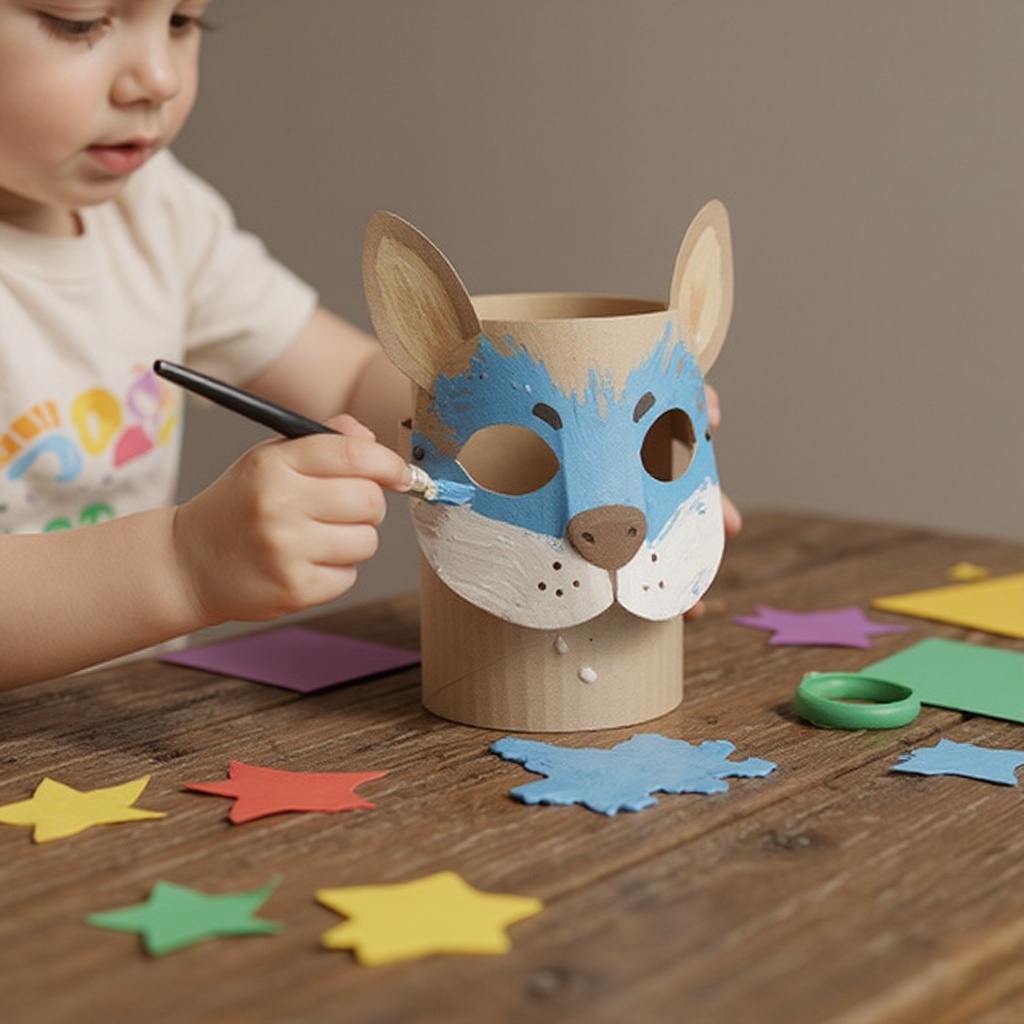
Let your preschooler paint the outside of each mask with their chosen colors. Encourage them to think about what animal they want to create.
- 4
Allow the paint to dry completely. This may take about 10-15 minutes.
- 5
While the paint dries, cut out ears, noses, and other facial features from construction paper scraps. For example, triangles for cat ears, circles for a pig's nose, or long strips for a lion's mane.
- 6
Once the paint is dry, use white craft glue or a glue stick to attach the construction paper features to the masks.
- 7
For a lion mask, glue on strips of yellow or orange construction paper around the edge for a mane.
- 8
For a bear mask, glue on a brown circle for the nose and smaller circles for ears.
- 9
For a bunny mask, glue on long, oval-shaped ears.
- 10
Add any extra details with markers, such as whiskers for a cat or spots for a dalmatian.
- 11
Optional: Glue on googly eyes for extra character or small pieces of yarn for hair or tails.
- 12
Once all glue and paint are dry, the animal masks are ready for imaginative play!
Tips & Troubleshooting
- 1If your preschooler struggles with cutting, pre-cut the basic shapes for them, or let them tear the construction paper for a more textured effect.
- 2Encourage creativity by suggesting different animal combinations or letting them invent their own fantastical creatures.
- 3For a more durable mask, you can reinforce the edges with a strip of tape before painting, or use a stronger craft glue for attaching heavier elements.
- 4To make the masks wearable, punch small holes on the sides and tie elastic string or yarn through them. Supervise this step closely.
- 5Store the finished masks in a box or hang them up to display their wonderful creations.
Related Activities You Might Enjoy
Frequently Asked Questions
What are the best recycled crafts for preschoolers?
Recycled crafts for preschoolers are fantastic! Toilet paper roll animal masks, egg carton creations, and plastic bottle art are excellent choices that use common household items and encourage creativity.
How can I make cardboard tube crafts with my toddler?
For toddlers, focus on simple crafts like painting pre-cut cardboard tube shapes, gluing large, easy-to-handle pieces, or even just decorating them with chunky crayons. Always supervise closely.
What materials can I use for preschool recycled crafts?
You can use a wide variety of materials! Common items include toilet paper rolls, cardboard boxes, plastic bottles, egg cartons, old magazines, and fabric scraps. The possibilities are endless!
Are recycled crafts good for a child's development?
Yes, recycled crafts are excellent for development! They foster creativity, problem-solving skills, fine motor skills, and an understanding of sustainability and reusing materials.
Free: 10 Paper Crafts Anyone Can Make in 5 Minutes
Get our beginner guide + new craft ideas weekly.
No spam. Unsubscribe anytime.
Did you complete this activity?
Related
You might also like
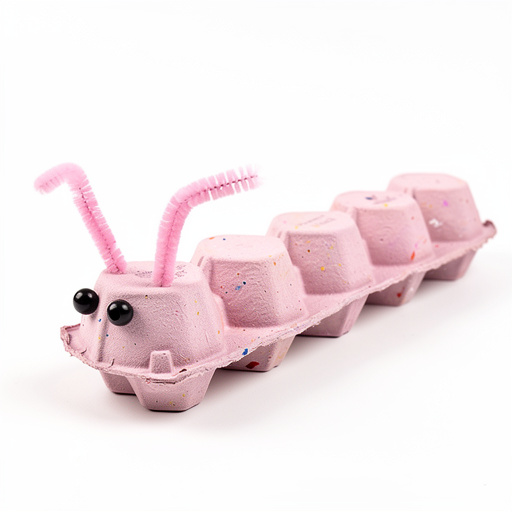
Egg Carton Caterpillar Critters
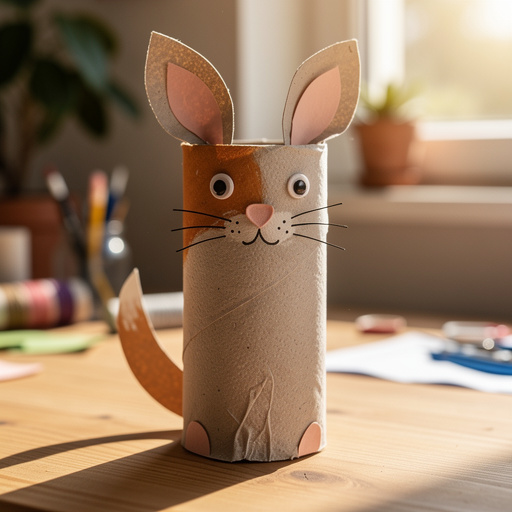
Toilet Paper Roll Animal Puppets
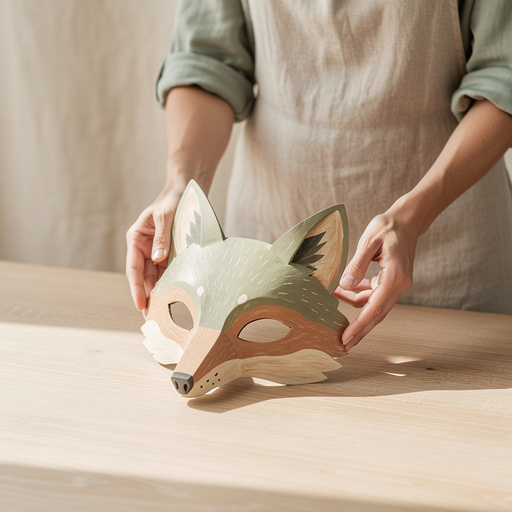
Cardboard Critter Masks
Winter Wonderland Paper Snowflakes
Egg Carton Critters