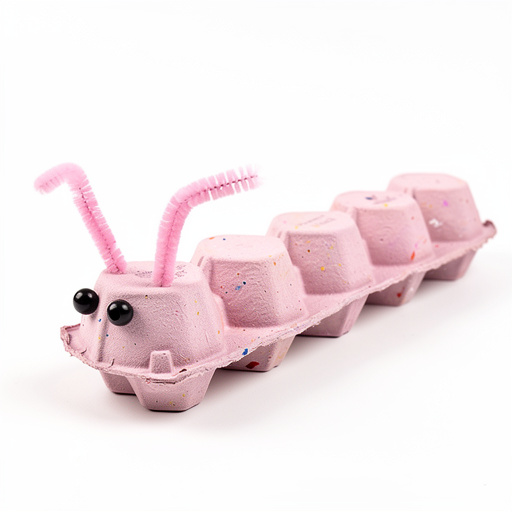
How to Make Winter Wonderland Paper Snowflakes — Easy Step-by-Step Guide
Transform plain paper into delicate winter snowflakes with this easy-to-follow craft. A perfect screen-free activity for little hands to celebrate the season.
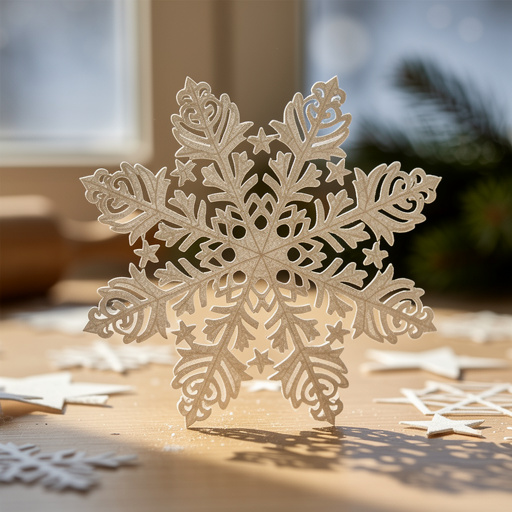
Quick answer
To make paper snowflakes, you need paper and scissors and about 15 minutes. Start by folding the paper into a triangle. This beginner-friendly activity has 7 steps and is perfect for preschoolers and early elementary-aged children.
What you need
Shop on Amazon · As an Amazon Associate we earn from qualifying purchases. Links above are affiliate links — we may earn a commission at no extra cost to you.
Embrace the magic of winter with this delightful paper snowflake craft! Creating these delicate, intricate designs from simple paper is a wonderfully rewarding and accessible activity for all ages. It’s a fantastic way to engage children in a screen-free, hands-on project that sparks creativity and fine motor skill development. Whether you're looking for a festive classroom activity, a cozy afternoon project with family, or a way to add a touch of winter charm to your home, these paper snowflakes are sure to bring a smile and a touch of frosty beauty. Get ready to transform ordinary paper into extraordinary winter wonders!
On this page
Step-by-Step Instructions
- 1
Begin with a standard 8.5 x 11 inch sheet of white printer paper. Lay it flat on your work surface in a portrait orientation (the longer sides running vertically). This initial orientation is crucial for the subsequent folds, ensuring your snowflake will have the correct symmetry.
- 2
Fold the sheet of paper in half horizontally, bringing the top edge down to meet the bottom edge. Crease the fold firmly with your fingernail or a ruler. Then, unfold the paper completely. This creates a central horizontal guideline that will be helpful in later steps.
- 3
Now, fold the paper in half vertically, bringing the left edge over to meet the right edge. Again, crease this fold firmly. Unfold the paper. You should now have two intersecting crease lines forming a cross in the center of your paper, providing a visual guide for your folds.
- 4
Take the paper and fold it in half diagonally, bringing one corner to meet the opposite corner. This will form a large triangle. Ensure the edges align as precisely as possible to maintain symmetry in your final snowflake design. Crease this fold well.
- 5
With the triangle still folded, bring the two acute angles (the sharp points at the bottom of the triangle) together. This means you'll be folding the triangle in half again, creating a smaller, more compact triangle. Make sure the points are perfectly aligned before creasing.
- 6
Now, fold the resulting triangle in half one more time. Align the two longest edges of this smaller triangle together. This final fold is key to creating the wedge shape that allows for multiple symmetrical cuts. Press down firmly to create a sharp crease.
- 7
You will now have a wedge-shaped piece of folded paper. Look at the pointed tip of this wedge. This is the center of your future snowflake. Trim off this pointed tip by cutting straight across. This creates a flat edge that will become the outer edge of your snowflake, preventing a sharp point in the center.
- 8
With the paper still folded into its wedge shape, you are ready to make your cuts. Along the two open, folded edges of the wedge, carefully cut various shapes. Think about creating triangles, curves, zig-zags, or even small notches. The key is to avoid cutting through the center fold (the apex of the original triangle) and to ensure that any cuts you make on one side are mirrored on the other side of the folded edges.
- 9
To create more intricate designs, try making smaller, more delicate cuts. For younger children, larger, simpler shapes like big triangles or semi-circles are easier to manage and still produce beautiful results. Remember, the cuts you make will be repeated on multiple sections of the snowflake, so consider how they will connect and interact.
- 10
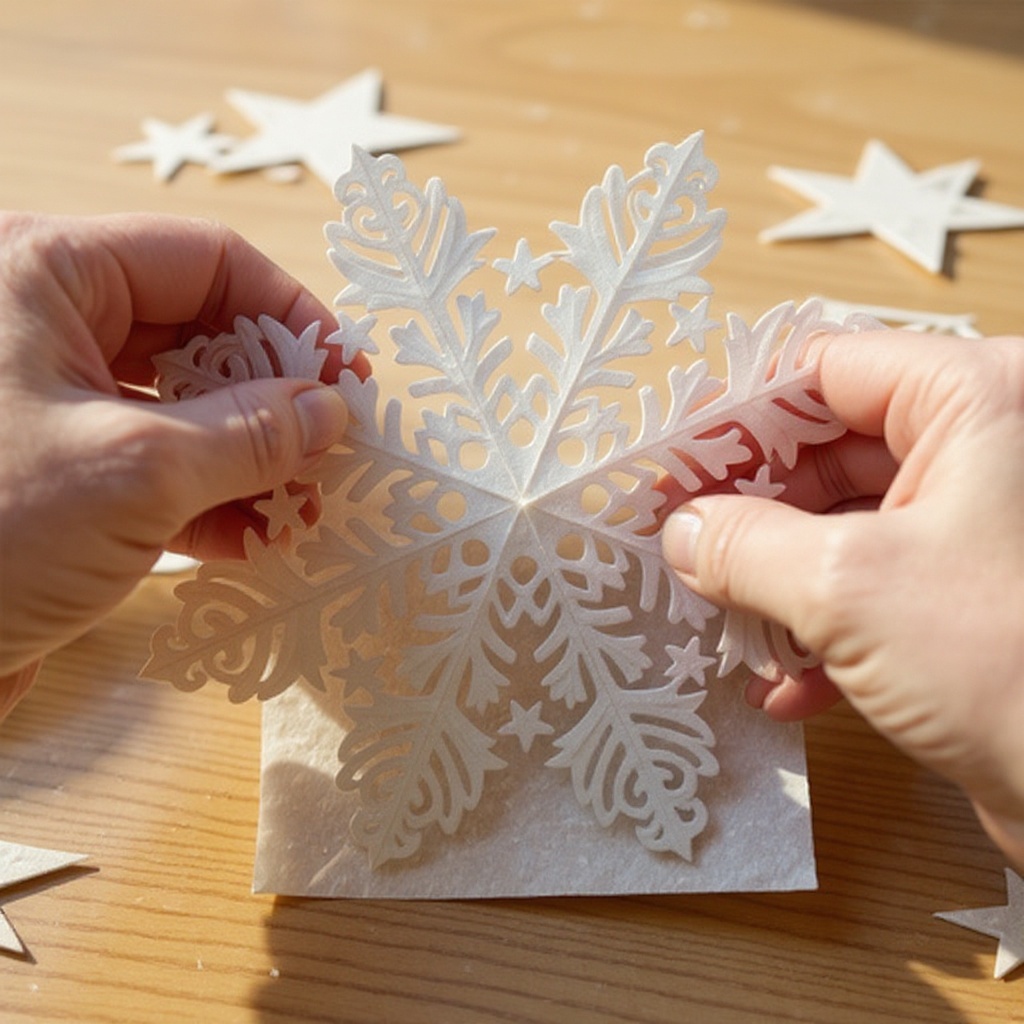
Once you have finished making all your desired cuts along the folded edges, it's time for the big reveal! Carefully and slowly begin to unfold the paper. Start by unfolding the last fold you made, then the one before that, and so on. Be gentle, as the paper can be delicate at this stage.
- 11
As you unfold, you will see your unique snowflake design emerge. Marvel at the patterns created by your cuts. If any parts seem to have torn slightly, don't worry; this is a common occurrence and adds to the handmade charm of your creation.
- 12
Repeat the process with additional sheets of paper to create a whole collection of unique snowflakes. Experiment with different folding angles and cutting patterns to discover a wide variety of snowflake shapes and sizes. Each fold and cut will result in a distinct design, making every snowflake a one-of-a-kind masterpiece.
- 13
For an added touch of sparkle, you can carefully apply glitter glue to the edges of your cut-out shapes before the snowflakes are fully dry. Alternatively, use metallic markers or crayons to add color and detail to your designs after unfolding.
- 14
If you plan to hang your snowflakes, use a hole punch to create a small hole near the outer edge of one of the points. Thread a piece of string or ribbon through the hole to create a loop for hanging.
- 15
Consider using different types of paper for varied textures and appearances. Thicker cardstock might be more durable but harder to cut precisely, while thinner paper will create very delicate snowflakes. Experimentation is key to finding your preferred paper type.
- 16
When making cuts, try to vary the depth and shape of your incisions. Deeper cuts will create larger openings, while shallower cuts will result in finer details. Combining different types of cuts on the same snowflake can lead to particularly interesting patterns.
- 17
If you find that your snowflake isn't as symmetrical as you'd like, it's often due to slight inaccuracies in the folding process. Don't be discouraged! The beauty of handmade crafts lies in their imperfections. Simply try to be as precise as possible with your folds on the next attempt.
- 18
To create a truly stunning display, make a variety of snowflake sizes and shapes. A collection of different designs will look more dynamic and visually appealing than a uniform set. Mix and match your cutting techniques to achieve this diversity.
- 19
When cutting, always keep your fingers away from the path of the scissors. Ensure that the paper is held firmly but not so tightly that it distorts the shape. This will help you make clean, precise cuts.
- 20
If you're working with very young children, you might want to pre-fold the paper for them and then let them focus solely on the cutting aspect. This simplifies the process and allows them to experience the joy of creating their own designs.
- 21
After unfolding, gently flatten your snowflakes by placing them under a heavy book for a short period. This will help them lie flat and prevent them from curling, making them easier to display.
- 22
Don't be afraid to get creative with your cuts! Think about cutting out small hearts, stars, or even tiny letters within the snowflake's structure. The possibilities are truly endless, limited only by your imagination and the size of your scissors.
Tips & Troubleshooting
- 1Encourage children to make small cuts for more intricate designs, but larger cuts are easier for younger children to manage and still produce beautiful results. Focus on shapes that are easy to cut, like simple triangles or curves, which will still create visually appealing patterns when unfolded.
- 2Experiment with different folding techniques to create a variety of snowflake shapes. For instance, folding the initial triangle into thirds instead of halves can lead to entirely different patterns. Try folding the paper into a hexagonal shape before cutting for a more complex, multi-pointed snowflake.
- 3If the paper tears, it's okay! It just adds to the unique charm of each snowflake. Handmade items are never perfect, and these little imperfections tell a story of creativity and effort. Embrace the slight flaws as part of the artistic process.
- 4Hang your finished snowflakes in windows or on walls for a beautiful winter display. They catch the light wonderfully and can transform any space into a festive winter wonderland. Consider using clear tape to attach them to windows so they don't obscure the view.
- 5For a truly magical effect, try using iridescent or glitter paper. These materials will add an extra sparkle and shimmer to your snowflakes, making them even more eye-catching. Be aware that glitter paper can be slightly thicker, so ensure your scissors are sharp.
- 6When making cuts, think about the negative space – the areas you are cutting away. These empty spaces are just as important as the paper that remains in defining the snowflake's pattern. Consider how the shapes you cut will interact with each other when the paper is unfolded.
- 7If you're aiming for very delicate and complex designs, consider using a craft knife and a cutting mat. This requires adult supervision but allows for much finer detail than scissors. Always cut away from yourself and use a steady hand for the best results.
- 8To create a cohesive display, try using a consistent color palette for your snowflakes, or group snowflakes of similar sizes together. This can create a more polished and intentional look for your winter decorations.
Related Activities You Might Enjoy
Frequently Asked Questions
What are the easiest paper snowflakes for preschoolers?
The easiest paper snowflakes for preschoolers involve simple folds and large, easy-to-cut shapes. Focus on basic triangles and straight lines rather than complex patterns. Start with a single fold of the paper into a triangle, and then let them make large, simple cuts along the open edges. Avoid intricate details or too many folds, as this can be overwhelming. The goal is to allow them to experience the joy of cutting and seeing their creation unfold, even if the design is very basic. Large, bold cuts will still create a beautiful, recognizable snowflake effect.
How do you make symmetrical paper snowflakes?
To make symmetrical paper snowflakes, ensure you fold the paper precisely in half multiple times, creating a wedge shape. Any cuts made on one side of the folded edges must be mirrored exactly on the other side. The more accurately you align the edges during each fold, the more symmetrical your snowflake will be. The initial folds are crucial: folding into a perfect triangle and then consistently folding that triangle in half ensures that when you cut, the pattern is replicated evenly across all sections of the snowflake. Precision in folding is the key to achieving perfect symmetry.
Can I use construction paper for paper snowflakes?
While you can use construction paper for paper snowflakes, it's generally thicker and harder for young children to cut cleanly. Standard printer paper is ideal for delicate and easy-to-manage snowflakes because it's thin enough to allow for intricate cuts and folds without tearing easily. If you do choose to use construction paper, opt for lighter weight varieties and ensure you have sharp scissors. Be prepared for the snowflakes to be less delicate and potentially more challenging to cut into fine details compared to those made with printer paper.
What is the best way to cut paper snowflakes?
The best way to cut paper snowflakes is to fold the paper multiple times into a wedge shape and then make cuts along the open edges. Avoid cutting through the center fold to maintain symmetry. Start with a square piece of paper (or fold a rectangle into a square) for the most traditional snowflake shape, then fold it into a triangle, and then continue folding that triangle in half until you have a wedge. Make your cuts along the two open, folded sides of this wedge. The cuts you make will be repeated multiple times, so think about how they will connect and form a pattern.
How many times should I fold the paper for a snowflake?
For a classic six-pointed snowflake, you'll typically fold the paper into a shape that has three equal sections when unfolded. This usually involves folding a square into a triangle, then folding that triangle into thirds. If you start with a rectangle and fold it into a triangle, then fold that triangle in half, you'll get a four-pointed snowflake. For more points or a more complex design, you can experiment with folding the initial triangle into smaller, more numerous sections. The number of folds directly influences the number of points and the complexity of the final snowflake pattern.
What kind of scissors are best for cutting paper snowflakes?
For most paper snowflake crafts, especially those involving children, child-safe scissors with rounded tips are the best choice. These are designed to be safe for little hands while still being effective at cutting paper. If you are an adult looking to create very intricate designs, a pair of sharp, pointed craft scissors or even a craft knife (with a cutting mat and adult supervision) will allow for finer detail and cleaner cuts. However, for the beginner and intermediate crafter, standard scissors that are sharp enough to cut paper cleanly are perfectly adequate.
Can I make different colored paper snowflakes?
Absolutely! While white printer paper is traditional and creates a classic snowy look, you can use colored paper to make vibrant and unique snowflakes. Consider using pastel shades for a softer winter feel, or bright colors for a more festive and playful design. Metallic paper or paper with subtle patterns can also add an interesting dimension to your snowflakes. Just remember that the thickness of the paper might affect how easily it cuts, so choose accordingly, especially if children are involved in the cutting process.
What Next?
Once your winter wonderland is complete, the possibilities for display are endless! Gently tape your delicate snowflakes to windows for a frosted effect, string them together to create a shimmering garland, or attach them to gifts for a personalized touch. For a more advanced project, consider using different types of paper, such as metallic or patterned cardstock, or even incorporating glitter glue for extra sparkle. You can also experiment with larger paper sizes for more dramatic snowflakes. Store your creations flat in a box to prevent crushing, ready to be brought out year after year to add a touch of handmade magic to your winter celebrations.
Free: 10 Paper Crafts Anyone Can Make in 5 Minutes
Get our beginner guide + new craft ideas weekly.
No spam. Unsubscribe anytime.
Did you complete this activity?
Related
You might also like
Toilet Paper Roll Animal Puppets
Cardboard Critter Masks
Colorful Construction Paper Flowers
Cardboard Tube Animal Masks
Egg Carton Critters