How to Make Fun Paper Plate Animal Masks — Easy Step-by-Step Guide
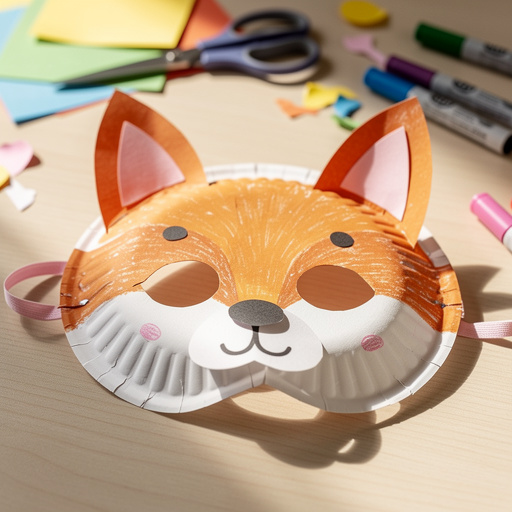
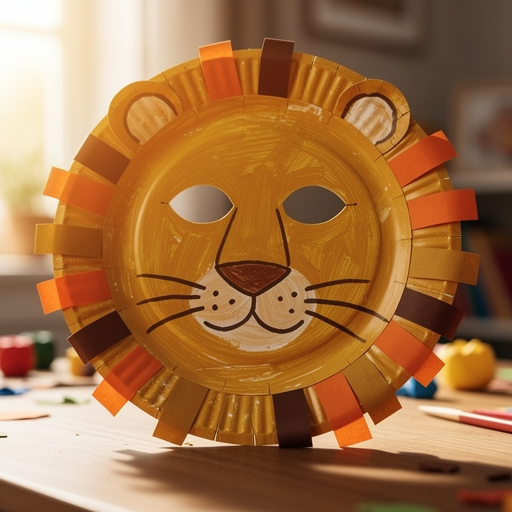
Transform simple paper plates into a menagerie of cute animal masks! This easy craft is perfect for imaginative play and a fantastic screen-free activity for families. Discover how to create lions, cats, bears, and more with just a few basic supplies and simple steps.
Quick answer
To make paper plate animal masks, you need 5 paper plates (9-inch, uncoated), child-safe scissors, washable markers or crayons, white craft glue or glue stick, construction paper (various colors), elastic string or yarn (about 12 inches per mask), and a hole punch. This project takes about 30 minutes to an hour, depending on the complexity of the animal. Start by folding one paper plate in half to mark the center for the eyes, then cut out two eye holes from the folded edge. Unfold the plate to reveal the eye holes, and then use markers or crayons to draw the base face of your chosen animal. Cut out shapes from construction paper for ears, noses, whiskers, or manes, and glue these onto the paper plate to create the animal's features. Allow the glue to dry completely. Carefully punch a hole on each side of the paper plate, near the edge, where the eyes are. Thread one end of the elastic string or yarn through one hole and tie a knot, then thread the other end through the opposite hole and tie another knot, creating a loop to wear the mask. This beginner-friendly activity has 10 core steps and is perfect for kids aged 4+ with adult supervision.
What you need
Shop on Amazon · As an Amazon Associate we earn from qualifying purchases. Links above are affiliate links — we may earn a commission at no extra cost to you.
Embark on a whimsical crafting adventure with our easy paper plate animal mask tutorial! This project is a delightful way to spark imagination and bring beloved creatures to life using everyday materials. It’s an ideal activity for rainy days, birthday parties, or simply fostering creative expression in children. The joy of transforming a plain paper plate into a roaring lion or a purring cat is immense, offering a rewarding and engaging experience for young crafters and a wonderful opportunity for family bonding, all while encouraging valuable fine motor skill development and imaginative play.
On this page
Step-by-Step Instructions
- 1
Fold one paper plate in half to mark the center for the eyes. This initial fold creates a clear centerline, ensuring your eye holes will be symmetrical and positioned correctly for comfortable vision.
- 2
Carefully cut out two eye holes from the folded edge of the paper plate, about 1.5 inches apart. Use your pencil to lightly sketch the desired shape and size of the eye holes before cutting, ensuring they are large enough for clear visibility but not so large that they compromise the mask's structure.
- 3
Unfold the plate to reveal the eye holes. Check that they are evenly spaced and appropriately sized for the wearer; you can always trim them slightly larger if needed.
- 4
Use markers or crayons to draw the base face of your chosen animal (e.g., a bear, a cat, a lion). This is where your creativity shines! Think about the animal's typical coloring and facial markings, such as stripes for a tiger, spots for a leopard, or a fluffy texture for a sheep.
- 5
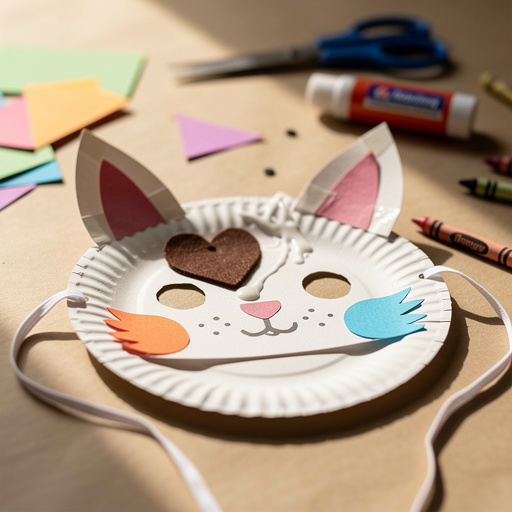
Cut out shapes from construction paper for ears, noses, whiskers, or manes. For example, triangles make great cat ears, circles can form a bear's nose, and thin strips of paper can become whiskers or a lion's mane. Cut these shapes carefully, paying attention to the details that define your chosen animal.
- 6
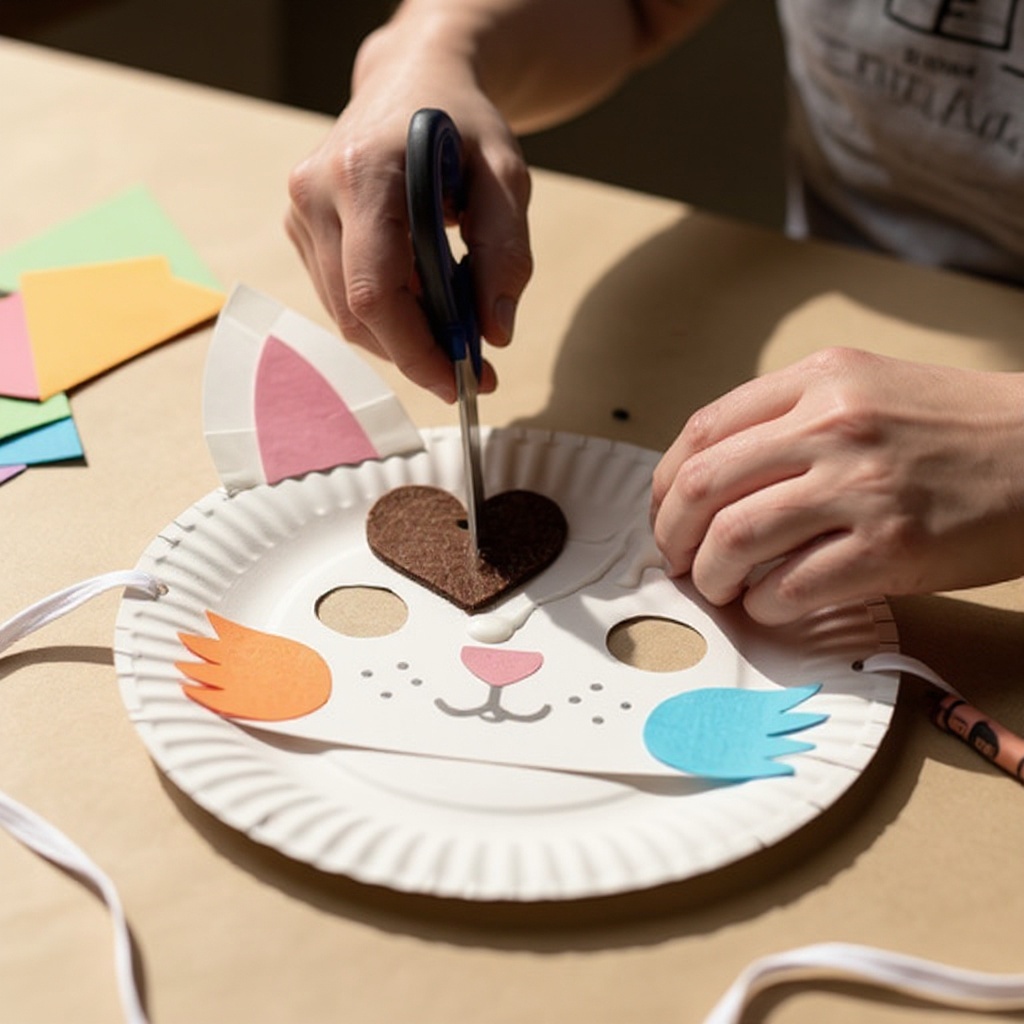
Glue the construction paper shapes onto the paper plate to create the animal's features. Apply a thin, even layer of glue to the back of each construction paper piece before pressing it firmly onto the paper plate. For delicate pieces like whiskers, a glue stick might be more manageable.
- 7
Allow the glue to dry completely before proceeding to the next steps. This is a crucial waiting period to ensure all glued elements are securely attached and won't shift or fall off during the next stages of crafting or play.
- 8
Once the glue is thoroughly dry, carefully punch a hole on each side of the paper plate, near the edge, where the eyes are. Position the holes so they are roughly level with the eye holes and far enough apart to create a comfortable fit around the wearer's head.
- 9
Thread one end of the elastic string or yarn through one hole and tie a secure knot. Ensure the knot is large enough to prevent it from slipping back through the hole.
- 10
Thread the other end of the elastic string or yarn through the opposite hole and tie another knot, creating a loop to wear the mask. Adjust the length of the elastic so it fits snugly but comfortably around the wearer's head, allowing for easy on and off.
- 11
Add any final decorative touches. This could include drawing additional details with markers, adding googly eyes for extra character, or gluing on yarn for a fluffy mane or tail. Let your imagination run wild with embellishments!
- 12
Test the fit of the mask. Have the wearer try it on to ensure the eye holes provide good visibility and the elastic band is comfortable. Make any necessary adjustments to the elastic length or eye hole size.
Tips & Troubleshooting
- 1If cutting eye holes is tricky, you can trace around a small cup or lid for a consistent shape. This method provides a perfect circular guide, ensuring your eye holes are neat and uniform, which can be especially helpful for younger crafters or those seeking a polished look.
- 2For a sturdier mask, consider using two paper plates glued together before cutting eye holes. This technique creates a thicker, more durable mask that can withstand more vigorous play and will last longer.
- 3Get creative with embellishments! Add yarn for hair, googly eyes, or even small fabric scraps to give your animal masks unique personalities. Don't be afraid to experiment with different textures and materials to make your creations truly stand out.
- 4Ensure the elastic string is long enough to comfortably fit around the wearer's head. It should be snug enough to stay in place but not so tight that it causes discomfort or headaches.
- 5Supervise younger children when using scissors and the hole punch. These tools require careful handling, and adult assistance will ensure safety and help them achieve the best results.
- 6Before cutting eye holes, consider the size of the person who will wear the mask. You might need to adjust the size and placement of the eye holes to ensure comfortable vision for both children and adults.
- 7If you don't have elastic, sturdy yarn or even strips of fabric can be used as an alternative for the head strap. Simply tie the ends securely to ensure the mask stays in place.
- 8Encourage children to name their animal creations and invent stories about them. This adds an extra layer of imaginative play and helps them connect with their handmade crafts on a deeper level.
Related Activities You Might Enjoy
Frequently Asked Questions
What are the easiest paper plate crafts for kids?
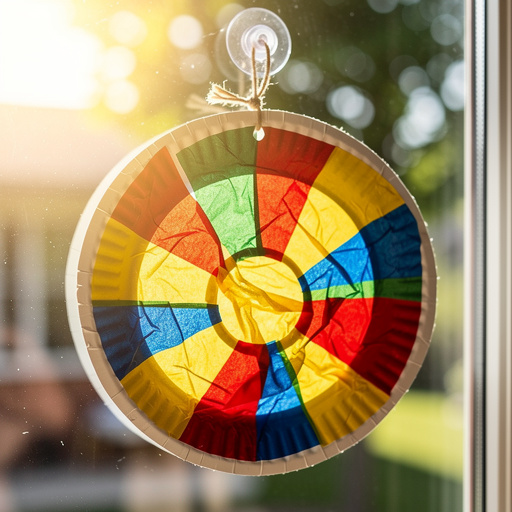
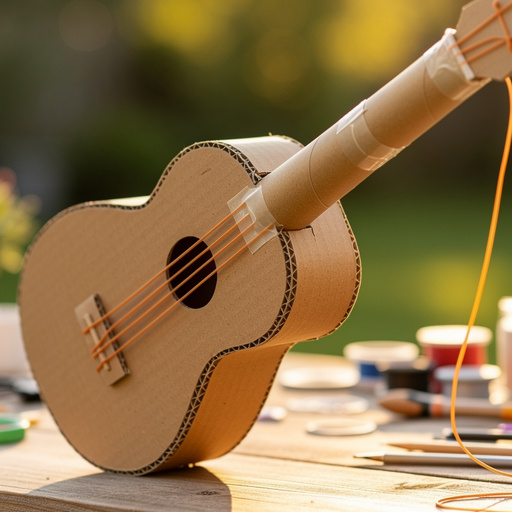
Paper plate animal masks are incredibly easy! Other simple options include paper plate suns, where you cut rays and color them yellow; paper plate flowers, by cutting petal shapes and decorating them; or even simple spinning tops, by attaching a cardboard tube to the center. These crafts require minimal materials and are quick to assemble, making them perfect for short attention spans. They focus on basic cutting, gluing, and coloring techniques, which are fundamental for early childhood development and provide a sense of accomplishment for young crafters.
How do you make paper plate masks stay on?
To make paper plate masks stay on securely and comfortably, the most effective method is to punch holes on either side of the mask, roughly at temple level, and attach elastic string or yarn. This creates a flexible band that fits snugly around the head, ensuring the mask stays in place during active play without being too tight. Alternatively, you can use long ribbons or strips of fabric and tie them at the back of the head, offering a customizable fit for different head sizes.
What materials do you need for paper plate crafts?
For most paper plate crafts, you'll need basic supplies like paper plates (preferably uncoated for better adhesion), child-safe scissors, and coloring tools such as washable markers or crayons. White craft glue or a glue stick is essential for attaching additional elements. Construction paper in various colors is highly recommended for cutting out shapes like ears, noses, or decorative patterns. Additional materials like yarn, googly eyes, paint, glitter, or fabric scraps can add extra flair and personality to your creations, allowing for endless creative possibilities.
Are paper plate crafts good for screen-free activities?
Absolutely! Paper plate crafts are fantastic screen-free activities that offer numerous developmental benefits. They encourage creativity, problem-solving, and fine motor skill development as children cut, glue, and color. These hands-on projects foster imaginative play, allowing kids to create characters, tell stories, and engage with their creations in a tangible way, providing hours of engaging fun away from digital devices and promoting a healthy balance in their playtime.
What age group is this paper plate animal mask craft suitable for?
This paper plate animal mask craft is generally suitable for children aged 4 and up, with adult supervision. Younger children (preschoolers) can participate with significant adult help, focusing on coloring and gluing pre-cut shapes. Older children (kindergarten and elementary school age) can handle most of the steps independently, including cutting and designing their masks. The complexity can be adjusted based on the child's fine motor skills and dexterity, making it a versatile activity for a range of ages.
Can I use painted paper plates for these masks?
Yes, you can absolutely use painted paper plates! If you prefer painting over markers or crayons, ensure you use acrylic paints or tempera paints that adhere well to paper plates. Allow the paint to dry completely before adding construction paper elements or cutting eye holes. Painting can offer a richer color palette and texture, especially for animals with more complex patterns or gradients. Just be mindful that very wet paint might warp the paper plate slightly, so a moderate application is best.
What Next?
Congratulations on creating your fantastic menagerie of paper plate animal masks! These vibrant creations are not just fun to make but also serve as wonderful props for storytelling and imaginative play. Once the fun is done, these masks can be displayed proudly on a wall, hung on a doorknob, or stored safely in a craft bin for future adventures. For variations, consider using different sizes of paper plates, exploring painting techniques instead of markers, or even adding textured materials like felt or feathers. Next, you might want to try making matching animal puppets or creating a whole habitat for your new animal friends!
Free: 10 Paper Crafts Anyone Can Make in 5 Minutes
Get our beginner guide + new craft ideas weekly.
No spam. Unsubscribe anytime.
Did you complete this activity?