How to Make a Rain Stick — Easy Step-by-Step Guide
Craft your own mesmerizing rain stick and bring the calming sound of rain into your home. This fun, screen-free activity is perfect for all ages.

Quick answer
To make a rain stick, you need a sturdy cardboard tube (about 12-18 inches), small nails or push pins (20-30), a hammer, strong tape, 1/2 cup of uncooked rice (or other fillers), scissors, and decorating supplies. The process involves sealing the tube ends, inserting nails to create an internal maze, filling it with rice, and decorating the exterior. This beginner-friendly activity takes about 45 minutes, excluding drying time for decorations, and is perfect for families and kids aged 6+ with adult supervision.
What you need
Shop on Amazon · As an Amazon Associate we earn from qualifying purchases. Links above are affiliate links — we may earn a commission at no extra cost to you.
Discover the simple joy of creating your own sensory instrument with this easy DIY rain stick tutorial. The gentle, soothing sound of a rain stick is incredibly calming and can transform any space into a tranquil oasis. This project is not only fun and engaging but also a wonderful way to foster creativity and fine motor skills. It's an ideal screen-free activity for families, classrooms, or anyone looking for a mindful craft that results in a beautiful, functional piece of art. Get ready to bring the peaceful ambiance of a rain shower right into your home!
On this page
Step-by-Step Instructions
- 1
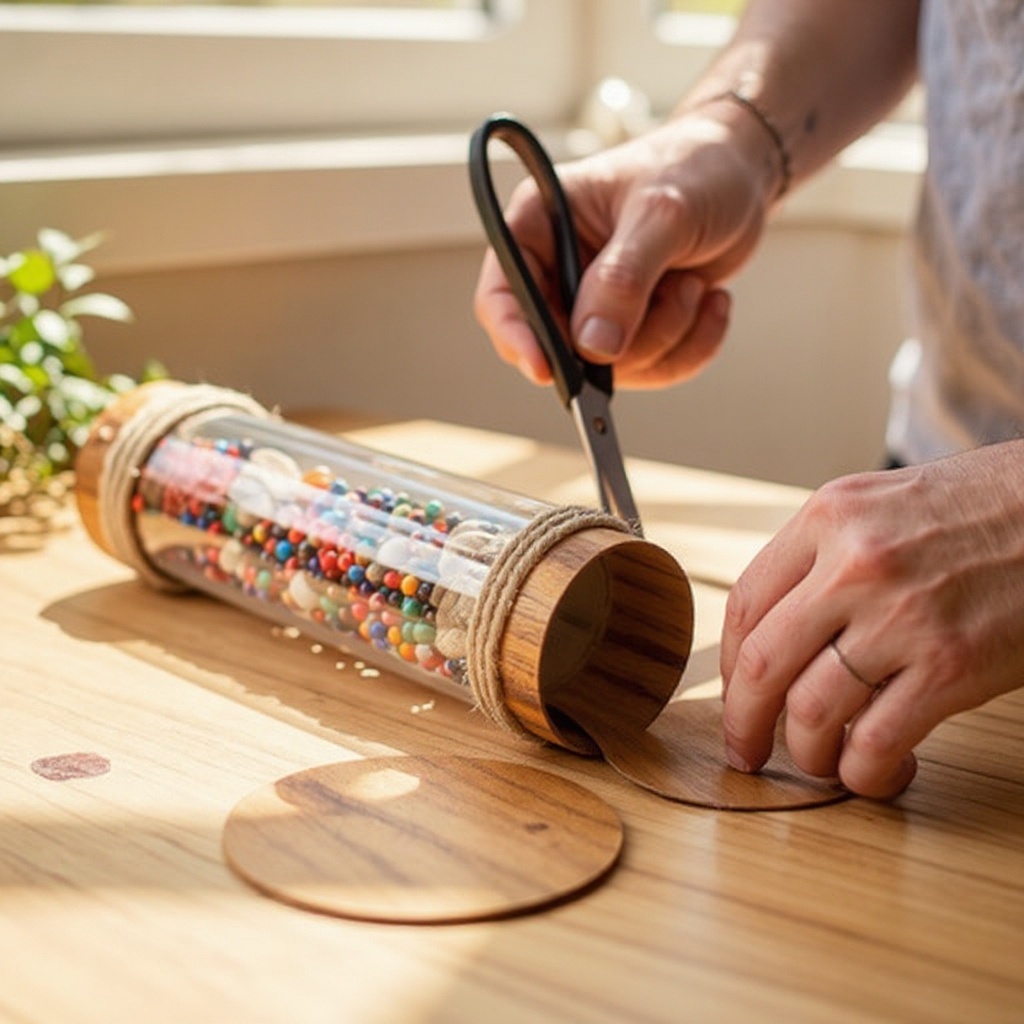
Begin by preparing the ends of your cardboard tube. Cut two circles of sturdy cardboard that are slightly larger than the diameter of your cardboard tube, ensuring they will completely cover the openings. These will serve as the end caps for your rain stick.
- 2
Take one of your prepared cardboard circles and place it over one end of the cardboard tube. Securely tape this circle to the tube using your strong tape, ensuring there are no gaps or openings where the filler could escape. Press the tape down firmly to create a good seal.
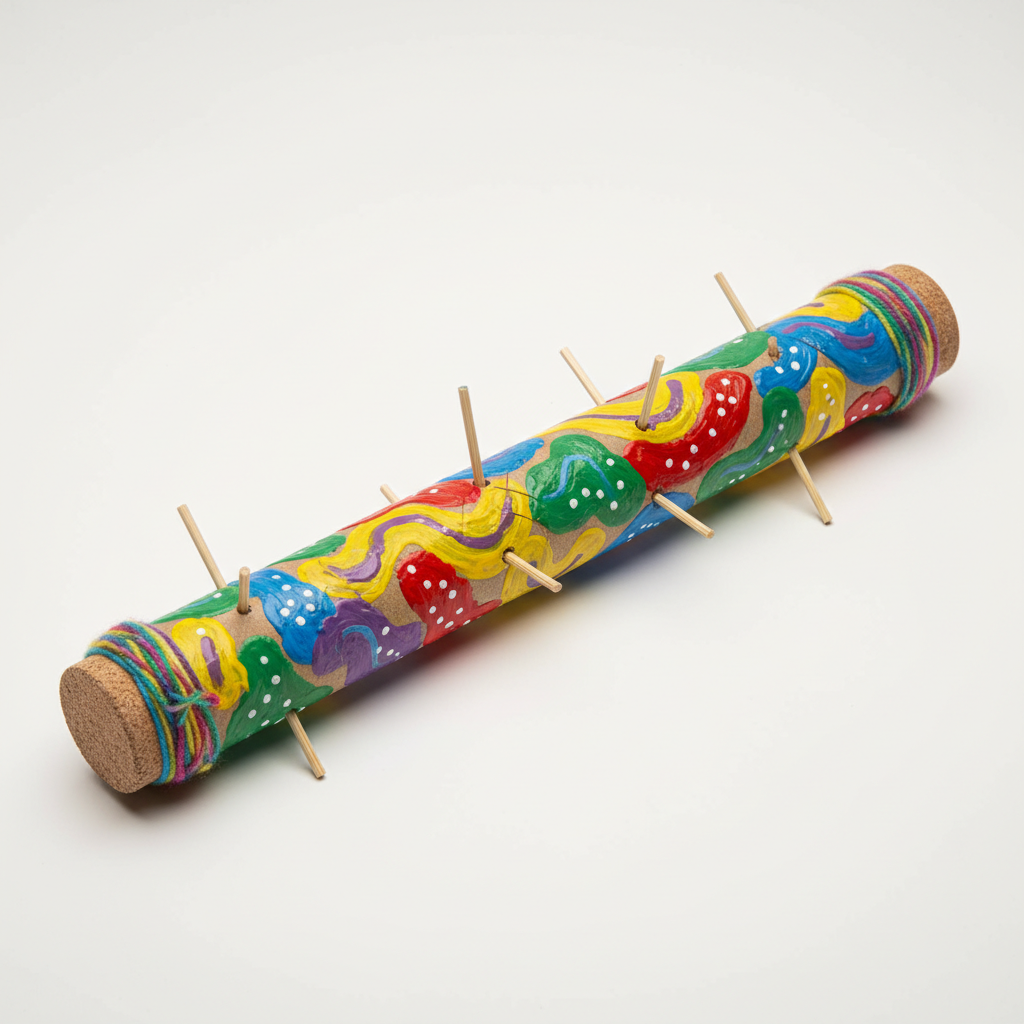
- 3
Now, it's time to create the internal maze that will guide the falling filler. Using your hammer, carefully tap the small nails or push pins into the cardboard tube at an angle, pointing inwards towards the center of the tube. Space them evenly around the tube, creating a spiral pattern or a more random, chaotic design for varied sound effects. Aim for a consistent angle for all nails.
- 4
Ensure that each nail is firmly embedded into the cardboard tube and does not poke through to the inside where it could snag the filler or pose a hazard. If a nail feels loose, gently tap it further in, or if it's too far in, you can carefully pull it out and re-insert it. The goal is a secure, internal obstacle course.
- 5
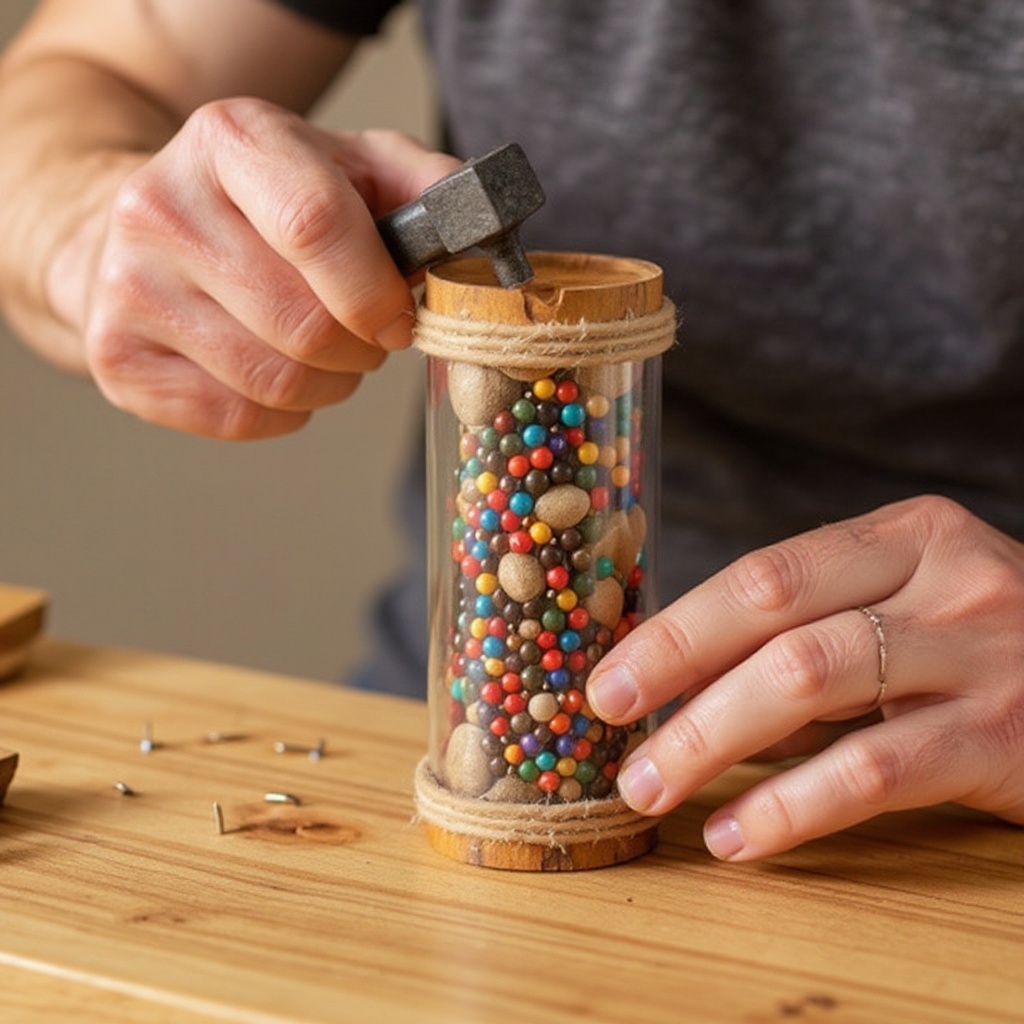
Once your nails are in place, it's time to add the sound-making filler. Carefully pour 1/2 cup of uncooked rice into the open end of the tube. You can adjust this amount for different sound effects – less rice will create a faster, lighter sound, while more rice will produce a slower, deeper, and more resonant sound.
- 6
After adding your filler, take the second prepared cardboard circle and place it over the open end of the tube. Securely tape this second circle to the tube, mirroring the process you used for the first end, ensuring a complete and airtight seal to prevent any filler from escaping.
- 7
For added durability and to ensure the filler remains contained, reinforce both taped ends of your rain stick with additional layers of strong tape. Wrap the tape around the seam multiple times, pressing firmly to create a robust closure that can withstand repeated use.
- 8
Now for the fun part: decorating your rain stick! Unleash your creativity by covering the outside of the tube with construction paper, painting it with acrylics, drawing with markers or crayons, or applying stickers. You can also wrap it with yarn, glue on fabric scraps, or add glitter for extra sparkle. Let your imagination guide you to make it visually appealing.
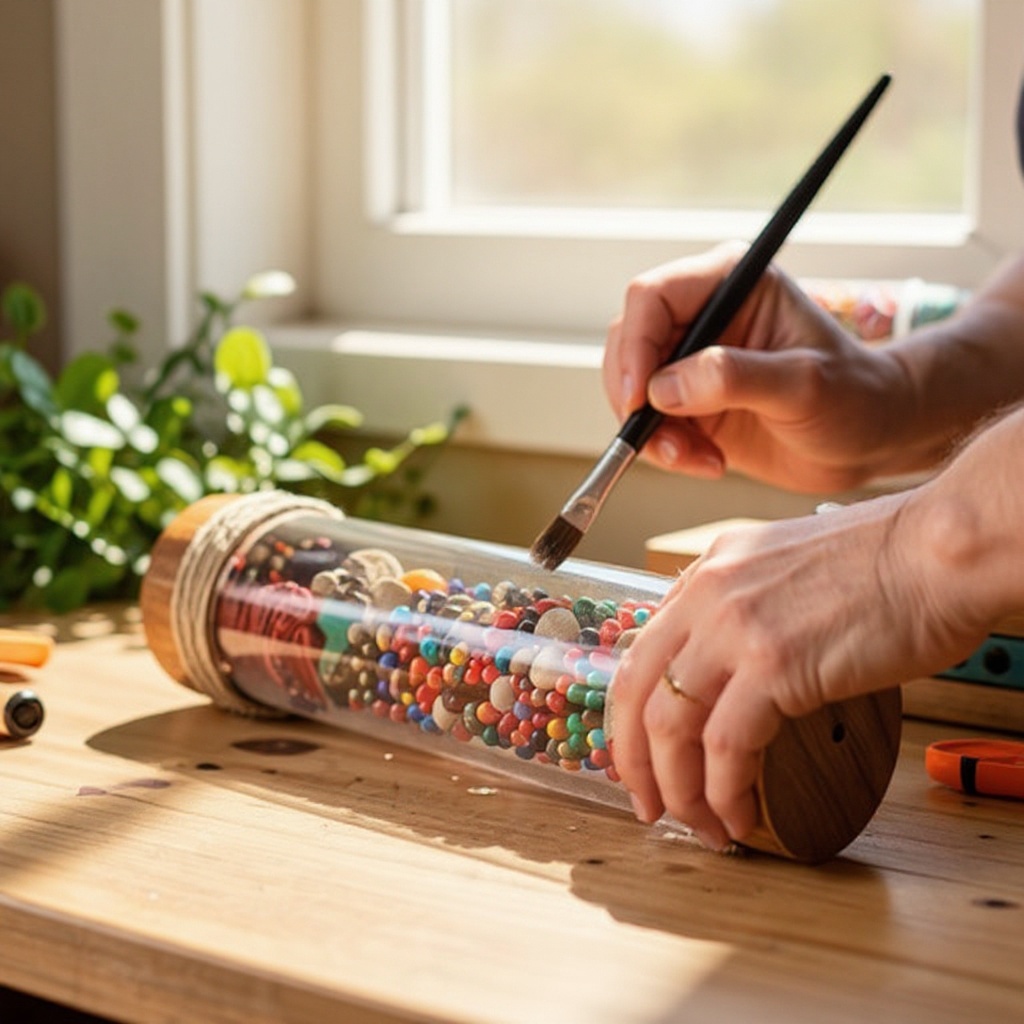
- 9
If you've used paint or glue for your decorations, allow ample time for them to dry completely before proceeding to the next step. This prevents smudging and ensures your design stays intact.
- 10
Once all decorations are dry and secure, hold your newly crafted rain stick vertically, with one end pointing upwards. This is the moment of truth to test its sound-producing capabilities.
- 11
Slowly and gently tilt the rain stick to one side, allowing the filler to cascade down the internal maze created by the nails. Listen closely to the mesmerizing, soothing sound of rain that your creation produces. Experiment with tilting speed and angle to discover different auditory textures.
- 12
If the sound isn't quite right, don't worry! You can always carefully remove the tape from one end, adjust the amount of filler, or even add or reposition a few more nails to fine-tune the sound. This is part of the iterative and enjoyable crafting process.
Tips & Troubleshooting
- 1If you find it difficult to hammer the nails directly into the cardboard, especially if it's very thick, you can pre-poke small pilot holes with a sharp object like an awl or a sturdy nail. This will make hammering much easier and more precise, but remember to have adult supervision for this step.
- 2Don't be afraid to experiment with different fillers to achieve unique sound profiles. Small dried beans will create a different rhythm than tiny beads or even small pasta shapes like orzo or couscous. Each filler will offer a distinct auditory experience.
- 3The amount of filler directly impacts the sound. For a quieter, more delicate rain stick, use a smaller amount of rice or a filler that is less dense. Conversely, for a louder, more robust sound, increase the quantity of filler or choose a denser material.
- 4If the rain sound is too fast and doesn't have enough sustain, you can try adding a few more nails to create a more intricate path for the filler to travel. Alternatively, using a filler that is slightly larger or has a different shape can also slow down its descent.
- 5To ensure the longevity of your rain stick, store it upright or horizontally in a dry place, away from any sources of moisture or extreme temperatures. This will prevent the rice or other fillers from clumping and the cardboard from becoming soggy.
- 6For an even more visually appealing and tactile rain stick, consider incorporating different textures into your decorations. You could wrap sections with rough twine, glue on smooth fabric, or add bumpy glitter glue for a multi-sensory experience.
- 7When filling the tube, pour the rice or filler slowly and evenly to avoid creating clumps. If you notice clumping, you can gently shake the tube to redistribute the filler before sealing the second end.
- 8If you want to create a rain stick with a more pronounced 'drip' sound, try using a filler that is slightly larger and less uniform in shape, such as small dried peas or even tiny, smooth pebbles. The varied surfaces will create more distinct sounds as they tumble.
Related Activities You Might Enjoy
Frequently Asked Questions
What materials do I need to make a rain stick?
To craft your own rain stick, you will need a sturdy cardboard tube, typically between 12 to 18 inches long, such as one from paper towels or wrapping paper. You'll also require about 20 to 30 small nails or push pins, a hammer for insertion (with adult supervision), and strong tape like duct tape or packing tape to secure the ends. For the sound, you'll need approximately 1/2 cup of uncooked rice, though other small fillers like dried beans, beads, or tiny pasta shapes can be used. Essential tools include scissors and a pencil, along with a variety of decorating supplies such as construction paper, paints, markers, stickers, or yarn to personalize your creation.
How long does it take to make a rain stick?
The actual construction of the rain stick, from preparing the tube to sealing it with filler, typically takes around 45 minutes. This timeframe does not include any drying time that might be required if you choose to paint or use glue for your decorations. If you opt for elaborate painted designs or multiple layers of embellishments, allow an additional hour or two for everything to dry thoroughly. The assembly process itself is quite straightforward and can be completed in a single crafting session.
Can kids make a rain stick by themselves?
Children aged 6 and up can certainly participate in making a rain stick, but adult supervision is crucial, especially during the steps involving the hammer and nails, and potentially scissors. Younger children can be excellent helpers with the decorating phase, using markers, stickers, or paint to personalize the rain stick. It's a fantastic family activity where older children can take on more responsibility under guidance, while younger ones can contribute their artistic flair. Ensure all sharp tools and the hammer are handled by an adult.
What can I use instead of rice in a rain stick?
Rice is a popular choice for rain sticks due to its consistent sound, but there are many exciting alternatives that can create unique auditory experiences. Small dried beans, such as lentils, split peas, or even small kidney beans, will produce a different rhythmic sound. Tiny beads, like those used in jewelry making, can offer a finer, more delicate cascade. Small pasta shapes, such as orzo, couscous, or even tiny macaroni, also work well. For a more rustic sound, consider using small, smooth pebbles or even tiny dried seeds. Experimentation is key to discovering your favorite filler!
How do I make my rain stick sound louder or softer?
The volume and intensity of your rain stick's sound can be easily adjusted. To make it louder, use a greater quantity of filler material. This means filling the tube more than the suggested 1/2 cup. Conversely, for a softer, more subtle sound, use less filler. Another factor is the type of filler itself; denser materials or those with more surface area will generally produce a louder sound. If the sound is too fast, you might need to add more internal obstacles (nails) or use a filler that is slightly larger and tumbles more slowly.
Why isn't my rain stick making the sound I expected?
If your rain stick isn't producing the desired sound, there are a few common culprits. First, check the seal on both ends; any gaps will allow the filler to escape or muffle the sound. Ensure the nails are angled inwards and create a sufficient maze; if they are too flat or too far apart, the filler will fall too quickly. The amount and type of filler are also critical; too little filler might result in a weak sound, while too much can make it sluggish. Experiment with adding or removing filler, or even adjusting the density of the internal obstacles by adding or slightly repositioning nails.
How can I make my rain stick more durable?
Durability is key for a well-loved craft. To enhance the longevity of your rain stick, use a particularly sturdy cardboard tube, perhaps a mailing tube or a thicker wrapping paper tube. When sealing the ends, use a high-quality, strong tape like duct tape or reinforced packing tape, and apply multiple layers to create a robust closure. Ensure the nails are hammered in securely and don't protrude. For added protection, you can also apply a clear sealant or varnish over your decorations once they are dry, creating a protective barrier against wear and tear.
What Next?
Congratulations on crafting your very own rain stick! You've created a unique instrument that can provide hours of calming auditory enjoyment. Consider experimenting further by adding different lengths of internal obstacles or varying the density of your filler for even more nuanced sounds. Display your rain stick proudly as a decorative piece or keep it accessible for moments of relaxation. For longevity, store it in a dry environment away from direct sunlight to protect the cardboard and filler. This project opens the door to exploring other DIY musical instruments, so keep that creative spirit alive!
Free: 10 Paper Crafts Anyone Can Make in 5 Minutes
Get our beginner guide + new craft ideas weekly.
No spam. Unsubscribe anytime.
Did you complete this activity?
Related
You might also like
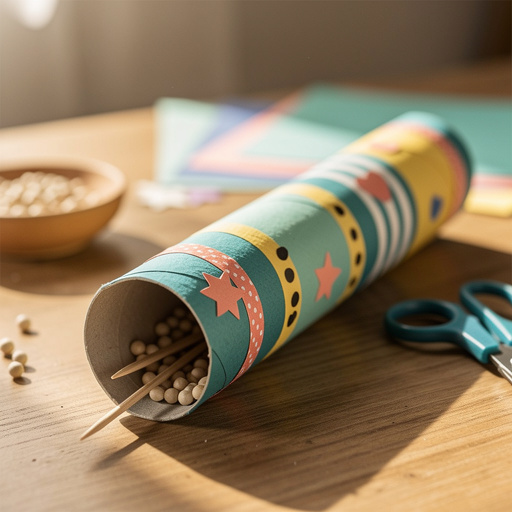
Paper Roll Rainmaker
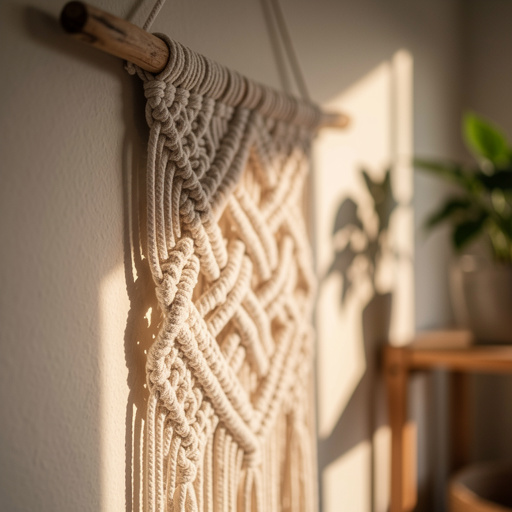
Bohemian Love Knot Wall Art
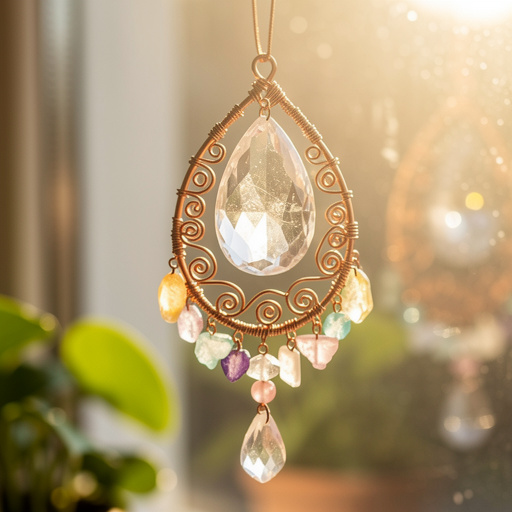
Wire Wrapped Crystal Sun Catcher
Cardboard Castle Diorama

Diagonal Stripe Friendship Bracelets