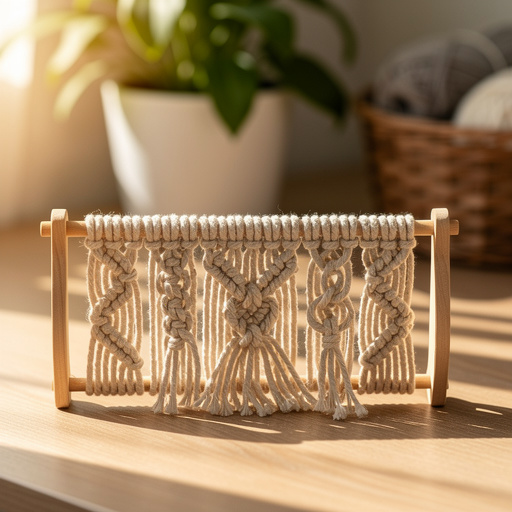
How to Create a Wire Wrapped Crystal Sun Catcher — Easy Step-by-Step Guide
Craft a dazzling sun catcher by wrapping wire around a crystal. A beautiful, screen-free project that catches the light!
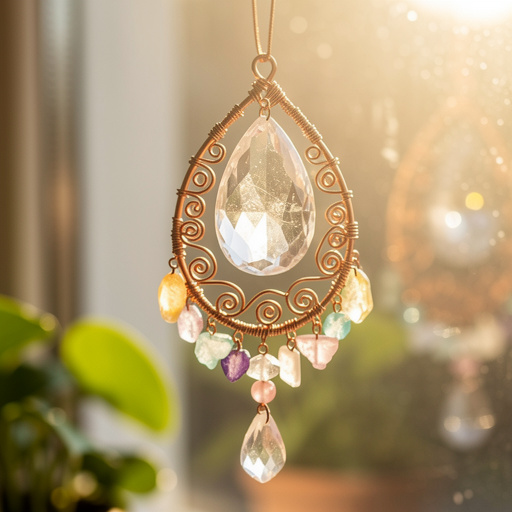
Quick answer
To make a wire wrapped crystal sun catcher, you need craft wire, a crystal with a drilled hole, and basic jewelry pliers. This beginner-friendly activity takes about 30 minutes and involves creating a wire loop to hold the crystal, wrapping the wire securely around its base, and forming a hanging loop. It's a perfect screen-free project for families with kids aged 8+.
What you need
Shop on Amazon · As an Amazon Associate we earn from qualifying purchases. Links above are affiliate links — we may earn a commission at no extra cost to you.
Discover the magic of light and crystal with this simple yet stunning wire-wrapped sun catcher project. Perfect for a quiet afternoon or a fun family activity, this craft allows you to create a unique piece of decor that will dance with color when the sun hits it. It’s a wonderful way to disconnect from screens and reconnect with your creativity, resulting in a beautiful, handmade treasure that brings a touch of natural sparkle into your home. Ideal for beginners, this project requires minimal materials and offers a rewarding outcome.
On this page
Step-by-Step Instructions
- 1
Begin by selecting your crystal and ensuring it has a pre-drilled hole. This hole is where your wire will initially pass through, providing a secure starting point for the wrapping process. Inspect the hole to make sure it's clear of any debris that might obstruct the wire.
- 2
Using your wire cutters, carefully cut a 1-foot length of 20-gauge craft wire. It's important to cut the wire cleanly to avoid burrs that could snag or make wrapping more difficult. A 1-foot length is generally sufficient for a medium-sized crystal, but you can adjust this slightly based on the crystal's size and your desired wrapping complexity.
- 3
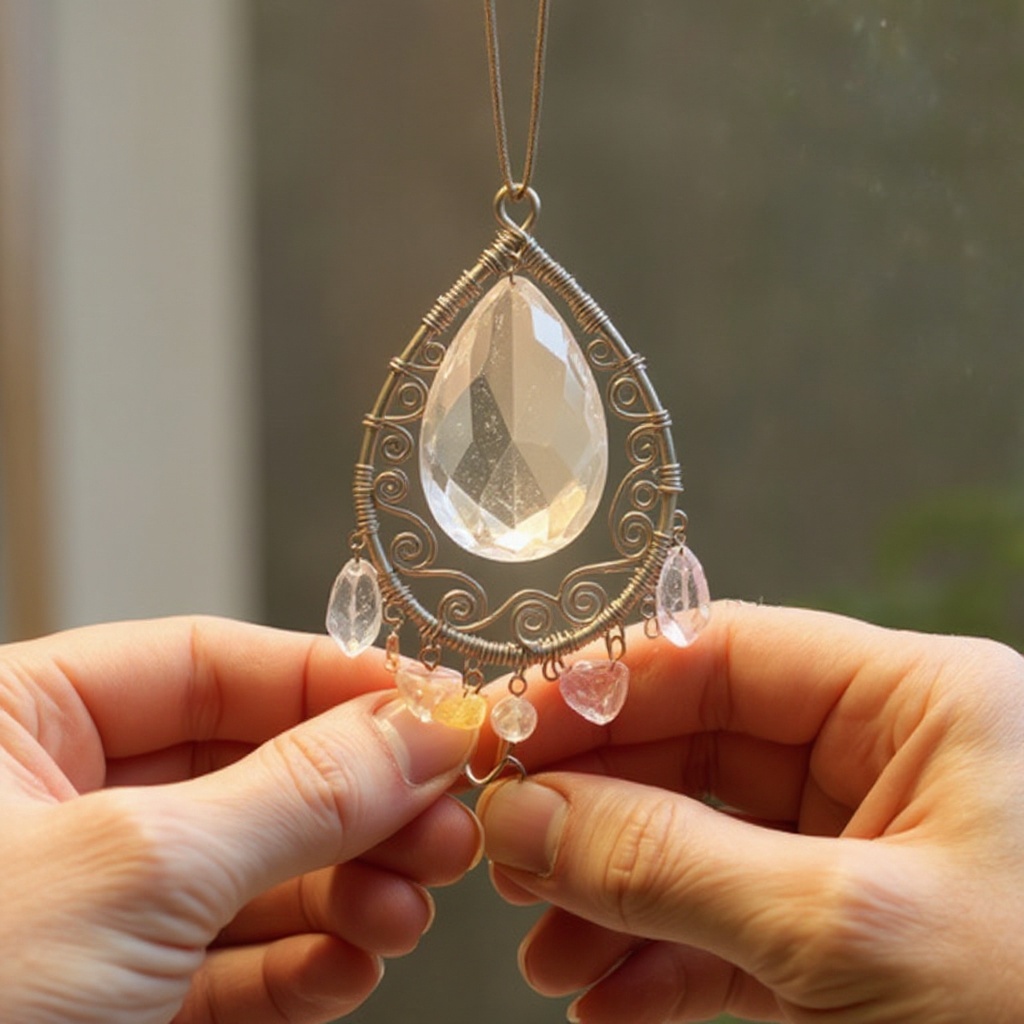
Take your round-nose pliers and grasp one end of the cut wire. Gently bend the very tip of the wire to create a small, neat loop. This loop will act as an anchor and prevent the wire from slipping through the crystal's drilled hole. Aim for a loop that is just slightly larger than the drilled hole itself.
- 4
Carefully thread your chosen crystal onto the wire through its pre-drilled hole. Slide the crystal down the wire until it rests snugly against the small loop you just created. Ensure the crystal is oriented in the direction you want it to hang, with the drilled hole at the top.
- 5
Now, using your round-nose pliers, gently bend the wire that is now extending from the top of the crystal. You want to create a gentle curve that follows the contour of the crystal, just below the drilled hole. This bend will help to secure the crystal in place and begin the wrapping process.
- 6
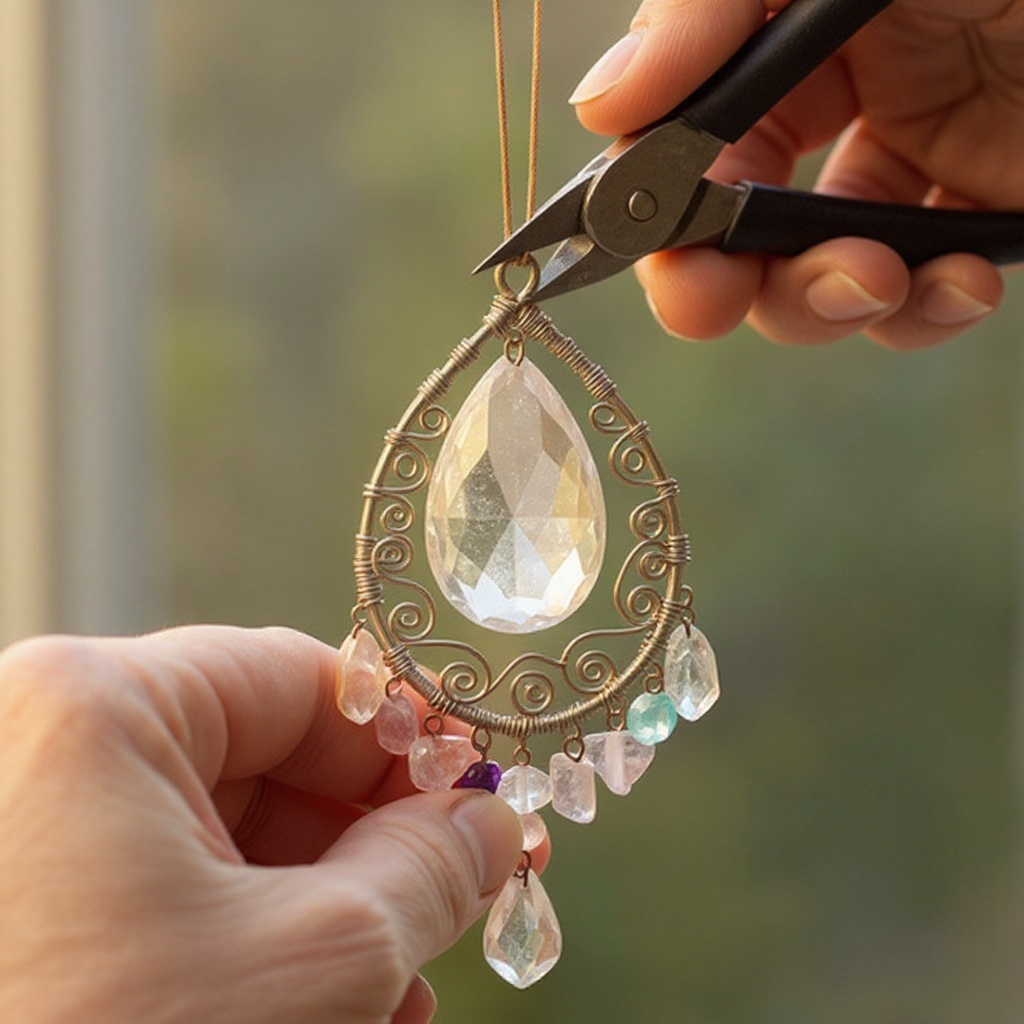
With the crystal positioned and the initial bend made, it's time to start securing it. Take your chain-nose pliers and grasp the longer end of the wire. Begin to wrap this longer end around the shorter, anchored end of the wire, directly below the crystal's drilled hole. Wrap it snugly and evenly, creating a tight coil.
- 7
Continue wrapping the wire around the base of the crystal, working your way down. Use your chain-nose pliers to guide the wire and ensure each wrap is close to the previous one. This creates a secure cage-like structure that holds the crystal firmly in place. Aim for at least 3-4 tight wraps around the crystal's base for optimal security.
- 8
Once you have achieved a secure wrap around the crystal's base, it's time to manage the excess wire. Using your wire cutters, trim the longer end of the wire, leaving approximately 1 inch of wire extending from your last wrap. This remaining length will be used to create the hanging loop.
- 9
Now, take your chain-nose pliers and carefully tuck the trimmed wire end. Gently press and bend this 1-inch tail so that it lies flat and neatly against the existing wire wraps. The goal is to eliminate any sharp edges or points that could snag on clothing or scratch surfaces. Ensure it's flush with the wrapped wire.
- 10
With the crystal securely wrapped, focus on creating the hanging mechanism. Take the remaining 1-inch tail of wire and use your round-nose pliers to bend it upwards and then into a loop. This loop will be where you attach a string, chain, or hook to hang your sun catcher. Make sure the loop is sturdy and well-formed.
- 11
Gently adjust the wire wraps around the crystal with your chain-nose pliers to ensure the crystal is held securely and the overall shape is pleasing. You can slightly tighten any loose wraps or refine the curvature of the wire for a polished look. This step ensures both aesthetics and durability.
- 12
For an extra touch of sparkle, you can now add decorative beads to the hanging loop. Thread small beads onto the loop before closing it completely, or attach them to the loop itself using a smaller piece of wire. This adds a personalized and visually appealing element to your sun catcher.
- 13
Inspect your entire sun catcher for any sharp wire ends. If you find any, use your chain-nose pliers to carefully bend them inwards or use a small piece of sandpaper or a metal file to gently smooth them down. This is a crucial safety step to ensure your sun catcher is safe to handle and hang.
- 14
Your wire-wrapped crystal sun catcher is now complete! Take a moment to admire your handiwork. The way the wire cradles the crystal and the light refracts through it is truly magical. You've successfully created a beautiful, handmade piece of art.
- 15
Find the perfect spot to hang your sun catcher. A sunny window is ideal, where it can catch the sunlight and cast colorful patterns around the room. Consider a window that gets direct sunlight for at least part of the day to maximize its dazzling effect.
- 16
If you wish to create a more elaborate design, consider using two different colored wires and wrapping them around the crystal in alternating patterns. This can add depth and visual interest to your sun catcher, making it even more unique.
- 17
For a more robust hanging mechanism, you can create a more substantial loop by wrapping the wire around itself a few times before forming the final hanging loop. This will provide extra strength and durability, especially if you plan to hang it in a windy location.
- 18
If your crystal does not have a pre-drilled hole, you can still create a sun catcher using a wire-wrapping technique that encases the stone without a hole. This method involves creating a wire cage around the stone and requires more advanced wire manipulation skills, often involving coiling and weaving techniques. It's a great next step once you've mastered the basic drilled-hole method.
Tips & Troubleshooting
- 1If your crystal doesn't have a hole, don't despair! You can still create a beautiful sun catcher using a wire-wrapping technique that encases the stone without a hole. This method involves creating a wire cage around the stone and requires more advanced wire manipulation skills, often involving coiling and weaving techniques. It's a great next step once you've mastered the basic drilled-hole method.
- 2Experiment with different colored craft wires to match your decor or the crystal's color. For instance, copper wire can complement earthy-toned crystals like jasper or tiger's eye, while silver or gold wire offers a more classic and versatile look that pairs well with almost any gemstone.
- 3Add small beads to the hanging loop for extra sparkle and visual interest. Consider using seed beads, tiny gemstone chips, or even small Swarovski crystals to create a charming dangle that complements the main crystal and adds a touch of elegance.
- 4Ensure all wire ends are tucked in smoothly to prevent snagging on fabrics or scratching surfaces. This is crucial for both the longevity of your sun catcher and the safety of your home. Gently pressing the ends flat with chain-nose pliers is usually sufficient.
- 5When creating the initial loop on the wire, make sure it's not too large, as this could allow the crystal to slip. Conversely, if the loop is too small, it might be difficult to thread the wire through the crystal's hole. Aim for a size that is just slightly larger than the hole.
- 6For a more secure crystal, you can add a dab of clear jewelry glue to the wire wraps once you're satisfied with the fit. However, this is generally not necessary if you've wrapped the wire tightly and securely. Ensure the glue is fully dry before hanging.
- 7Consider the weight of your crystal when choosing the gauge of wire. While 20-gauge is recommended for beginners and medium-sized stones, larger or heavier crystals might require a sturdier wire, such as 18-gauge, to ensure they are held securely.
- 8If you're making multiple sun catchers, consider creating a set with coordinating wire colors and crystal types. This can result in a beautiful display when hung together in a window, creating a harmonious and visually striking effect.
Related Activities You Might Enjoy
Frequently Asked Questions
What kind of wire is best for wire wrapping?
For beginners, 20-gauge craft wire is ideal. It's sturdy enough to hold its shape and support the weight of a medium-sized crystal, yet pliable enough to bend and manipulate with basic jewelry pliers. Copper, silver-plated, and gold-plated wires are popular choices for their aesthetic appeal and ease of use, as they are less prone to tarnishing than bare metals. As you gain experience, you might explore other materials like sterling silver or artistic wires with different textures and finishes, but 20-gauge plated wire is an excellent starting point for this project.
Can I use any crystal for a sun catcher?
Yes, you can use almost any crystal for a sun catcher, as long as it has a drilled hole. Popular choices include amethyst for its calming properties and beautiful purple hue, clear quartz for its amplifying energy and clarity, rose quartz for love and compassion, and citrine for its vibrant yellow color and association with joy and abundance. The size of the crystal will influence how much wire you need and the overall visual impact of your sun catcher. Ensure the crystal is not too heavy for the wire gauge you are using.
What tools do I need for wire wrapping?
You'll need a few essential jewelry-making tools to effectively create your wire-wrapped crystal sun catcher. Round-nose pliers are crucial for creating smooth, rounded loops, which are vital for the hanging mechanism and for starting the wire wrap. Chain-nose pliers (also known as flat-nose pliers) are indispensable for gripping, bending, and manipulating the wire, as well as for tucking in sharp ends. Finally, wire cutters are necessary for making clean, precise cuts to the craft wire, preventing burrs that can be difficult to work with.
How do I make the wire wrapping secure?
To ensure your wire wrapping is secure, start by creating a small, tight loop at the beginning of the wire that passes through the crystal's drilled hole. This prevents the wire from slipping. Then, wrap the longer end of the wire tightly and closely around the base of the crystal, making sure each coil is snug against the previous one. Use your chain-nose pliers to guide the wire and apply gentle pressure. Finally, trim any excess wire and carefully tuck the end so it lies flat against the wrapped wire, eliminating any potential for loosening.
How long will this project take?
This wire-wrapped crystal sun catcher is designed to be a quick and rewarding craft project. For beginners, it typically takes around 30 to 45 minutes to complete. This timeframe includes gathering your materials, carefully cutting and bending the wire, wrapping the crystal securely, and finishing off the hanging loop. Experienced crafters might be able to complete it even faster, perhaps in as little as 20-30 minutes. The complexity of your chosen crystal's shape and the amount of decorative wrapping you choose to do can also slightly influence the total time.
Can I use a crystal without a drilled hole?
While this specific tutorial focuses on crystals with drilled holes for simplicity, it is absolutely possible to create a sun catcher with a crystal that doesn't have a hole. This involves a more advanced wire-wrapping technique where you essentially build a wire cage or bezel around the stone. This often requires more wire, different wrapping patterns (like coiling and weaving), and potentially more specialized pliers. If you're interested in this, look for tutorials on 'wire-wrapped bezel' or 'stone cage' techniques. It's a fantastic next step once you're comfortable with basic wire wrapping.
What is the best way to hang the sun catcher?
The best way to hang your crystal sun catcher is by using the loop you created at the top. You can thread a piece of fishing line, clear nylon cord, or a delicate chain through this loop. For a simple display, a small suction cup hook designed for windows is perfect, as it won't damage your window frame and allows the sun catcher to dangle freely. Alternatively, you can attach it to a curtain rod, a decorative hook, or even incorporate it into a larger mobile. Ensure the hanging material is strong enough to support the weight of the crystal.
What Next?
Congratulations on creating your beautiful wire-wrapped crystal sun catcher! You can further personalize it by adding small gemstone beads or charms to the hanging loop for extra flair. For a more intricate design, consider using multiple crystals or different gauges of wire. To display your sun catcher, hang it in a window that receives ample sunlight, such as a south-facing window. If you enjoyed this project, you might also like to try wire wrapping other objects or creating matching crystal pendants. Store your sun catcher carefully to avoid tangling the wire or damaging the crystal.
Free: 10 Paper Crafts Anyone Can Make in 5 Minutes
Get our beginner guide + new craft ideas weekly.
No spam. Unsubscribe anytime.
Did you complete this activity?
Related