How to Make Shrink Plastic Charms — Easy Step-by-Step Guide
Discover the magic of shrink plastic! Transform simple drawings into durable, colorful charms for jewelry, keychains, and more with this fun, screen-free craft. This beginner-friendly activity has 10 steps and is perfect for families with kids aged 6+.
Quick answer
To make shrink plastic charms, you need shrink plastic sheets, permanent markers, scissors, and an oven. Start by drawing your design. This beginner-friendly activity has 10 steps and is perfect for families with kids aged 6+.
What you need
Shop on Amazon · As an Amazon Associate we earn from qualifying purchases. Links above are affiliate links — we may earn a commission at no extra cost to you.
Unleash your inner artist and dive into the enchanting world of shrink plastic! This incredibly fun and accessible craft allows you to transform your own doodles and designs into vibrant, durable charms and jewelry pieces. It's a wonderfully tactile and screen-free activity, making it an ideal way to spend quality time with family, especially children aged six and up. Whether you're creating personalized gifts, unique accessories for yourself, or adding flair to backpacks and keychains, shrink plastic offers endless creative possibilities with surprisingly professional-looking results.
On this page
Step-by-Step Instructions
- 1
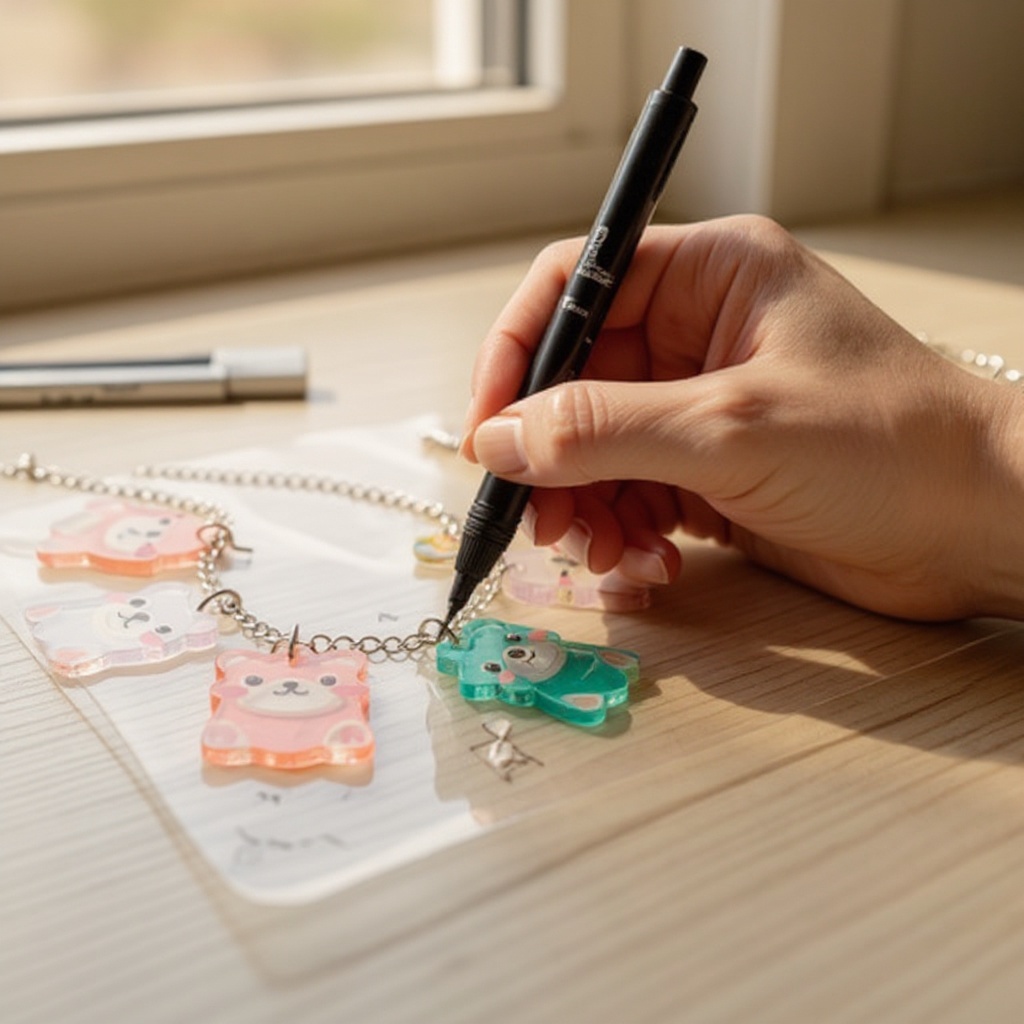
Draw your design onto the shrink plastic sheet using permanent markers. Keep designs relatively simple for best results, especially for your first few attempts. Think about the final size after shrinking – designs will reduce to about 40-50% of their original size, so fine details might become less visible. Consider drawing on the frosted side for a matte finish or the clear side for a more translucent look.
- 2
If you want to add a hole for hanging (e.g., for a charm or keychain), punch it now near the edge of your design. Ensure the hole is large enough to accommodate a jump ring after the plastic has shrunk. A standard hole punch works perfectly for this purpose, and the hole will shrink proportionally with the plastic.
- 3
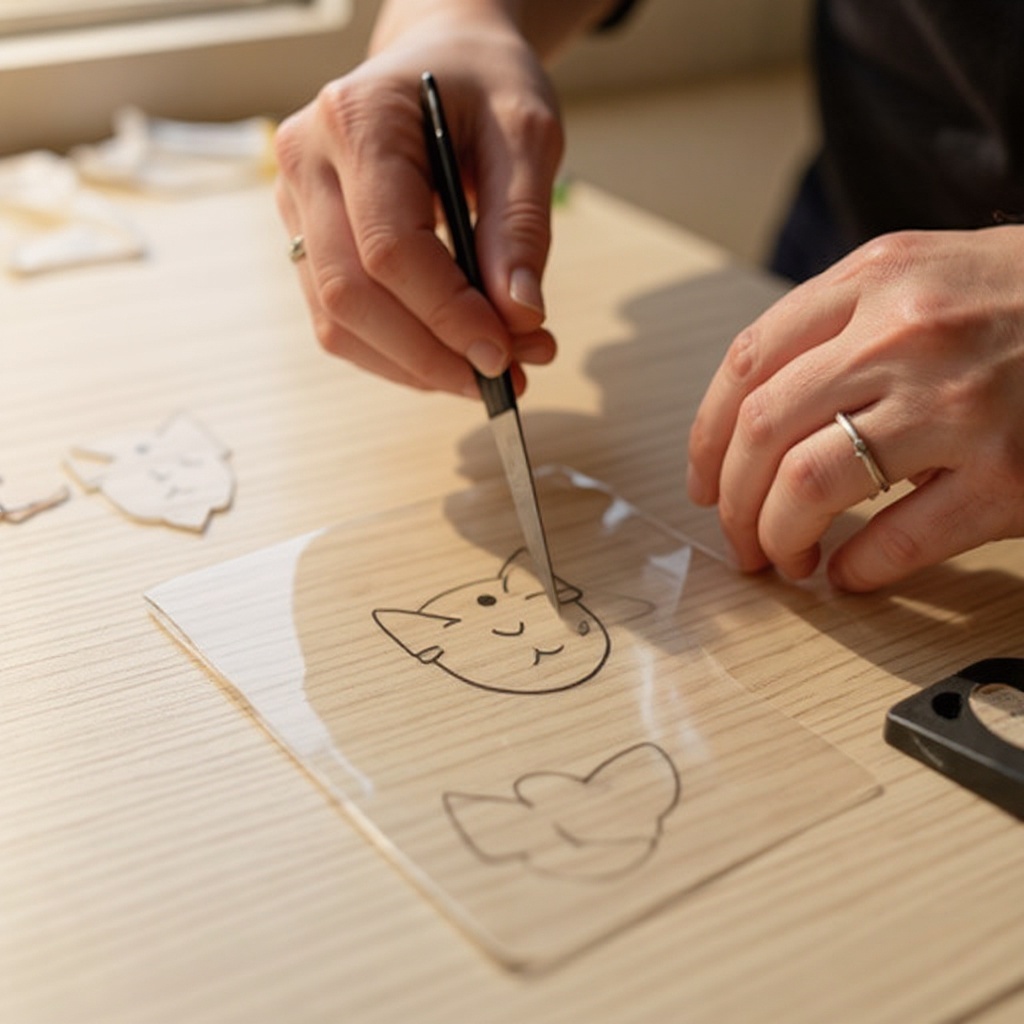
Carefully cut out your design with scissors, staying close to the drawn lines. Precision is key here; a clean cut will result in a more polished finished product. Take your time to ensure smooth edges, as any rough areas will become more pronounced after shrinking.
- 4
Preheat your oven to 325°F (160°C). It's crucial to have the oven at the correct temperature before placing your plastic inside to ensure even shrinking and flattening. Allow the oven to fully preheat for at least 10-15 minutes to reach and maintain the target temperature.
- 5
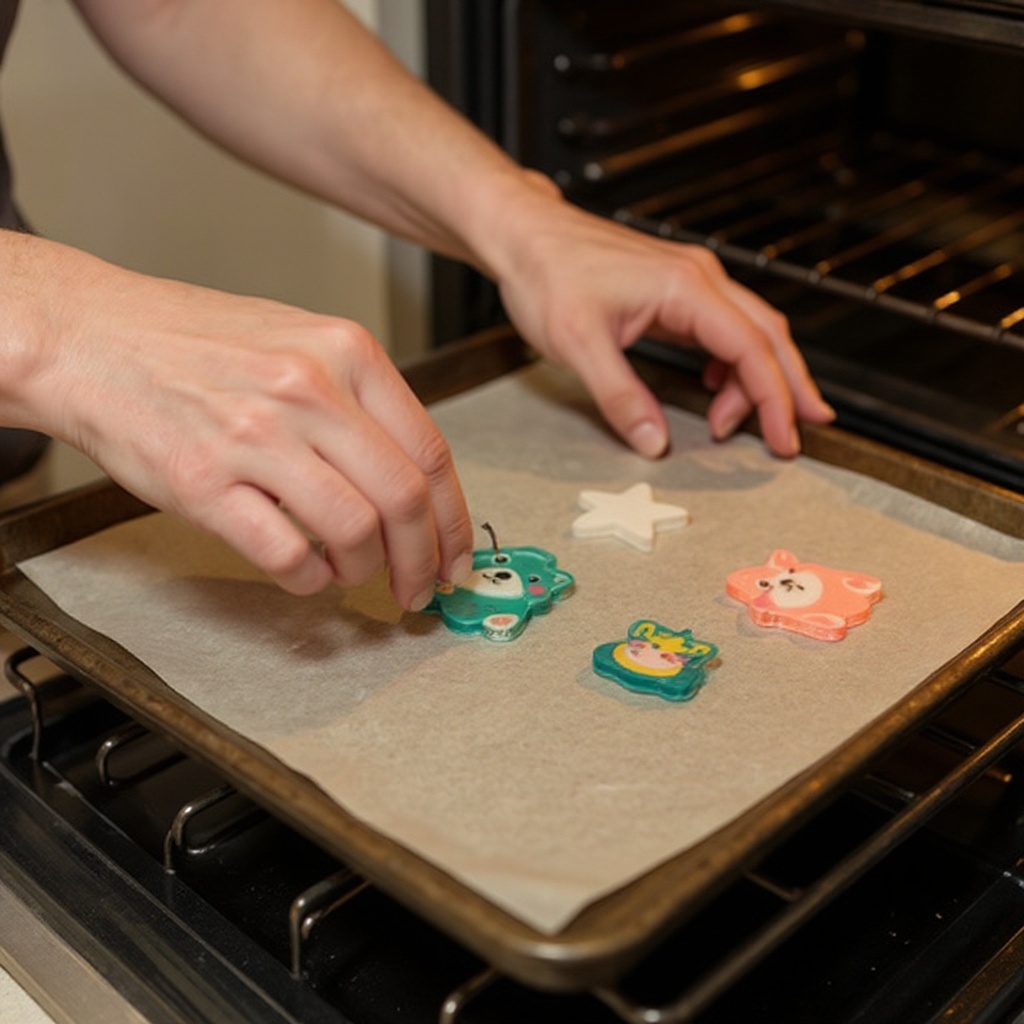
Line a baking sheet with parchment paper or a silicone baking mat. This prevents the shrink plastic from sticking to the baking sheet and makes for easier cleanup. Ensure the parchment paper covers the entire surface where your designs will be placed.
- 6
Place your cut-out shrink plastic designs onto the parchment-lined baking sheet. Ensure they are not touching each other, as they will expand slightly and can fuse together if they overlap during the shrinking process. Leave a small gap between each piece.
- 7
Bake for 2-5 minutes, or until the plastic has stopped shrinking and flattened out. Watch closely as it can curl up dramatically before flattening. The exact time will vary depending on your oven and the size of your design. You'll see the plastic begin to curl, then it should start to flatten out again.
- 8
Carefully remove the baking sheet from the oven. The plastic will be hot and may still be slightly soft and pliable. Use oven mitts for safety and place the baking sheet on a heat-resistant surface.
- 9
If your pieces have curled slightly or haven't flattened completely, you can gently press them flat with a flat object (like a book, ruler, or the back of a metal spatula) while they are still warm and pliable. Be quick and gentle to avoid deforming the design. Use tweezers if needed for safety to hold the object down.
- 10
Allow the shrink plastic pieces to cool completely on the baking sheet. They will harden as they cool, becoming firm and durable. Resist the urge to touch them while they are still warm, as they can easily warp or smudge.
- 11
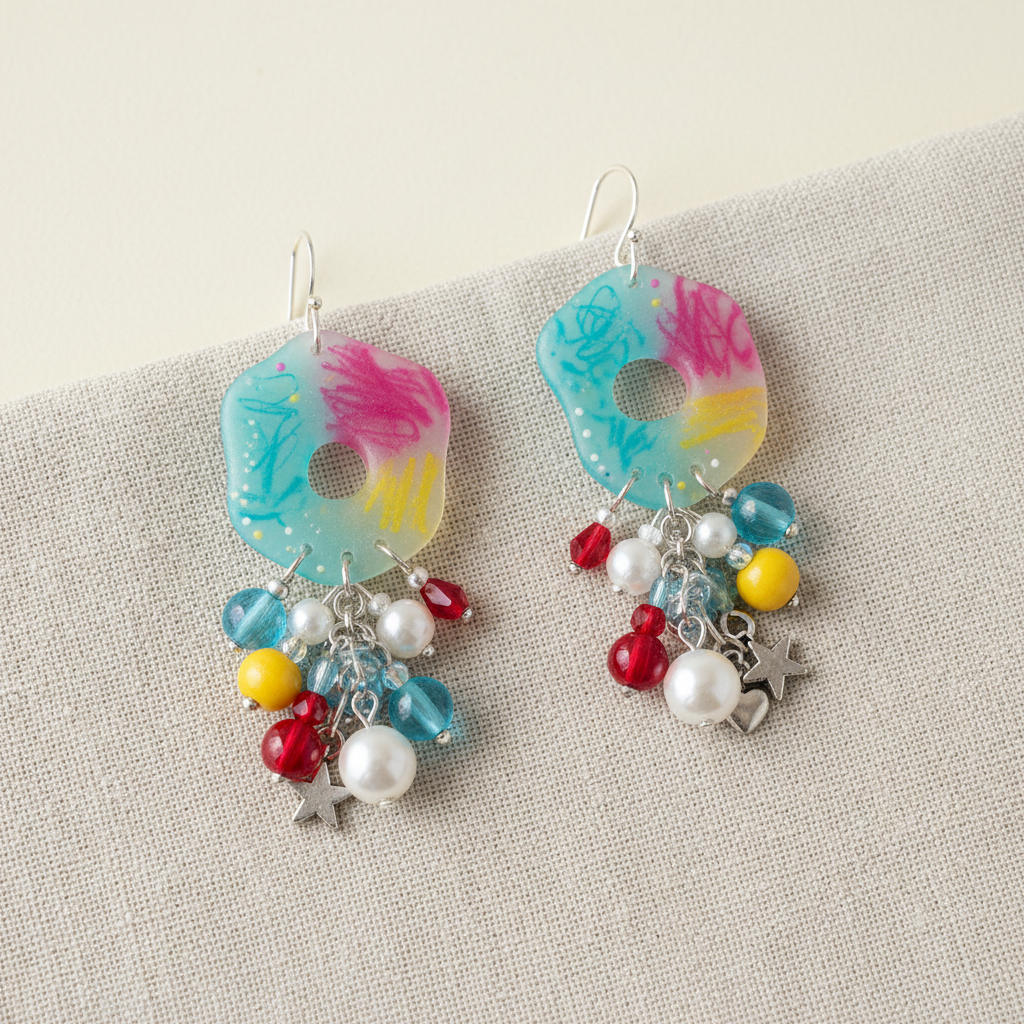
Once cool, attach your jewelry findings (jump rings, earring hooks, keychain rings) to the punched holes or by using strong adhesive if no hole was made. For punched holes, use pliers to open a jump ring, thread it through the hole, and then close the jump ring securely. If you didn't punch a hole, you can use a strong craft glue or E6000 to attach findings directly to the back of the charm.
- 12
Optional: Apply a clear sealant or glaze to your cooled shrink plastic charms. This step adds an extra layer of protection, enhances the colors, and provides a glossy finish, making your creations even more durable and professional-looking. Allow the sealant to dry completely according to the product's instructions.
Tips & Troubleshooting
- 1Use permanent markers only, as other markers will smudge or wash off during the baking process. For brighter colors, consider using colored pencils on the frosted side of the plastic before baking, which can create a softer, more pastel effect. Test your markers on a scrap piece of shrink plastic first to ensure they are truly permanent.
- 2Don't over-bake! Over-baking can cause the plastic to become brittle, burn, or develop a cloudy appearance. Remove it from the oven as soon as it has flattened out completely. Keep a close eye on your creations during the last minute of baking to prevent this.
- 3If you want a glossy finish, you can apply a clear sealant or resin after the shrink plastic has cooled completely. This not only enhances the shine but also protects the artwork from scratches and wear, making your charms last longer. Epoxy resin can give a very professional, glass-like finish.
- 4Experiment with different shapes and sizes. You can even layer multiple pieces of shrink plastic for more complex designs, such as creating a base layer and then adding smaller, shrunk elements on top. Remember that each layer will also shrink, so plan your design accordingly.
- 5Always supervise children when using scissors and the oven. Ensure they understand the importance of not touching hot surfaces and using oven mitts. Designate a safe workspace away from distractions to minimize accidents.
- 6For a more professional look, consider using a heat gun to gently warm and flatten any slight imperfections after baking, or to adhere multiple layers together. Be cautious, as too much heat can damage the plastic.
- 7If you make a mistake with your marker drawing before baking, you can often erase it with rubbing alcohol or a dry-erase marker (which can then be wiped away with a paper towel). This is a great way to salvage your design if you're not happy with it.
- 8When attaching jewelry findings, ensure jump rings are closed tightly to prevent charms from falling off. Using two pairs of pliers can make this process easier and ensure a secure closure.
Related Activities You Might Enjoy
Frequently Asked Questions
What kind of markers work best on shrink plastic sheets?
Permanent markers are essential for shrink plastic because they adhere to the plastic surface and do not smudge or wash off during the shrinking process. Brands like Sharpie are highly recommended for their vibrant colors and durability. Avoid water-based markers, gel pens, or standard ballpoint pens, as they will likely smear or disappear when exposed to heat or if they come into contact with moisture. For a more artistic touch, consider using alcohol-based markers like Copic or Spectrum Noir, which offer a wide range of blendable colors and a smooth application.
Can I use colored pencils on shrink plastic?
Yes, colored pencils work great on the frosted side of shrink plastic sheets, creating a softer, more pastel, and slightly textured look. The tooth of the frosted surface helps the colored pencil pigment adhere well. For the most vibrant and opaque colors, permanent markers are still the best choice, especially on the clear side or when you want bold, saturated hues. You can even combine techniques, using colored pencils for shading or subtle effects and then outlining with permanent markers for definition.
Why did my shrink plastic curl up and not flatten?
This usually happens if the oven temperature is too low or the baking time is too short. Ensure your oven is accurately preheated to the recommended temperature (typically 325°F/160°C) and that it maintains that temperature throughout the baking process. Sometimes, plastic can curl dramatically before it starts to flatten; this is normal. Continue baking for the recommended time (2-5 minutes) until it has fully flattened. If it still doesn't flatten, you can gently press it with a flat object while it's still warm and pliable, using tweezers for safety.
How do I make holes in shrink plastic for jewelry?
To make holes in shrink plastic for jewelry, use a standard hole punch before you bake the plastic. Punch the hole near the edge of your design where you intend to attach a jump ring or other jewelry finding. The hole will shrink along with the plastic, so make sure it's large enough to accommodate your chosen finding after shrinking. A 1/8-inch or 1/4-inch hole punch usually works well. If you forget to punch a hole before baking, you can carefully drill a small hole in the cooled, hardened plastic, but this is more difficult and carries a risk of cracking.
Are shrink plastic sheets safe for kids?
Shrink plastic sheets themselves are non-toxic and safe to use. However, adult supervision is absolutely crucial during the crafting process, especially when children are involved. This is due to the use of sharp scissors for cutting and the hot oven for baking. Ensure children understand safety precautions, such as not touching hot surfaces and using oven mitts. It's a fantastic craft for developing fine motor skills and creativity, but safety must always be the top priority.
How do I get my shrink plastic designs to be perfectly flat?
Achieving perfectly flat shrink plastic often involves a combination of correct baking and a gentle post-bake adjustment. Ensure your oven is preheated to the correct temperature and that the plastic is not overcrowded on the baking sheet. Watch the pieces closely; they will curl and then flatten. If a piece remains slightly curled after baking, immediately after removing it from the oven, while it's still hot and pliable, you can place a flat, heavy object (like a book or a metal ruler) on top of it for a few seconds to press it flat. Use tweezers to carefully position the object if needed.
Can I use other types of plastic besides shrink plastic sheets?
While shrink plastic sheets are specifically designed for this craft and yield the best results, some crafters have experimented with other types of plastic. However, results can be unpredictable and potentially unsafe. Standard plastic containers or packaging may not shrink evenly, may release harmful fumes when heated, or may not shrink at all. It is highly recommended to stick to commercially available shrink plastic sheets designed for crafting to ensure safety, predictable results, and the best quality for your finished charms and jewelry.
What Next?
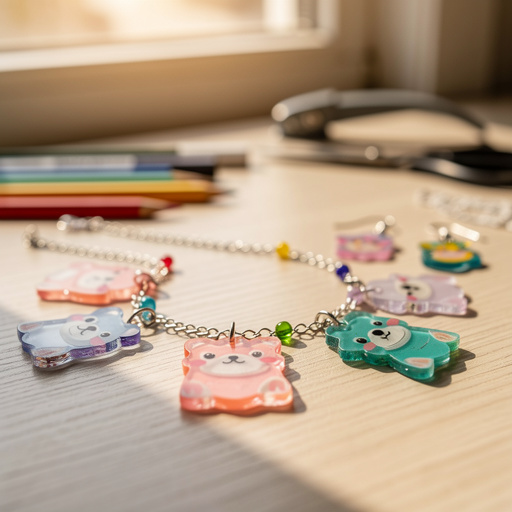
Once your shrink plastic creations have cooled and hardened, the real fun of accessorizing begins! You've now got a collection of unique charms ready to be transformed into earrings, necklaces, bracelets, keychains, zipper pulls, or even decorative elements for planners and bags. Consider organizing your finished charms in small jewelry boxes or craft containers to keep them safe and easily accessible for future projects. For your next creative adventure, explore different types of shrink plastic, try stencils for intricate designs, or even experiment with layering multiple shrunk pieces to create dimensional effects. The possibilities are truly limitless!
Free: 10 Paper Crafts Anyone Can Make in 5 Minutes
Get our beginner guide + new craft ideas weekly.
No spam. Unsubscribe anytime.
Did you complete this activity?
Related
You might also like
Shrink Plastic Pet Charms
Shrink Plastic Pet Portraits
Hammered Metal Stamped Charms
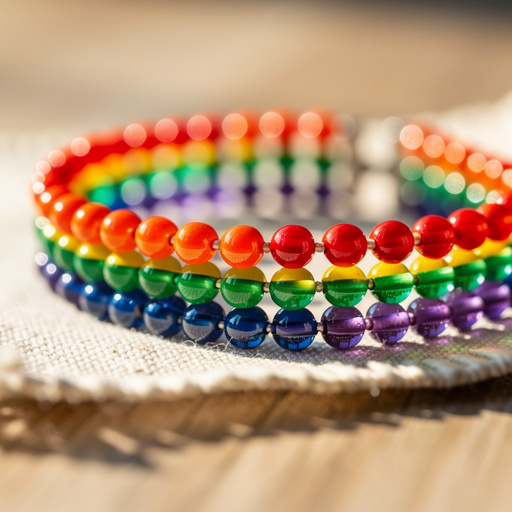
Rainbow Stretch Bead Bracelets
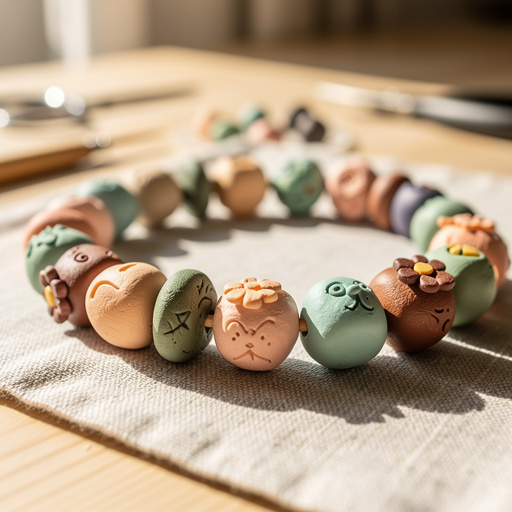
Clay Bead & Charm Creations