How to Create a Cardboard Path Finder Game — Easy Step-by-Step Guide
Unleash your creativity and design your own unique board game! This Cardboard Path Finder Game is a fun, screen-free activity for the whole family to enjoy creating and playing. With customizable rules and endless design possibilities, it's a fantastic way to spend quality time together and spark imagination.

Quick answer
To make a Cardboard Path Finder Game, you need sturdy cardboard (approx. 18x18 inches for the board and 6x6 inches for the spinner), scissors, a craft knife (with adult supervision), ruler, pencil, markers, glue, and small game pieces. This beginner-friendly activity takes about 60 minutes to create and involves 10 core steps, with potential for more. It's perfect for families with kids aged 6+.
What you need
Shop on Amazon · As an Amazon Associate we earn from qualifying purchases. Links above are affiliate links — we may earn a commission at no extra cost to you.
Looking for a delightful way to unplug and connect with your loved ones? Crafting a Cardboard Path Finder Game is an incredibly rewarding project that transforms simple materials into hours of engaging fun. This DIY board game is perfect for fostering creativity, problem-solving skills, and friendly competition among family members of all ages. It’s a screen-free adventure waiting to be designed and played, making it an ideal activity for rainy days, family game nights, or any occasion where you want to spark imagination and create lasting memories together.
On this page
Step-by-Step Instructions
- 1
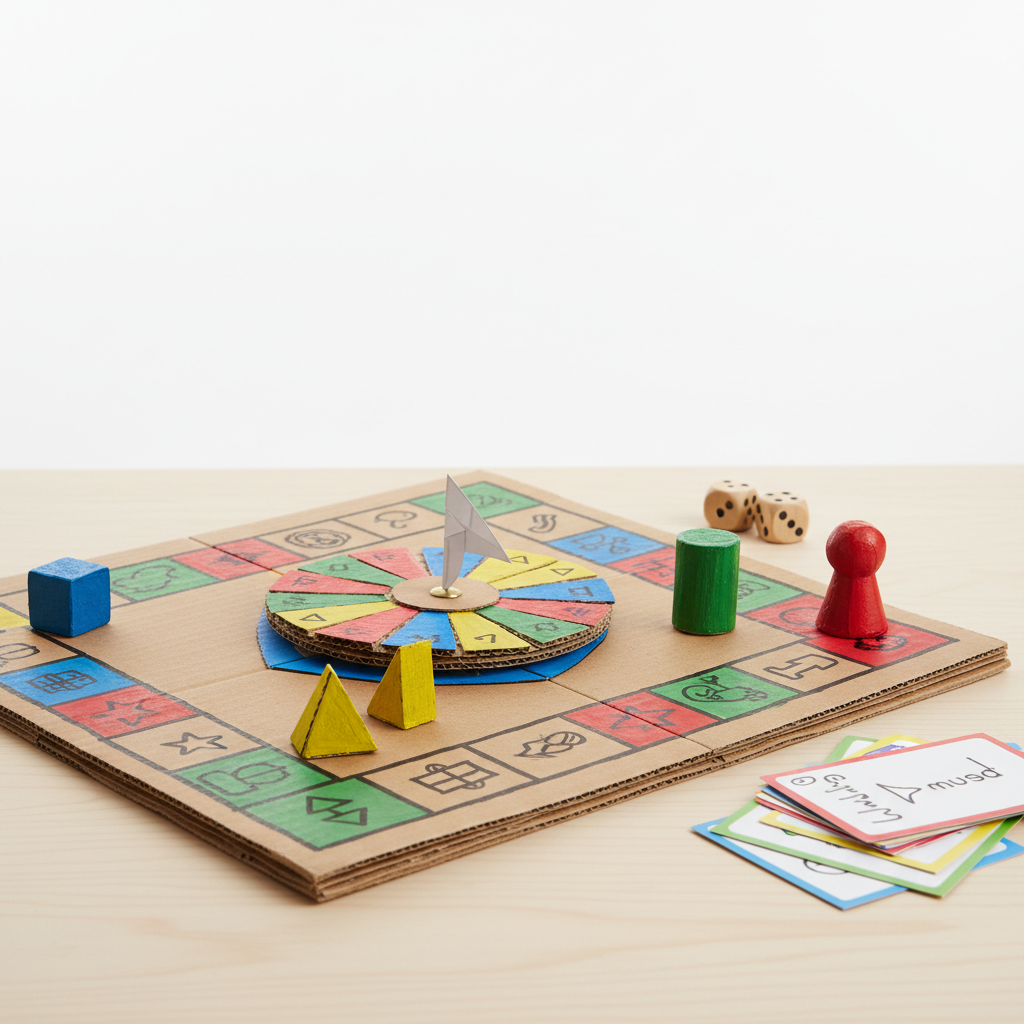
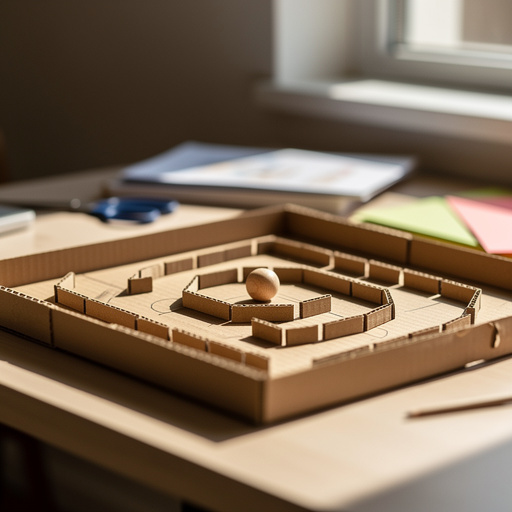
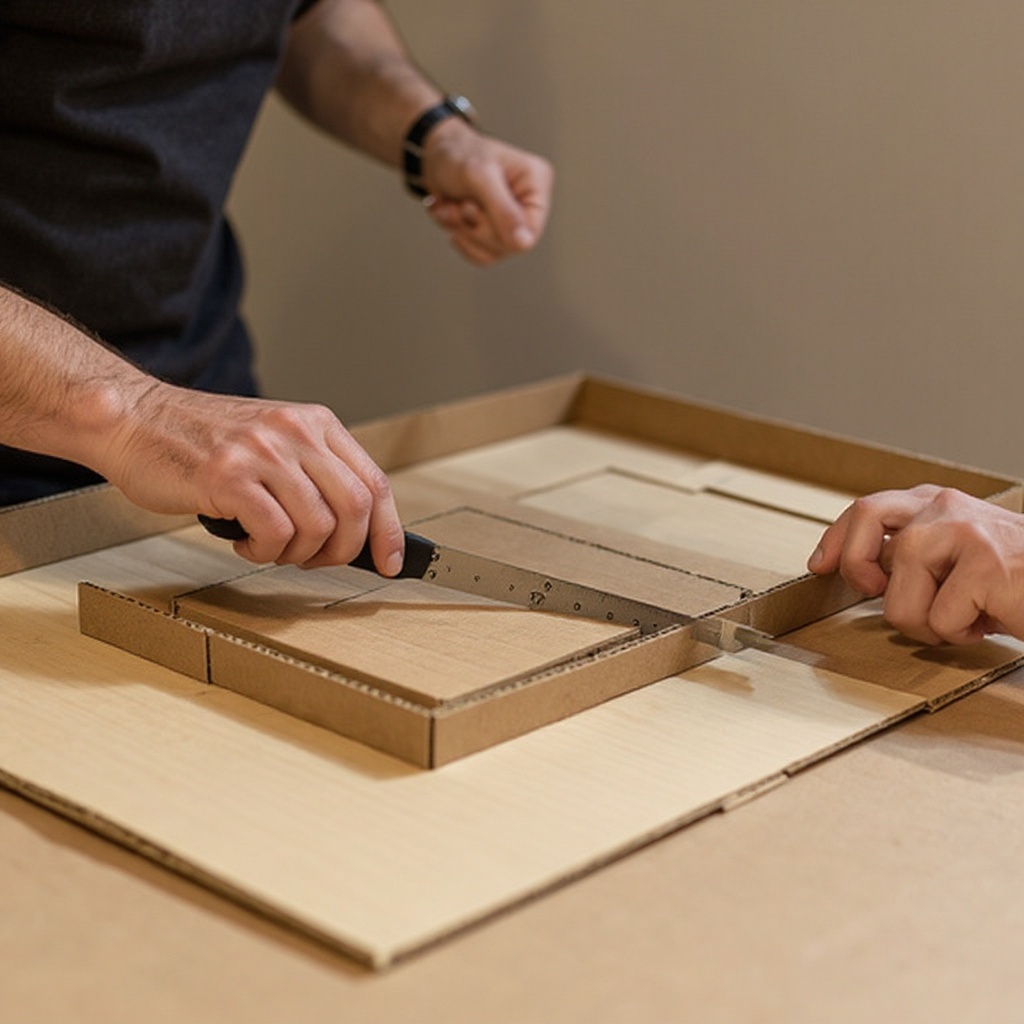
**Prepare Your Game Board Canvas:** Begin by selecting your large piece of sturdy cardboard. Decide on the overall shape of your game board – a classic square or rectangle is straightforward, but a circle, hexagon, or even an irregular shape can add unique flair. Use your ruler and pencil to lightly sketch the desired outline, ensuring it's large enough to accommodate a winding path and decorative elements without feeling cramped. Carefully cut along your drawn lines using sharp scissors or a craft knife with adult supervision and a cutting mat for a clean, professional edge.
- 2
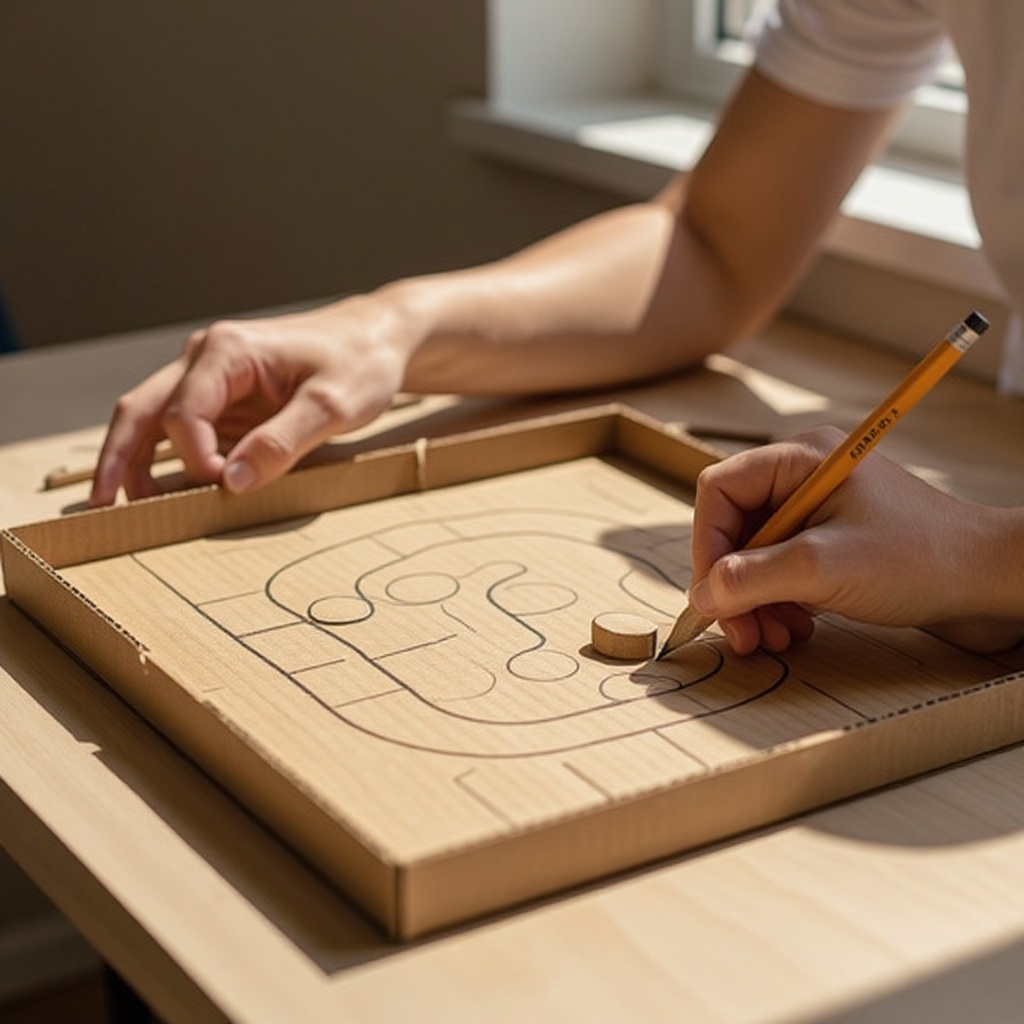
**Map Out the Main Path:** With your game board shape finalized, it's time to draw the core of your game. Using your ruler and pencil, lightly sketch a winding path that starts near one edge and meanders towards the opposite edge. Aim for a path that isn't too straight or too convoluted, offering a good balance of challenge and fun. Ensure the path is wide enough for your game pieces to comfortably move along without bumping into each other.
- 3
**Designate Start and Goal Points:** Clearly mark the beginning and end of your main path. Use your pencil to write 'START' in large, legible letters at the beginning of the path and 'GOAL' or 'FINISH' at the end. You can also draw a distinct symbol, like a star or a flag, next to these words to make them visually prominent and easy for players to identify.
- 4
**Create the Game Spaces:** Now, divide your main path into individual 'spaces' where players will land. You can draw simple squares, circles, or ovals along the path, ensuring they are evenly spaced. Alternatively, get creative with themed shapes that fit your game's aesthetic, such as footprints, treasure chests, or stars. The number of spaces will influence the length and pace of your game; aim for at least 30-50 spaces for a good play experience.
- 5
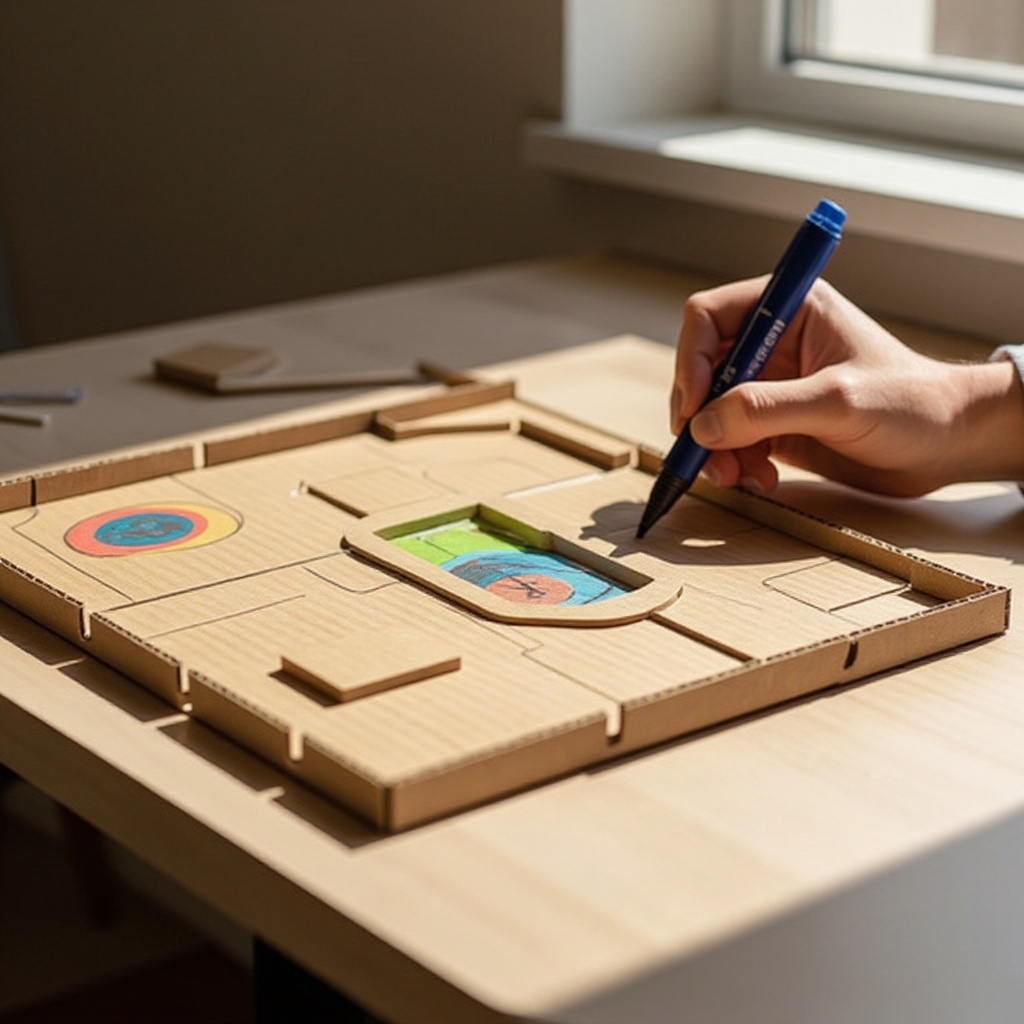
**Incorporate Action Spaces:** To add excitement and unpredictability, designate some of your spaces as 'action spaces'. On these spaces, draw simple symbols or write short, clear instructions that dictate a player's next move. Examples include 'Move back 2 spaces', 'Skip your next turn', 'Go again', 'Move forward 3 spaces', or 'Swap places with another player'. Keep the instructions concise and easy to understand, especially for younger players.
- 6
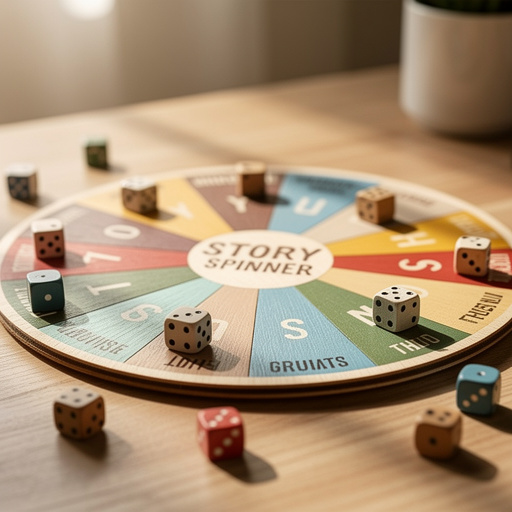
**Design the Movement Mechanism:** Decide how players will determine their movement. You can create a spinner or a dice area. For a spinner, take your smaller piece of cardboard and divide it into sections, numbering them or writing directions (e.g., '1', '2', '3', 'Spin Again'). For a dice area, you can simply designate a space where players will roll a physical die. If making a spinner, cut a small arrow shape from scrap cardboard. This arrow will be attached to the center of the spinner area.
- 7
**Assemble the Spinner (if applicable):** If you've opted for a spinner, carefully punch a small hole in the center of your spinner area and a corresponding hole in the base of your cardboard arrow. Align the arrow over the spinner area and secure it using a brad fastener, ensuring it can spin freely. Alternatively, you can use a small screw and nut for a more robust spinner mechanism. Test the spinner to ensure it rotates smoothly.
- 8
**Add Decorative Elements and Theme:** This is where your creativity truly shines! Use your markers, colored pencils, or crayons to bring your game board to life. Add scenery, characters, obstacles, or a narrative theme that ties all the elements together. For instance, if your theme is a jungle adventure, draw trees, vines, and wild animals. If it's a space exploration game, add planets, stars, and rockets. Ensure your decorations don't obscure the path or the action space instructions.
- 9
**Integrate the Movement Mechanism:** Decide where your spinner or dice area will be placed. You can glue it directly onto a corner of the main game board, ensuring it doesn't interfere with gameplay. Alternatively, create a separate, smaller board for the spinner or dice area and keep it alongside the main board. This can be particularly useful if you want to make the spinner a more prominent feature.
- 10
**Prepare Your Game Pieces:** Gather your small game pieces. Each player will need one unique piece to represent them on the board. These can be anything from colorful buttons, smooth pebbles, small toy figurines, or even painted bottle caps. Ensure you have enough distinct pieces for all potential players, typically 2-4 players for this type of game.
- 11
**Add Optional Enhancements:** Consider adding extra layers of complexity and fun. You could draw 'shortcut' paths that allow players to jump ahead, or 'detour' paths that might lead to a longer route but with potential rewards. You might also add 'challenge' spaces that require players to answer a trivia question or perform a simple task before they can continue.
- 12
**Reinforce and Protect Your Game:** To ensure your handmade game lasts for many play sessions, consider reinforcing the edges of the cardboard with clear packing tape. You can also apply a layer of Mod Podge or a similar sealant over the entire game board and spinner area to protect the artwork and make it more durable and wipeable. Allow ample drying time before playing.
- 13
**Create a Storage Solution:** To keep all your game components together, create a dedicated storage solution. You can glue a small decorated box or a fabric pouch to the back of the game board using strong glue or tape. This will ensure your game pieces and spinner are always readily available and won't get lost between play sessions.
- 14
**Write Down the Rules:** While the basic rules are intuitive, it's helpful to write down the specific rules for your game. This includes how to start, how movement works, what each action space does, and the winning condition. You can write these on a separate piece of paper or even design a small rule booklet to accompany your game.
- 15
**Test Play and Refine:** Before a full family game night, do a quick test play with one or two people. This will help you identify any confusing instructions, unbalanced gameplay, or areas that need improvement. Make adjustments to the path, action spaces, or rules based on your test run.
- 16
**Decorate the Spinner/Dice Area:** Don't forget to decorate the spinner or dice area to match the theme of your game board. This creates a cohesive and visually appealing game. You can draw matching patterns, characters, or symbols on these smaller components.
- 17
**Consider a 'Lose a Turn' Penalty:** To add a bit more challenge and strategic thinking, consider incorporating a few 'Lose a Turn' spaces. These spaces can be strategically placed to make players think twice about their moves and add an element of risk.
- 18
**Add 'Bonus Move' Spaces:** Balance out the penalties with some positive reinforcement. Include 'Bonus Move' spaces that allow players to advance an extra number of spaces, or even 'Roll Again' spaces to give them another chance at a good roll.
- 19
**Introduce a 'Card Draw' Element (Advanced):** For a more complex game, you could create a separate deck of cards with various instructions or challenges. Landing on a specific 'Draw Card' space would require the player to pick a card and follow its instructions, adding an element of surprise and variety.
- 20
**Final Check for Clarity:** Before declaring your game complete, do a final check to ensure all instructions, symbols, and paths are clear and easy to understand. Any ambiguity can lead to frustration during gameplay, so clarity is key for a smooth and enjoyable experience.
Tips & Troubleshooting
- 1**Safety First with Cutting Tools:** When using a craft knife or box cutter, always have an adult present to supervise and perform the cutting. Use a cutting mat underneath your cardboard to protect your work surface from accidental cuts and to ensure a cleaner cut. This is crucial for preventing injuries and achieving precise shapes.
- 2**Spinner Alternatives for Simplicity:** If a brad fastener isn't readily available, you can create a simple spinner mechanism using a pencil and a paperclip. Place the pencil tip in the center of the spinner area, loop the paperclip around the pencil lead, and then spin the paperclip. While less conventional, it achieves the same goal of random selection.
- 3**Scalable Difficulty for All Ages:** To make your game more challenging for older players or easier for younger ones, adjust the path length and the number of 'penalty' or 'bonus' spaces. You can also introduce more complex rules, such as requiring players to collect specific items before reaching the goal, or creating branching paths with different outcomes.
- 4**Strategic Path Design:** Incorporate 'shortcut' or 'detour' paths to add a layer of strategy to your game. Shortcuts can offer a quicker route to the goal but might come with a risk, while detours could be longer but potentially lead to rewards or avoid tricky sections of the main path.
- 5**Themed Decorations Enhance Engagement:** Don't be afraid to go all out with your decorations! A strong theme, whether it's pirates, outer space, enchanted forests, or a city adventure, will make the game more immersive and exciting for players. Use a variety of colors and drawing techniques to bring your world to life.
- 6**Durable Construction for Longevity:** To make your game last longer, consider reinforcing the edges of the cardboard with clear packing tape. You can also apply a layer of Mod Podge or a similar sealant over the entire game board and spinner area. This will protect the artwork from wear and tear and make it easier to clean.
- 7**Clear and Concise Rules are Key:** Write down the rules clearly and concisely. Use simple language, especially if children will be playing. Consider creating a small, illustrated rule sheet that can be stored with the game. This prevents arguments and ensures everyone understands how to play.
- 8**Personalize Your Game Pieces:** Make your game pieces unique by painting them, adding small stickers, or even using different types of small objects like buttons, beads, or small toy figures. This adds a personal touch and makes it easier for players to identify their own piece on the board.
Related Activities You Might Enjoy
Frequently Asked Questions
What are the best materials for homemade board games?
For homemade board games, sturdy corrugated cardboard is your best friend; it provides a durable base for your game board and spinner. You'll also need reliable cutting tools like scissors and a craft knife (with adult supervision), a ruler for precise measurements, and pencils for sketching. For decoration, a variety of markers, colored pencils, or crayons work wonderfully. Strong glue or a glue stick is essential for assembly, and brad fasteners are useful for creating spinners. Finally, small, distinct items like buttons, pebbles, or small toys make excellent game pieces. Consider optional materials like clear packing tape or Mod Podge for added durability and protection.
How can I make my homemade board game more challenging?
To increase the challenge of your homemade board game, you can implement several strategies. Lengthen the main path to make the game take longer to complete. Introduce more 'lose a turn' or 'move back' spaces, strategically placed to create setbacks. Consider creating branching paths with different outcomes, where one path might be shorter but riskier, and another longer but safer. You can also introduce more complex rules, such as requiring players to collect specific items before reaching the goal, or adding 'challenge' spaces that require players to answer trivia questions or perform simple tasks. Varying the number of action spaces and their effects can also significantly alter the game's difficulty.
Can kids design their own homemade board games?
Absolutely! Kids are fantastic designers, and this project is perfect for involving them in every step of the creation process. They can be instrumental in brainstorming themes, drawing the path and spaces, deciding on the action space instructions, and decorating the entire game board. This hands-on involvement not only fosters their creativity and imagination but also develops their problem-solving skills as they figure out how to make the game fun and balanced. It's a wonderful way to encourage critical thinking and teamwork within a playful context.
What are some simple rules for a homemade board game?
The most basic rules for a homemade path finder game involve players taking turns to move their game piece along a path. Movement is typically determined by rolling a die or spinning a spinner. Players advance their piece the number of spaces indicated. Landing on certain spaces might trigger special events, such as moving forward additional spaces, moving backward, skipping their next turn, or getting an extra turn. The primary objective is for the first player to successfully navigate their piece from the 'START' space to the 'GOAL' space. These fundamental rules can be expanded upon with more complex instructions as desired.
How long does it typically take to make a Cardboard Path Finder Game?
The time it takes to create a Cardboard Path Finder Game can vary depending on the complexity of your design and the level of detail in decoration. For a basic game with a straightforward path and simple action spaces, you can expect it to take around 60 minutes, as suggested in the quick answer. However, if you plan to add intricate artwork, multiple branching paths, or a very detailed theme, the creation time could extend to 2-3 hours or even more. The cutting and assembly of the main board and spinner are relatively quick, but the decorating and rule-making phases can be more time-consuming, especially when involving multiple people.
What age is this game suitable for?
This Cardboard Path Finder Game is incredibly versatile and can be enjoyed by a wide range of ages, making it a fantastic family activity. The core mechanics of moving along a path and following simple instructions are generally suitable for children as young as 6 years old. With adult guidance, younger children can participate in the decorating and drawing aspects. For older children and adults, the game can be made more challenging by incorporating more complex rules, strategic paths, or trivia elements, ensuring it remains engaging and fun for everyone involved. The collaborative nature of creating the game also makes it enjoyable for mixed-age groups.
What Next?
Congratulations on creating your very own Cardboard Path Finder Game! This project is just the beginning of your board game design journey. Consider creating themed versions for holidays, adding more complex challenges, or even designing expansion packs with new rules and spaces. To keep your game organized, store all the pieces in a decorated box or pouch attached to the back of the game board. Display your masterpiece proudly, ready for your next family game night, and let the adventures begin!
Free: 10 Paper Crafts Anyone Can Make in 5 Minutes
Get our beginner guide + new craft ideas weekly.
No spam. Unsubscribe anytime.
Did you complete this activity?
Related