How to Make Shrink Plastic Pet Charms — Easy Step-by-Step Guide
Create personalized charms of your beloved pets using shrink plastic! These adorable creations are perfect for keychains, necklaces, or as unique gifts. This beginner-friendly activity has 10 steps and is perfect for families with kids aged 6 and up.
Quick answer
To make shrink plastic pet charms, you need shrink plastic sheets, permanent markers, scissors, and an oven. Start by drawing your pet's outline. This beginner-friendly activity has 10 steps and is perfect for families with kids aged 6 and up.
What you need
Shop on Amazon · As an Amazon Associate we earn from qualifying purchases. Links above are affiliate links — we may earn a commission at no extra cost to you.
Capture the likeness of your furry, feathered, or scaled companions in a fun and tangible way with these delightful shrink plastic pet charms! This project is a fantastic way to celebrate your pets, whether they're a dog, cat, hamster, or even a beloved reptile. It’s incredibly rewarding to see your artwork transform and shrink into a durable, personalized keepsake. Perfect for crafters of all ages, especially families looking for a creative and engaging activity, these charms make thoughtful, handmade gifts that are sure to be cherished by any pet lover.
On this page
Step-by-Step Instructions
- 1
Gather all your essential materials: shrink plastic sheets, a variety of permanent markers (including a fine-tip black one), sharp scissors, a hole punch, a baking sheet, parchment paper, and your oven. Having everything ready beforehand will make the crafting process much smoother and more enjoyable.
- 2
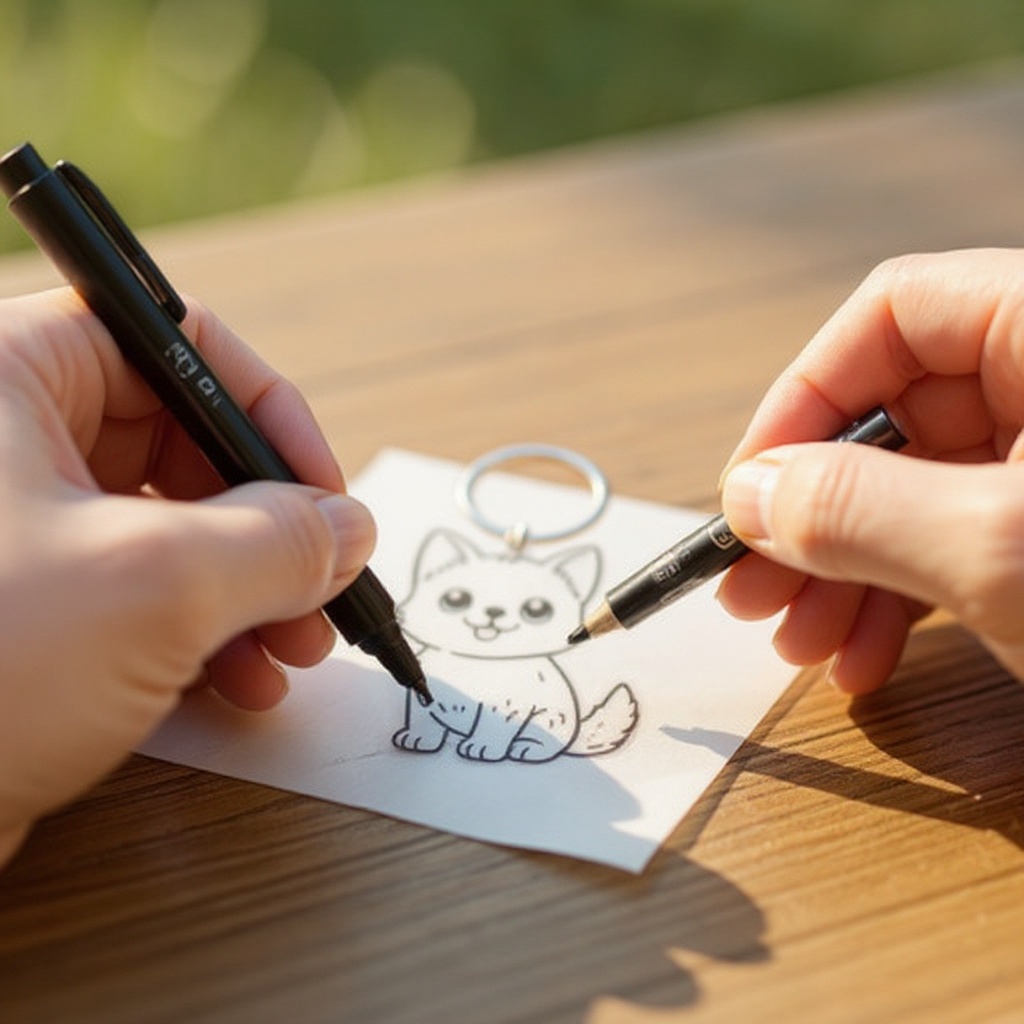
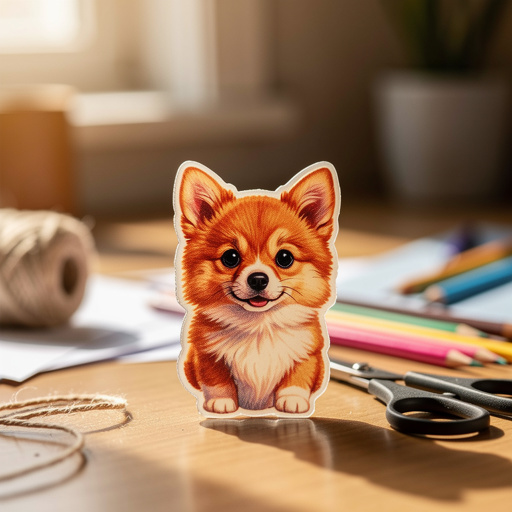
Select a piece of shrink plastic and place it on a flat, stable surface. Using your fine-tip black permanent marker, carefully draw a simple outline of your pet's head or body. For the best results and to ensure the charm shrinks well, keep the design relatively simple, focusing on the most recognizable features.
- 3
Now, it's time to bring your pet to life with color! Use your colored permanent markers to fill in your pet's features, paying close attention to their unique fur color, eye color, and any distinctive markings or patterns that make them special. Layering colors can add depth and realism to your design.
- 4
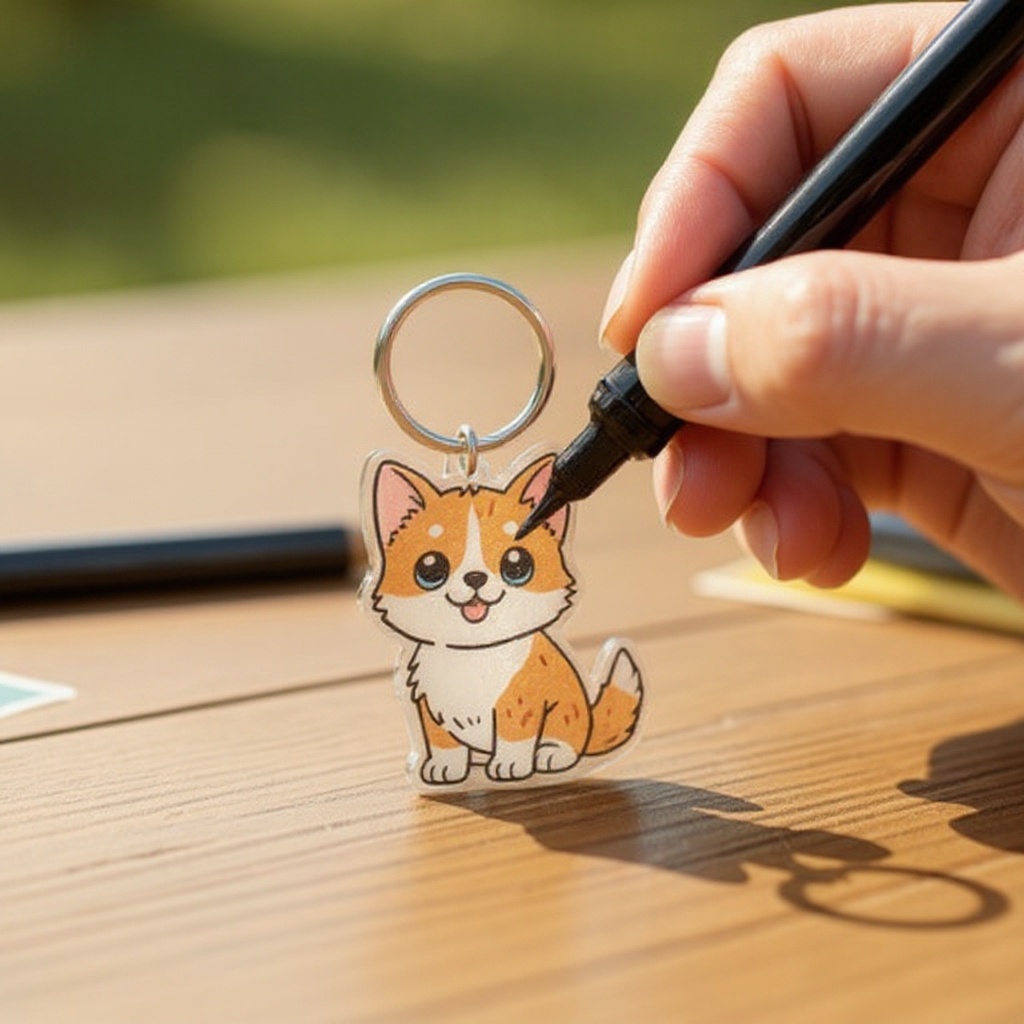
Add those crucial small details that truly capture your pet's personality. Use the fine-tip black marker to draw in delicate whiskers, a tiny nose highlight, or subtle shading around the eyes. These small touches can make a big difference in the final charm's appearance.
- 5
Carefully cut out your drawn pet shape using your sharp scissors. It's important to cut precisely along the black outline you created, ensuring a clean edge. If you find the plastic is a bit flexible, you can gently hold it taut to get a straighter cut.
- 6
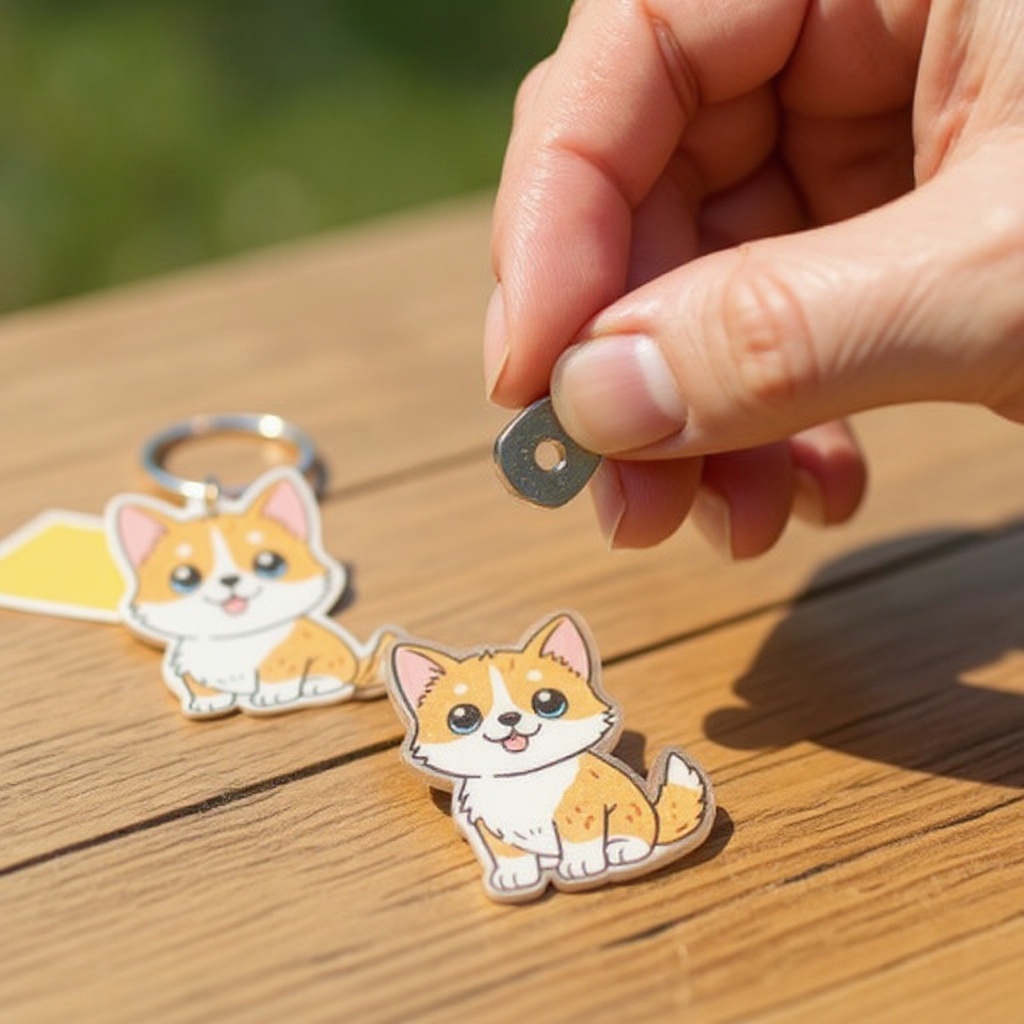
Before baking, use your hole punch to create a hole near the top of your charm. This hole is essential for attaching jump rings, keychain rings, or necklace chains later on, so make sure it's positioned where it won't interfere with the main design.
- 7
Prepare your baking sheet by lining it completely with parchment paper. This prevents the shrink plastic from sticking to the metal and ensures an even bake. Make sure the parchment paper is smooth and free of wrinkles.
- 8
Arrange your cut-out shrink plastic charms onto the parchment paper-lined baking sheet. It's crucial to place them so that they do not touch each other, as they will shrink significantly and can fuse together if they are in contact during the baking process.
- 9
Preheat your oven to the temperature recommended on your specific shrink plastic packaging. This is typically around 300-350°F (150-175°C), but always check the manufacturer's instructions for the best results and to avoid overheating or under-baking.
- 10
Bake the charms for the time specified on the packaging, which is usually between 1 to 3 minutes. Watch them closely through the oven door; they will shrink, curl up dramatically, and then flatten out. The process is quite fascinating to observe!
- 11
Once the charms appear to have shrunk and flattened completely, carefully remove the baking sheet from the oven. Remember, the charms and the baking sheet will be extremely hot, so always use oven mitts or a heat-resistant spatula for safety.
- 12
Allow the charms to cool completely on the baking sheet. As they cool, they will become rigid and harden, solidifying their shrunken form. Resist the urge to touch them too soon, as they can still be slightly pliable when warm.
- 13
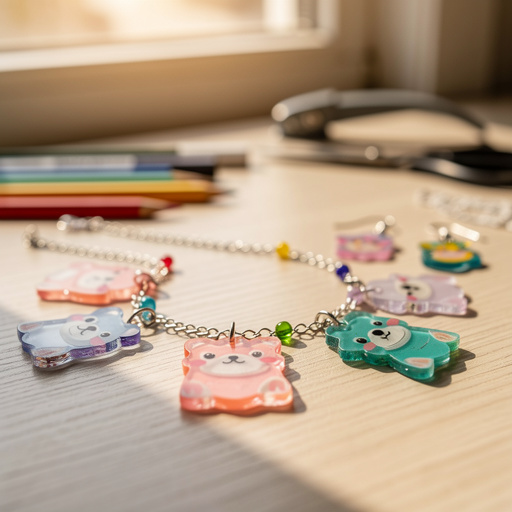
After the charms have cooled and are completely rigid, you can begin the assembly process. Use pliers to gently open a jump ring, thread it through the punched hole on your charm, and then close the jump ring securely. From there, you can attach it to a keychain, bracelet, or necklace chain.
- 14
If your charm didn't lay perfectly flat after baking, you can attempt to gently press it with a flat, heat-resistant object, such as the back of a metal spatula, immediately after removing it from the oven. This must be done very carefully and quickly while the charm is still hot and pliable, but be extremely cautious to avoid burns.
- 15
Experiment with different coloring techniques to truly capture your pet's unique look. Try layering colors for realistic fur textures, using a white gel pen for highlights, or even adding a tiny accessory like a collar with a bell. The more detail you add, the more personalized your charm will be.
- 16
For an extra layer of durability and a glossy finish, consider sealing your finished charms. Once they are completely cooled and assembled, you can apply a clear acrylic sealant or a coat of UV resin. This will protect the artwork from scratches and make them more resistant to moisture.
- 17
Always prioritize safety, especially when crafting with children. Ensure good ventilation in your workspace when baking shrink plastic, as some fumes can be released. Supervise children closely when they are using scissors and when the oven is in use.
Tips & Troubleshooting
- 1If your charm doesn't lay perfectly flat after baking, you can gently press it with a flat, heat-resistant object (like the back of a metal spatula) immediately after removing it from the oven. Be very careful as it will be hot! This is best done within the first few seconds of removal before it fully hardens.
- 2Experiment with different colors and shading techniques to capture your pet's unique look. You can also add small accessories like a collar or bandana to further personalize your charm and make it instantly recognizable as your beloved pet.
- 3For a more durable finish and a professional look, you can seal your finished charms with a clear acrylic sealant or a coat of UV resin once they are completely cooled and assembled. This will protect the artwork from scratches and fading, making your charms last even longer.
- 4Always supervise children when using scissors and the oven. Ensure good ventilation when baking shrink plastic, as some fumes can be released. It's a good idea to open a window or use a fan to keep the air fresh.
- 5Before you commit to baking, it's a great idea to do a test run with a scrap piece of shrink plastic. This will help you get a feel for how quickly your oven bakes and how the plastic shrinks, ensuring your final pet charms turn out perfectly.
- 6Consider the size of your original drawing. Remember that shrink plastic shrinks to about 40-50% of its original size, so draw your pet larger than you want the final charm to be. A good starting point for a charm is to draw it about 3-4 inches in its largest dimension.
- 7If you want a smoother surface on your charm, you can lightly sand the shrink plastic sheet with a fine-grit sandpaper before drawing on it. This creates a slightly rougher texture that can help markers adhere even better and give a more matte finish.
- 8Don't be afraid to get creative with your designs! You can draw your pet wearing a hat, holding a favorite toy, or even in a funny pose. The shrink plastic medium is very forgiving and allows for a lot of artistic expression.
Related Activities You Might Enjoy
Frequently Asked Questions
What kind of markers work best for shrink plastic?
Permanent markers, such as Sharpies, are the best choice for shrink plastic because they adhere well to the surface and are designed to be permanent, meaning they won't smudge or fade after baking. Avoid water-based markers, as they may not be permanent and can smudge or wash off. For detailed work and outlines, a fine-tip permanent marker is indispensable. Experimenting with different brands can also yield slightly different results in terms of color vibrancy and adhesion.
Why is my shrink plastic not shrinking evenly?
Uneven shrinking can occur for several reasons, but the most common is an inconsistent oven temperature or the thickness of the plastic. Ensure your oven is accurately preheated to the correct temperature specified on your shrink plastic packaging; an oven thermometer can be helpful. Try to keep your drawings to a single layer of shrink plastic, as multiple layers can lead to uneven heating and shrinking. Also, ensure the charm is placed flat on the baking sheet and doesn't overlap with other pieces.
Can I use colored shrink plastic?
Yes, you can absolutely use colored shrink plastic sheets! Designs drawn on colored shrink plastic will appear more muted and translucent after shrinking, which can create a unique, vintage-inspired look. However, for vibrant and true-to-life colors that closely match your pet's appearance, it's generally best to use clear or frosted white shrink plastic and color it yourself with permanent markers. This allows for maximum control over the color palette and detail.
How do I make my shrink plastic charms waterproof?
While permanent markers are water-resistant, the shrink plastic itself can be susceptible to scratches and prolonged exposure to moisture. To make your charms more waterproof and durable, you can apply a clear acrylic sealant or a coat of UV resin to the finished charms after they have cooled and been assembled. These sealants create a protective barrier that shields the artwork from water damage and wear, ensuring your pet charms remain beautiful for a long time.
What is the best way to get a smooth finish on my shrink plastic charms?
For a smoother finish, you can lightly sand the surface of the shrink plastic sheet with a fine-grit sandpaper before you begin drawing. This creates a slightly rougher texture that helps the permanent markers adhere better and can result in a more matte appearance. Alternatively, after baking and cooling, you can apply a clear acrylic sealant or UV resin, which will provide a glossy, smooth, and protective coating over your artwork, enhancing its appearance and durability.
My shrink plastic curled up and didn't flatten. What did I do wrong?
If your shrink plastic curled up and didn't flatten completely, it's usually due to the oven temperature being too low or the baking time being too short. The heat needs to be sufficient to allow the plastic to fully shrink and then flatten. Ensure your oven is preheated to the correct temperature as per the manufacturer's instructions, and watch the charms closely as they bake. If they start to curl but don't flatten, you can try gently pressing them with a heat-resistant object immediately after removing them from the oven, but be very cautious.
Can I use other drawing tools besides permanent markers?
While permanent markers are the most recommended and reliable tool for shrink plastic due to their permanence and vibrant colors, you can experiment with other mediums, but with caution. Colored pencils can be used on frosted shrink plastic, but they may smudge easily before baking and can be less vibrant after shrinking. Oil-based Sharpies or paint pens can also work, but ensure they are fully dry before baking. Water-based markers are generally not suitable as they tend to smudge and fade. For best results and durability, stick with permanent markers.
What Next?
Once your adorable pet charms are complete and assembled onto keychains or jewelry, consider how you'll display or store them. They can be attached to zippers, backpacks, or even used as unique gift toppers. For variations, try creating charms of your pet's favorite toy, or even their paw print! If you enjoyed this project, you might also like to try making shrink plastic jewelry, bookmarks, or even custom zipper pulls. The possibilities are as endless as your love for your pets!
Free: 10 Paper Crafts Anyone Can Make in 5 Minutes
Get our beginner guide + new craft ideas weekly.
No spam. Unsubscribe anytime.
Did you complete this activity?
Related
You might also like
Shrink Plastic Charms & Jewelry
Shrink Plastic Pet Portraits
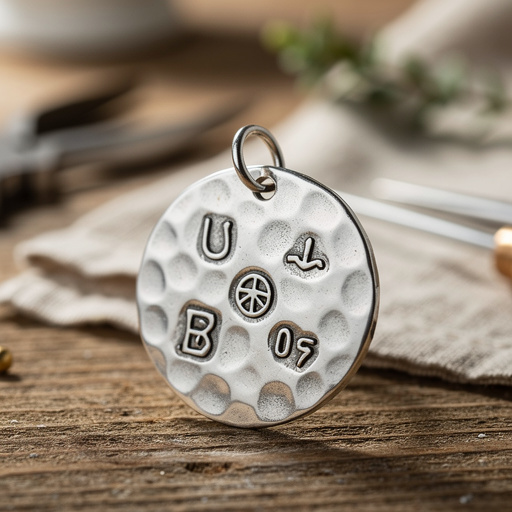
Hammered Metal Stamped Charms
Rainbow Stretch Bead Bracelets
Sharpie Painted Rocks