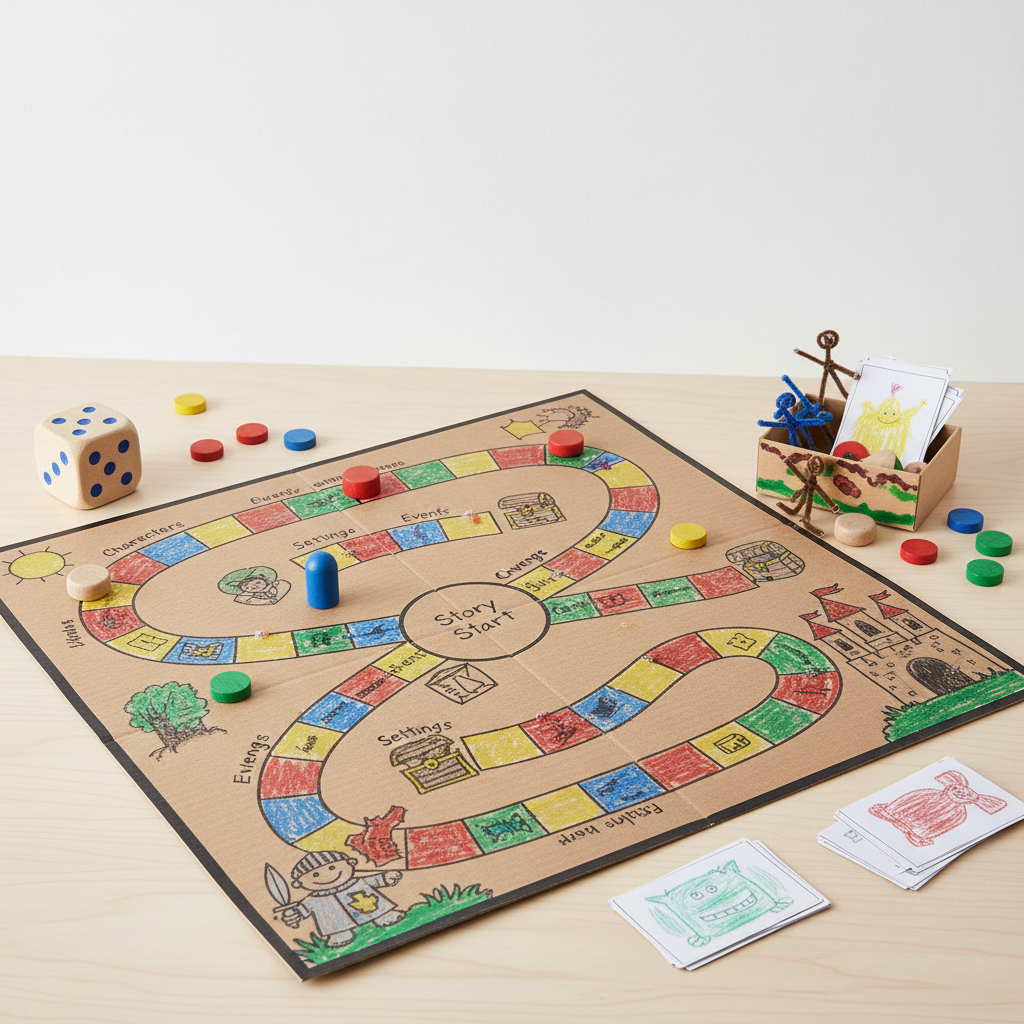
How to Create Classic Board Game Pieces — Easy Step-by-Step Guide
Bring your favorite classic board games to life by crafting your own unique game pieces. This fun, hands-on activity is perfect for family game nights, allowing you to personalize your gaming experience with custom-designed tokens and figures. It's a fantastic way to spark creativity and create lasting memories.

Quick answer
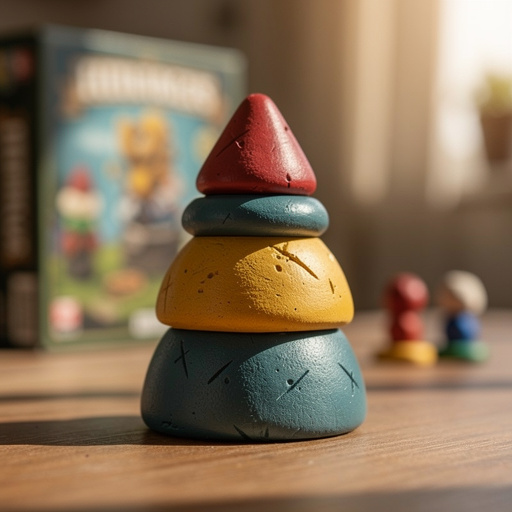
To make classic board game pieces, you need about 1 pound of air-dry clay, acrylic paints in various colors, small paintbrushes, and approximately 90 minutes of active crafting time, plus drying time. Start by conditioning the clay until it's soft and pliable. This beginner-friendly activity has 15 steps and is perfect for families with kids aged 6+, offering a creative outlet and a fun way to enhance game nights.
What you need
Shop on Amazon · As an Amazon Associate we earn from qualifying purchases. Links above are affiliate links — we may earn a commission at no extra cost to you.
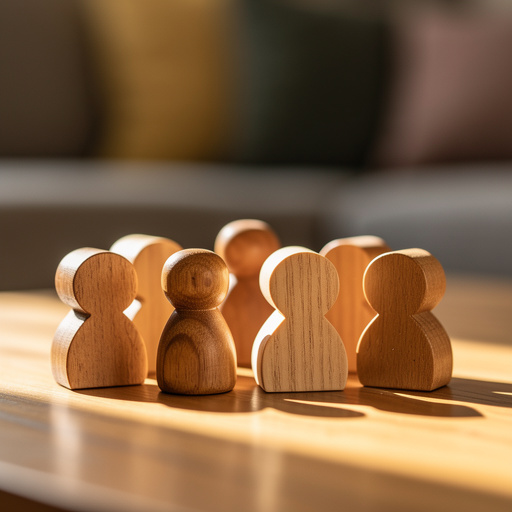
Tired of the same old generic game pieces? Elevate your family game nights and add a personal touch to your favorite board games with this delightful DIY project! Crafting your own classic game pieces from air-dry clay is an incredibly rewarding and accessible activity, perfect for all ages. Imagine playing Monopoly with custom-designed tokens or Risk with hand-sculpted armies. This project not only brings a unique aesthetic to your games but also fosters creativity, fine motor skills, and shared family fun, making every game a truly special occasion.
On this page
Step-by-Step Instructions
- 1
**Prepare Your Workspace:** Lay down a sheet of wax paper or parchment paper on a clean, flat surface. This will prevent the clay from sticking and make cleanup easier. Gather all your materials within easy reach so you can seamlessly transition between steps.
- 2
**Condition the Clay:** Open your air-dry clay and take out a portion. Knead it thoroughly with your hands, much like kneading dough, until it becomes soft, smooth, and pliable. This process removes air bubbles and makes the clay easier to shape, preventing cracks later on.
- 3
**Divide and Conquer:** Break off small, manageable portions of the conditioned clay. The size of your portions will depend on the size and complexity of the game pieces you wish to create. Aim for consistency if you're making multiple pieces of the same type, like pawns.
- 4
**Roll Out the Clay:** Place a portion of clay onto your prepared wax paper. Use your small rolling pin or glass bottle to roll out the clay to a consistent thickness, aiming for about 1/4 inch. Ensure the surface is even to avoid thin spots that might break easily.
- 5
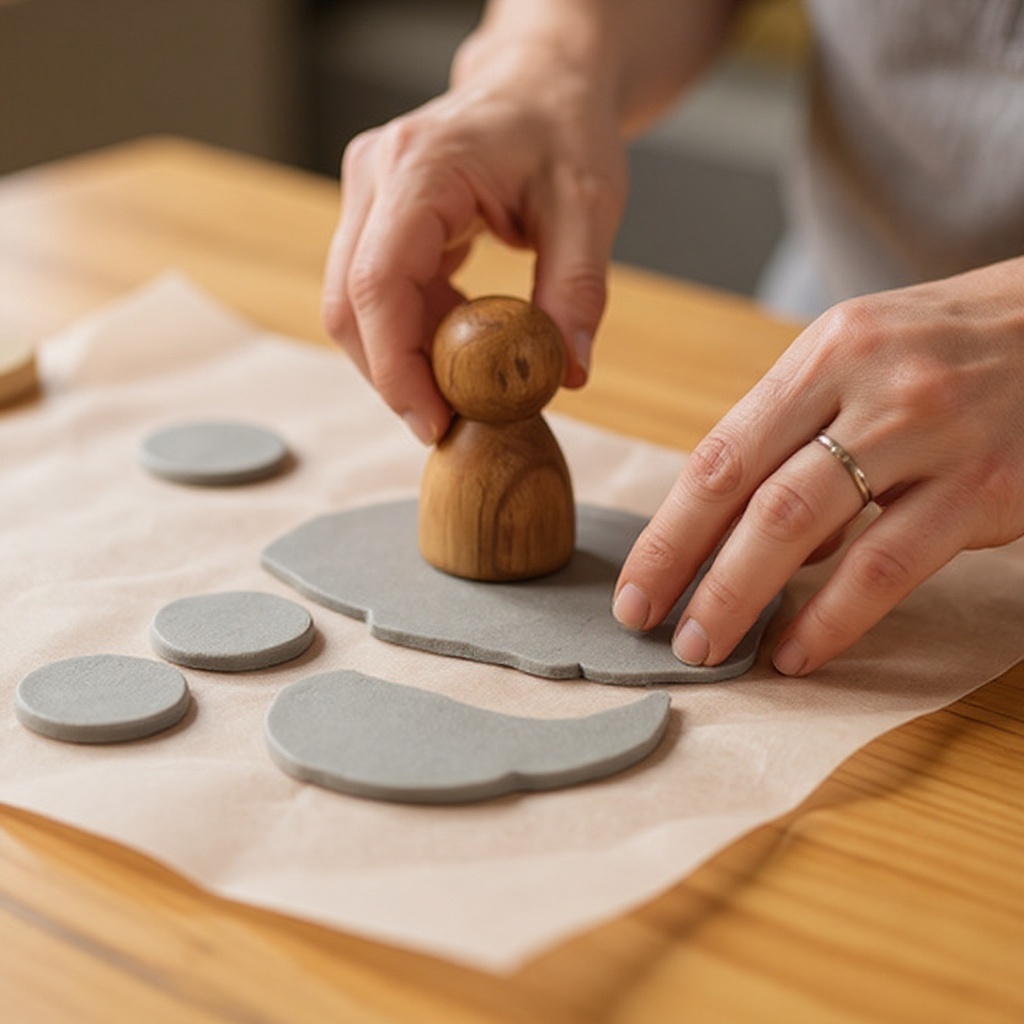
**Cut Out Basic Shapes:** Using cookie cutters in classic shapes like circles, squares, or diamonds, or carefully with a craft knife, cut out your desired game piece bases. For more organic shapes or specific game pieces like pawns, you might skip this step and move directly to hand-shaping.
- 6
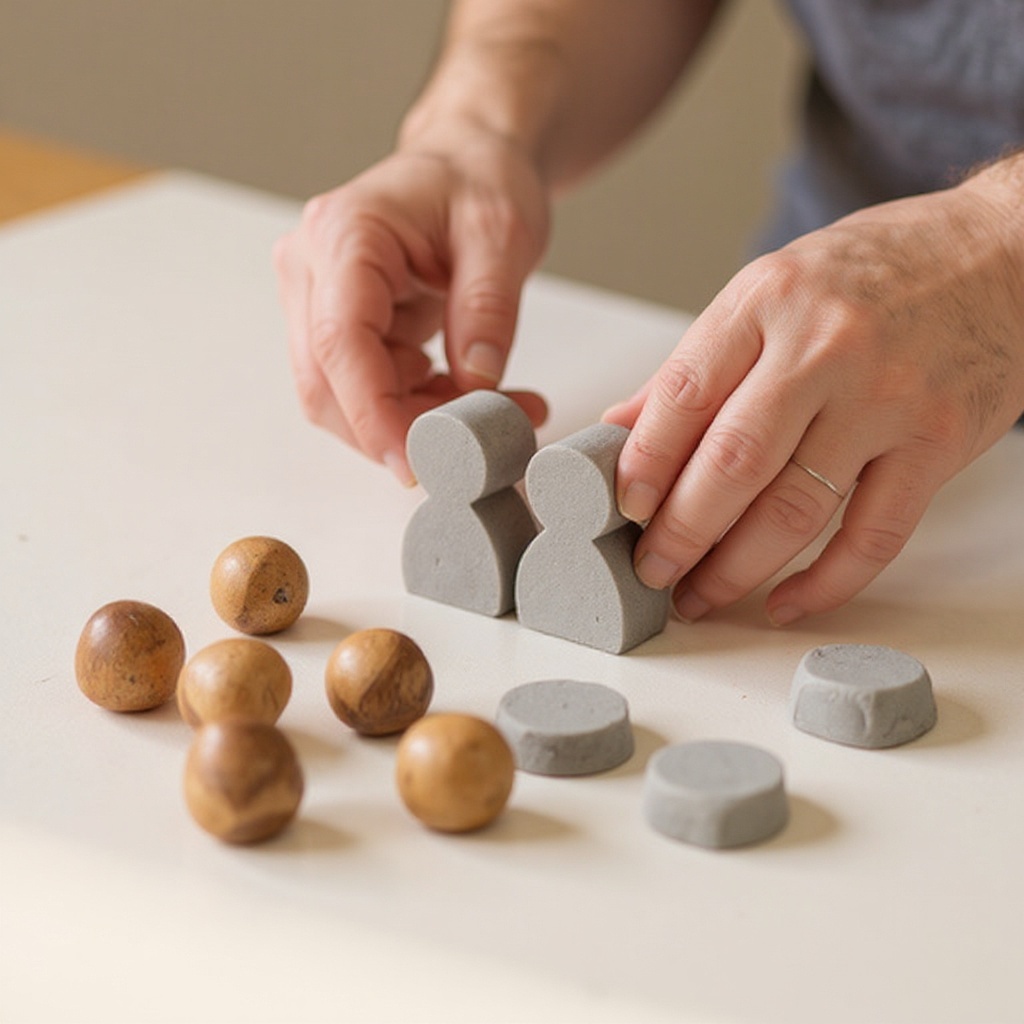
**Hand-Shape Your Pieces:** This is where creativity shines! Use your hands to further shape the cut-out pieces or directly sculpt from your clay portions. You can create simple tokens, small figures, abstract designs, or even miniature representations of game elements. For figures, roll small balls for heads, logs for bodies, and flatten pieces for arms or legs, attaching them with a little water and gentle pressure.
- 7
**Add Details and Texture:** Employ a craft knife or toothpick to add fine details, score lines for patterns, or create textures. You can etch wood grain effects, add dots for eyes, or create intricate designs on the surface of your pieces. A small bowl of water can be used to smooth out any rough edges or fingerprints by gently dabbing and smoothing with your fingertip.
- 8
**Refine and Smooth:** Before the clay begins to dry, take a moment to refine the shapes and smooth out any unwanted marks or fingerprints. You can use a damp sponge or your fingertips lightly moistened with water to achieve a smoother finish. Be careful not to over-wet the clay, as this can make it sticky and difficult to handle.
- 9
**Allow for Initial Drying:** Let your newly shaped clay pieces air dry for a few hours, or until they are firm enough to handle without deforming. This initial drying period helps them hold their shape better before the full drying process begins. You can gently move them to a drying rack or a different surface if needed.
- 10
**Complete Air Drying:** Once the pieces are firm enough, place them on a drying rack or a clean, flat surface away from direct heat or drafts. Allow them to air dry completely according to the clay manufacturer's instructions, which typically takes 24-48 hours, depending on thickness and humidity. They should feel hard and sound hollow when tapped.
- 11
**Optional: Sanding for Smoothness:** If you desire an exceptionally smooth surface for painting, lightly sand the dried clay pieces with fine-grit sandpaper. This step is particularly useful for removing any minor imperfections or rough edges, ensuring a professional finish. Wipe away any dust with a dry cloth afterward.
- 12
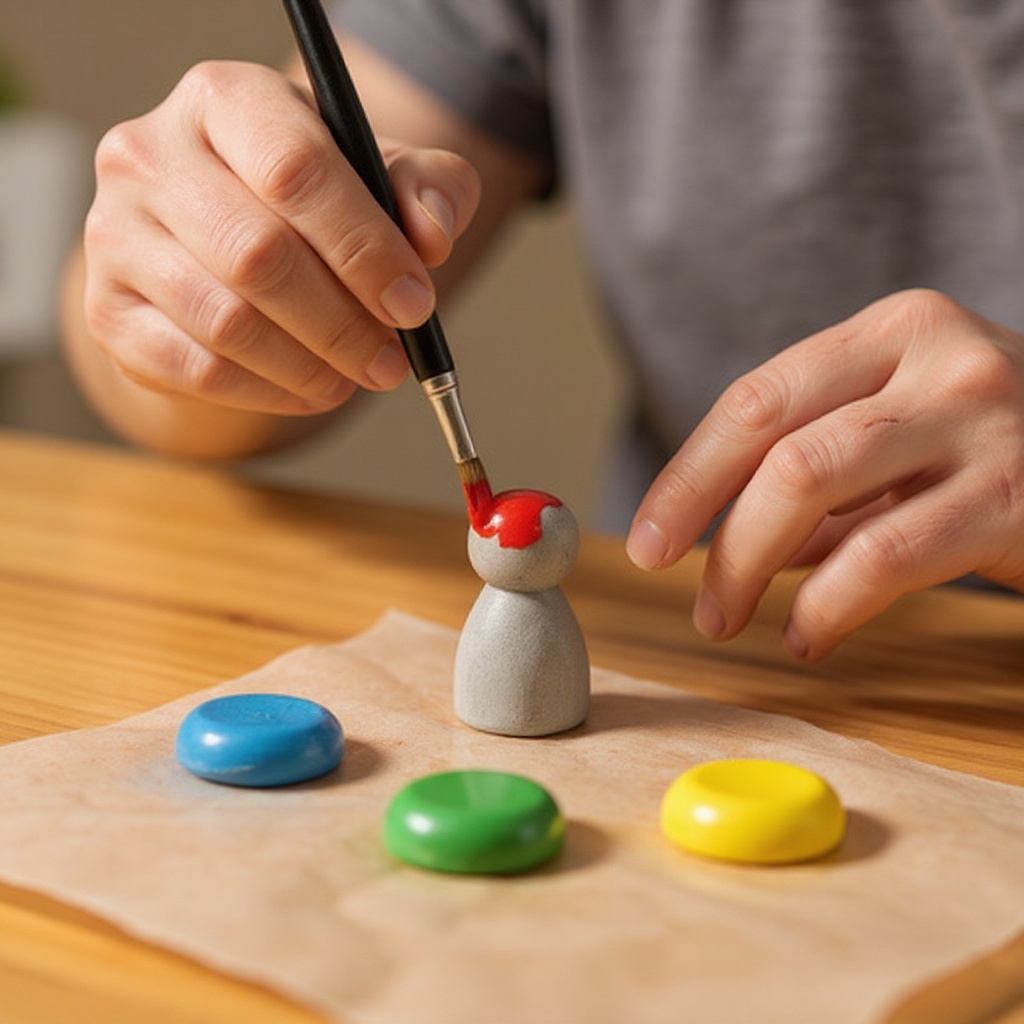
**Apply Base Coats:** Once the pieces are completely dry and any sanding is done, begin painting. Apply a base coat of acrylic paint to each piece. This first layer provides a uniform color and helps subsequent layers adhere better. Allow the base coat to dry completely before moving on.
- 13
**Add Layers and Details:** Use smaller paintbrushes to add details, patterns, and additional layers of color. Experiment with different color combinations and techniques. Let each layer of paint dry thoroughly before adding the next to prevent colors from bleeding or becoming muddy.
- 14
**Optional: Apply Sealant:** For added durability and a professional finish, once all the paint is completely dry, apply a thin coat of clear sealant or varnish. This will protect the paint from chipping and wear, making your game pieces last longer. Ensure even coverage and allow it to dry thoroughly according to the product's instructions.
- 15
**Final Drying and Inspection:** Allow the sealant to dry completely, which may take several hours or overnight. Inspect your finished game pieces for any missed spots or areas that need touch-ups. Once fully dry, your custom game pieces are ready to be used and admired!
Tips & Troubleshooting
- 1If your clay starts to dry out while working, lightly dampen your hands with water or a tiny bit of petroleum jelly. Avoid over-wetting, as this can make the clay sticky and difficult to manage, leading to a weaker final product.
- 2For smoother surfaces, you can lightly sand the pieces after they are fully dry and before painting. Use fine-grit sandpaper (220-grit or higher) and wipe away dust with a dry cloth for a pristine canvas for your paint.
- 3Experiment with different color combinations and painting techniques to create a truly unique set of game pieces. Consider metallic paints for accents, washes for a weathered look, or even stencils for intricate patterns.
- 4Store your finished game pieces in a breathable bag or a compartmentalized container to prevent moisture buildup and protect them from dust and damage. Avoid airtight containers, which can trap moisture.
- 5When sculpting figures, remember to score and slip (use a little water or clay slip) the areas where you are joining pieces together. This creates a stronger bond and prevents parts from falling off during drying or play.
- 6Don't be afraid to embrace imperfections! Sometimes, slight variations in shape or texture can add character and charm to your handmade game pieces, making them even more special.
- 7For consistency in size, especially for pieces like pawns or tokens, consider using a ruler or measuring tape to ensure each piece is roughly the same height or diameter before shaping.
- 8If you're making pieces that need to stand upright, ensure the base is flat and stable. You can gently press the bottom onto a flat surface to create a solid foundation.
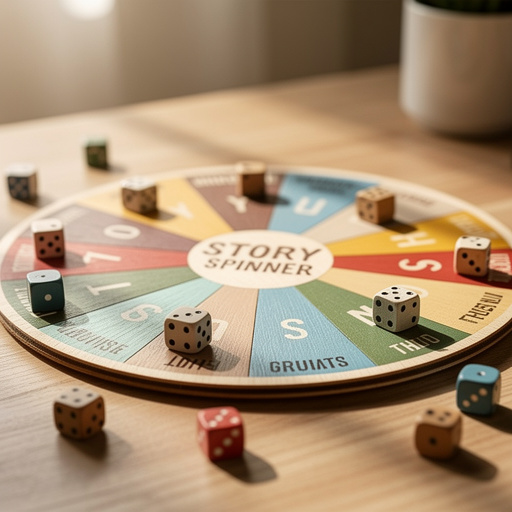
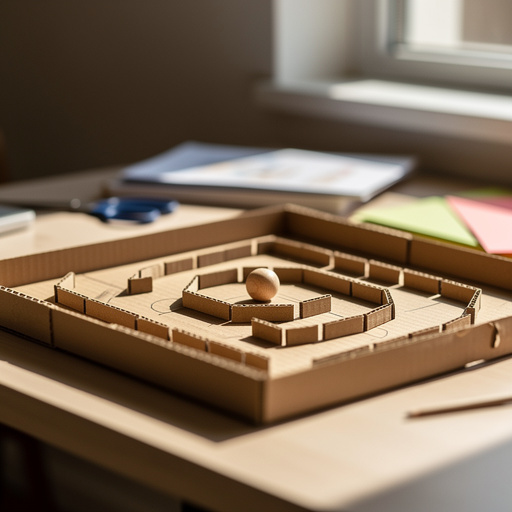
Related Activities You Might Enjoy
Frequently Asked Questions
What kind of clay is best for making game pieces?
Air-dry clay is ideal for this project as it requires no baking and dries hard at room temperature, making it safe and easy for families to use. Brands like Crayola, DAS, or Sculpey Air-Dry are excellent choices for beginners. Unlike polymer clay, which needs to be baked in an oven, air-dry clay is ready to go straight from the package and hardens on its own, simplifying the process significantly and reducing the risk of burns or oven mishaps, especially when crafting with children.
How long does it take for the clay pieces to dry?
Drying times vary depending on the thickness of the pieces and ambient humidity levels, but typically air-dry clay takes 24-48 hours to dry completely. Thicker pieces will naturally take longer than thinner ones. To ensure they are fully dry, tap them gently; they should sound hard and somewhat hollow. Avoid placing them in direct sunlight or near a heat source, as this can cause them to dry too quickly and potentially crack.
Can I make miniature figures for my game pieces?
Yes, air-dry clay is perfect for sculpting small figures. You can use basic sculpting tools or even just your fingers to create detailed characters. Start with simple shapes like balls and logs, then gradually add features like arms, legs, and faces. Remember to use a bit of water to smooth joins and details. For more intricate designs, consider using toothpicks or craft knives to carve out finer elements, and allow ample drying time for these delicate creations.
How do I make sure my painted game pieces don't chip?
Applying a clear sealant or varnish after the paint has dried will help protect the paint and make your game pieces more durable against wear and tear. Choose a water-based acrylic sealer or varnish for best results. Apply it in thin, even coats, allowing each layer to dry completely before applying the next. This creates a protective barrier that significantly reduces the likelihood of paint chipping or scratching during gameplay.
What if my clay pieces crack while drying?
Cracking can occur if the clay dries too quickly or unevenly, or if there were air bubbles trapped inside. If you notice small cracks, you can often fill them with a bit of extra clay mixed with water to form a paste, then smooth it over. For larger cracks, you might need to let the piece dry completely and then fill the crack with a strong adhesive or even a bit of wood filler, followed by sanding and repainting. To prevent cracking, ensure even thickness and avoid rapid drying.
Can I make game pieces that are waterproof?
Air-dry clay itself is not inherently waterproof once dried. However, by applying multiple coats of a good quality, water-resistant sealant or varnish, you can make your game pieces highly resistant to moisture and spills. Ensure the sealant is fully cured according to the manufacturer's instructions for maximum protection. While this won't make them submersible, it will protect them from typical game-related accidents like drink spills or sweaty hands.
What Next?
Once your custom game pieces are complete and thoroughly dry, they're ready to embark on countless gaming adventures! Consider creating themed sets for specific games or even designing pieces that represent your family members. For storage, a breathable fabric bag or a compartmentalized box will keep them safe and organized. This project is just the beginning; you can explore more intricate sculpting techniques, experiment with different types of clay, or even incorporate mixed media elements into future creations, further expanding your DIY crafting horizons.
Free: 10 Paper Crafts Anyone Can Make in 5 Minutes
Get our beginner guide + new craft ideas weekly.
No spam. Unsubscribe anytime.
Did you complete this activity?
Related