How to Make Painted Puffy Easter Eggs — Easy Step-by-Step Guide
Create charming, textured Easter eggs with this simple puffy paint craft. Perfect for adding a unique touch to your spring decorations.
Quick answer
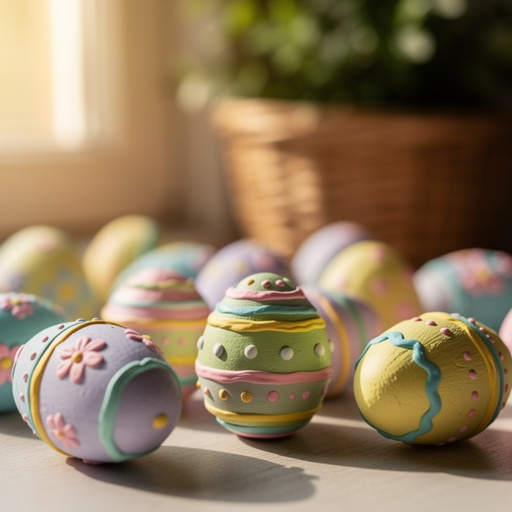
To make puffy Easter eggs, you need craft eggs, puffy paint, and about 30 minutes of active crafting time, plus drying time. Start by applying puffy paint designs to your plastic Easter egg halves. This beginner-friendly activity has 10 core steps (expanded to more for detail) and is perfect for families with kids aged 6+.
What you need
Shop on Amazon · As an Amazon Associate we earn from qualifying purchases. Links above are affiliate links — we may earn a commission at no extra cost to you.
Easter crafting is a wonderful way to usher in spring and create cherished memories. Among the many delightful activities, decorating Easter eggs holds a special place. This year, elevate your egg decorating game with our Painted Puffy Easter Eggs tutorial. Unlike traditional dyeing, this method uses vibrant puffy paints to create eye-catching, tactile designs that add a unique dimension to your decorations. It's an incredibly accessible project, perfect for little hands and seasoned crafters alike, offering a fun, mess-friendly way to personalize your Easter celebrations and create keepsakes that truly pop.
On this page
Step-by-Step Instructions
- 1
Prepare your creative zone by thoroughly covering your workspace with newspaper or craft paper. This is a crucial step to protect your table or floor from any accidental drips or smears of puffy paint, ensuring a stress-free crafting experience for everyone involved.
- 2
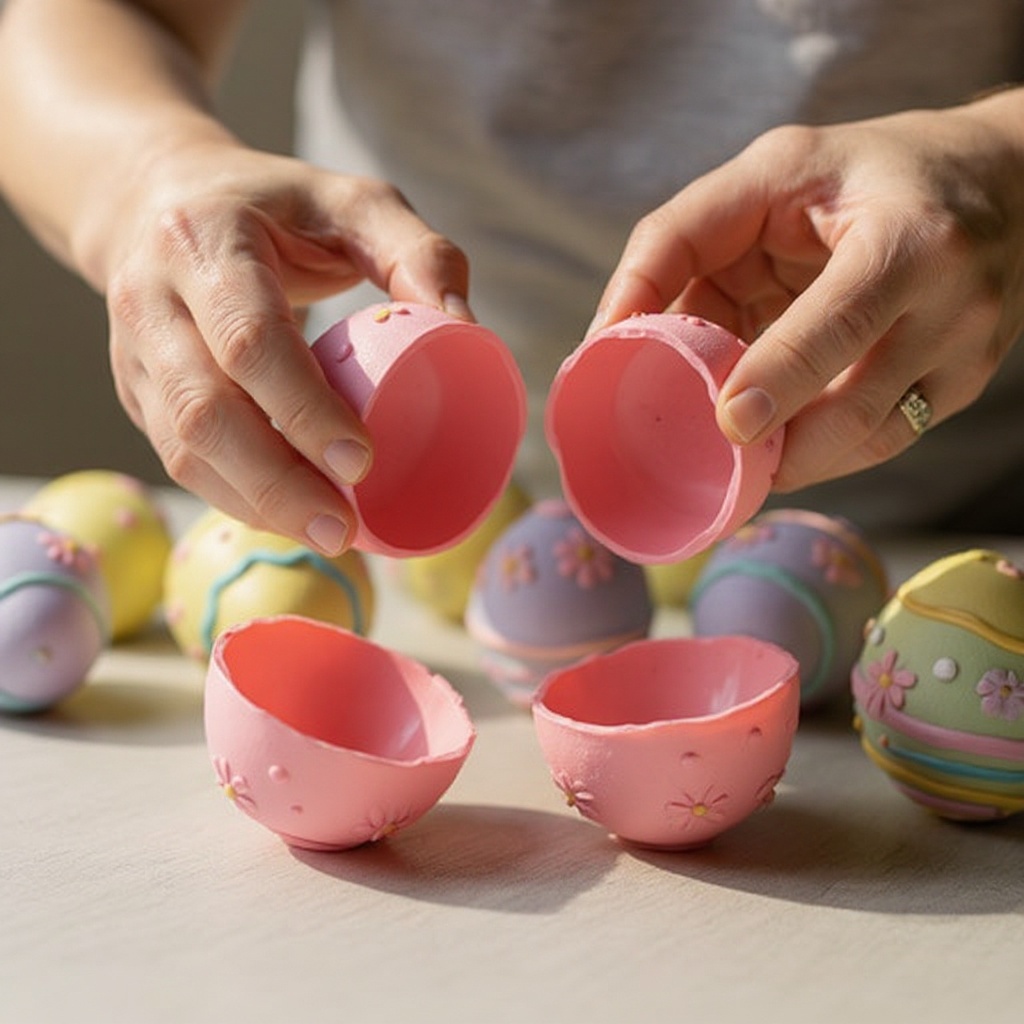
Gently separate each plastic Easter egg half. It's helpful to have a designated spot for each half, perhaps in an egg carton or on a tray, to keep them organized and ready for decorating without getting mixed up.
- 3
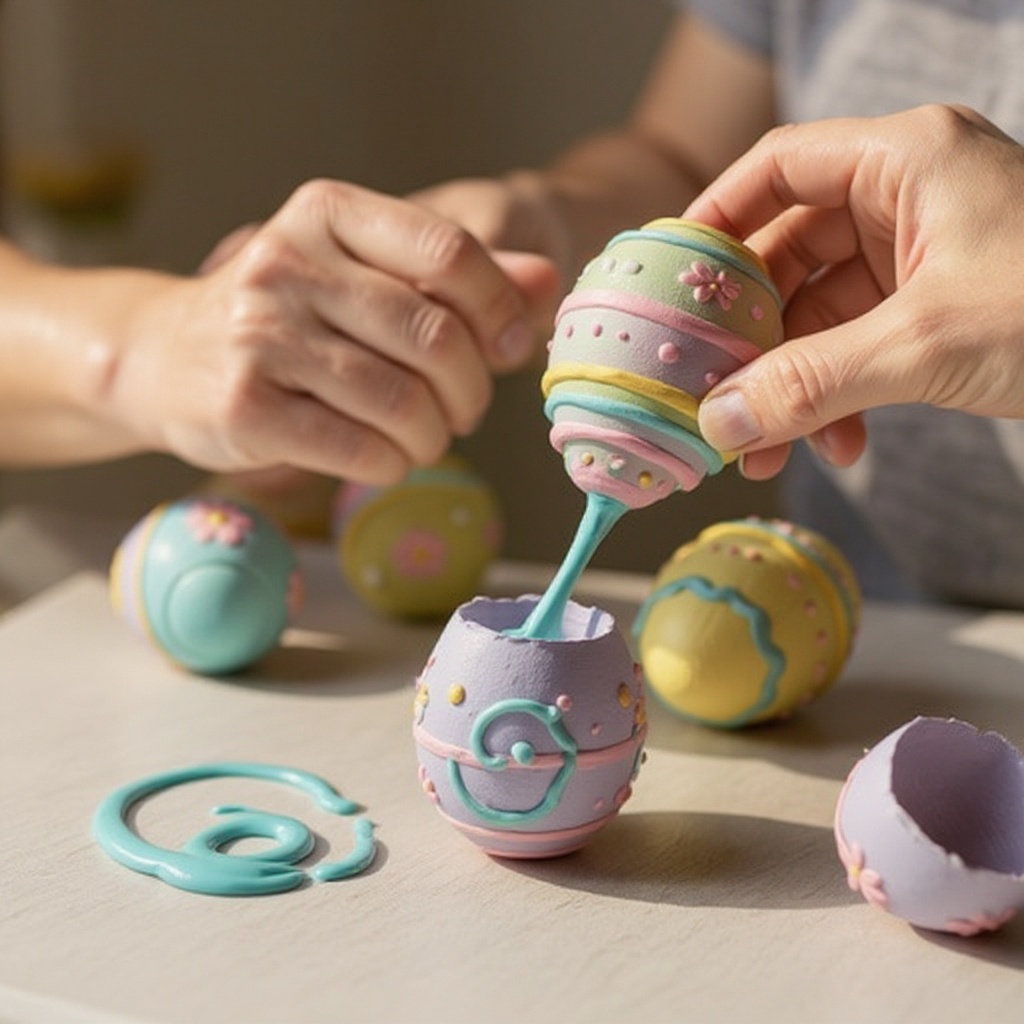
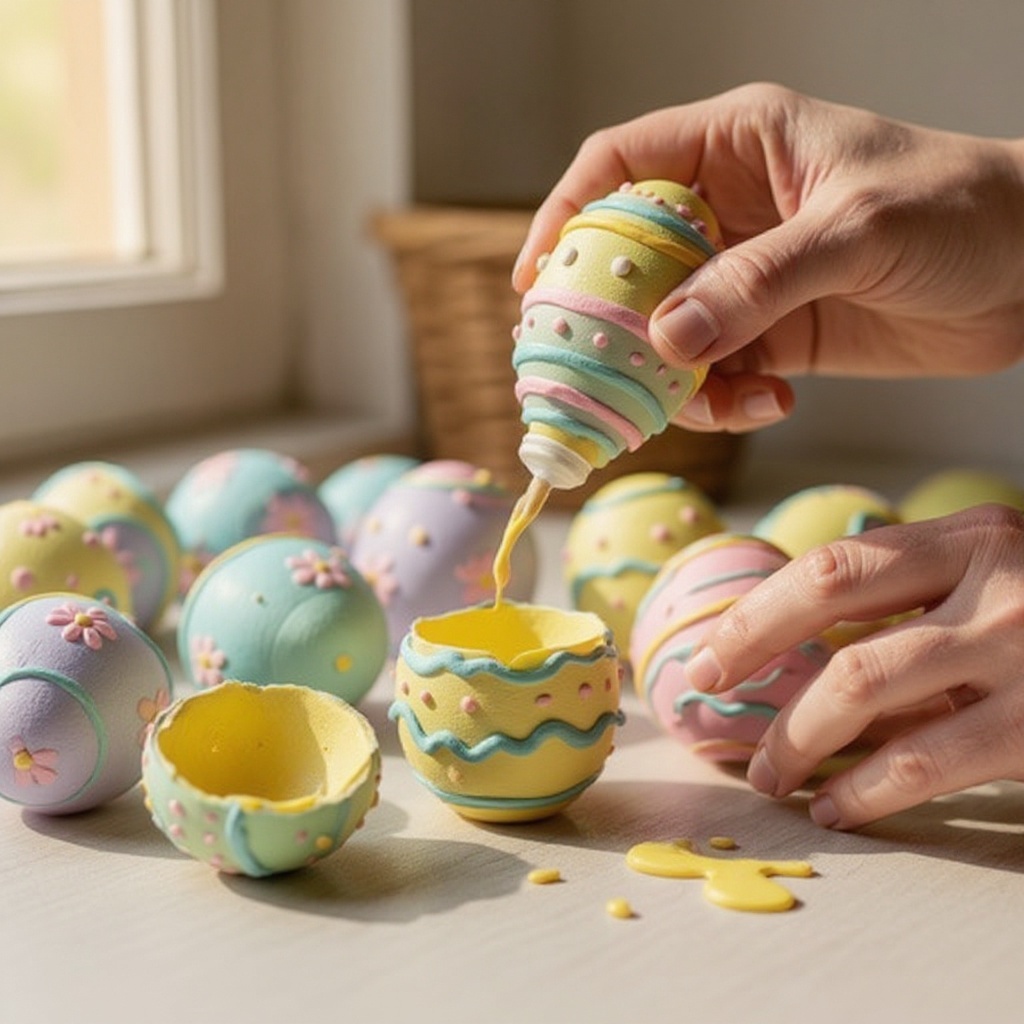
Select your first color of puffy paint and get ready to let your creativity flow. Hold the tube comfortably and apply gentle, steady pressure to squeeze a design onto the surface of one egg half. Start with a small amount to get a feel for the paint's flow.
- 4
Experiment with a variety of puffy paint techniques to create dynamic designs. Try making cheerful dots, playful lines, elegant swirls, or even simple geometric shapes like squares or triangles. Don't be afraid to mix and match different patterns on the same egg half.
- 5
Continue layering designs with different colors of puffy paint onto the same egg half, allowing your imagination to guide you. You can create intricate patterns, abstract art, or even simple, bold statements. Overlapping colors while wet can create interesting blended effects.
- 6
For those seeking finer details or more controlled application, consider using a small paintbrush. Dip the tip of the brush lightly into the puffy paint and carefully apply it to the egg surface, adding delicate accents or intricate lines that might be challenging with just the tube.
- 7
Allow the first decorated egg half to dry completely before moving on. Puffy paint's drying time can vary significantly, often taking a few hours to become fully set, especially if applied thickly. It's best to err on the side of caution and let them dry thoroughly to prevent smudging.
- 8
Once the first egg half is completely dry, carefully flip it over and repeat steps 3-7 on the other side of the same half, or move on to decorating the corresponding half of a different egg. This ensures you have a fully decorated surface ready to be joined.
- 9
Continue this process with all the remaining egg halves, dedicating time to each one to create a diverse collection of uniquely designed puffy Easter eggs. Aim for a variety of color combinations and design styles to make your collection truly special.
- 10
Once all your decorated egg halves have been thoroughly dried and are no longer tacky to the touch, carefully snap them back together to form complete, three-dimensional Easter eggs. Ensure the halves align correctly before pressing them firmly into place.
- 11
Arrange your finished puffy Easter eggs in a decorative bowl, use them to adorn your mantelpiece, or tuck them into Easter baskets for a personalized and festive touch. They also make wonderful handmade gifts for friends and family.
- 12
Allow for a dedicated drying period for each egg half as you work. It's a good idea to place decorated halves on a drying rack or in an egg carton with the decorated side facing up to minimize contact with surfaces and prevent accidental smudges during the drying process.
Tips & Troubleshooting
- 1If you find the puffy paint is too thick to squeeze out of the tube easily, gently warm the tube in your hands for about a minute. This will help to loosen the paint and make it more pliable for smoother application, preventing hand strain.
- 2For a beautiful marbled effect, gently swirl two wet puffy paint colors together on the egg surface before they have a chance to dry. Use a toothpick or the tip of another paint tube to create subtle blending for a unique, artistic look.
- 3Mistakes happen, but with puffy paint, they are often easily fixable. If you make an error while the paint is still wet, you can gently wipe it away with a damp cloth or a paper towel. For dried paint, you might need to carefully scrape it off with a craft knife or gently sand it down.
- 4To ensure your beautiful puffy Easter eggs last for many seasons, store them in a cool, dry place away from direct sunlight. This will help prevent the paint from sticking to itself or other surfaces, and also minimize the risk of cracking or fading over time.
- 5Don't limit yourself to just standard puffy paints! Consider incorporating different types of puffy paint, such as glitter puffy paint for extra sparkle, metallic puffy paint for a sophisticated sheen, or even neon puffy paint for a vibrant, eye-catching effect. This adds wonderful texture and visual interest.
- 6When applying puffy paint, try to maintain a consistent distance from the egg surface to achieve uniform line thickness. This will give your designs a more polished and professional appearance, even though it's a simple craft.
- 7If you're working with younger children, pre-separating the egg halves and having the paint tubes ready can streamline the process. You can also demonstrate simple designs beforehand to inspire their creativity and ensure they understand how to control the paint flow.
- 8For added durability and a glossy finish, you can apply a clear acrylic sealant spray over the dried puffy paint designs. Ensure the paint is completely dry before spraying, and do so in a well-ventilated area.
Related Activities You Might Enjoy
Frequently Asked Questions
How long does puffy paint take to dry on Easter eggs?
The drying time for puffy paint on Easter eggs can vary significantly based on several factors, including the thickness of application, the type of puffy paint used, and ambient humidity levels. Generally, you can expect it to take anywhere from 2 to 6 hours for the paint to become touch-dry. However, for complete and thorough drying, especially if the paint has been applied in thick layers or if you plan to handle the eggs extensively, it's highly recommended to let them dry overnight. This ensures the paint is fully cured and less likely to smudge or peel, preserving your beautiful designs.
Can I use real eggs for this puffy paint craft?
While you could technically use real hard-boiled eggs for this puffy paint craft, it is strongly recommended to use plastic Easter eggs instead. Plastic eggs are significantly lighter, making them easier to handle and decorate, especially for children. They also won't spoil over time, ensuring your creations are long-lasting decorations. Furthermore, the smooth, non-porous surface of plastic eggs provides an excellent base for puffy paint to adhere to, resulting in vibrant and durable designs. Real eggs can be more fragile and their porous nature might affect how the paint dries and adheres.
What if I don't have puffy paint?
If you find yourself without traditional puffy paint, you can still achieve a wonderfully textured and raised effect using a simple DIY alternative. Mix white craft glue (like Elmer's glue) with a small amount of tempera paint in your desired color. To give it that 'puffy' quality, add a pinch of baking soda to the mixture and stir thoroughly. This combination will create a slightly raised, matte finish that mimics the look and feel of puffy paint, allowing you to continue with your Easter egg decorating project with readily available craft supplies.
How do I clean up puffy paint?
Puffy paint is typically water-based, which makes cleanup relatively straightforward, especially while the paint is still wet. Most spills and drips can be easily washed away with soap and water. For dried paint, you might need a bit more effort; gently scraping with a plastic scraper or a craft knife (with adult supervision) can often remove dried paint from hard surfaces. A damp cloth can also be effective for loosening and wiping away dried paint. However, the best approach is always preventative: protect your workspace thoroughly with newspaper or craft paper before you begin.
Can I combine different types of puffy paint for more interesting effects?
Absolutely! Combining different types of puffy paint is a fantastic way to add even more visual interest and texture to your Easter eggs. For instance, you can use a base color of standard puffy paint and then add accents of glitter puffy paint for a sparkling touch, or metallic puffy paint for a luxurious sheen. You can also layer colors; apply one color, let it dry partially, and then add another on top for a dimensional look. Just be mindful of the overall thickness, as too many layers might increase drying time significantly. Experimenting with glitter, metallic, neon, and even glow-in-the-dark puffy paints can lead to truly unique and dazzling Easter egg designs.
How can I ensure my puffy paint designs don't smudge while drying?
Preventing smudges is key to achieving clean and crisp puffy paint designs. The most effective method is to allow ample drying time and to handle the decorated egg halves with extreme care. Once you've finished decorating an egg half, place it on a surface where it won't touch anything else – an egg carton with the decorated side up is ideal. Avoid stacking decorated halves or placing them directly next to each other. If you need to move them, gently lift them from the undecorated edges. Patience is your best friend here; resist the urge to touch the paint until it's completely dry to the touch and no longer tacky.
What Next?
These Painted Puffy Easter Eggs are a delightful addition to any Easter celebration, offering a unique blend of color and texture. Feel free to experiment further by layering different puffy paint colors or even adding small craft embellishments like glitter or tiny beads while the paint is still wet for extra sparkle. Once dry, these eggs can be displayed in decorative bowls, hung as ornaments, or nestled into Easter baskets for a truly personalized touch. For a different approach next time, consider using dimensional fabric paints or even creating your own homemade puffy paint for a truly custom experience. Store them carefully in a cool, dry place, and enjoy your handmade Easter treasures for years to come.
Free: 10 Paper Crafts Anyone Can Make in 5 Minutes
Get our beginner guide + new craft ideas weekly.
No spam. Unsubscribe anytime.
Did you complete this activity?
Related
You might also like
Printable Leaf Luminaries
Puzzle Piece Friendship Charms
DIY Scented Candle Making
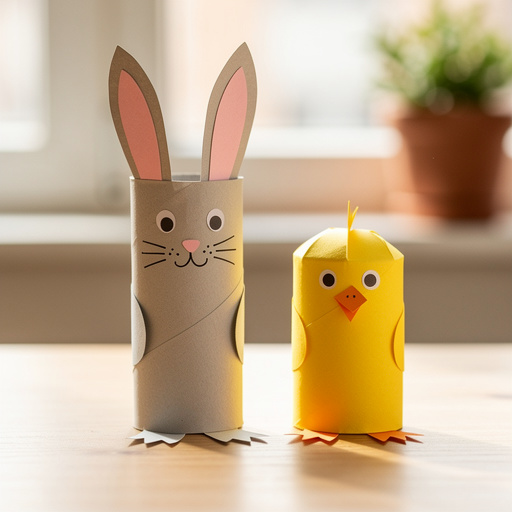
Paper Roll Bunny & Chick Friends
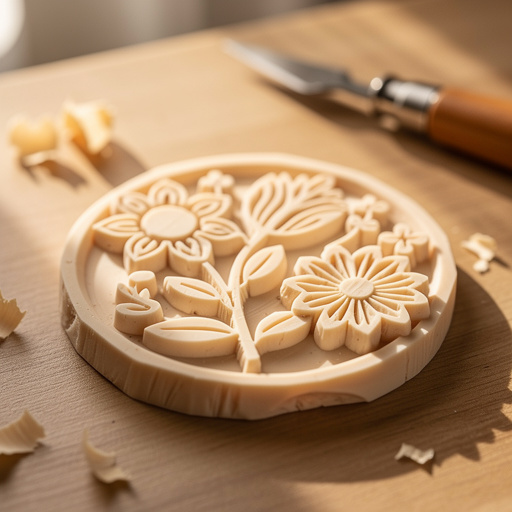
Carved Eraser Art Stamps