How to Create Adorable Shrink Plastic Pet Portraits — Easy Step-by-Step Guide
Transform your pet photos into unique, shrunken masterpieces! This guide shows you how to create charming shrink plastic pet portraits for keychains, magnets, or decorations. This beginner-friendly activity has 10 steps and is perfect for families with kids aged 8+.
Quick answer
To make shrink plastic pet portraits, you need shrink plastic sheets, permanent markers, scissors, and a baking sheet, taking about 45 minutes. Start by tracing your pet's outline. This beginner-friendly activity has 10 steps and is perfect for families with kids aged 8+.
What you need
Shop on Amazon · As an Amazon Associate we earn from qualifying purchases. Links above are affiliate links — we may earn a commission at no extra cost to you.
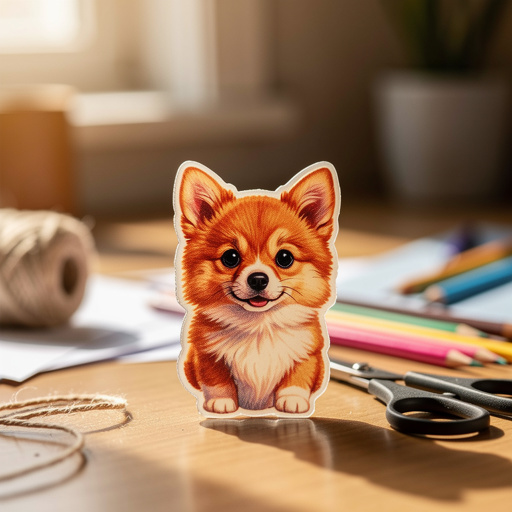
Unleash your inner artist and celebrate your beloved furry, feathered, or scaly companions with this delightful shrink plastic pet portrait project! This craft is a fantastic way to immortalize your pet's unique personality and adorable features in a tangible, wearable form. It's incredibly accessible for crafters of all ages and skill levels, making it an ideal family activity or a thoughtful, handmade gift for fellow animal lovers. Get ready to transform simple photos into charming keepsakes that are sure to bring a smile to your face.
On this page
Step-by-Step Instructions
- 1
**1. Select Your Perfect Pet Photo:** Begin by choosing a clear, well-lit photograph of your pet. Opt for a photo where your pet's face is easily visible and their features are distinct. A simple pose with good contrast will translate best to the small, shrunken artwork. You can print this photo out to a size that comfortably fits on your shrink plastic sheet, or use a digital version as a reference on a screen.
- 2
**2. Prepare Your Shrink Plastic:** If you are using clear shrink plastic and want a frosted look for better marker adhesion, you can lightly sand the surface with fine-grit sandpaper. This creates a slightly rough texture that the markers will grip onto. Alternatively, many frosted shrink plastic sheets are ready to use right out of the package. Wipe down your chosen plastic sheet with a dry cloth to remove any dust or fingerprints.
- 3
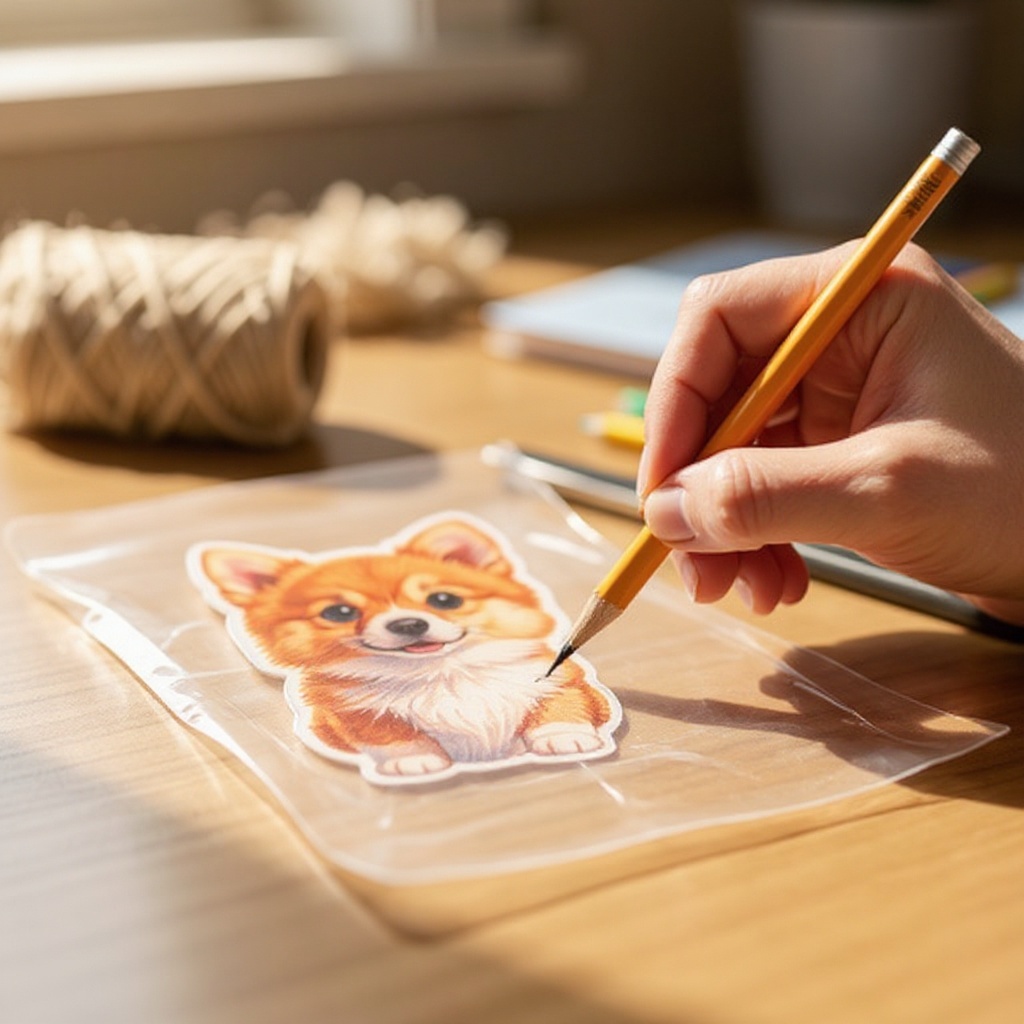
**3. Lightly Sketch the Outline:** Place a piece of shrink plastic directly over your chosen pet photo or reference image. Using a pencil, very lightly sketch the main outline of your pet's head or body. Focus on capturing the key shapes and contours, like the ears, snout, and overall head shape. Don't worry about intricate details at this stage; this is just your guide.
- 4
**4. Refine the Sketch with Permanent Marker:** Once you are happy with the pencil outline, go over it with a fine-tipped permanent marker. This will create a more defined and permanent line for your design. You can also use this step to refine any major shapes or add subtle contours that will be important for the final portrait.
- 5
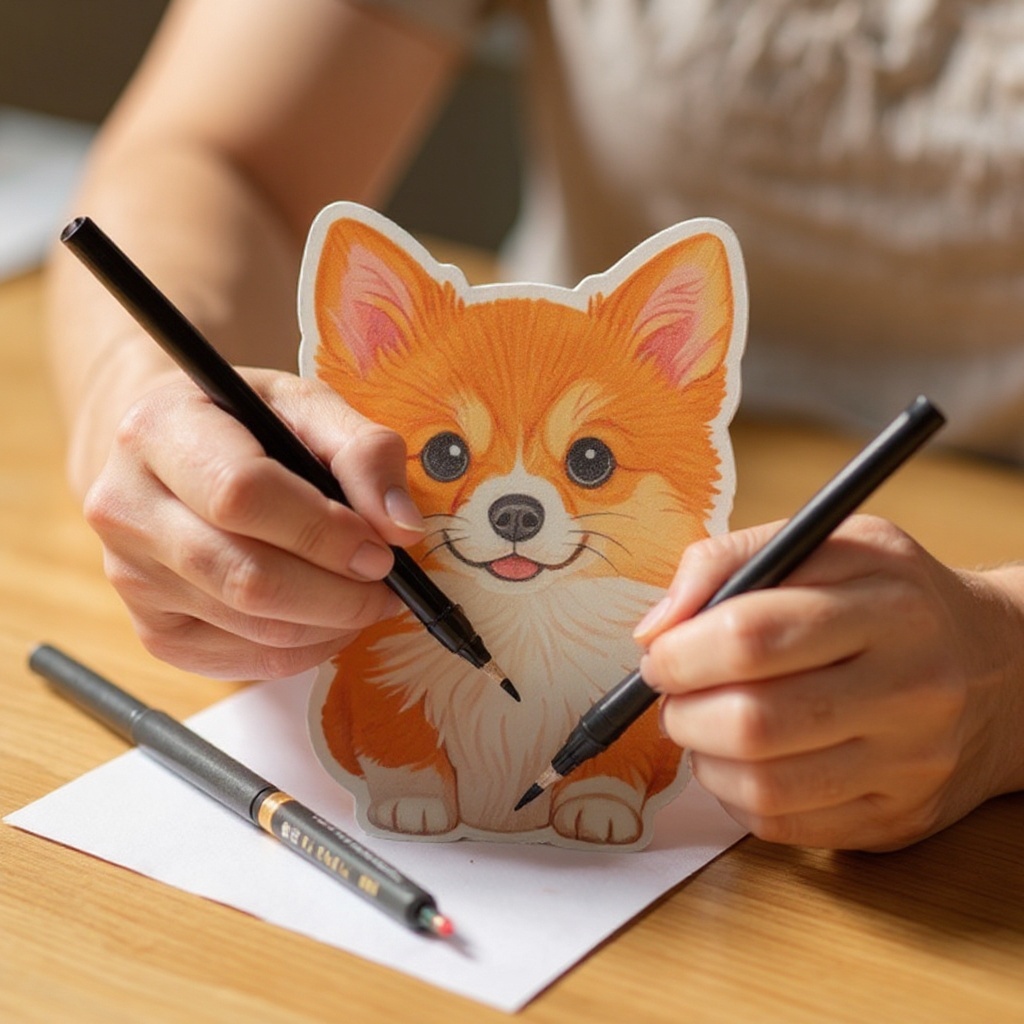
**5. Bring Your Pet to Life with Color:** Now comes the fun part! Using your permanent markers, carefully color in your pet's features within the sketched outline. Pay attention to their unique markings, fur patterns, and eye color. Use different shades and blending techniques to add depth and dimension to your portrait. Remember that the colors will intensify and darken as the plastic shrinks, so don't be afraid to use lighter shades initially.
- 6
**6. Add Fine Details and Texture:** Use your finest-tipped markers to add those crucial details that make your pet recognizable. This includes the glint in their eyes, the texture of their fur, whiskers, and any specific markings or spots. Take your time with this step, as these small details will become more prominent after shrinking. Consider using a slightly darker shade of marker to create subtle shadows and highlights.
- 7
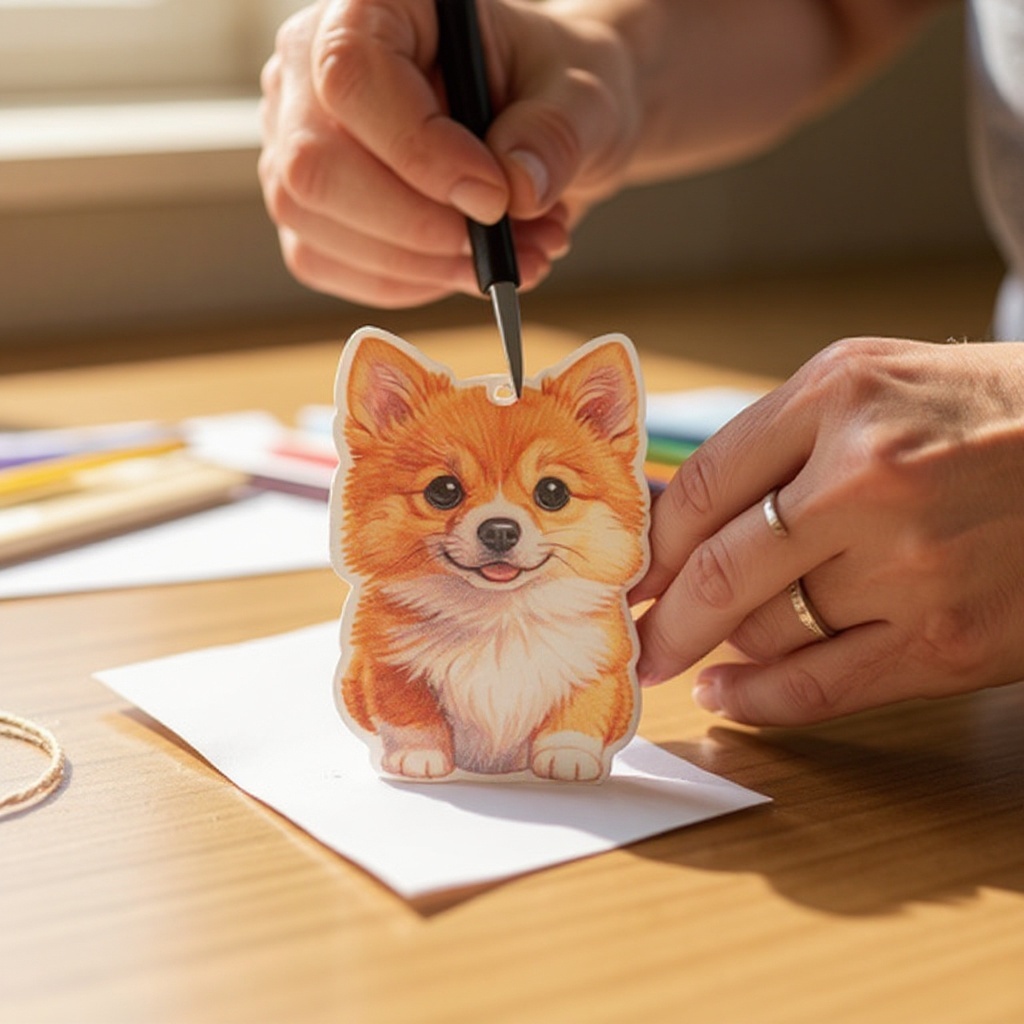
**7. Punch a Hole for Hanging (Optional):** If you plan to turn your pet portrait into a keychain, charm, or ornament, now is the time to punch a hole. Use your hole punch to create a clean hole near the top of the design, ensuring it's in a sturdy area that won't tear. Make sure the hole is large enough to accommodate a jump ring or string later on. Avoid placing the hole too close to the edge of the design.
- 8
**8. Carefully Cut Out Your Design:** Using sharp scissors, carefully cut out your shrink plastic pet portrait, staying precisely within the marker lines. A clean cut will ensure a professional-looking finished product. Take your time and make smooth, deliberate cuts to avoid any jagged edges that might detract from the final artwork.
- 9
**9. Prepare for Baking:** Preheat your oven to the temperature recommended on your shrink plastic packaging. This is typically between 325-350°F (160-175°C). Line a baking sheet with parchment paper; this prevents the plastic from sticking to the sheet and ensures even heat distribution.
- 10
**10. Bake and Watch the Magic Happen:** Carefully place your cut-out shrink plastic design onto the parchment-lined baking sheet. Place the baking sheet in the preheated oven. Bake for approximately 1-3 minutes, or until the plastic has visibly shrunk and flattened. Keep a close eye on it throughout the baking process, as it shrinks rapidly and can curl or warp if left in too long.
- 11
**11. Cool and Harden:** Once the plastic has shrunk and flattened, carefully remove the baking sheet from the oven. If the plastic is still hot and slightly pliable, you can use heat-resistant tweezers to gently reposition it if needed, or place a piece of parchment paper over it and gently press with a flat, heat-resistant object like a metal spatula to ensure it's completely flat. Allow the shrink plastic to cool completely on the baking sheet; it will become rigid and hard as it cools.
- 12
**12. Seal for Durability and Shine (Optional):** To protect your artwork from scratches and fading, and to give it a glossy finish, you can apply a clear sealant spray or a clear craft glaze. Follow the product's instructions for application, usually involving a few light coats. Ensure the sealant is completely dry before handling your finished pet portrait.
Tips & Troubleshooting
- 1Use fine-tipped permanent markers for detailed work. Thicker lines will become very thick and potentially muddy when shrunk, so opting for precision tools will yield a much cleaner and more intricate final piece.
- 2Don't overfill the shrink plastic with color; the colors will intensify and become more concentrated as it shrinks. It's often better to start with lighter shades and build up the color intensity gradually.
- 3If your plastic curls or warps significantly while baking, you can try gently pressing it flat with a piece of parchment paper and a flat, heat-resistant object (like a metal spatula or the back of a book) immediately after removing it from the oven. Be extremely cautious as the plastic and baking sheet will be very hot.
- 4Experiment with different types of shrink plastic – frosted plastic can give a matte finish that mimics paper, while clear plastic allows for a glossy look and can even be used to create layered effects if you're feeling adventurous.
- 5Once cooled, you can attach jump rings or string to the holes to create keychains, necklaces, or zipper pulls. For a more polished look, use jewelry pliers to securely attach jump rings to your punched holes.
- 6Consider using a light gray or brown marker to add subtle shading and depth to your pet's fur, mimicking natural highlights and shadows. This will make your portrait look more realistic and dimensional.
- 7If you're new to shrink plastic, practice on a scrap piece first to get a feel for how the colors change and how quickly the plastic shrinks. This will help you avoid common mistakes on your main project.
- 8For a unique touch, try adding a tiny background element to your pet's portrait, such as a paw print, a small heart, or even a simplified representation of their favorite toy. Just ensure it doesn't overpower the main subject.
Related Activities You Might Enjoy
Frequently Asked Questions
What kind of markers work best on shrink plastic sheets?
Permanent markers, such as Sharpies, are the best choice for shrink plastic sheets. They adhere well to the surface and won't smudge or fade after baking, ensuring your vibrant pet portrait lasts. The oils in permanent markers create a strong bond with the plastic, allowing for rich, opaque colors. While other markers might seem to work initially, they often lift or become patchy after the shrinking process. For the most detailed and lasting results, stick to well-known brands of permanent markers, preferably those with fine or extra-fine tips for precision work on your pet's features.
Can I use colored pencils or crayons on shrink plastic?
While you can technically color on shrink plastic with colored pencils or crayons before baking, permanent markers provide the most vibrant and durable results. The colors may also appear less intense with pencils or crayons, and they might not adhere as well, potentially smudging or fading after shrinking. Colored pencils can sometimes be used for subtle shading on top of marker work, but for the primary coloring, permanent markers are highly recommended. Crayons are generally not recommended as they tend to be waxy and may not adhere properly or shrink evenly.
Why did my shrink plastic not shrink evenly?
Uneven shrinking can happen if the heat in your oven is not distributed evenly, or if the plastic itself has inconsistencies. To combat this, try rotating the baking sheet halfway through the baking time to ensure both sides receive equal heat. Also, ensure your oven is fully preheated before placing the plastic inside, as a consistent temperature is crucial. If your oven has hot spots, you might consider using a baking stone or pizza stone to help distribute heat more evenly. Sometimes, thicker areas of the design can also shrink at a different rate than thinner areas.
How do I make my shrink plastic designs more durable?
To increase durability and add a protective layer, you can apply a clear sealant spray or a clear craft glaze to your cooled shrink plastic creations. This will also enhance the vibrancy of the colors and give them a glossy finish. Products like Mod Podge (in a matte or gloss finish) or clear acrylic spray sealants work wonderfully. Apply in thin, even coats, allowing each layer to dry completely before applying the next. This protective coating will prevent scratches and protect the marker ink from fading over time, making your pet portraits last for years to come.
What is the best way to transfer a complex pet photo onto shrink plastic?
For complex pet photos with intricate details, consider using a light box or a window to trace. Place your printed photo on a light box or tape it to a window, then place a piece of shrink plastic over it. You can then trace the key outlines and features with a pencil. For even more precision, you can use a permanent marker to create a stencil on paper first, then trace that stencil onto the shrink plastic. Another advanced technique involves printing your pet's photo onto special printable shrink plastic sheets, which allows for full-color, high-detail designs directly from your printer.
Can I create 3D effects or layered shrink plastic art?
Absolutely! While this guide focuses on flat portraits, shrink plastic is incredibly versatile. For 3D effects, you can cut out multiple pieces of the same design, shrink them, and then assemble them using strong craft glue or even by interlocking tabs you design into the pieces. Layering is another fantastic technique; shrink one piece of plastic, then draw and shrink another piece on top of it to create depth and dimension. For example, you could shrink a background element first, then shrink and attach your pet's portrait on top for a more dynamic composition.
What Next?
Once your shrink plastic pet portraits are cooled and sealed, the possibilities for display and use are endless! String them together to create a unique garland, attach them to a favorite backpack or purse as a charming zipper pull, or even incorporate them into a larger mixed-media art piece. For storage, keep them in a small box or pouch to prevent scratching. Consider trying different breeds, creating a set of matching portraits for multiple pets, or even experimenting with adding small backgrounds or accessories to your designs for even more personalized flair. This project is just the beginning of your shrink plastic adventures!
Free: 10 Paper Crafts Anyone Can Make in 5 Minutes
Get our beginner guide + new craft ideas weekly.
No spam. Unsubscribe anytime.
Did you complete this activity?
Related
You might also like
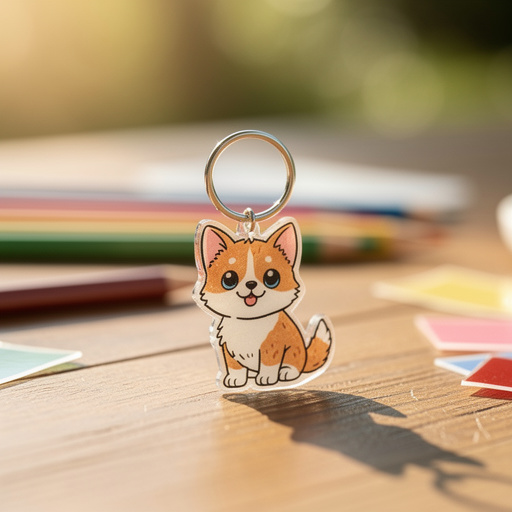
Shrink Plastic Pet Charms
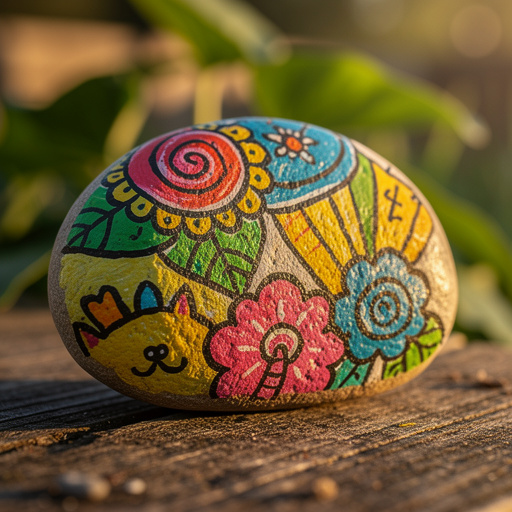
Sharpie Painted Rocks
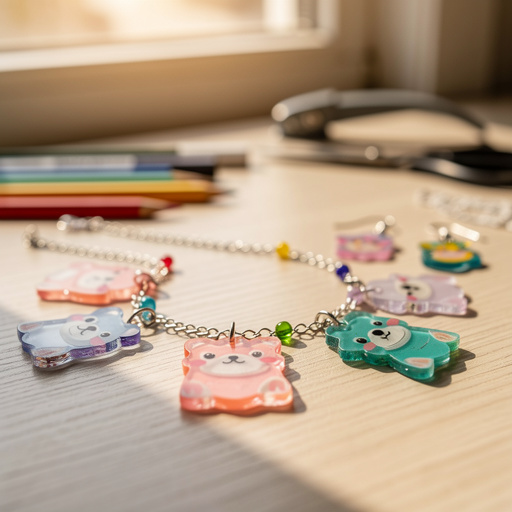
Shrink Plastic Charms & Jewelry
Clay & Button Charm Bracelets
Rainbow Stretch Bead Bracelets