How to Make Beautiful Pressed Flower Art Cards — Easy Step-by-Step Guide
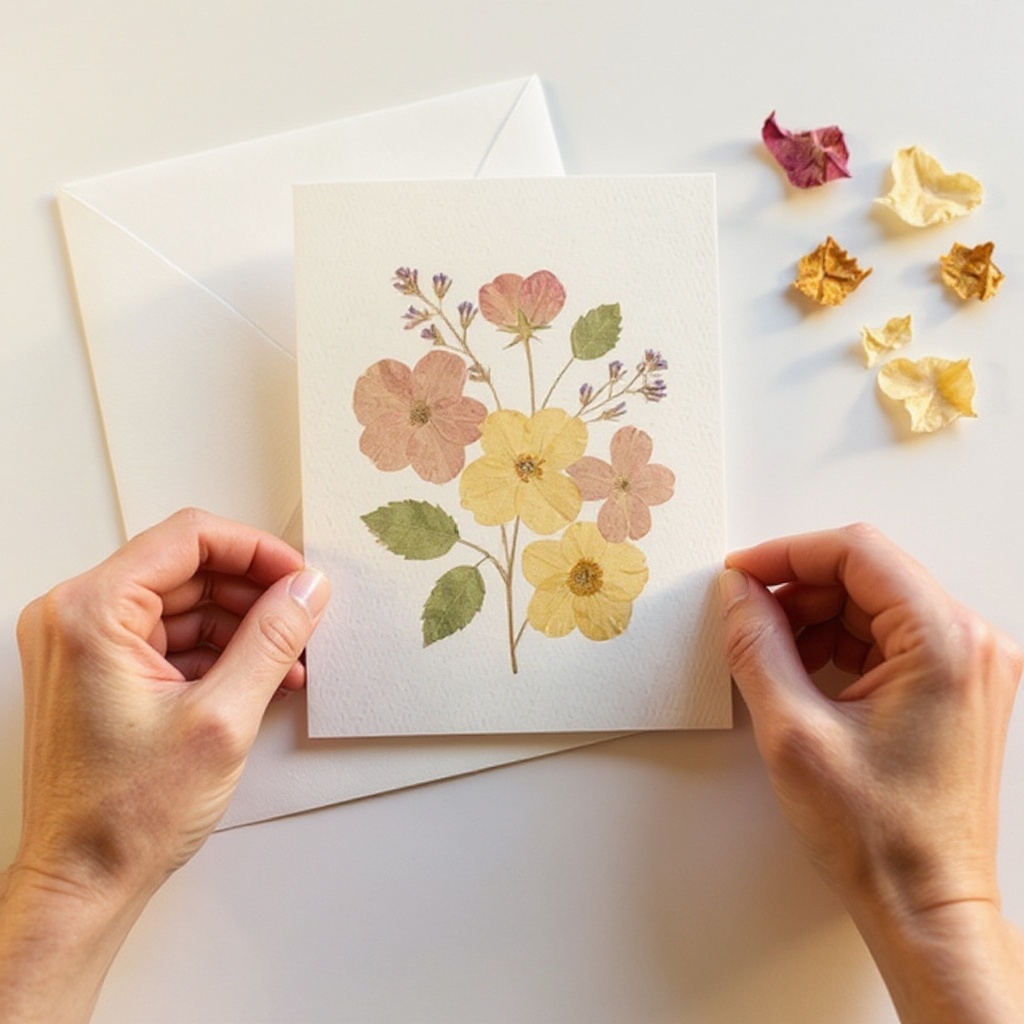
Transform delicate flowers and leaves into charming art cards. This screen-free activity brings the beauty of nature indoors for all ages to enjoy.
Quick answer
To make pressed flower art cards, you need pressed flowers, cardstock, glue, and about 30 minutes. Start by arranging your pressed flowers on the cardstock. This beginner-friendly activity has 10 steps and is perfect for families with children aged 6+.
What you need
Shop on Amazon · As an Amazon Associate we earn from qualifying purchases. Links above are affiliate links — we may earn a commission at no extra cost to you.
Discover the simple joy of creating personalized art cards with the delicate beauty of pressed flowers. This delightful craft is a wonderful way to connect with nature, offering a screen-free and mindful activity that appeals to all ages. Whether you're looking for a unique way to send greetings, create thoughtful gifts, or simply enjoy a relaxing afternoon, pressed flower art cards are a perfect choice. They transform ephemeral blooms into lasting treasures, bringing a touch of natural elegance to any occasion.
On this page
Step-by-Step Instructions
- 1
Gather your collection of fully dried pressed flowers and leaves. Ensure they have been pressed for at least 1-3 weeks and are completely flat and brittle to the touch; any remaining moisture can cause them to discolor or mold when glued.
- 2
Select a blank greeting card or a piece of cardstock cut to your desired card size. If using cardstock, ensure it's a sturdy weight that can support the delicate flowers without buckling.
- 3
Open the card or lay the cardstock flat on your clean workspace. Make sure the surface is smooth and free of any dust or debris that could adhere to your glue or flowers.
- 4
Begin by selecting a few pressed flowers and leaves that you envision for your design. Consider the colors, shapes, and textures of your chosen botanicals and how they might complement each other.
- 5
Before applying any glue, arrange your chosen pressed flowers and leaves on the front of your card. Experiment with different layouts, overlapping elements, and creating focal points to find a composition that you love.
- 6
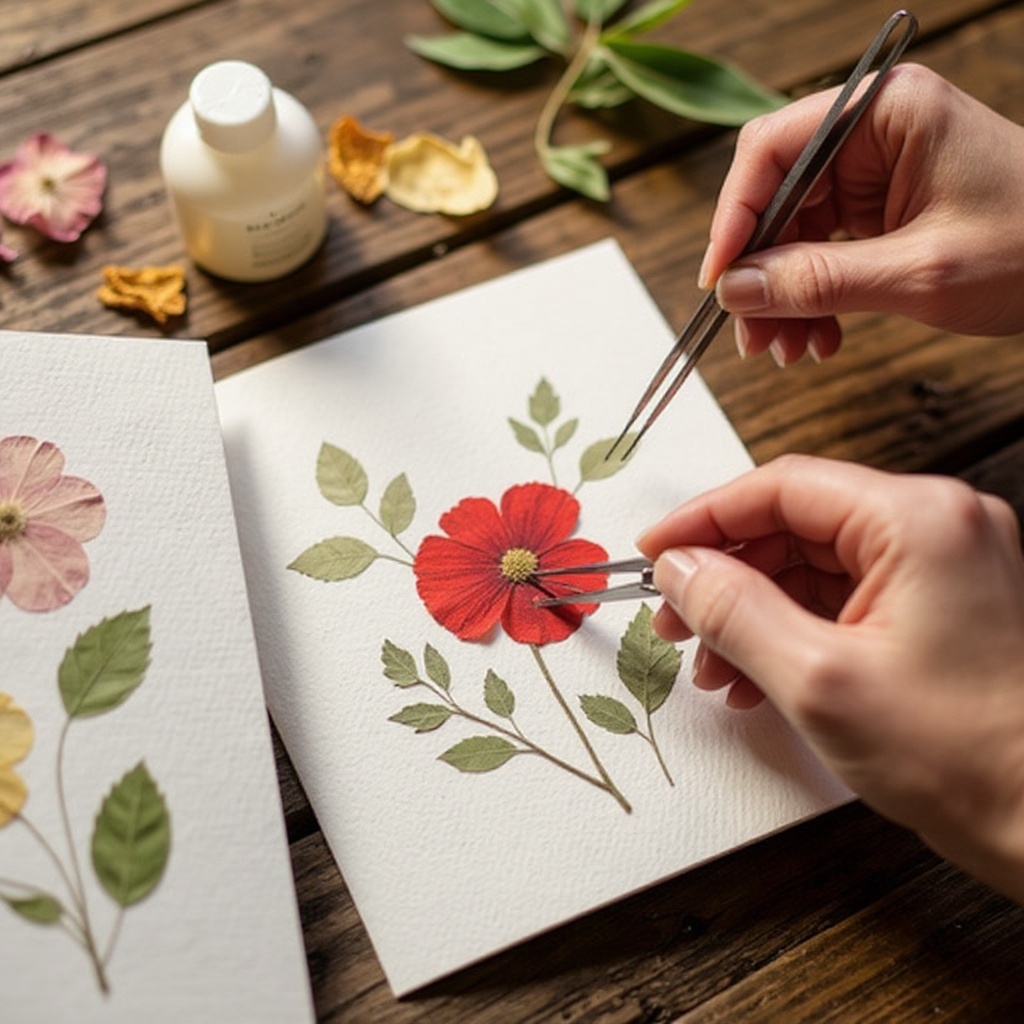
Once you are happy with your arrangement, carefully pick up your first floral element. Tweezers are highly recommended for this step, especially for very small or fragile pieces, as they provide precision and prevent damage.
- 7
Apply a small amount of white craft glue to the back of the pressed flower or leaf. Use a fine-tipped applicator or a small paintbrush to spread a thin, even layer of glue, ensuring you cover the entire surface that will touch the cardstock.
- 8
Carefully place the glued element onto the cardstock in your desired position. Gently press down with your fingertip or the back of the tweezers to ensure good adhesion, but be careful not to crush the delicate petals.
- 9
Repeat steps 6 and 7 for all the remaining flowers and leaves, building your floral design piece by piece. Work systematically, allowing a little space between elements if desired, or overlapping them for a more layered effect.

- 10
If any glue squeezes out from the edges of the flowers, gently wipe it away immediately with a damp paper towel or a clean cloth. Excess glue can dry clear but may leave a shiny or uneven finish.
- 11
Step back and assess your completed floral design. Make any minor adjustments by carefully lifting and repositioning elements while the glue is still wet, if necessary.
- 12
Once your design is complete and you are satisfied with the placement of all elements, allow the glue to dry thoroughly. This typically takes at least 15-20 minutes, but it's best to let it dry for at least an hour to ensure a strong bond.
- 13
For added durability and to protect the delicate pressed flowers from fading or damage, consider applying a light coat of clear sealant spray. Hold the can about 10-12 inches away from the card and apply a thin, even mist, allowing it to dry completely between coats if applying more than one.
- 14
Allow the sealant to dry completely according to the product's instructions before handling the card further or placing it in an envelope.
- 15
Your beautiful pressed flower art card is now complete and ready to be shared!
Tips & Troubleshooting
- 1Ensure your pressed flowers are completely dry before using them. Any residual moisture can cause them to mold, become brittle, or bleed their colors onto the cardstock, ruining your design.
- 2For a more secure hold on very delicate petals or thin leaves, use a fine-tipped glue applicator or a glue stick. This allows for precise application and prevents the flower from becoming saturated with too much liquid glue.
- 3Consider layering different shapes and sizes of flowers and leaves for added depth and visual interest. A larger leaf as a base can provide a beautiful backdrop for smaller, more intricate blooms.
- 4You can also add a small handwritten message or a simple drawn border to complement your floral design. Use fine-tipped pens or markers that won't bleed into the delicate paper of the pressed flowers.
- 5Store your finished cards in a dry place away from direct sunlight to preserve their color and integrity. Sunlight is a major culprit in fading the vibrant hues of pressed flowers over time.
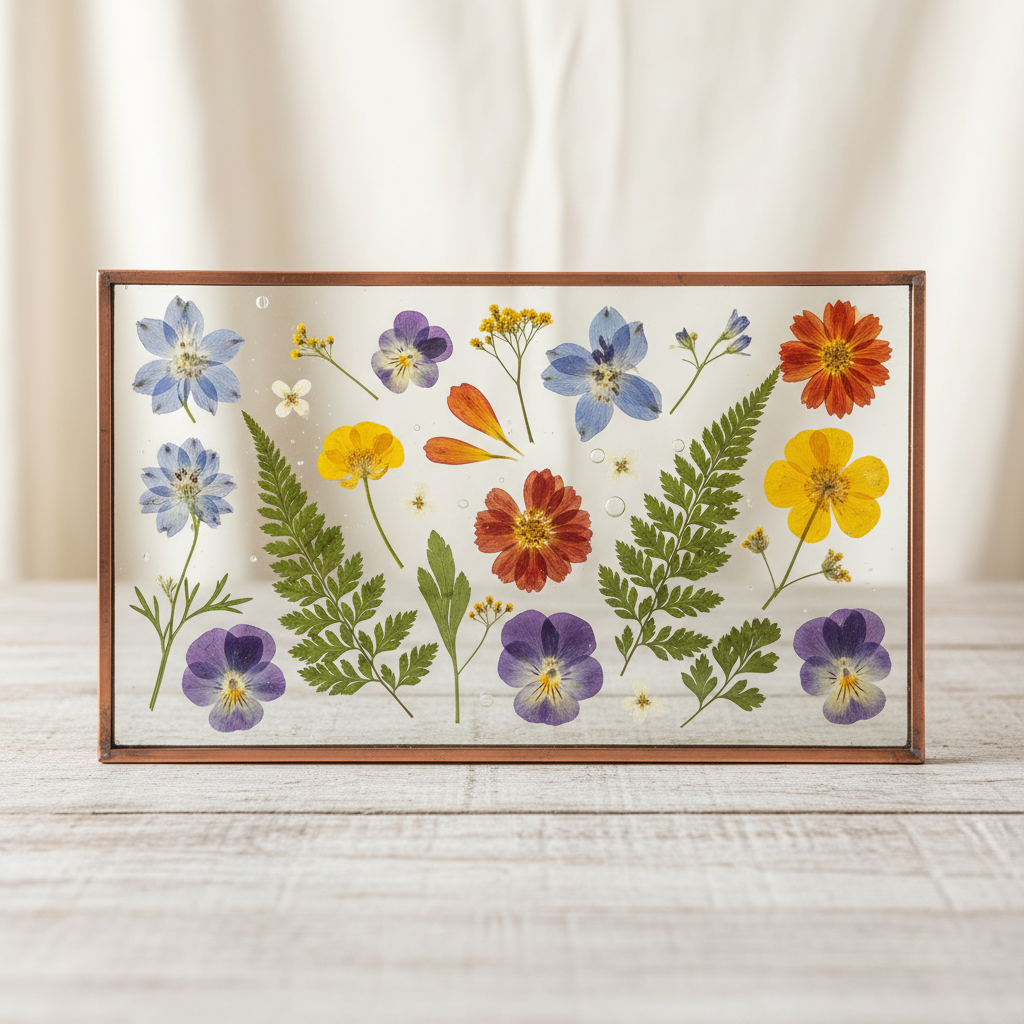
- 6Experiment with different types of flowers and foliage. Daisies, pansies, forget-me-nots, ferns, and even small sprigs of herbs can create unique and beautiful arrangements.
- 7If you don't have pre-pressed flowers, pressing your own is a rewarding part of the process. Collect flowers and leaves from your garden or during nature walks, press them between absorbent paper in a heavy book for 1-3 weeks, and change the paper regularly if it becomes damp.
- 8When arranging your flowers, think about balance and flow. Consider the rule of thirds or creating a naturalistic, organic feel to your composition for a more professional and aesthetically pleasing result.
Related Activities You Might Enjoy
Frequently Asked Questions
How do I press flowers for crafts?
To press flowers for crafts, the most common and effective method is using a heavy book. Select fresh, unblemished flowers and leaves, and place them between two sheets of absorbent paper, such as newspaper, blotting paper, or even paper towels. Carefully place these between the pages of a large, heavy book, ensuring the flowers are not overlapping. Stack several heavy books on top to apply even pressure. Leave them undisturbed for 1-3 weeks, checking periodically and changing the absorbent paper if it becomes damp. The goal is to remove all moisture, leaving the flowers flat, dry, and brittle.
What kind of glue is best for pressed flowers?
For pressed flower crafts, white craft glue, such as Elmer's Glue-All, is an excellent choice because it dries clear and provides a strong bond. A high-quality glue stick can also work well, especially for larger pieces or when working with children, as it's less messy. For very delicate or tiny floral elements, a fine-tipped glue applicator is invaluable, allowing for precise application without excess glue. Avoid using super glue or hot glue, as these can be too harsh and may damage the delicate structure of the pressed flowers.
Can I use fresh flowers for pressed flower crafts?
No, you absolutely must use flowers that have been properly pressed and are completely dry for this craft. Fresh flowers contain a significant amount of moisture, which will prevent them from adhering properly to the cardstock. This moisture can also lead to mold growth, discoloration, and a generally unpleasant outcome for your artwork. The pressing process removes this moisture, making the flowers flat, stable, and ready for crafting. Attempting to use fresh flowers will result in a soggy mess that won't last.
How long do pressed flower crafts last?
When properly created with thoroughly dried flowers and appropriate glue, pressed flower crafts can last for many years, often decades. The key to longevity is proper preservation. Keep your finished cards and artwork away from direct sunlight, as UV rays can cause the colors to fade significantly over time. Moisture is also a major enemy; store them in a dry environment, perhaps in a protective sleeve or a sealed box. Using archival-quality materials, if possible, can further enhance their lifespan and prevent degradation.
What are some common mistakes to avoid when making pressed flower cards?
A common mistake is using flowers that are not completely dry, leading to mold or discoloration. Another is using too much glue, which can seep out and create unsightly shiny spots or warp the cardstock. Over-handling delicate pressed flowers can also cause them to crumble or break, so using tweezers for placement is crucial. Finally, failing to protect the finished card from direct sunlight and moisture will significantly shorten its lifespan and dull its vibrant colors. Always ensure your workspace is clean to avoid transferring dust or debris onto your artwork.
Can I use different types of paper for pressing flowers?
Yes, you can use different types of absorbent paper for pressing flowers, but some are better than others. Newspaper is readily available and works well, but be aware that the ink can sometimes transfer to very light-colored flowers. Blotting paper is ideal as it's highly absorbent and doesn't have ink. Paper towels can also be used, but ensure they are plain and absorbent. Avoid glossy or coated papers, as they will not absorb moisture effectively and can stick to the flowers. The key is absorbency and the ability to wick away moisture.
What Next?
Once your beautiful pressed flower art cards are dry, they are ready to be shared or cherished. Consider adding a personal handwritten message inside or on the back to make them even more special. These cards can be used for birthdays, thank you notes, or just to brighten someone's day. For a different artistic flair, try incorporating small dried leaves, seed pods, or even delicate fern fronds into your designs. You can also explore different cardstock colors and textures to create a variety of moods and styles. Store your finished cards in a cool, dry place, perhaps in a decorative box, to preserve their vibrant colors and delicate forms for years to come.
Free: 10 Paper Crafts Anyone Can Make in 5 Minutes
Get our beginner guide + new craft ideas weekly.
No spam. Unsubscribe anytime.
Did you complete this activity?