How to Create Decoupage Trinket Boxes — Easy Step-by-Step Guide
Transform plain boxes into beautiful, sellable art with decoupage! This guide offers simple steps and inspiring ideas for creating unique trinket boxes perfect for gifting or selling.

Quick answer
To make decoupage trinket boxes, you need plain boxes, decorative paper, Mod Podge, and brushes, taking about 60 minutes. Start by preparing your paper and box. This beginner-friendly activity has 10 steps and is perfect for families and aspiring crafters.
What you need
Shop on Amazon · As an Amazon Associate we earn from qualifying purchases. Links above are affiliate links — we may earn a commission at no extra cost to you.
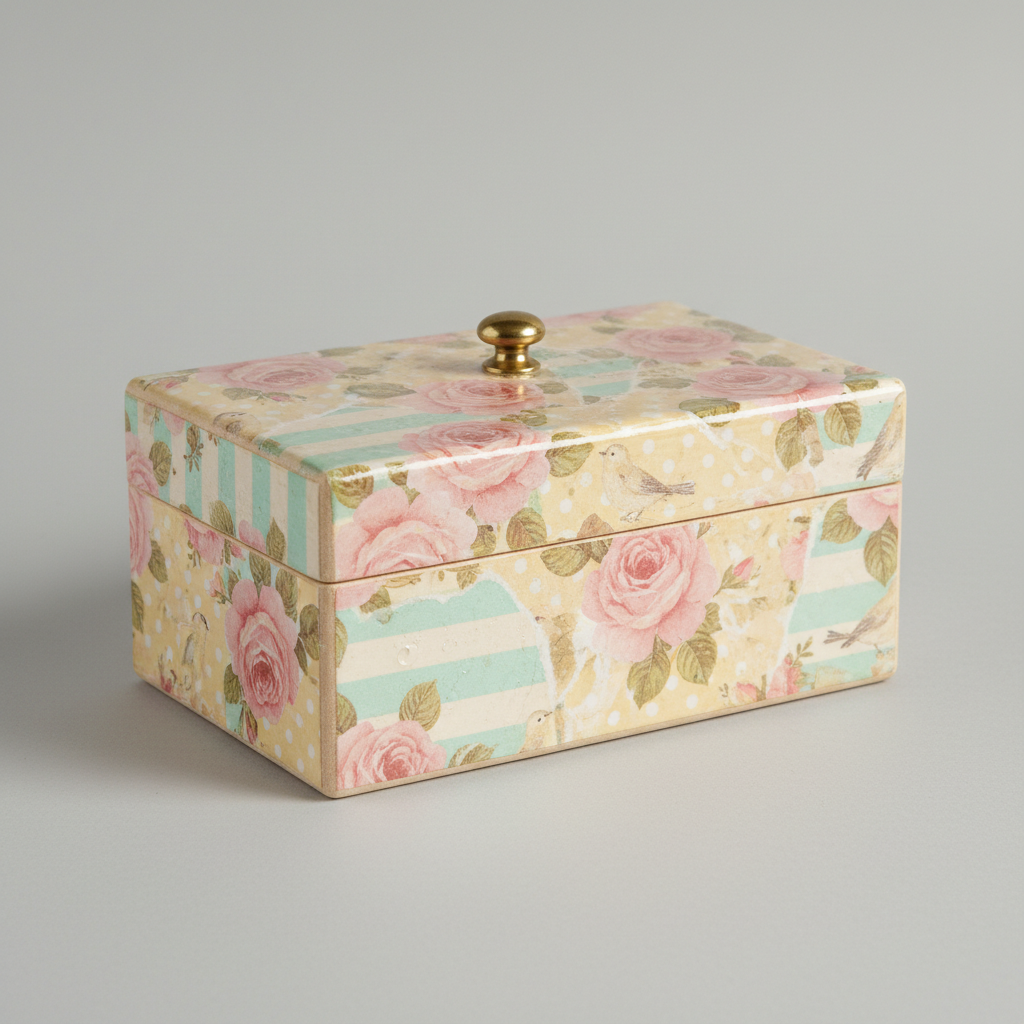
Unleash your inner artist and transform ordinary containers into exquisite works of art with the simple yet magical technique of decoupage. Creating decoupage trinket boxes is a wonderfully rewarding craft that allows you to infuse personality and style into everyday objects. Whether you're looking for a unique way to store your treasures, a heartfelt handmade gift, or a way to start a small crafting business, this project is perfect for you. It's incredibly beginner-friendly, making it an ideal activity for families, crafting groups, or anyone seeking a creative outlet.
On this page
Step-by-Step Instructions
- 1
Select your plain trinket boxes. Ensure they are clean, dry, and free of any dust or debris; a quick wipe-down with a damp cloth followed by thorough drying is recommended.
- 2
If desired, paint the inside and outside of the boxes with a base coat of acrylic paint and let dry completely. This step provides a uniform background color and can enhance the vibrancy of your chosen decorative paper, especially if it's thin or has a lot of white space.
- 3
Prepare your decorative paper by tearing or cutting it into pieces that are slightly larger than the areas you want to cover. For a softer edge, tearing can be more forgiving than cutting, and for intricate designs, using a craft knife allows for precise placement.
- 4
Apply a thin, even layer of Mod Podge to a section of the box where you want to place a paper piece. Ensure the Mod Podge covers the entire area where the paper will adhere, but avoid applying it too thickly, which can cause wrinkles.
- 5
Carefully lay a piece of decorative paper onto the wet Mod Podge, smoothing out any wrinkles or air bubbles with your fingers or a soft cloth. Start from the center and work your way outwards to gently press the paper down, ensuring full contact with the adhesive.
- 6
Continue applying paper pieces, overlapping them slightly to create a seamless design. Don't worry if the edges don't perfectly align; the overlapping will help create a unified look once the Mod Podge dries.
- 7
Once the exterior of the box is covered with paper, apply a thin top coat of Mod Podge over the entire decorated surface. This seals the paper, protects it from moisture, and creates a smooth, cohesive finish.
- 8
Allow the Mod Podge to dry completely according to the product instructions, which typically takes about 15-20 minutes for a thin coat. Ensure the surface is no longer tacky to the touch before proceeding.
- 9
Repeat the process for the inside of the box lid and the bottom of the box, if desired. Applying paper to these areas adds an extra layer of detail and makes the trinket box feel complete and more valuable.
- 10
Apply a second top coat of Mod Podge for added durability and a smooth finish. This extra layer provides greater protection against wear and tear, making your trinket boxes more robust.
- 11
Once the final coat of Mod Podge is dry, you can optionally spray the entire box with a clear sealant for extra protection and a professional look. This step is particularly recommended if the boxes will be handled frequently or exposed to light moisture.
- 12
Allow the sealant to cure completely before using or selling the trinket boxes. Curing times vary by product, but generally, allow at least 24 hours for the sealant to fully harden and achieve its maximum protective qualities.
Tips & Troubleshooting
- 1For a cleaner look, use thinner papers like napkins or tissue paper. Gently peel off the white backing layer of printed napkins before decoupaging; this allows the printed design to adhere smoothly without excess bulk.
- 2Experiment with different paper types and combinations to create unique textures and patterns. Vintage book pages, sheet music, or even fabric scraps can add a rich, layered aesthetic that elevates your designs.
- 3If you're selling your creations, consider adding small embellishments like beads, charms, or ribbon to the finished boxes for an extra touch of elegance. These details can significantly increase the perceived value and appeal of your handcrafted items.
- 4Always work in a well-ventilated area, especially when using sealant sprays. Ensure good airflow to prevent inhaling fumes and to allow the sealant to dry properly and evenly.
- 5For a more professional finish, lightly sand any rough edges after the Mod Podge is completely dry but before applying the final top coat. This helps to smooth out any raised paper edges or minor imperfections, creating a sleek surface.
- 6When applying paper to curved surfaces or corners, make small relief cuts in the paper to help it lie flat without bunching. Gently press these cut edges down with Mod Podge to ensure they adhere securely.
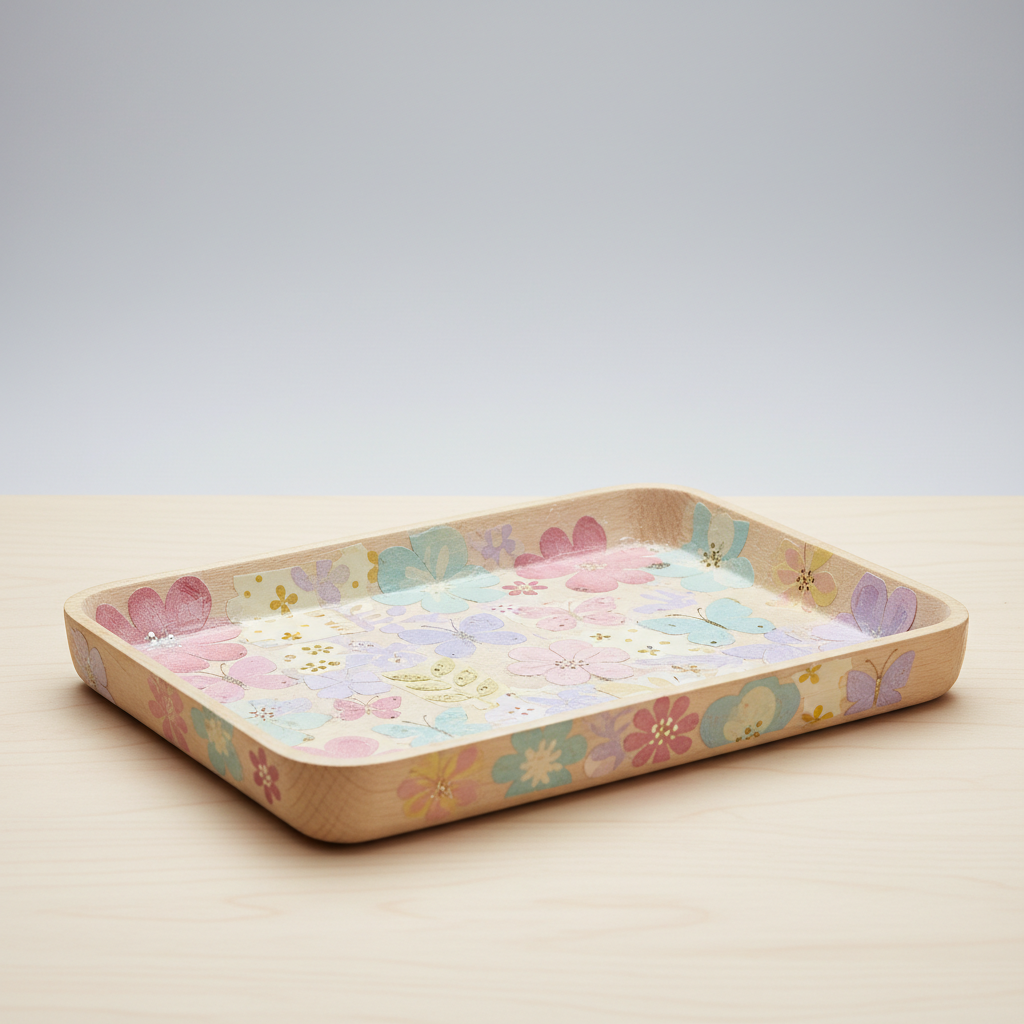
- 7Don't be afraid to mix and match different patterns and colors. A bold floral print on the outside paired with a subtle stripe on the inside can create a surprisingly harmonious and visually interesting effect.
- 8If you encounter stubborn wrinkles or bubbles that you can't smooth out, you can carefully prick them with a fine needle and then gently press the paper down. This is a small trick that can make a big difference in the final appearance.
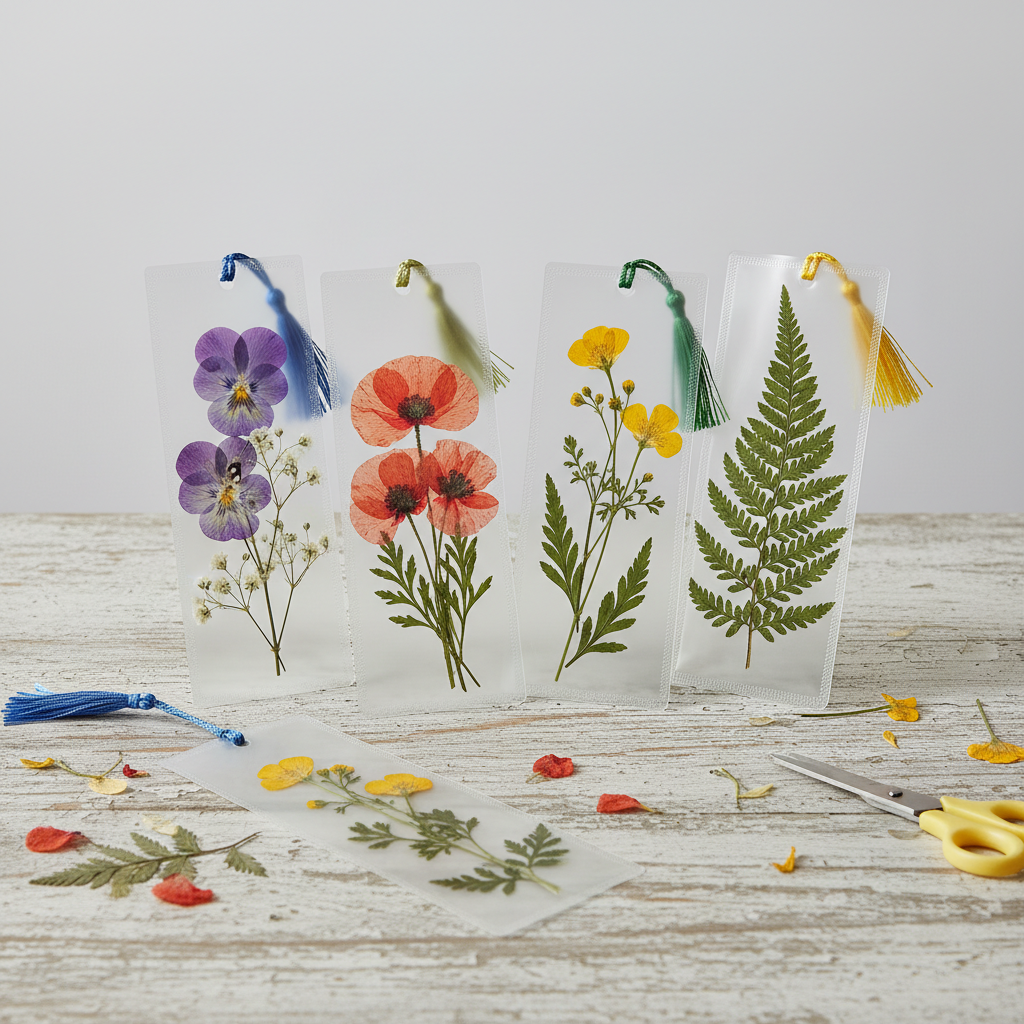
Related Activities You Might Enjoy
Frequently Asked Questions
What are the best papers to use for decoupage to sell?
For sellable decoupage items, consider using decorative napkins, scrapbook paper, vintage maps, or even thin fabric scraps. Decorative napkins are excellent because they offer intricate designs and are very thin, allowing for a smooth finish with minimal texture. High-quality scrapbook paper provides a wide range of patterns and colors, and its slightly thicker weight can offer more durability. Vintage maps and sheet music add a unique, nostalgic charm. Thin fabric scraps, like silk or cotton, can introduce interesting textures. The key is to choose materials that are visually appealing, relatively easy to work with for a smooth application, and that resonate with your target market.
How do I make decoupage items look professional for selling?
To achieve a professional look, ensure smooth application of paper by working out all air bubbles and wrinkles meticulously. Use multiple thin coats of Mod Podge, allowing each to dry thoroughly between applications, which builds a strong, smooth seal. Consider a final clear sealant spray for added protection and a polished sheen that mimics commercial products. Lightly sanding between coats of Mod Podge, especially on edges, can help eliminate any raised paper fibers or imperfections. Finally, pay attention to the details: ensure clean edges, consistent coverage, and consider adding subtle embellishments that complement the design without overpowering it.
What kind of boxes are good for decoupage to sell?
Plain wooden or sturdy cardboard boxes are excellent for decoupage, especially for selling. Wooden boxes offer a solid, durable base that feels more luxurious and can be easily sanded for a smooth finish. They are ideal for higher-end crafts. Sturdy cardboard boxes are a more budget-friendly option and are readily available in various sizes and shapes, making them versatile for different product lines. Look for boxes with smooth surfaces that are free from major imperfections. The key is that the box provides a stable, receptive surface for the paper and adhesive, allowing your decoupage design to shine and ensuring the final product is both attractive and durable.
How long does decoupage take to dry before selling?
Decoupage typically needs to dry for at least 24 hours after the final coat of Mod Podge or sealant before it's fully cured and ready for handling or selling. While Mod Podge itself may feel dry to the touch within 15-20 minutes per coat, this is just the surface drying. The adhesive needs time to fully harden and bond with the paper and the box. For a clear sealant spray, curing times can also vary, but it's crucial to allow it to fully set to achieve maximum durability and protection. Rushing this process can lead to smudges, dents, or a less durable finish, which is undesirable for items intended for sale.
Can I decoupage fabric onto boxes?
Yes, you can absolutely decoupage fabric onto boxes, and it's a fantastic way to add unique texture and depth to your creations. Thin to medium-weight fabrics like cotton, linen, or even some silks work best, as they are pliable and can conform to the box's shape. You'll want to pre-wash and iron the fabric to remove any sizing or wrinkles. Apply Mod Podge to the box surface, lay the fabric down, and smooth out any wrinkles or air bubbles, much like you would with paper. You might need slightly more Mod Podge to saturate the fabric. A final top coat of Mod Podge will seal the fabric, making it durable and washable to a certain extent. This technique opens up a whole new world of design possibilities.
What is the difference between matte and glossy Mod Podge?
The primary difference between matte and glossy Mod Podge lies in the final finish they provide. Matte Mod Podge dries to a non-reflective, soft finish, which can give your decoupage project a more natural, understated look, similar to traditional painted surfaces. It's excellent for designs where you want the paper to be the star without any distracting shine. Glossy Mod Podge, on the other hand, dries to a shiny, reflective finish, which can enhance the vibrancy of colors and give your project a polished, almost lacquered appearance. It's great for making images pop and for projects that you want to have a high-sheen look. Both offer the same sealing and adhesive properties, so the choice depends entirely on the aesthetic you wish to achieve.
What Next?
Congratulations on creating your beautiful decoupage trinket boxes! The possibilities are truly endless, from incorporating specific themes for holidays to creating personalized gifts for loved ones. Consider variations like using fabric for a textured finish, or adding a distressed look with chalk paint before decoupaging. These charming boxes are perfect for displaying on dressers, shelves, or even as decorative accents in a craft fair booth. Store them in a cool, dry place to preserve their beauty for years to come. For your next project, explore larger boxes or even furniture pieces to expand your decoupage skills.
Free: 10 Paper Crafts Anyone Can Make in 5 Minutes
Get our beginner guide + new craft ideas weekly.
No spam. Unsubscribe anytime.
Did you complete this activity?