How to Make Pressed Flower Resin Coasters — Easy Step-by-Step Guide
Transform delicate pressed flowers into stunning, functional art with these pressed flower resin coasters. A rewarding craft for adults to create unique home decor.

Quick answer
To make pressed flower resin coasters, you need dried flowers, resin, molds, and about 2 hours of active time (plus drying). Start by arranging your flowers in the mold. This intermediate activity has 12 steps and is perfect for adults seeking a sophisticated, screen-free hobby.
What you need
Shop on Amazon · As an Amazon Associate we earn from qualifying purchases. Links above are affiliate links — we may earn a commission at no extra cost to you.
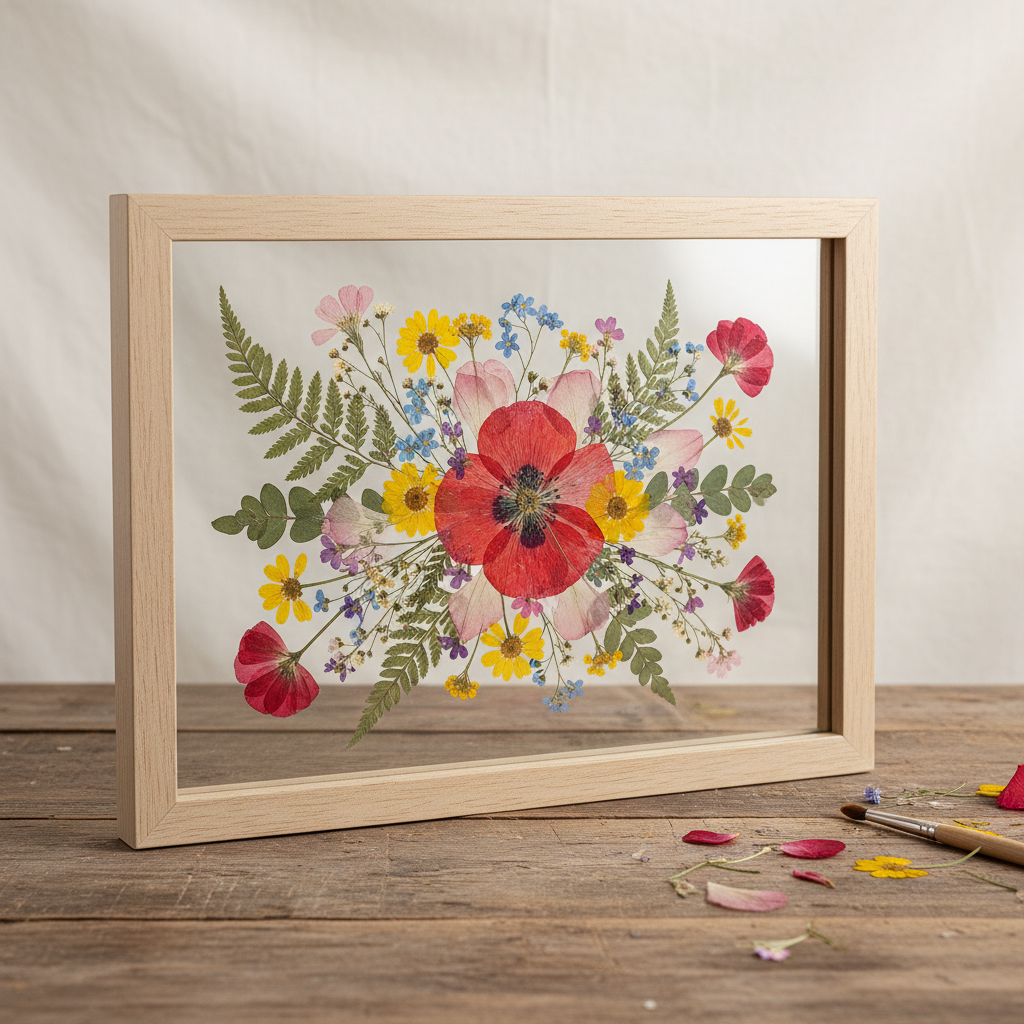
Elevate your home decor with the timeless beauty of pressed flowers captured in shimmering resin. Creating pressed flower resin coasters is a wonderfully satisfying craft that allows you to preserve the delicate artistry of nature and transform it into functional pieces of art. This project is perfect for anyone looking to add a personal, sophisticated touch to their living space, whether you're a seasoned crafter or a curious beginner. It's a mindful, screen-free activity that results in truly unique and cherished items, making them ideal for gifts or personal indulgence.
On this page
Step-by-Step Instructions
- 1
Prepare your workspace by laying down a drop cloth or newspaper to protect surfaces from resin. Ensure the area is well-ventilated and free from dust and debris, as these can mar the finish of your coasters.
- 2
Put on your protective gloves and safety glasses. Resin can be sticky and irritating to the skin, and fumes can be strong, so proper personal protective equipment is essential for a safe crafting experience.
- 3
Carefully arrange your pressed flowers and leaves within the silicone coaster mold, experimenting with different designs. Consider the composition, color balance, and how the flowers will look once the resin is poured over them; this is where your artistic vision comes to life.
- 4
Once satisfied with the arrangement, gently lift the flowers out of the mold and set them aside on a clean surface. Take a photo of your arrangement if you're worried about recreating it perfectly, as precise placement is key to a beautiful final product.
- 5
In a clean disposable cup, measure and mix the casting resin according to the manufacturer's instructions. It is crucial to use accurate ratios; even a slight deviation can affect the curing process and the clarity of your resin.
- 6
Stir the resin mixture thoroughly for the recommended time (usually 3-5 minutes), scraping the sides and bottom of the cup. This ensures both parts of the resin are fully incorporated, which is vital for proper curing and to avoid sticky spots.
- 7
Allow the mixed resin to sit for a few minutes to let air bubbles rise to the surface. You can gently tap the sides of the cup to encourage bubbles to escape, or use a toothpick to gently coax them out.
- 8
Carefully pour a thin layer of resin into the bottom of the coaster mold, just enough to cover the base. This initial thin layer acts as an adhesive for your flowers and helps prevent them from floating to the top later on.
- 9
Gently place your arranged pressed flowers back into the mold, pressing them lightly into the wet resin. Use your tweezers to meticulously position each element, ensuring they lie flat and are well-supported by this initial resin layer.
- 10
If you are adding glitter or mica powder, now is the time to mix it into a separate small batch of resin or sprinkle it lightly onto this first layer of resin before placing your flowers. This creates a beautiful depth and shimmer effect.
- 11
Slowly pour the remaining resin over the flowers, ensuring they are fully submerged and the mold is filled to the desired level. Pouring slowly helps minimize the introduction of new air bubbles into the mixture.
- 12
Use a stirring stick or toothpick to gently pop any visible air bubbles that rise to the surface. You can also use a heat gun on a low setting, held a few inches away, to quickly pop surface bubbles; be careful not to overheat the resin.
- 13
Allow the coasters to cure undisturbed in a well-ventilated area for at least 24-48 hours, or as recommended by the resin manufacturer. Ensure the surface you're working on is perfectly level using a small level to prevent uneven curing or pooling.
- 14
Once the initial cure time has passed, carefully demold your coasters. If they seem slightly tacky or have minor imperfections, you can often pour a very thin top layer of resin to fix them, but ensure the first layer is clean and free of dust.
- 15
For a cleaner, more professional finish, you can lightly sand the edges of the cured coasters with fine-grit sandpaper (400-600 grit) to remove any sharp edges or imperfections. Follow up with a soft cloth and a polishing compound to bring back the shine.
Tips & Troubleshooting
- 1Ensure your pressed flowers are completely dry before embedding them in resin. Any residual moisture can cause them to rot, discolor, or create cloudy spots within the resin, significantly impacting the final aesthetic of your coasters.
- 2Work in a well-ventilated area and wear gloves and safety glasses at all times. Resin fumes can be strong and potentially harmful, and direct skin contact should be avoided to prevent irritation or allergic reactions.
- 3If you want to add glitter or mica powder for extra sparkle and dimension, mix it thoroughly into the resin before pouring, or sprinkle it lightly onto the first thin layer of resin before placing your flowers. Experiment with different colors and textures for unique effects.
- 4For a cleaner finish and to remove any sharp edges or imperfections, you can lightly sand the edges of the cured coasters with fine-grit sandpaper (around 400-600 grit). After sanding, polish the edges with a soft cloth and a plastic polish or car wax to restore their shine.
- 5If you notice any small imperfections, such as tiny bubbles or a slightly uneven surface after the initial curing, you can often pour a very thin top layer of resin to fix them. Ensure the first layer is clean and free of dust before applying the second pour.
- 6To prevent your pressed flowers from floating to the top of the resin, pour a thin base layer of resin first and let it partially cure (until it's tacky but not fully hardened) before placing your flowers. This 'sticky base' will help hold them in place.
- 7When mixing your resin, be patient and stir slowly and deliberately. This minimizes the amount of air you introduce into the mixture, leading to fewer bubbles and a clearer final product. Scrape the sides and bottom of the cup frequently.
- 8Ensure your workspace and molds are perfectly level before pouring resin. An uneven surface can cause the resin to pool on one side, resulting in uneven coasters and potential leaks from the mold.
Related Activities You Might Enjoy
Frequently Asked Questions
How do I properly press flowers for resin crafts?
To press flowers effectively for resin crafts, select fresh, dry blooms and place them between sheets of absorbent paper, such as newspaper, blotting paper, or even paper towels. Sandwich these between the pages of heavy books, ensuring the flowers are not overlapping. Leave them to press for 1-3 weeks, changing the absorbent paper every few days to wick away moisture. The goal is to achieve completely dry, flat, and brittle flowers that will not introduce moisture into the resin, which can cause discoloration or rot.
Can I use fresh flowers in resin crafts?
No, fresh flowers should absolutely not be used in resin crafts. Fresh flowers contain a significant amount of moisture, which will prevent the resin from curing properly and will cause the flowers to rot and discolor within the resin over time. This will inevitably ruin your project, leading to a cloudy, discolored, and unsightly outcome. Always ensure your botanicals are thoroughly dried and pressed before embedding them in resin.
How long does resin take to cure for coasters?
Resin typically takes 24-48 hours to cure fully to a hard, durable state. However, this is a general guideline, and the exact cure time can vary significantly depending on the specific brand of resin you are using, the thickness of the pour, and the ambient temperature and humidity of your workspace. Always refer to the manufacturer's instructions for your particular resin kit for the most accurate curing times and recommendations.
What is the best type of resin for pressed flower crafts?
Clear casting epoxy resin is the ideal choice for pressed flower crafts. This type of resin is specifically formulated for pouring in thicker layers, which is perfect for embedding objects like flowers. It cures to a crystal-clear finish with excellent UV resistance, minimizing yellowing over time and beautifully showcasing your delicate botanicals. Look for resins labeled as 'casting resin' or 'deep pour resin' for the best results.
What are some common mistakes to avoid when working with resin?
Several common mistakes can be avoided with careful preparation. Firstly, inaccurate resin ratios are a major issue; always measure precisely. Secondly, insufficient stirring can lead to sticky, uncured spots. Thirdly, not working in a well-ventilated area or without proper PPE can be hazardous. Lastly, rushing the curing process or not ensuring your workspace is level can result in flawed coasters. Always read and follow your resin kit's instructions meticulously.
How can I achieve a bubble-free finish in my resin coasters?
Achieving a bubble-free finish requires a multi-pronged approach. Start by stirring your resin slowly and deliberately to minimize introducing air. Allow the mixed resin to sit for a few minutes to let some bubbles rise. After pouring, use a heat gun on a low setting, held a few inches away, or a long-arm lighter to gently wave over the surface and pop any remaining bubbles. A toothpick can also be used to coax stubborn bubbles to the surface. Ensuring your flowers are completely dry also helps, as trapped air within the petals can cause bubbles.
What Next?
You've now unlocked the secret to creating stunning pressed flower resin coasters! Experiment with different flower types, color palettes, and even add a touch of glitter for extra sparkle. Consider creating matching sets or a variety of designs to suit different moods and seasons. These beautiful coasters are not only functional but also serve as delightful conversation starters. Display them proudly on your coffee table, gift them to loved ones, or explore other resin crafting projects like keychains or decorative trays. Your journey into the world of resin art has just begun!
Free: 10 Paper Crafts Anyone Can Make in 5 Minutes
Get our beginner guide + new craft ideas weekly.
No spam. Unsubscribe anytime.
Did you complete this activity?
Related
You might also like

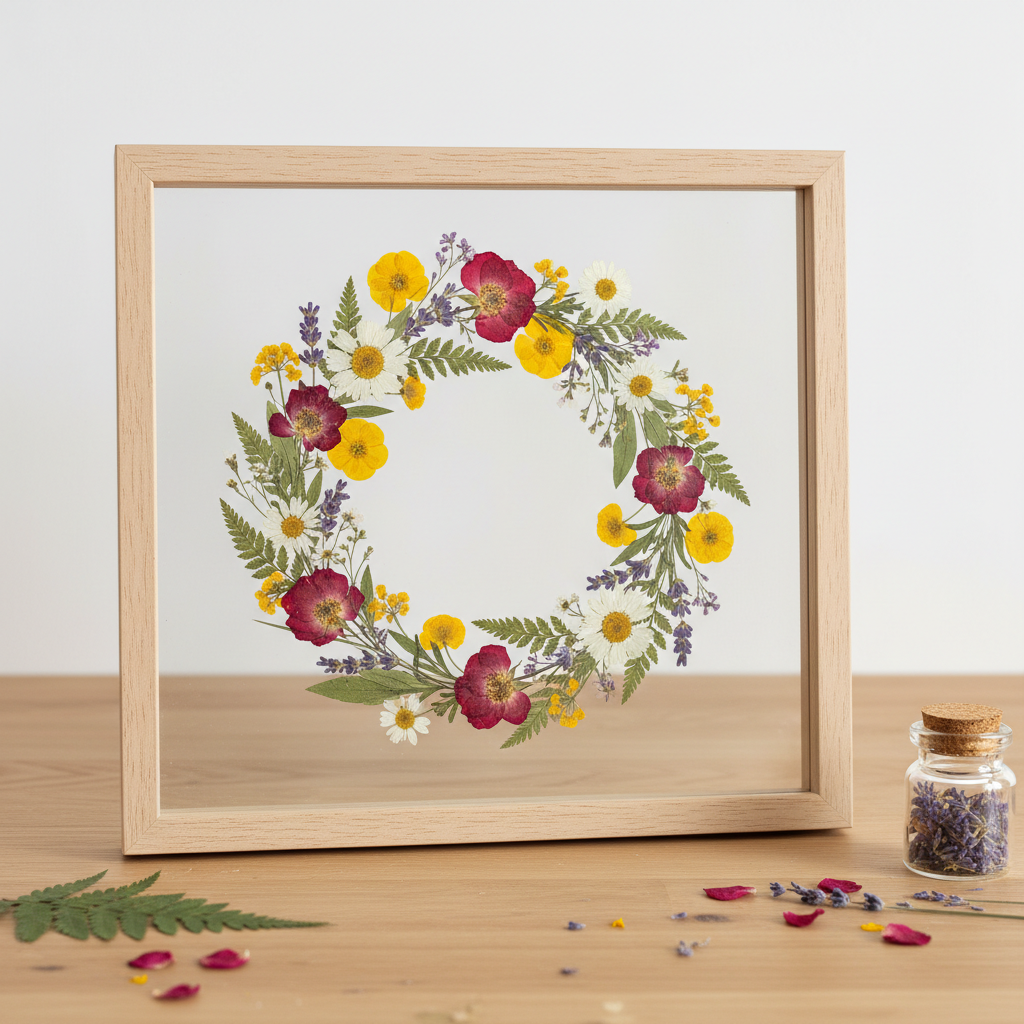
Pressed Flower Resin Coasters
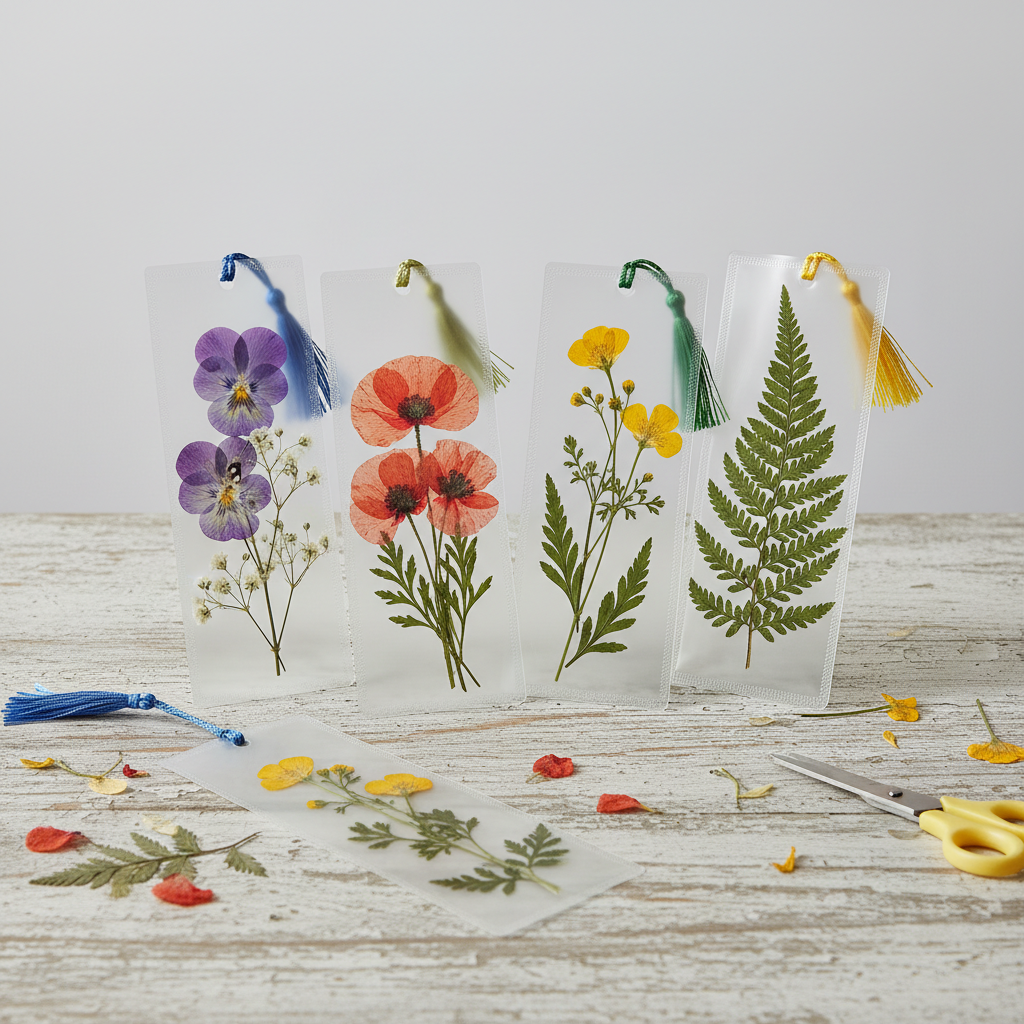
Pressed Flower Page Markers
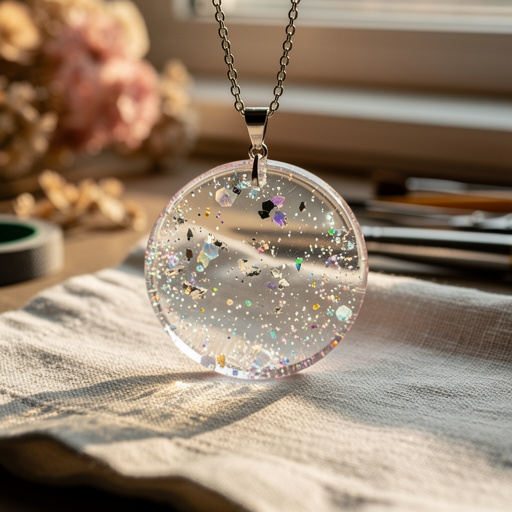
Floating Glitter Resin Pendants
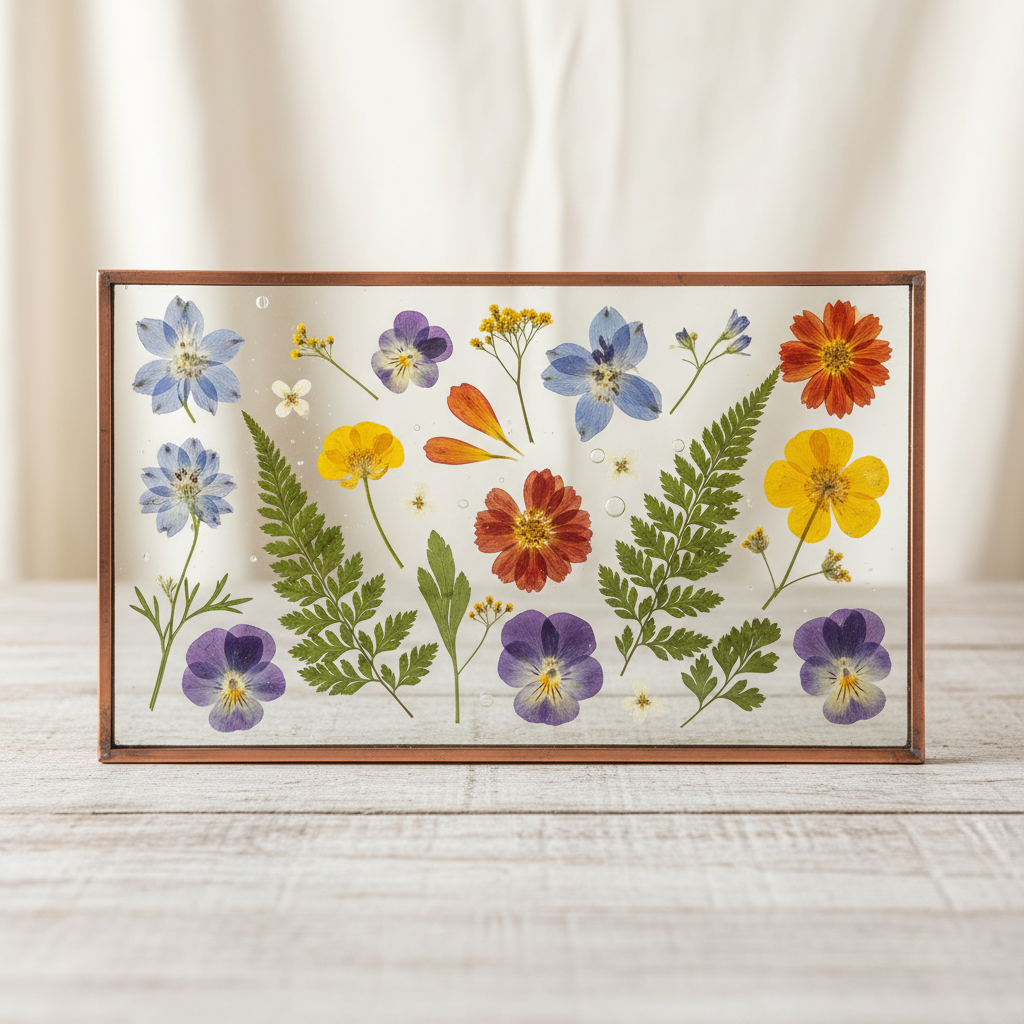
Pressed Flower Glass Art
Pressed Flower Art Cards
