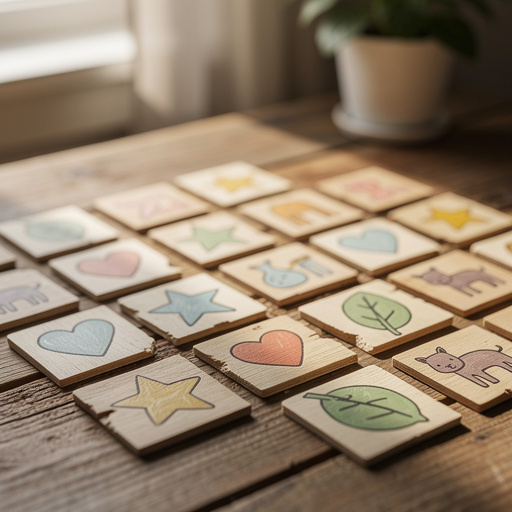
How to Create a Family Story Dice Game — Easy Step-by-Step Guide
Unleash your family's imagination with a DIY story dice game! This simple craft creates endless storytelling adventures, perfect for cozy family nights.


Quick answer
To make a family story dice game, you need 6 blank wooden cubes (approx. 1.5-inch), permanent markers (various colors), a ruler, and a pencil. You'll also need about 60 minutes of crafting time. Start by drawing simple, clear icons on each face of the cubes, categorizing them into characters, settings, actions, emotions, objects, and weather/time. This beginner-friendly activity has 10 core steps and is perfect for families with children aged 6 and up, fostering creativity and bonding.
What you need
Shop on Amazon · As an Amazon Associate we earn from qualifying purchases. Links above are affiliate links — we may earn a commission at no extra cost to you.
Gather your family for an unforgettable creative adventure with this DIY Story Dice Game! In a world often dominated by screens, this unplugged activity offers a refreshing way to connect, spark imagination, and build collaborative storytelling skills. It's a wonderfully simple yet profoundly engaging project that transforms ordinary wooden cubes into magical portals for endless tales. Perfect for rainy afternoons, cozy evenings, or even as a fun travel activity, this game is designed to be accessible for all ages, making it a cherished addition to your family's game night repertoire.
On this page
Step-by-Step Instructions
- 1
Gather your 6 blank wooden cubes and all your permanent markers. Ensure your workspace is well-ventilated, especially if you plan to use the sealant spray later. Inspect the cubes for any rough edges and, if desired, gently sand them smooth with fine-grit sandpaper for a better drawing surface.
- 2
Using your ruler and pencil, lightly mark a grid on each face of the cubes to help with drawing. Aim for a 1-inch square grid on each of the six faces, ensuring the lines are faint enough to be easily covered by marker but visible enough to guide your icons. This grid will help maintain consistent icon placement and size across all dice.

- 3
On the first cube, dedicate all six faces to drawing simple icons representing characters. Think about archetypes that spark imagination, such as a crown for royalty, a smiley face for a happy person, a wizard hat for a magical being, a dog for a loyal companion, a robot for a futuristic entity, and a star for a celebrity or a celestial being. Keep the designs straightforward and easily recognizable.
- 4
For the second cube, focus on drawing icons that represent various settings or locations. Consider a classic castle for a fantasy realm, a dense forest for an outdoor adventure, a futuristic spaceship for a space odyssey, a bustling city for an urban tale, a serene beach for a vacation story, and a mysterious cave for an exploration narrative. Ensure each icon clearly conveys its intended environment.

- 5
The third cube will be dedicated to actions or verbs, which are crucial for driving the story forward. Draw icons that depict movement and activity, such as a figure running, a person jumping, a bird flying, someone eating, a person sleeping, and two figures talking. These icons will help create dynamic plot points in your stories.
- 6
On the fourth cube, illustrate icons that represent emotions or feelings. These are vital for adding depth and character development to your narratives. Draw a classic happy face, a sad face, a surprised face, an angry face, a scared face, and a silly face. These simple expressions can guide characters' reactions and motivations.
- 7
The fifth cube is for drawing iconic objects that can be incorporated into the story. Think of items that can be found, lost, used, or are central to a plot. Examples include a key to unlock something, a book for knowledge or a magical spell, a treasure chest for hidden riches, a flower for beauty or a gift, a sword for bravery or conflict, and a magic wand for enchantment.
- 8
For the sixth and final cube, draw icons related to weather or time, which can set the mood or indicate the passage of time. Include a bright sun for a clear day, a rain cloud for a gloomy or wet scenario, a moon for nighttime, a lightning bolt for a storm or sudden event, a snowflake for winter, and a clock to signify a specific time or urgency. These elements add atmosphere and structure to your tales.
- 9
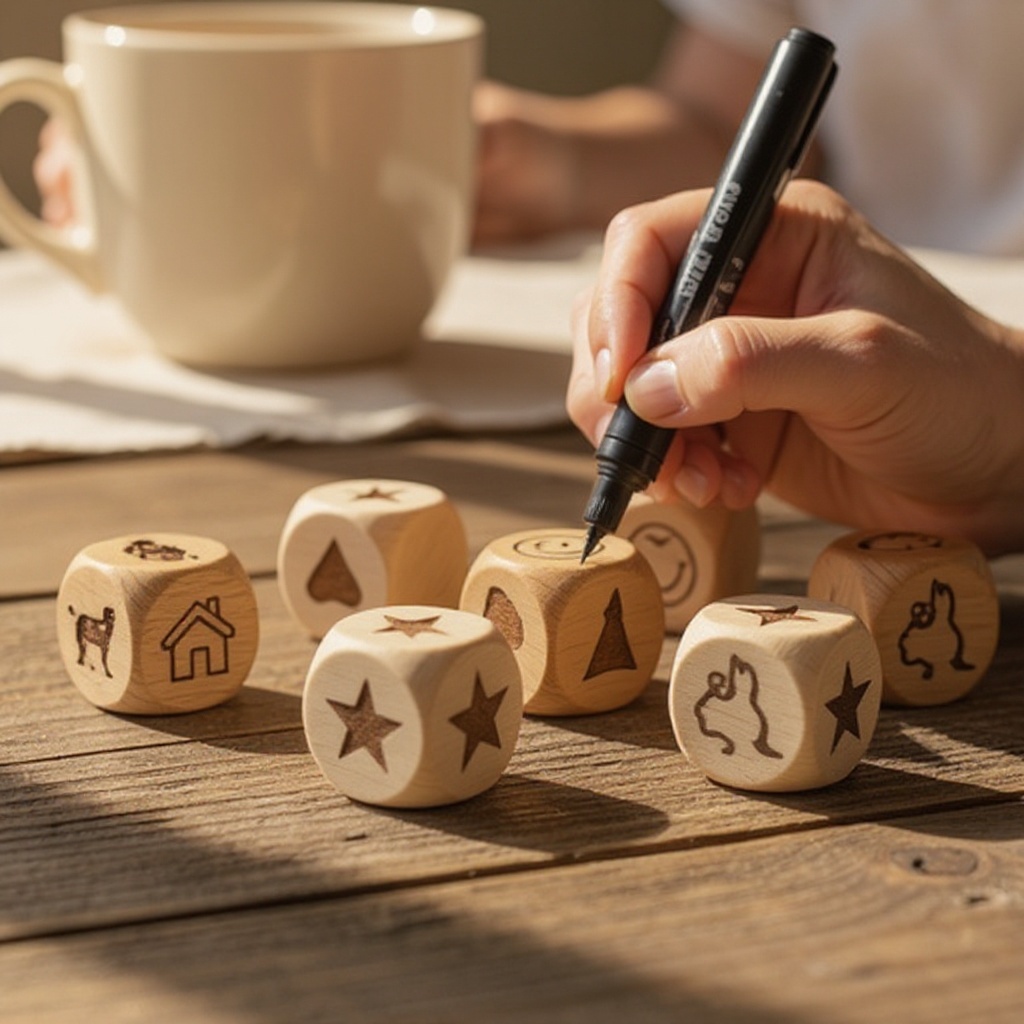
Once all your pencil sketches are complete and you're happy with the placement and design of each icon, carefully go over them with a permanent marker. Use a fine-tip black marker for crisp outlines and then fill in details or add color with your assorted permanent markers. Ensure the ink is applied smoothly and evenly, and avoid smudging by letting each section dry before touching it.
- 10
Allow all the ink on the cubes to dry completely. This is a crucial step to prevent smudging when you move to the next stage or when the dice are handled. Depending on the markers and the wood, this could take anywhere from 30 minutes to a couple of hours. Test a small, inconspicuous area if you're unsure.
- 11
Optional but recommended: Lightly spray the cubes with a clear sealant to protect the drawings from wear and tear over time. Ensure you are in a well-ventilated area and follow the product's instructions carefully, typically involving multiple light coats rather than one heavy one. Allow the sealant to dry thoroughly according to the product's instructions, which may take several hours or overnight.
- 12
Once the sealant is completely dry, your story dice are ready to be played with! Inspect them one last time to ensure everything is dry and secure. You've now created a unique, personalized game that will provide hours of imaginative fun for your family.
Tips & Troubleshooting
- 1If you don't have wooden cubes readily available, don't worry! You can easily substitute them with small, sturdy cardboard boxes, such as those used for jewelry or craft supplies. Simply glue your drawn icons onto each side of the box, ensuring they are securely attached and the box is closed tightly. Alternatively, you can use thick cardstock, cut it into squares, draw the icons, and then fold and glue them into cube shapes, similar to how you might make paper dice.
- 2To make the game even more personal and engaging for your family, actively involve everyone in the icon selection process. Encourage family members, especially children, to suggest icons for each category that resonate with them. This could include favorite animals, characters from books or movies, or even inside jokes, making the dice truly unique to your household and fostering a sense of ownership.
- 3For younger children who may struggle with drawing or fine motor skills, simplify the icons to basic shapes or even use pre-made stickers that represent the categories. You can also draw the icons for them, or have them color in pre-drawn outlines. The goal is to make the activity accessible and enjoyable for all age groups, adapting the complexity to suit their abilities.
- 4To keep your beautifully crafted story dice organized and prevent them from getting lost, store them in a small cloth bag, a decorative drawstring pouch, or a specially designated small box. This not only protects the dice but also makes them easy to grab for spontaneous play sessions, whether at home or on the go.
- 5Consider creating multiple sets of story dice with different themes to expand the storytelling possibilities. You could have a 'Fantasy Adventure' set with dragons and knights, a 'Sci-Fi Explorer' set with aliens and planets, or even a 'Mystery Solver' set with clues and suspects. This allows for endless variations and keeps the game fresh and exciting over time.
- 6To enhance the visual appeal and durability of your dice, consider using a variety of colored permanent markers. While black outlines are essential for clarity, adding color to the icons can make them more vibrant and engaging, especially for younger players. Ensure the colors are distinct and don't obscure the icon's meaning.
- 7When drawing the icons, aim for simplicity and clarity. Complex drawings can be difficult to replicate consistently and may not be as easily understood by all players. Think about universally recognized symbols or very basic representations that convey the intended meaning quickly. For example, a simple house shape is more effective than a detailed architectural drawing.
- 8If you find that the wood grain of your cubes is making it difficult to draw smoothly, you can apply a thin layer of white acrylic paint or gesso to each face and let it dry completely before drawing. This will create a smoother, more uniform surface for your markers, making the icons appear sharper and more vibrant.
Related Activities You Might Enjoy
Frequently Asked Questions
What are game design courses?
Game design courses are educational programs that delve into the principles and practices of creating video games. They typically cover a broad spectrum of topics essential for game development, including programming, visual art and animation, narrative design, level design, user interface (UI) and user experience (UX) design, sound design, and project management. These courses aim to equip students with the technical skills, creative thinking, and collaborative abilities needed to succeed in the competitive gaming industry, preparing them for roles such as game designers, level designers, narrative designers, or producers.
Are there screen-free game design courses?
While many formal game design courses focus on digital game creation, the core principles of game design are highly applicable to screen-free activities. Concepts like mechanics, player engagement, narrative structure, balancing challenges, and creating fun experiences are universal. This DIY story dice game is a perfect example of applying game design thinking to an unplugged format. You can explore game design through books, workshops, and by deconstructing existing board games and tabletop RPGs to understand their underlying design choices, fostering a creative and analytical approach to game creation without screens.
How can I learn game design without formal courses?
Learning game design without formal courses is entirely achievable through self-directed study and practice. Start by playing a wide variety of games – both digital and analog – and critically analyze what makes them enjoyable or frustrating. Read books on game design theory, such as 'The Art of Game Design: A Book of Lenses' by Jesse Schell. Online resources like tutorials, articles, and developer blogs offer invaluable insights. Most importantly, practice by creating your own games, even simple ones like this story dice game, to experiment with mechanics, narrative, and player interaction, which is a fantastic way to understand core concepts.
What skills are needed for game design?
Key skills for game design are multifaceted and often include creativity, strong problem-solving abilities, logical thinking, and excellent storytelling and communication skills. For digital game design, technical proficiencies like programming (e.g., C#, C++, Python), 3D modeling, and understanding game engines (like Unity or Unreal Engine) are often crucial. For screen-free games, the emphasis shifts more towards creativity, narrative design, an understanding of simple yet engaging rules, player psychology, and the ability to balance challenge and fun. Adaptability and a willingness to iterate based on feedback are also vital.
How can I make the story dice more challenging or complex?
To increase the complexity and challenge of your story dice game, consider introducing additional layers of gameplay. You could create a fourth set of dice with 'plot twist' icons (e.g., a question mark, a broken object, a sudden change) that must be incorporated at specific points in the story. Another approach is to assign points for creative use of icons or for successfully weaving together disparate elements. You might also develop a 'challenge' die that dictates a specific constraint, such as telling the story using only dialogue or incorporating a particular sound effect for each icon rolled. This encourages deeper engagement and more intricate narratives.
Can I use these story dice for educational purposes?
Absolutely! These story dice are a fantastic educational tool. For language arts, they can be used to practice vocabulary, sentence structure, narrative sequencing, and creative writing. They are excellent for developing descriptive language and encouraging imaginative thinking. In social studies, you could create dice with historical figures, events, or locations to build timelines or retell historical narratives. For younger children, they can help with early literacy skills, storytelling, and understanding cause and effect. The versatility of the dice allows them to be adapted to various learning objectives across different age groups and subjects.
What Next?
Once your story dice are complete and dry, they're ready for immediate use! Store them in a decorative pouch or box to keep them safe and accessible for spontaneous storytelling sessions. Consider creating additional sets with different themes, like fantasy creatures, historical events, or even family inside jokes, to expand your storytelling possibilities. This project is a fantastic springboard for further creative endeavors, perhaps inspiring a family writing project or even a short animated film. The joy of creating something together and then using it to build new worlds is truly magical.
Free: 10 Paper Crafts Anyone Can Make in 5 Minutes
Get our beginner guide + new craft ideas weekly.
No spam. Unsubscribe anytime.
Did you complete this activity?
Related