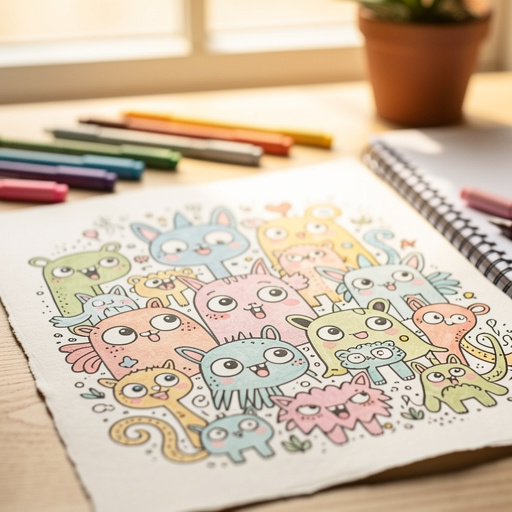
How to Draw a Whimsical Creature — Easy Step-by-Step Guide
Unleash your imagination and learn to draw a unique, whimsical creature with this fun, screen-free activity. Perfect for budding artists!


Quick answer
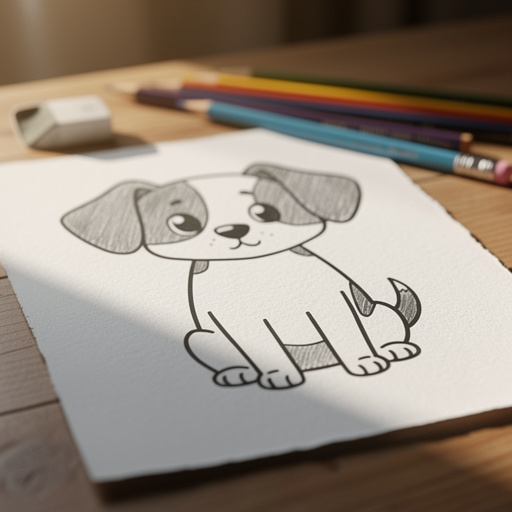
To draw a whimsical creature, you need paper, pencils, and erasers, taking about 30 minutes. Start by sketching a basic body shape. This beginner-friendly activity has 10 steps and is perfect for families and kids aged 7+.
What you need
Shop on Amazon · As an Amazon Associate we earn from qualifying purchases. Links above are affiliate links — we may earn a commission at no extra cost to you.
Embark on a delightful artistic journey with this easy-to-follow guide to drawing your very own whimsical creature. In a world often dominated by screens, this project offers a refreshing, hands-on escape into the realm of imagination. It’s a fantastic way to foster creativity, encourage fine motor skills, and provide a sense of accomplishment for artists of all ages. Whether you're a seasoned doodler or a complete beginner, this tutorial is designed to be accessible and enjoyable, making it the perfect activity for family fun, a quiet afternoon, or even a creative spark for your next art project.
On this page
Step-by-Step Instructions
- 1
Lightly sketch a large oval in the center of your paper for the creature's main body. This oval will serve as the foundational shape, so aim for a size that allows ample space for other features without feeling cramped on the page. Think of it as the creature's torso, and don't press too hard, as you'll be erasing and refining these lines later.
- 2
Add a smaller circle overlapping the top of the oval for the head. Position this circle so it feels naturally connected to the body oval, perhaps slightly nudging into it. The size of this circle relative to the body will influence the creature's overall proportions, so feel free to experiment with slightly larger or smaller heads.
- 3
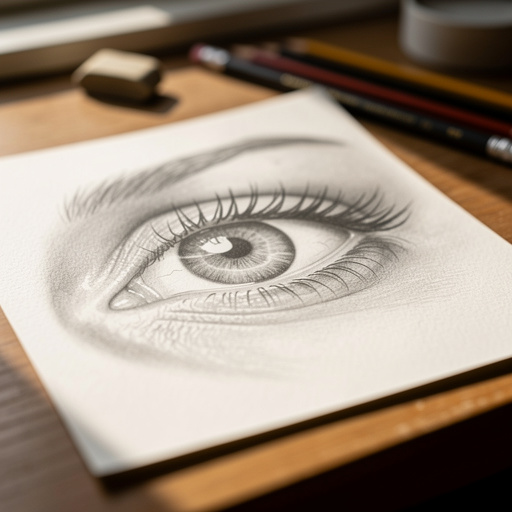
Draw two large, almond-shaped eyes on the head, leaving a small gap between them. These eyes are key to giving your creature expression. Make them prominent and slightly elongated, like almonds, and ensure they are placed symmetrically on the head. The space between them can influence how friendly or curious your creature appears.
- 4
Sketch a small, curved line for the mouth below the eyes. This simple curve can convey a lot of personality. A gentle upward curve can suggest a smile, while a straighter line might indicate a more neutral expression. Keep it subtle for now, as you can always adjust it later.
- 5
Add two small, pointed triangles on top of the head for ears. These ears can be positioned anywhere on the top of the head, facing forward, sideways, or even slightly back. The shape and placement of these ears will contribute significantly to your creature's unique look, so don't be afraid to make them a bit unusual.
- 6
Draw four simple, rounded legs extending from the bottom of the body oval. These legs can be short and stubby or longer and more slender, depending on the overall feel you want for your creature. Ensure they are evenly spaced around the base of the body oval to provide a stable foundation.
- 7
Add a long, thin tail curving from the back of the body. The tail can be straight, wavy, or even spiral-shaped. Let it flow organically from the rear of the body oval, adding a sense of movement and character. A curved tail often adds a touch of playfulness.
- 8
Draw a few small, irregular dots or spots on the creature's body and tail. These markings add visual interest and can make your creature feel more alive. Vary the size and spacing of these dots to create a natural, organic pattern. You could also consider stripes or patches.
- 9
Refine the outline of your creature, connecting the head to the body and smoothing out any awkward transitions. Now is the time to make the shapes more cohesive and intentional. Erase any stray lines or overlapping marks that are no longer needed, ensuring a clean base for your final drawing.
- 10
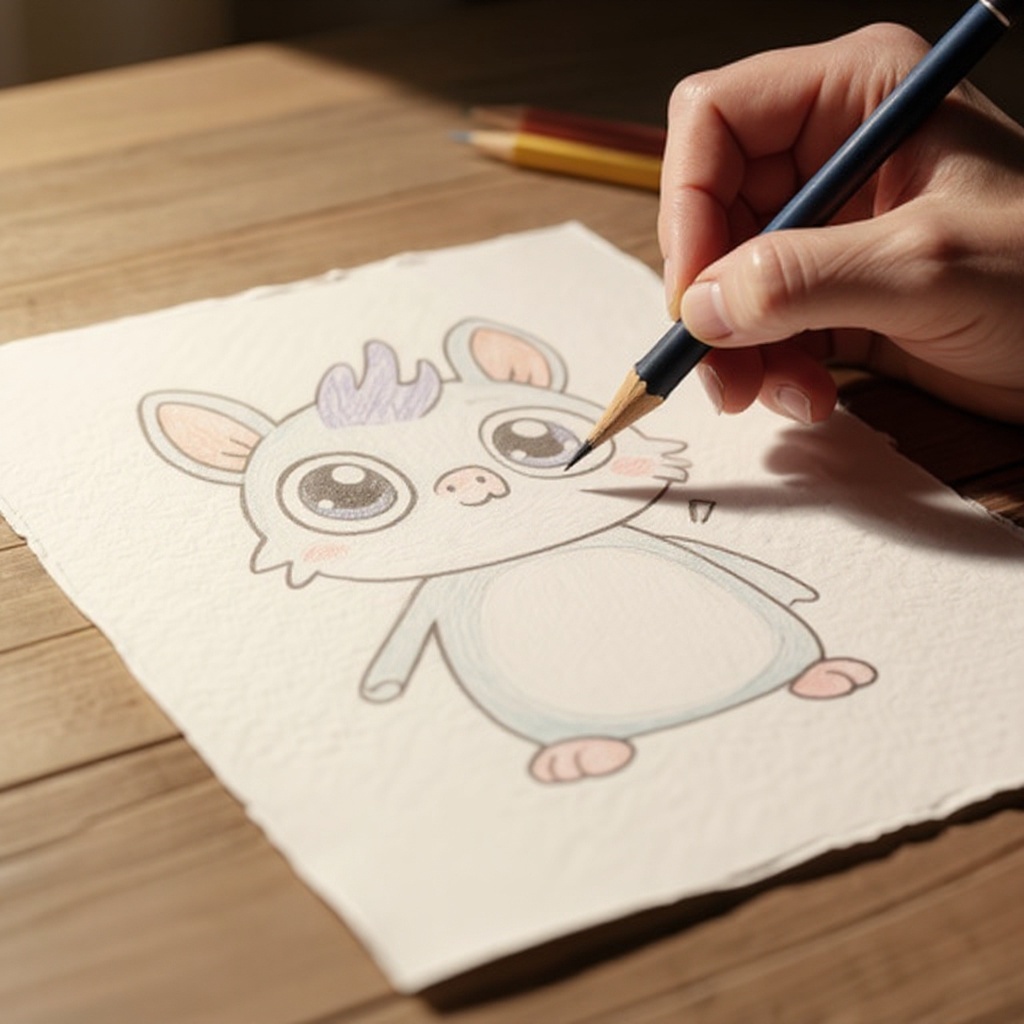
Go over your final lines with a slightly firmer pencil stroke to define the creature. Once you are satisfied with the overall shape and placement of all the elements, go back and trace over your sketch lines with a bit more pressure. This will make your creature stand out from the initial, lighter sketch.
- 11
Add subtle shading to give your creature dimension. Using the side of your pencil, lightly shade areas like under the chin, beneath the legs, and on the underside of the tail. This will create a sense of depth and make your creature appear more three-dimensional. Blend the shading gently with your finger or a blending stump if you have one.
- 12
Consider adding texture to your creature's fur or skin. For a furry creature, you can add short, quick strokes along the edges of its body. For a smoother creature, you might add subtle lines to indicate folds or scales. This step is all about enhancing the tactile quality of your drawing.
Tips & Troubleshooting
- 1Don't worry about perfection! The goal is to create something unique and fun. Embrace happy accidents and view any 'mistakes' as opportunities to develop your creature in unexpected directions. The most charming creatures often have a touch of the unplanned.
- 2Experiment with different body shapes, like squares, triangles, or even amorphous blobs, for a more unusual creature. Moving beyond the standard oval can lead to truly unique and memorable designs. Think about how different shapes might influence the creature's personality and movement.
- 3Add extra details like wings, horns, scales, or even multiple eyes to make your creature even more fantastical. These embellishments are where your creature's personality truly shines. Don't be afraid to combine elements from different animals or invent entirely new ones.
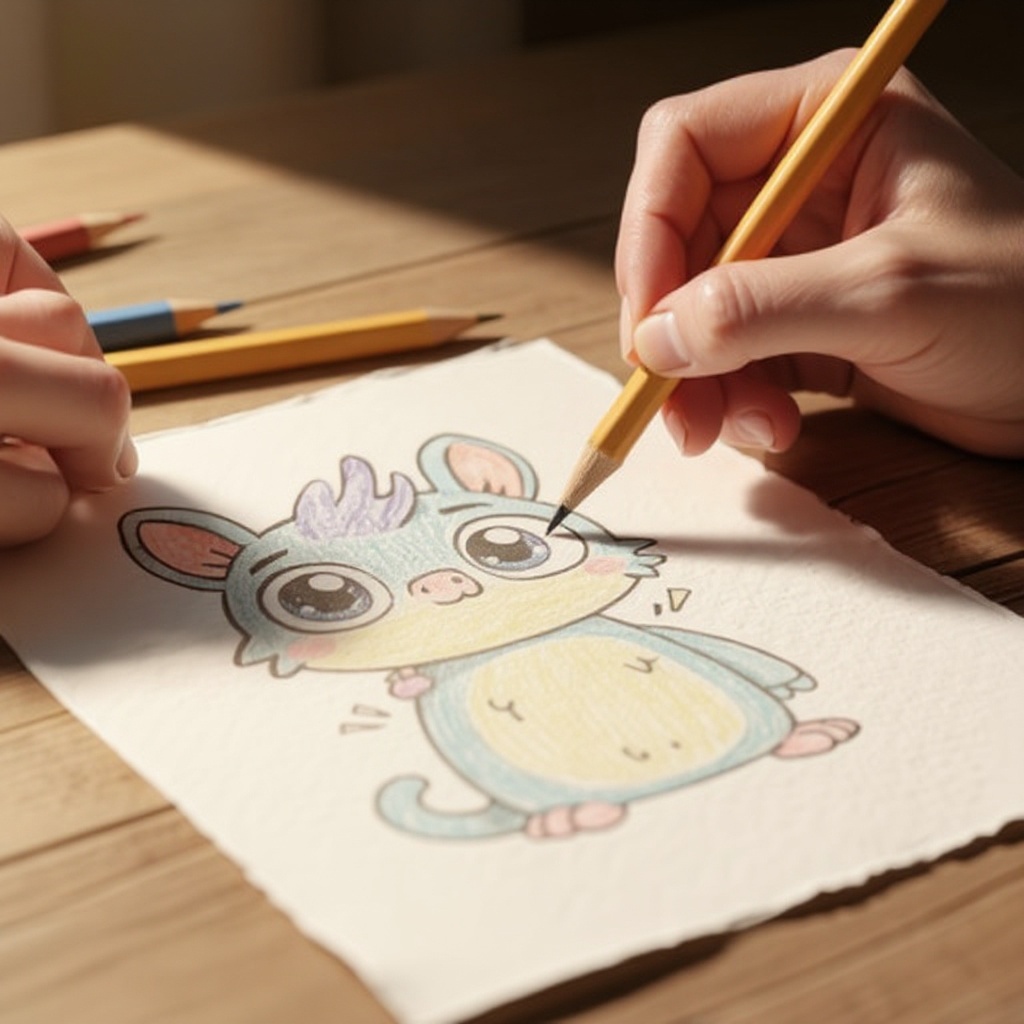
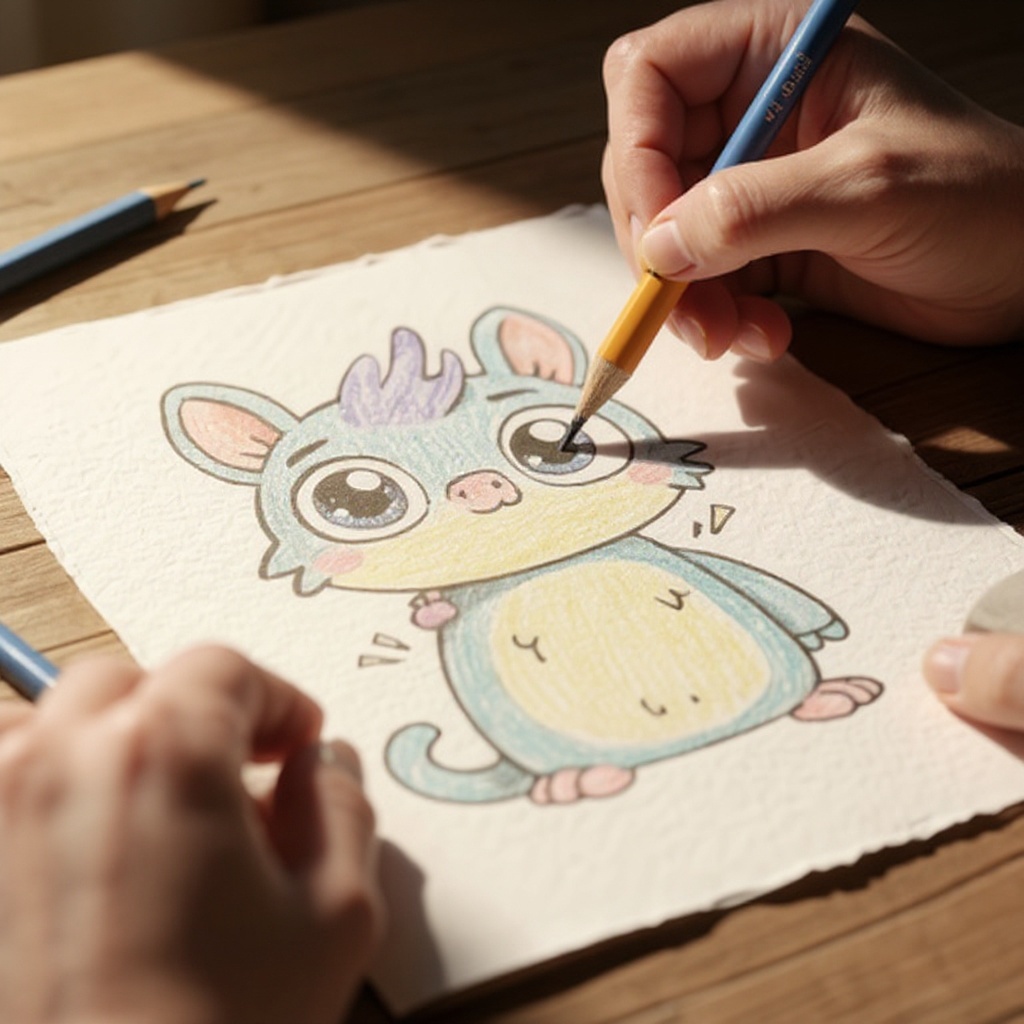
- 4Try using colored pencils or crayons to bring your whimsical creature to life after sketching. Once your pencil drawing is complete, adding color can transform your creature. Consider vibrant, unexpected color combinations to enhance its whimsical nature.
- 5Vary the size and placement of your creature's features to create different expressions. A slightly larger head might make it look more curious, while smaller eyes could give it a more mischievous look. Play with proportions to convey personality.
- 6Think about the environment your creature lives in and let that inspire its design. Does it have camouflage markings for a forest? Webbed feet for a watery home? Incorporating elements of its habitat can make your creature feel more grounded and believable, even in its fantasy.
- 7Practice drawing different types of whimsical creatures regularly. The more you draw, the more comfortable you'll become with the process and the more your own unique style will emerge. Keep a sketchbook dedicated to your fantastical creations.
- 8Don't be afraid to combine elements from real animals in unexpected ways. Perhaps your creature has the body of a cat, the wings of a butterfly, and the tail of a fish. This fusion of familiar forms can lead to wonderfully imaginative results.
Related Activities You Might Enjoy
Frequently Asked Questions
How do I make my creature look more whimsical?
To make your creature look more whimsical, focus on exaggerating its features and combining unexpected elements. Think big, expressive eyes that might be an unusual shape, like stars or teardrops. Consider giving it quirky ears – perhaps they are long and floppy, or pointed and feathery. A curly, spiraling tail or legs that are disproportionately long or short can also add to the whimsical feel. Don't be afraid to mix and match characteristics from different animals or even inanimate objects. The key is to break away from realistic proportions and embrace playful, imaginative design choices that spark joy and wonder.
What if I don't like the shape I drew?
That's what erasers are for! The beauty of sketching is its impermanence. You can lightly sketch your shapes first and then refine them. If a line isn't quite right or a shape feels off, simply use your eraser to gently lift the graphite and redraw it. Don't be afraid to erase and redraw multiple times until you're happy with the result. If you're really unhappy with a particular element or the overall composition, it's often easier and more encouraging to start a new drawing on a fresh sheet of paper. Every attempt is a learning experience!
Can I draw other parts of the creature, like clothes or accessories?
Absolutely! Once you've mastered the basic creature shape and are happy with its form, feel free to add any accessories or clothing you can imagine. This is your unique creation, so let your creativity run wild! You could draw your creature wearing a tiny hat, a colorful scarf, a small backpack, or even a pair of spectacles. These additions can further enhance its personality and tell a story about its life or adventures. Think about what kind of accessories would suit your creature's character and environment.
What kind of pencil should I use for drawing?
An HB or 2B graphite pencil is ideal for sketching whimsical creatures. An HB pencil is a good all-rounder, offering a medium hardness that's perfect for light initial sketches and general drawing. It erases cleanly and is easy to control. A 2B pencil is softer and produces darker, richer lines. This can be useful for going over your final outlines to make them stand out, adding shading, or creating bolder details. Having both allows you to vary your line weight and add depth to your drawing effectively.
How long does it typically take to draw a whimsical creature?
This beginner-friendly drawing activity typically takes about 30 minutes to complete, from the initial sketch to the final defining lines. This timeframe is perfect for a quick creative burst or a short, engaging activity for children. However, the time can vary depending on your pace and how much detail you decide to add. If you choose to color your creature or add intricate patterns and backgrounds, it could easily extend to an hour or more. The goal is to enjoy the process, so don't feel rushed!
What age group is this tutorial best suited for?
This tutorial is wonderfully suited for families and kids aged 7 and up. At this age, children typically have developed enough fine motor control to handle a pencil and follow step-by-step instructions. The whimsical nature of the subject matter is also highly engaging for this age group, encouraging imagination and creative expression. However, the simplicity and fun of drawing a whimsical creature also make it an enjoyable activity for younger children with adult supervision, as well as for teenagers and adults looking for a relaxing and creative outlet.
What Next?
Congratulations on bringing your unique whimsical creature to life! This foundational drawing technique can be adapted in countless ways. Consider giving your creature a habitat – perhaps a fantastical forest or a bubbly underwater world. For your next project, try drawing a companion for your creature, or perhaps a series of them exploring different emotions. Once you're happy with your drawing, you can frame it, scan it to create digital art, or even use it as a template for a painted or sculpted version. The possibilities are as boundless as your imagination!
Free: 10 Paper Crafts Anyone Can Make in 5 Minutes
Get our beginner guide + new craft ideas weekly.
No spam. Unsubscribe anytime.
Did you complete this activity?