How to Create Beautiful Block Printing Art — Easy Step-by-Step Guide
Discover the joy of block printing! This guide will show you how to create your own unique prints on fabric or paper using simple materials. Perfect for all ages and skill levels, block printing is a rewarding way to express your creativity and produce beautiful, handmade art.
Quick answer
To make block printing art, you need carving tools, linoleum blocks, ink, and paper/fabric, taking about 60 minutes for a single print. Start by carving your design into the block, ensuring the raised areas will hold the ink. This beginner-friendly activity has 12 detailed steps and is perfect for families with kids aged 8+.
What you need
Shop on Amazon · As an Amazon Associate we earn from qualifying purchases. Links above are affiliate links — we may earn a commission at no extra cost to you.
Embark on a creative journey into the captivating world of block printing! This ancient art form offers a wonderfully tactile and rewarding experience, allowing you to transform simple materials into stunning, unique prints. Whether you're looking to personalize fabric items, create bespoke stationery, or simply explore a new artistic outlet, block printing is an accessible and enjoyable craft. It’s a fantastic project for families, art enthusiasts, and anyone seeking a hands-on way to bring their artistic visions to life, offering a satisfying blend of design, carving, and printing.
On this page
Step-by-Step Instructions
- 1
Cover your workspace with newspaper or a protective cloth. This is crucial for protecting your surfaces from ink stains and making cleanup much easier.
- 2
Draw your design directly onto the linoleum block with a pencil. Alternatively, sketch your design on tracing paper, then carefully transfer it by rubbing the back of the tracing paper, coated with pencil graphite, onto the block.

- 3
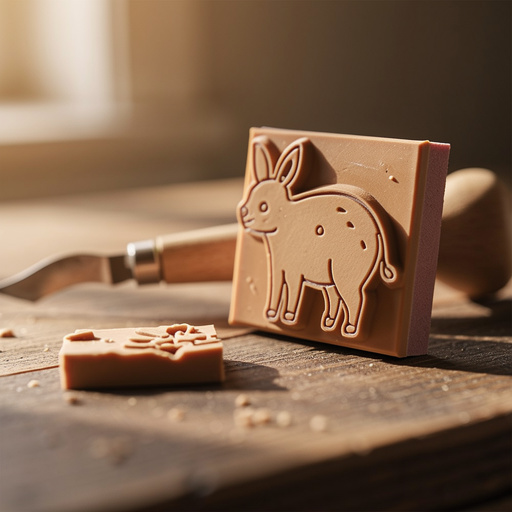
Select a carving blade for your linoleum cutter, considering the type of lines you want to create. A V-shaped blade is excellent for fine, delicate lines and details, while a broader U-shaped blade is ideal for clearing larger areas and creating thicker strokes.
- 4
Begin carving away the areas of the linoleum block that you do NOT want to print. Remember, the raised areas of the block are what will hold the ink and transfer the design onto your paper or fabric.
- 5
Carve with deliberate strokes, always cutting away from yourself to ensure safety. Pay attention to the depth of your cuts; shallower cuts will leave more ink, while deeper cuts will create lighter areas in your print.
- 6
Continue carving until your design is complete, meticulously removing all the negative space. Ensure that all the areas you want to remain white or unprinted are carved away to a sufficient depth.
- 7
Once carving is complete, inspect your block for any stray marks or areas that need refinement. A clean, well-defined carved block will result in a sharper, more professional-looking print.
- 8
Squeeze a small amount of block printing ink onto your palette or plastic plate. Start with a small amount; you can always add more, but it's difficult to remove excess ink from the brayer.
- 9
Roll the brayer evenly over the ink until it has a smooth, consistent coating. The ink should have a slight sheen and be spread thinly across the brayer's surface, not clumpy or thick.
- 10
Gently roll the inked brayer over the raised surface of your carved linoleum block, ensuring all parts of the design are covered with a thin, even layer of ink. Avoid pressing too hard, which can push ink into the carved areas.
- 11
Carefully place your paper or fabric onto the inked block, aligning it precisely as desired. For accurate placement, you can use registration marks or simply hold one edge steady and lay the rest down.
- 12
Press down firmly and evenly over the entire surface of the paper/fabric to transfer the ink from the block. You can use your hands, a clean brayer, or even a wooden spoon to apply pressure.
- 13
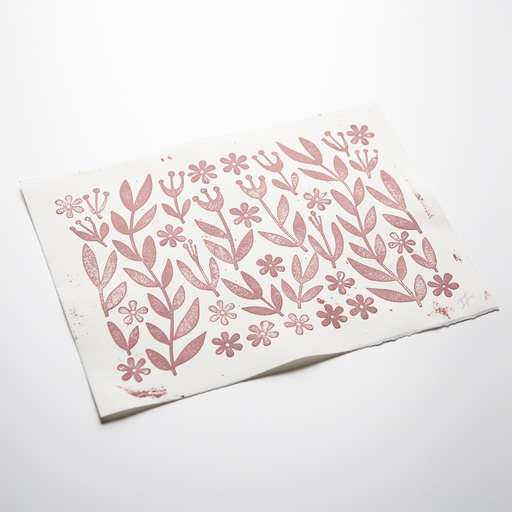
Carefully lift the paper or fabric from the block to reveal your print. Peel it back slowly to avoid smudging any wet ink.
- 14
Clean your linoleum block, brayer, and tools immediately with soap and water to prevent ink from drying and becoming difficult to remove. This is essential for maintaining your tools.
- 15
Allow your prints to dry completely according to the ink manufacturer's instructions. For fabric prints, you may need to heat-set them with an iron to ensure permanence and washability.
- 16
Repeat the inking and printing process for additional prints, re-inking the block each time. For multiple prints, consider setting up a small printing station to streamline the process.
Tips & Troubleshooting
- 1Start with simple designs. Intricate details can be challenging for beginners to carve and may not translate well on the first try. Focus on bold shapes and clear lines to build confidence and understanding of the carving process.
- 2Test your carving before committing to your final print. Do a test print on scrap paper to see how your carved lines appear and to check for any areas that might be too shallow or too deep. This allows for adjustments before you use your good paper or fabric.
- 3Apply ink thinly and evenly. Too much ink can lead to blurry prints, obscuring fine details and making the design appear muddy. A thin, consistent layer of ink on both the brayer and the block is key to achieving crisp results.
- 4Experiment with different papers and fabrics. Different textures will yield unique results; smoother papers will capture finer details, while textured papers can add an interesting visual element. Similarly, the weave of fabric will affect the final print.
- 5For fabric printing, ensure the fabric is pre-washed and dried thoroughly. This removes any sizing or finishes that might interfere with ink adhesion. Allow prints to dry completely before heat-setting, following the ink manufacturer's instructions carefully for best results.
- 6Consider using a bench hook or carving mat for added safety and stability while carving. These tools help secure the block, preventing it from slipping and reducing the risk of accidental cuts.
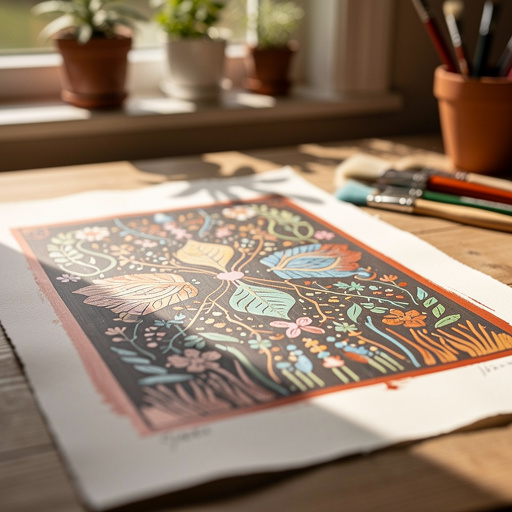
- 7Explore different color combinations. Once you're comfortable with single-color prints, try using multiple ink colors or layering prints from different blocks to create more complex and visually interesting artwork.
- 8Clean your tools thoroughly after each session. Dried ink can be very difficult to remove and can damage your brayer and carving tools over time. A quick wash with soap and water is usually sufficient for water-based inks.
Related Activities You Might Enjoy
Frequently Asked Questions
What are some easy block printing examples for beginners?
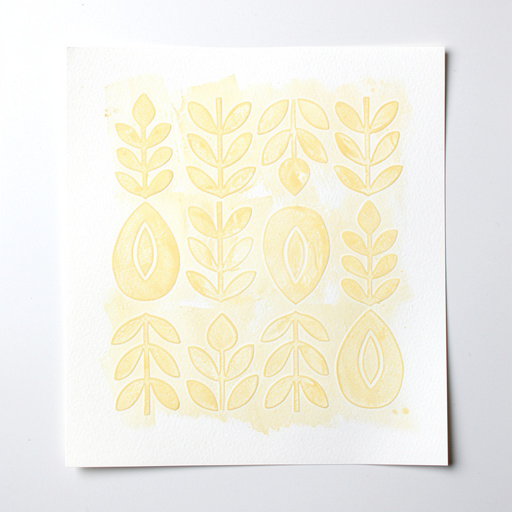
For beginners, simple shapes like stars, hearts, leaves, or basic geometric patterns are excellent starting points. You can also try carving letters to create personalized messages or simple animal outlines with clear, bold forms. The key is to choose designs with distinct positive and negative spaces that are easy to differentiate and carve. Avoid overly complex patterns or fine, wispy lines until you gain more experience with your carving tools. Practicing on these simpler designs will help you understand how the ink transfers and how your carving affects the final print, building your confidence for more ambitious projects.
What kind of ink is best for block printing?
Water-based block printing inks are highly recommended for beginners and family crafts due to their ease of use and cleanup. Brands like Speedball offer excellent water-based options that are non-toxic, come in a wide range of vibrant colors, and clean up easily with just soap and water. These inks are suitable for both paper and fabric printing, although for fabric, you'll often need to heat-set the print to ensure its durability. Oil-based inks offer a longer working time and can produce richer colors, but they require special solvents for cleanup, making them less ideal for initial exploration.
Can I use everyday objects for block printing?
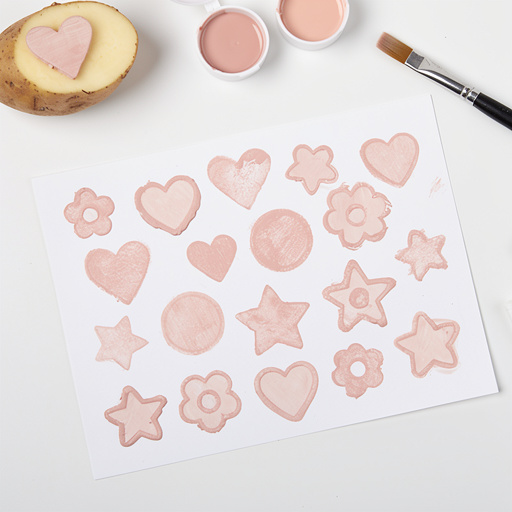
Absolutely! While linoleum blocks offer more precision and detail, you can achieve fantastic block printing effects using everyday objects. Carved potatoes are a classic and fun option, perfect for simple shapes and kid-friendly projects. Thick rubber erasers can also be carved with a craft knife to create small, detailed stamps. Even found objects like the bottoms of plastic bottles, corks, or textured materials can be used as stamps to create interesting patterns and textures. The principle remains the same: the raised surface of the object will hold the ink and transfer the design.
How do I transfer my design to the block?
There are a couple of effective methods for transferring your design to the linoleum block. The most straightforward way is to draw your design directly onto the block with a pencil. For more intricate designs or if you prefer to sketch on paper first, use tracing paper. Sketch your design on the tracing paper, then flip it over and shade the back of the lines with a pencil. Place the shaded tracing paper onto the linoleum block and rub over the design with a pencil or a hard, blunt object. This will transfer the graphite from the tracing paper onto the block, giving you a guide for carving.
How do I ensure my prints are sharp and clear?
Achieving sharp and clear prints involves a combination of careful carving and proper inking techniques. Ensure your carved lines are clean and the raised areas are smooth. When inking, apply a thin, even layer of ink to the brayer and then roll it over the block until all raised surfaces are uniformly covered, avoiding over-inking. Pressing too hard can cause ink to seep into carved areas, blurring the design. Use good quality paper or fabric that can hold ink well, and apply even pressure during the transfer process. A test print is invaluable for troubleshooting any issues before printing your final piece.
What is the difference between water-based and oil-based block printing inks?
The primary difference lies in their composition and cleanup. Water-based inks are made with water-soluble binders, making them easy to clean up with soap and water. They dry relatively quickly, which can be an advantage for faster production but may require working efficiently. Oil-based inks use oil as a binder and have a longer drying time, offering more flexibility for complex projects or multi-color prints. However, they require specialized solvents like mineral spirits for cleanup, which can be less convenient and require more ventilation. For beginners and general crafting, water-based inks are usually the preferred choice due to their safety and ease of use.
What Next?
Congratulations on creating your beautiful block prints! The possibilities are endless, from designing custom greeting cards and unique fabric patterns to crafting personalized gifts. For future projects, consider exploring different types of blocks like rubber or wood, or experimenting with multi-color prints by carving multiple blocks. Display your finished artwork proudly, frame your paper prints, or showcase your fabric creations. Store your blocks and tools carefully in a dry place, ensuring they are clean and ready for your next artistic adventure. Happy printing!
Free: 10 Paper Crafts Anyone Can Make in 5 Minutes
Get our beginner guide + new craft ideas weekly.
No spam. Unsubscribe anytime.
Did you complete this activity?
Related