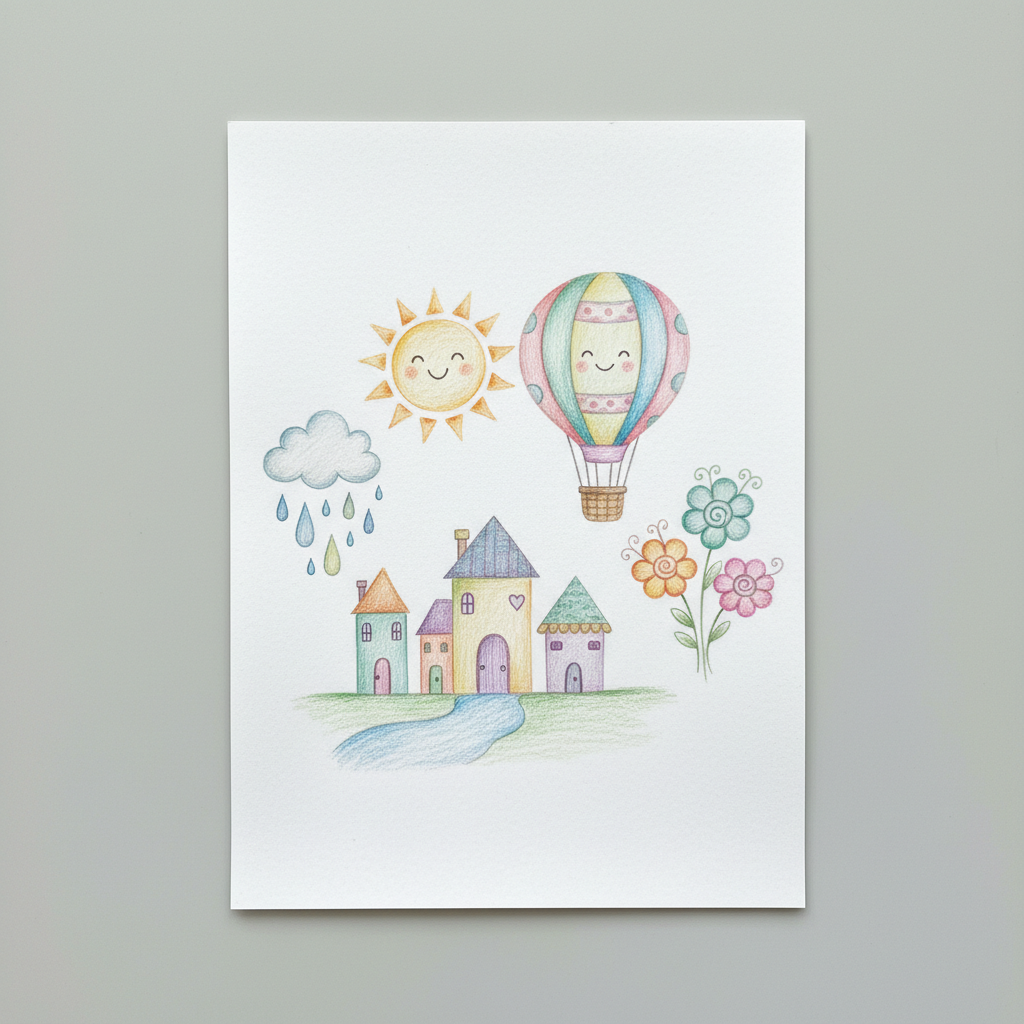
How to Create Whimsical Cloud Doodles — Easy Step-by-Step Guide
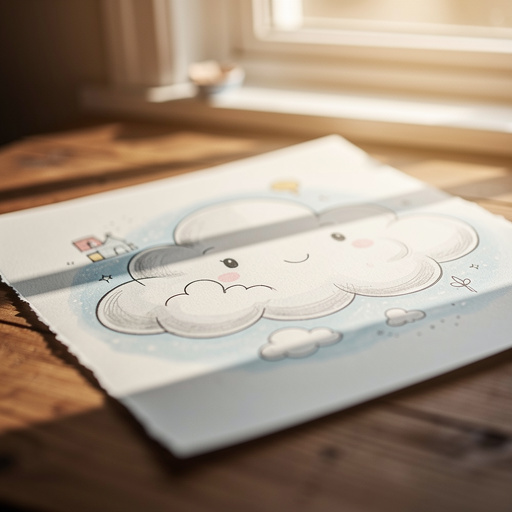
Unleash your imagination with simple pencil drawings of whimsical clouds! This easy tutorial guides you through creating charming cloud shapes and adding fun details. Perfect for all ages and skill levels, these delightful doodles are a quick and rewarding way to express your creativity.
Quick answer
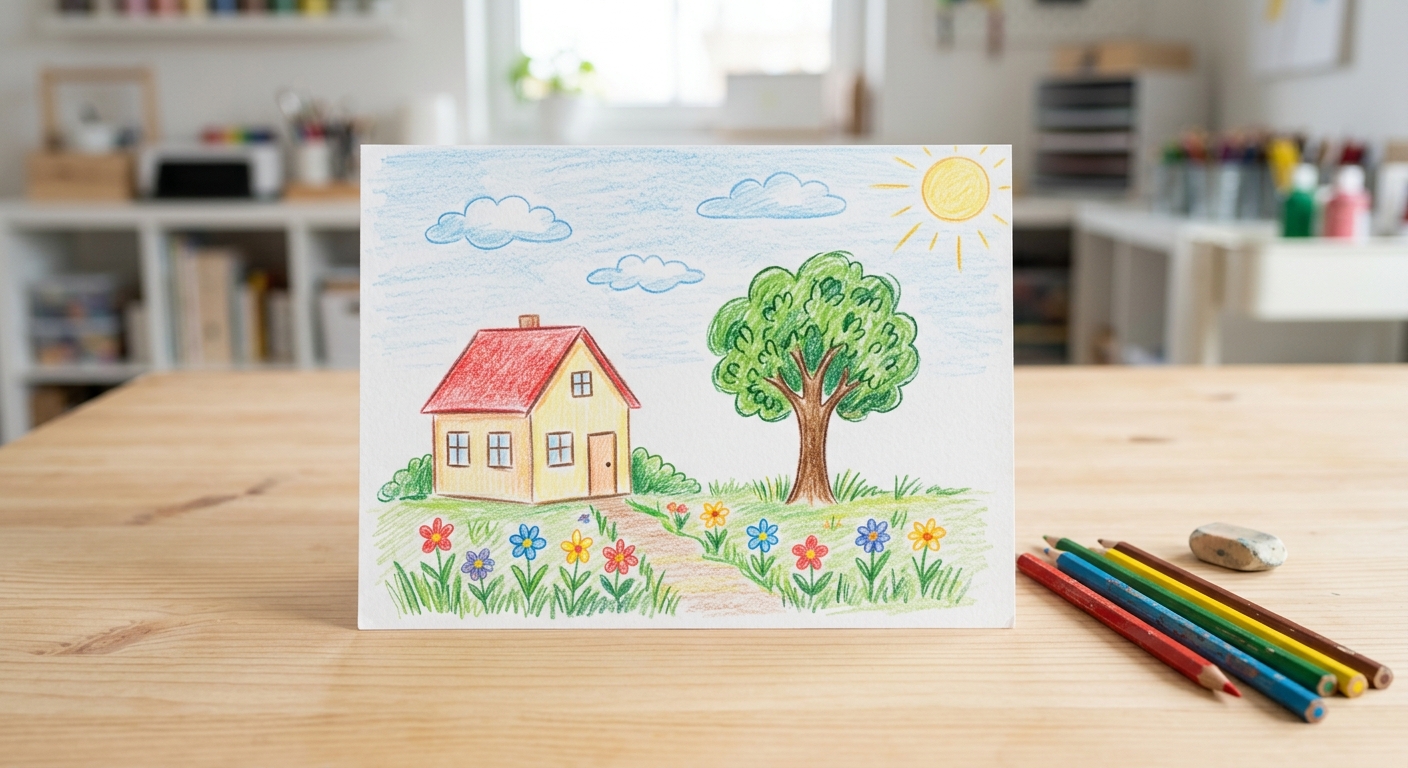
To make whimsical cloud doodles, you need a pencil, paper, and about 15 minutes. Start by sketching a basic cloud shape. This beginner-friendly activity has 7 steps and is perfect for families and kids aged 6+. Expand on this by adding overlapping shapes, softening edges, and then letting your imagination run wild with fun details like stars, hearts, or smiling faces peeking out.
What you need
Shop on Amazon · As an Amazon Associate we earn from qualifying purchases. Links above are affiliate links — we may earn a commission at no extra cost to you.
Embark on a delightful journey into the sky with our "Whimsical Cloud Doodles" tutorial! This project is a fantastic way to tap into your creative spirit, offering a simple yet incredibly rewarding drawing experience. What makes it special is its boundless potential for personalization; each cloud you create can be as unique as the clouds in the real sky. It’s perfect for anyone looking for a relaxing artistic outlet, from young children just discovering the joy of drawing to adults seeking a moment of mindful creativity. No prior drawing experience is needed, making it an accessible and enjoyable activity for the whole family.
On this page
Step-by-Step Instructions
- 1
Lightly sketch a large, irregular oval shape on your paper. This will be the base of your first cloud. Think of it as the main body of your cloud, so don't worry about making it perfectly round; a slightly lopsided or elongated oval will give it a more natural starting point. Use a light touch so you can easily erase or adjust it later.

- 2
Add smaller, overlapping oval shapes around the edges of your main oval to create a fluffy, layered effect. These smaller ovals should vary in size and placement, some tucking slightly under the main oval and others peeking out from the sides. This layering is key to achieving that characteristic puffy, voluminous cloud appearance.
- 3
Soften the edges of your cloud by drawing gentle, curved lines connecting the tops of the ovals, creating a more natural, billowy look. Instead of sharp points, aim for smooth, rounded transitions between the different oval shapes. Imagine you're gently tracing the soft contours of a real cloud, connecting the humps and valleys with flowing lines.
- 4
Now, let's refine the shape. Erase any overlapping lines that are inside the main cloud shape, leaving a single, cohesive outline. Focus on removing the internal lines where the smaller ovals intersect with the main oval, ensuring that the cloud appears as one continuous form. This step is crucial for a clean and polished look.
- 5
Add a few small, curved lines inside the cloud to suggest depth and volume, like gentle shadows. These subtle lines should follow the general curve of the cloud's form, indicating where light might not be reaching as directly. Think of them as soft indentations or shaded areas that give your cloud a sense of three-dimensionality.
- 6
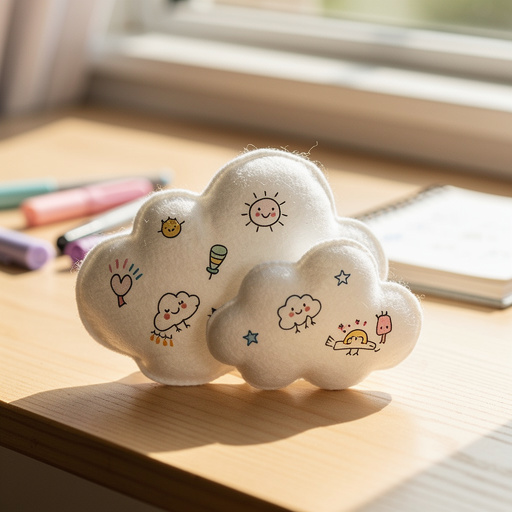
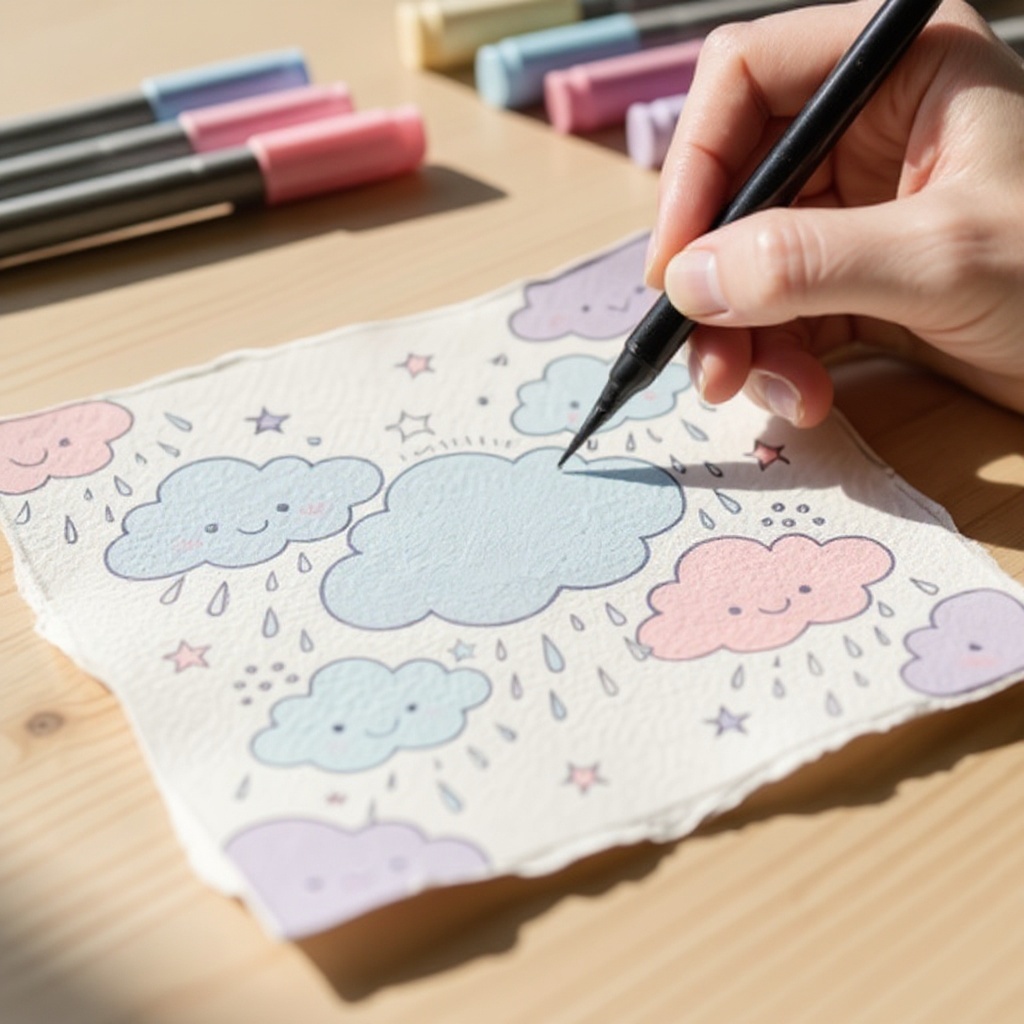
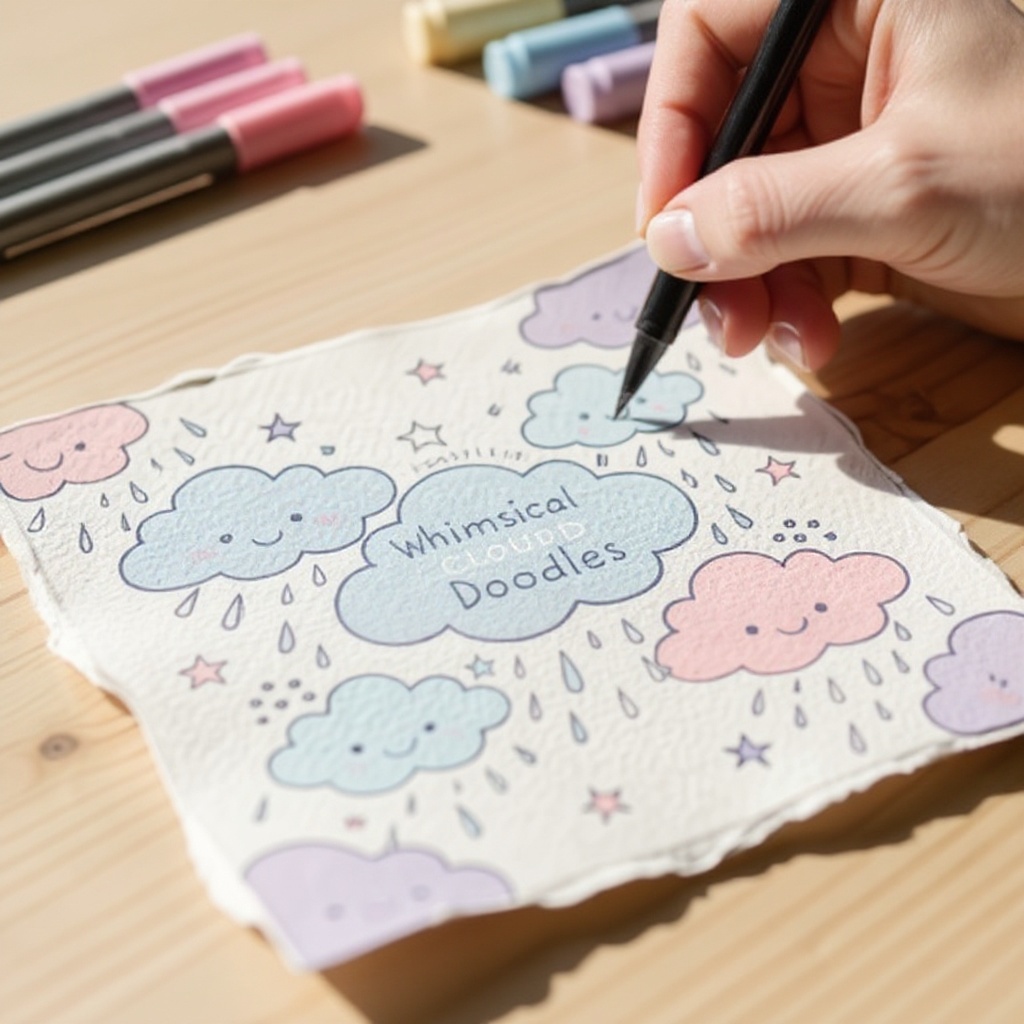
This is where the magic happens! Let your imagination run wild. Draw tiny, simple shapes peeking out from behind or within your cloud, such as stars, hearts, tiny smiling faces, or even miniature raindrops. These whimsical additions are what transform a basic cloud drawing into something truly enchanting and unique. Consider the scale – these elements should be small and charming, complementing the cloud rather than overwhelming it.
- 7
For an extra touch of realism and softness, you can lightly shade the underside of your cloud. Use the side of your pencil to gently add a bit of tone, making the top appear brighter and the bottom slightly darker. Blend this shading with your finger or a blending stump for a smooth, ethereal effect.
- 8
Consider adding a subtle outline to your cloud. You can go over your initial pencil lines with a slightly firmer hand, or even use a darker pencil (like a 2B) to define the edges more clearly. This will make your cloud pop off the page and give it a more finished appearance.
- 9
If you're aiming for a more dynamic cloud, try varying the thickness of your lines. Thicker lines can be used for the outer edges to give a sense of weight, while thinner lines can be used for internal details or softer curves.
- 10
Think about the overall composition. Are you drawing a single cloud, or a cluster? Experiment with placing clouds at different heights and angles to create a sense of depth and movement in your drawing.
- 11
For clouds that appear to be floating higher in the sky, you might want to draw them with a lighter touch and less internal detail, suggesting they are further away.
- 12
If you're adding elements like raindrops, consider drawing them as small, teardrop shapes with a tiny highlight to make them look shiny and wet.
- 13
For smiling faces, simple dots for eyes and a curved line for a mouth are often all you need to convey a cheerful expression.
- 14
If you're feeling adventurous, try drawing a rainbow arching over or behind your cloud. This can be done with simple curved lines and then filled in with color if you're using colored pencils or markers.
- 15
Don't be afraid to let your cloud have a personality. Is it a sleepy cloud, a curious cloud, or a mischievous cloud? Let that personality shine through in the details you add.
- 16
Erase any stray pencil marks or smudges to reveal your finished whimsical cloud doodle. A clean drawing will make all your hard work stand out beautifully.
- 17
If you've used a kneaded eraser, gently dab it over any smudged areas to lift the graphite without disturbing your drawing.
- 18
For any sharp, unwanted lines, use your block eraser to carefully clean them up.
- 19
Take a step back and admire your creation! You've brought a piece of the sky to life with your own hands.
Tips & Troubleshooting
- 1Don't aim for perfect symmetry. The beauty of clouds is their natural, irregular shapes. Embrace the imperfections and let them guide your drawing; real clouds are never perfectly round or identical, so slight variations will make your doodle more believable and charming.
- 2Experiment with different sizes and arrangements of the overlapping ovals to create unique cloud forms. Try making some clouds very round and puffy, while others can be more elongated and wispy. The way you layer these shapes will significantly impact the final look of your cloud.
- 3Try adding different elements to your clouds – maybe tiny birds, raindrops, or even a small rainbow arching over it. These extra details can tell a story and add a narrative element to your doodle, making it even more engaging and personal.
- 4If you make a mistake, don't worry! The eraser is your friend. Light sketching makes it easier to correct. Remember that drawing is a process of refinement, and mistakes are simply opportunities to learn and improve your technique.
- 5Vary your pencil pressure to create different tones and textures. Lighter pressure can create soft, hazy edges, while firmer pressure can define bolder shapes or add depth with shading. This control over pressure adds a professional touch to your simple drawings.
- 6Consider the context of your cloud. Is it a sunny day cloud, or a stormy one? The mood you want to convey can influence the shapes you choose and the details you add, from cheerful sunbeams to dramatic lightning bolts.
- 7Practice drawing clouds from different angles and perspectives. Imagine looking up at clouds from below, or seeing them from the side. This will help you develop a better understanding of their three-dimensional form and how they appear in various situations.
- 8Don't be afraid to combine elements. You could have a cloud with a face that is also raining, or a cloud with stars peeking out from behind it. The more you experiment, the more creative and unique your doodles will become.
Related Activities You Might Enjoy
Frequently Asked Questions
What is the easiest way to draw a cloud?
The easiest way to draw a cloud is to start with a basic oval shape and then add smaller, overlapping ovals around the edges to create a fluffy texture. Soften the lines by connecting the tops of these ovals with gentle curves, and then erase any internal overlapping lines to create a single, cohesive outline. Finally, add a few subtle curved lines inside to suggest depth and volume, giving it a billowy appearance. This method is straightforward and quickly produces a recognizable cloud shape, perfect for beginners.
How do you make simple pencil drawings look good?
Simple pencil drawings look good by focusing on clear lines, interesting shapes, and subtle shading. Practicing different line weights and adding small details can also enhance the overall appeal. Don't be afraid to use your eraser to refine edges and create highlights. Experiment with varying pencil pressure to achieve different tones, from light and airy to dark and dramatic. The key is to pay attention to form, texture, and contrast, even in the simplest of drawings, to give them a sense of depth and character.
What materials do I need for a simple pencil drawing?
For a simple pencil drawing, you primarily need a pencil and paper. An eraser is also essential for corrections. Different pencil grades can offer varying shades and textures; an HB pencil is a good all-rounder, while a 2B will give you darker lines and shading. A kneaded eraser is excellent for lifting graphite gently without damaging the paper, and a standard block eraser is useful for more precise corrections. Beyond these basics, you might consider a pencil sharpener to keep your lines crisp.
Can kids do simple pencil drawings?
Yes, absolutely! Simple pencil drawings are a fantastic activity for kids. They help develop fine motor skills, creativity, and observational abilities with minimal materials and mess. The whimsical cloud doodle project, in particular, is designed to be accessible for children aged 6 and up, encouraging imagination without the pressure of perfection. It’s a wonderful way for them to express themselves, build confidence, and enjoy the process of creating art in a fun and engaging manner.
How can I make my whimsical cloud doodles more unique?
To make your whimsical cloud doodles more unique, focus on the imaginative details you add. Instead of just drawing a cloud, consider what story it might tell. Perhaps it's a cloud shaped like an animal, or a cloud with a tiny house nestled within it. You can also experiment with different cloud textures by varying the size and overlap of your initial oval shapes, creating wispy, fluffy, or even stormy-looking clouds. Don't be afraid to combine elements like stars, moons, raindrops, or even tiny characters peeking out to give each doodle its own personality and charm.
What is the difference between a kneaded eraser and a regular eraser?
A kneaded eraser is a pliable, putty-like eraser that works by lifting graphite from the paper rather than rubbing it away. This makes it ideal for gently lightening areas, creating subtle highlights, or removing smudges without damaging the paper's surface or leaving behind residue. A regular block eraser, on the other hand, works by abrasion, rubbing the graphite off the paper. While effective for more significant corrections, it can sometimes be harsher on the paper and may leave behind eraser dust. For delicate pencil work, a kneaded eraser is often preferred.
Can I use pens instead of pencils for whimsical cloud doodles?
While this tutorial focuses on pencil for its erasability and soft shading capabilities, you can absolutely use pens for whimsical cloud doodles! If using pens, it's best to plan your shapes more carefully as mistakes are harder to correct. Fine-tip pens are great for detailed outlines and adding small whimsical elements like faces or stars. You could also experiment with brush pens for a more varied line weight, mimicking the billowy effect of clouds. If you want to add shading, consider using a stippling technique with dots or cross-hatching with your pen.
What Next?
Congratulations on creating your own whimsical cloud doodles! You've transformed a blank page into a sky full of imagination. Don't stop here; try creating a whole sky full of different cloud shapes and sizes, perhaps even a dreamy sunset scene. You could also explore adding other celestial elements like moons, shooting stars, or even friendly little aliens peeking from behind your clouds. These charming doodles can be framed, used as unique stationery, or incorporated into larger art projects. Store your creations in a portfolio or scrapbook to revisit and admire your growing collection of sky-high art.
Free: 10 Paper Crafts Anyone Can Make in 5 Minutes
Get our beginner guide + new craft ideas weekly.
No spam. Unsubscribe anytime.
Did you complete this activity?