How to Make Spooky Paper Lanterns — Easy Step-by-Step Guide
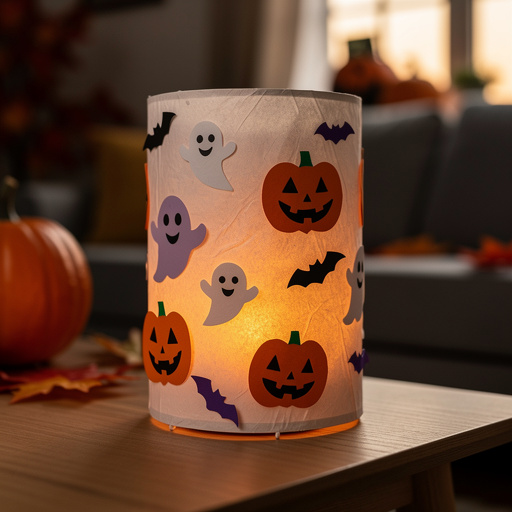
Light up your Halloween night with these charming and spooky paper lanterns! A fun and easy craft for kids to create their own glowing decorations.
Quick answer
To make spooky paper lanterns, you need construction paper, scissors, glue, and a battery-operated tea light. Start by folding and cutting the paper to create the lantern shape. This beginner-friendly activity has 10 steps and is perfect for kids aged 6+.
What you need
Shop on Amazon · As an Amazon Associate we earn from qualifying purchases. Links above are affiliate links — we may earn a commission at no extra cost to you.
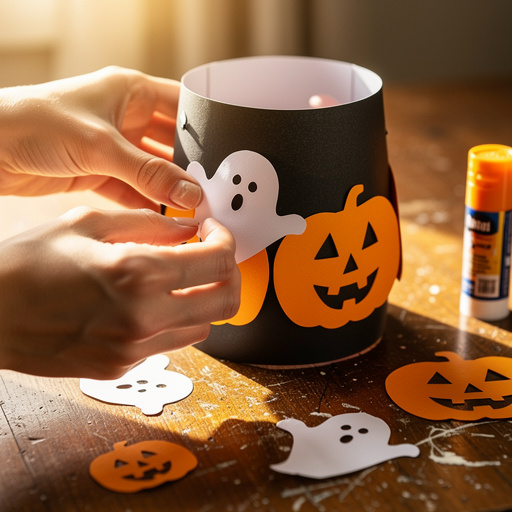
Get ready to add a touch of eerie enchantment to your Halloween décor with these incredibly easy and delightfully spooky paper lanterns! This DIY project is perfect for unleashing your creativity and crafting unique, glowing decorations that will captivate trick-or-treaters and party guests alike. Designed with simplicity in mind, it’s an ideal activity for children aged 6 and up, fostering fine motor skills and imaginative play. Gather your supplies and prepare to transform ordinary paper into glowing Halloween masterpieces that cast a magical, spooky ambiance.
On this page
Step-by-Step Instructions
- 1
Begin by taking one sheet of black construction paper and folding it in half lengthwise, often referred to as a 'hot dog' fold. Ensure the edges align perfectly before creasing firmly to create a crisp fold line.
- 2
Using your ruler and pencil, carefully draw a series of parallel lines on the folded side of the black paper. These lines should be approximately 1 inch apart, starting from the folded edge and extending towards the open edge, but crucially, stop drawing about 1 inch away from the open edge to maintain the lantern's structure.
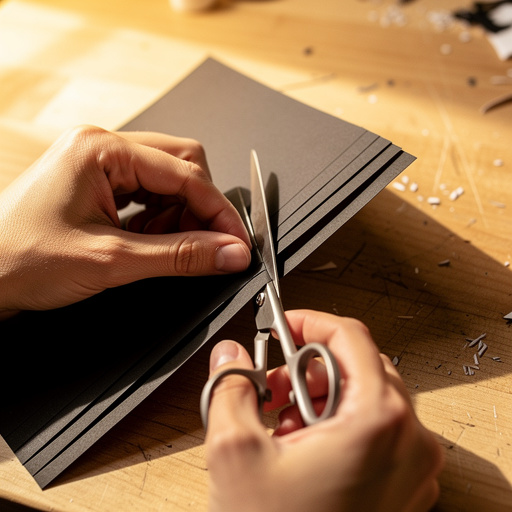
- 3
With your scissors, meticulously cut along each of the drawn lines, starting from the open edge and stopping precisely at the 1-inch mark you left from the folded edge. This ensures that the strips remain connected at the top and bottom, forming the lantern's body.
- 4
Gently unfold the black construction paper. You will now see a series of connected strips, creating a fringed effect that will form the sides of your spooky lantern when assembled.
- 5
Now, it's time to prepare your spooky embellishments. On the orange construction paper, use your pencil to draw and then carefully cut out various classic Halloween shapes. Think about simple pumpkin outlines, jagged bat wings, or even stylized witch hats. Aim for shapes that are easily recognizable and will stand out against the black background.
- 6
On the white construction paper, draw and cut out smaller, complementary spooky elements. These could include classic ghost shapes, eerie eyes with pupils, sharp fangs, or even tiny spider outlines. These smaller details will add character and personality to your lanterns.
- 7
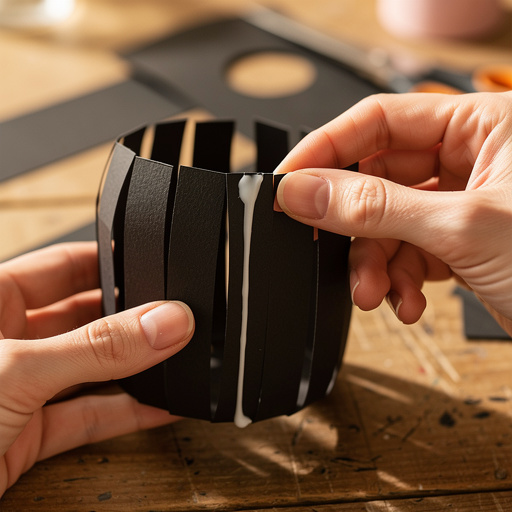
Take your black paper lantern base, which is now unfolded and fringed. Apply a thin, even line of white craft glue along one of the two short, uncut edges. Ensure the glue is applied consistently to create a strong bond.
- 8
Carefully bring the glued edge over to meet the opposite uncut short edge of the black paper. Overlap the edges slightly, about half an inch, and press them together firmly to secure the cylinder shape. This forms the main body of your lantern.
- 9
Now, begin attaching your pre-cut orange shapes to the black lantern base. Apply a small amount of glue to the back of each orange cutout and press it onto the black paper, spacing them evenly around the lantern. You can arrange them in a pattern or randomly for a more chaotic, spooky look.
- 10
Next, add the white cutouts to enhance your spooky characters. Glue the white ghost shapes onto the orange pumpkin faces to create spectral figures, or use the white eyes and mouths to give your pumpkins a more menacing or playful expression. This step allows for a lot of creative customization.
- 11
Allow the glue to dry completely before proceeding. This is a crucial step to ensure your decorations stay firmly in place and the lantern holds its shape. Rushing this can lead to pieces falling off or the lantern collapsing.
- 12
Once the glue is thoroughly dry, gently open the lantern from the top. You can carefully spread the fringed strips outwards to give the lantern a fuller, more rounded appearance.
- 13
To illuminate your creation, carefully place one battery-operated LED tea light inside the bottom of the lantern. Ensure the light is centered for an even glow and that it is stable.
- 14
If you wish to hang your lanterns, you can punch a hole on opposite sides of the top uncut edge of the black paper. Thread a piece of string or twine through these holes to create a hanger.
- 15
For an alternative spooky effect, consider using a white or light-colored construction paper as your base and cutting out black shapes to glue onto it. This reverses the color scheme and can create a different kind of eerie ambiance.
- 16
Experiment with different cutting techniques for the fringed strips. Instead of straight lines, you could try wavy lines or even small zigzags for a more organic, unsettling texture.
- 17
If you're aiming for a more intricate design, use a craft knife and cutting mat for more precise cuts on your spooky shapes, especially for small details like spider webs or tiny bat silhouettes. Always ensure adult supervision when using sharp tools.
- 18
To add an extra layer of spookiness, consider layering your cutouts. For example, glue a white ghost shape onto an orange pumpkin, and then add small black eyes to the ghost for a more complex character.
- 19
Before gluing the cylinder together, you can also draw or paint directly onto the black paper with glow-in-the-dark paint or markers for an added luminous effect that will shine even when the tea light is off.
- 20
Once the lantern is assembled and decorated, gently pinch the top edge together and apply a small amount of glue to secure it. This will create a more finished look and help the lantern maintain its cylindrical form.
- 21
If you find the paper is tearing easily during the cutting process, try using a sharper pair of scissors or ensuring your paper is laid flat and not bunched up. A ruler can also help guide your cuts and prevent accidental tears.
- 22
For a more durable lantern that can withstand a bit more handling, especially if children are involved, consider using clear packing tape to secure the cylinder edges instead of glue. This can also provide a slightly different visual texture.
- 23
Always, without exception, use battery-operated LED tea lights for safety. Real candles pose a significant fire hazard with paper lanterns and should never be used. The LED lights provide a safe, flickering glow that mimics real candlelight without the risk.
- 24
To create a truly unique lantern, try incorporating different textures. You could glue on small pieces of black felt for a velvety bat wing or use glitter glue for a shimmering spider web effect.
- 25
If you're making lanterns with younger children, pre-cut some of the basic shapes for them to glue onto the lantern base. This allows them to participate actively in the decorating process without needing to handle scissors.
- 26
For a more elaborate lantern, consider using two different colored papers for the fringed strips. For example, use black paper for the main body and cut strips from orange paper to glue onto the black strips, creating a striped effect.
- 27
If you want to add a bit more stability to the base of your lantern, you can cut a circle of cardstock the same diameter as the lantern and glue it to the inside bottom. This will prevent the tea light from shifting around too much.
Tips & Troubleshooting
- 1If the paper tears while cutting, try using sharper scissors or folding the paper more firmly before making your cuts. A ruler can also act as a guide to ensure straighter, cleaner lines, reducing the chance of tearing.
- 2Experiment with different colored construction paper for a variety of spooky effects. Try purple for a witchy vibe, green for a slime monster, or even a deep blue for a starry night sky effect. Combining colors can also create interesting visual depth.
- 3Instead of cutting out shapes, you can also draw spooky designs directly onto the black paper with a white or orange marker. This is a great option for younger children or for adding finer details like cobwebs or intricate patterns.
- 4For a more durable lantern, you can use clear packing tape to secure the cylinder edges instead of glue. This method is often quicker and can create a stronger bond, making the lantern more resilient to handling.
- 5Always use battery-operated LED tea lights for safety. Never use real candles with paper lanterns, as the paper is highly flammable and can quickly ignite, posing a serious fire hazard. The LED lights provide a safe and realistic flickering effect.
- 6To add an extra dimension to your spooky characters, consider layering different cutouts. For instance, glue a white ghost shape onto an orange pumpkin, and then add small black eyes to the ghost for a more complex and animated appearance.
- 7If you want your lanterns to hang securely, punch holes on opposite sides of the top edge and thread through sturdy string or twine. Ensure the holes are reinforced if the paper feels thin, perhaps by adding a small piece of tape before punching.
- 8For a truly unique and textured lantern, try incorporating different materials. You could glue on small pieces of black felt for velvety bat wings, or use glitter glue to create shimmering spider webs that catch the light.
Related Activities You Might Enjoy
Frequently Asked Questions
What are the best materials for making Halloween paper lanterns?
For these spooky paper lanterns, you'll need construction paper in various colors, particularly black for the base, and accent colors like orange and white for decorations. Sharp scissors are essential for clean cuts, and white craft glue is ideal for adhering the pieces. A pencil and ruler will help with precise measurements and lines. Finally, battery-operated LED tea lights are crucial for a safe and festive glow, as they mimic the flicker of real candles without the fire risk. Having extra sheets of colored paper on hand allows for more creative embellishments and variations.
How do I make the paper lantern spooky?
To make your paper lantern spooky, the key is in the decorations you add. Cut out classic Halloween shapes like pumpkins, ghosts, bats, or spooky eyes from orange and white construction paper. You can then glue these onto the black lantern base to create your desired characters or scenes. For a more menacing look, consider adding jagged edges to your cutouts or using contrasting colors for eyes and mouths. You can also draw directly onto the black paper with white or orange markers to create intricate designs like spider webs or eerie faces, adding to the overall haunted aesthetic.
Can kids make these paper lanterns by themselves?
Yes, kids aged 6 and up can definitely make these spooky paper lanterns with minimal adult supervision. The folding and cutting of the main lantern body might require a little help for younger children to ensure clean lines and prevent tearing. However, the decorating part, where they cut out and glue on spooky shapes, is perfect for their age group and encourages creativity. Younger children might need more assistance with the gluing and precise placement of smaller elements, but the overall project is very accessible and enjoyable for most children.
How long does it take to make a spooky paper lantern?
Creating one spooky paper lantern typically takes about 30 to 45 minutes, including drying time for the glue. The cutting and assembly of the lantern base might take around 10-15 minutes. Decorating with pre-cut shapes can take another 10-15 minutes, depending on the complexity. The crucial drying time can add another 15-20 minutes, especially if you've used a generous amount of glue. This makes it a perfect quick craft for a Halloween afternoon, allowing you to create several lanterns in one crafting session.
What are some creative variations for these paper lanterns?
There are many creative variations you can explore! Instead of just pumpkins and ghosts, try cutting out silhouettes of haunted houses, witches on broomsticks, or even spooky trees. You can also experiment with different color combinations; for instance, use a purple lantern base with yellow cutouts for a magical feel, or a green base with black cutouts for a monstrous slime effect. Consider adding texture by using different types of paper, like glitter paper for stars or textured cardstock for a more rugged look. Layering cutouts, such as a white ghost on an orange pumpkin, adds depth and character.
How can I make my paper lanterns glow brighter or have different lighting effects?
To enhance the glow, ensure your LED tea light is positioned centrally within the lantern. For a brighter effect, you could use a slightly more powerful LED tea light, but always ensure it doesn't generate excessive heat. If you want to create different lighting effects, consider using colored LED tea lights – red for a fiery glow, blue for an eerie chill, or green for a swampy ambiance. You can also strategically place your cutouts; for example, leaving larger gaps in the fringed strips will allow more light to escape, creating a more diffused illumination. Some crafters even use small battery-powered fairy lights inside for a more intricate and sustained glow.
Can I make these lanterns larger or smaller?
Absolutely! You can easily adjust the size of your paper lanterns by using larger or smaller sheets of construction paper. For a larger lantern, start with a bigger sheet of paper, like 11x17 inches, and adjust your measurements for the parallel cuts accordingly. For smaller lanterns, use half sheets or even smaller pieces of paper. When scaling up or down, remember to maintain the proportional spacing of your cuts and the overlap for securing the cylinder. This flexibility allows you to create a whole collection of lanterns in various sizes for a dynamic display.
What Next?
Once your spooky paper lanterns are complete and the glue has thoroughly dried, you'll have a collection of unique, glowing decorations ready to illuminate your Halloween festivities. Consider creating a variety of sizes and designs to create a captivating display. These lanterns are perfect for hanging from trees, lining pathways, or placing on mantels and shelves. For a truly immersive experience, try grouping them together to create a haunted forest effect. Store them carefully in a dry place after the season to reuse them for many Halloweens to come, or consider them as charming, handmade gifts for fellow Halloween enthusiasts.
Free: 10 Paper Crafts Anyone Can Make in 5 Minutes
Get our beginner guide + new craft ideas weekly.
No spam. Unsubscribe anytime.
Did you complete this activity?
Related
You might also like
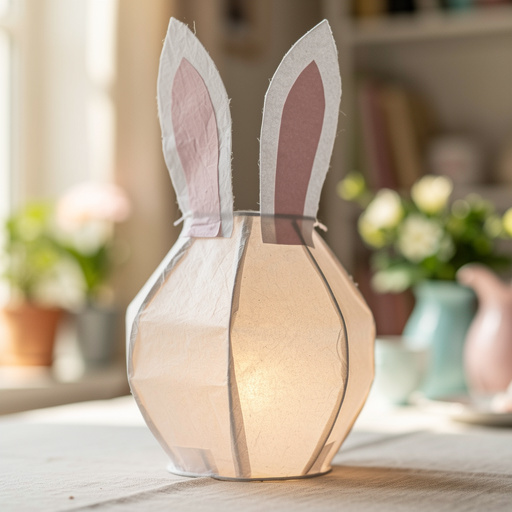
Bunny Ear Paper Lanterns
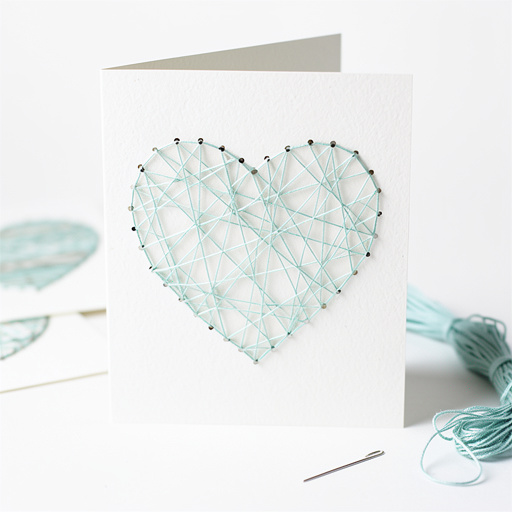
Heart String Art Cards
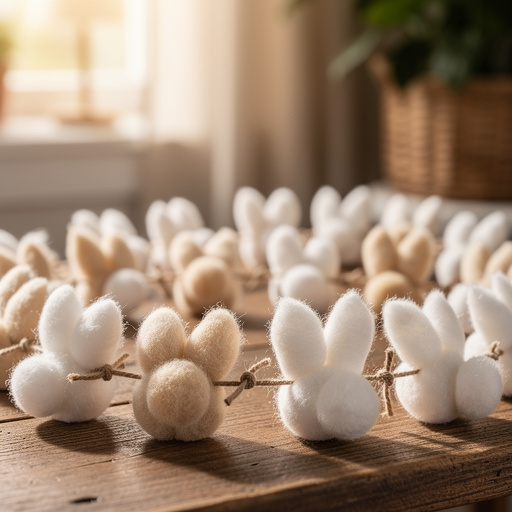
Bunny Tail Cotton Ball Garland
DIY Jigsaw Puzzle from Cardboard
DIY Cardboard Tube Binoculars