How to Build a Pillow Fort Stuffed Animal Haven — Easy Step-by-Step Guide
Transform your living room into a cozy wonderland for your stuffed animals! This guide shows you how to build an epic pillow fort that's perfect for your plush pals.
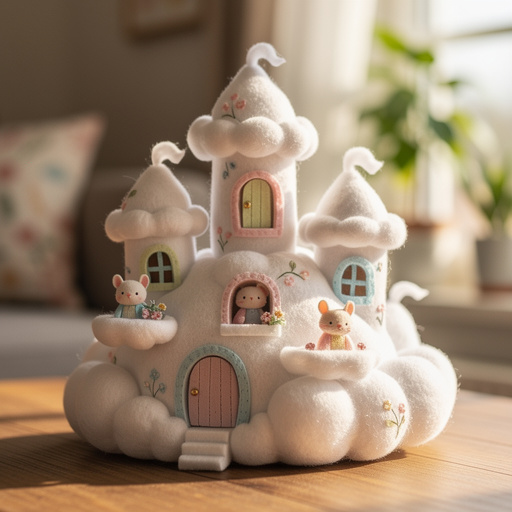
Quick answer
To make a pillow fort stuffed animal haven, you need blankets, pillows, chairs, and clips, taking about 30 minutes. Start by arranging furniture for support. This beginner-friendly activity has 10 steps and is perfect for families with young children.
What you need
Shop on Amazon · As an Amazon Associate we earn from qualifying purchases. Links above are affiliate links — we may earn a commission at no extra cost to you.
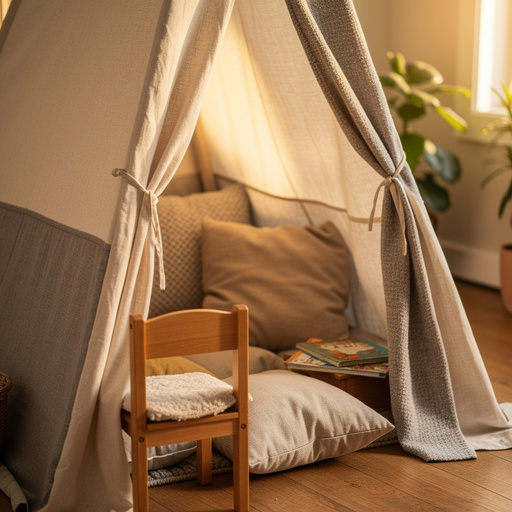
Embark on a delightful DIY adventure that will bring squeals of joy to both children and their beloved plush companions! Building a pillow fort is more than just a craft; it's an act of imagination, a creation of a personal sanctuary, and a testament to the simple pleasures of home. This project is perfectly suited for families looking for an engaging indoor activity that fosters creativity and provides a cozy retreat for treasured stuffed animals. Get ready to transform everyday items into an extraordinary haven!
On this page
Step-by-Step Instructions
- 1
Clear a spacious area in your living room or playroom, ensuring there's ample room for your fort's footprint and for children to move around it comfortably. Remove any fragile items or tripping hazards from the designated zone to create a safe building environment.
- 2
Strategically arrange the chairs to form the foundational structure of your fort. A common setup is a circle or square facing outwards, with enough space between them to create the desired dimensions of your fort's interior. Ensure the chairs are stable and won't easily tip over.
- 3
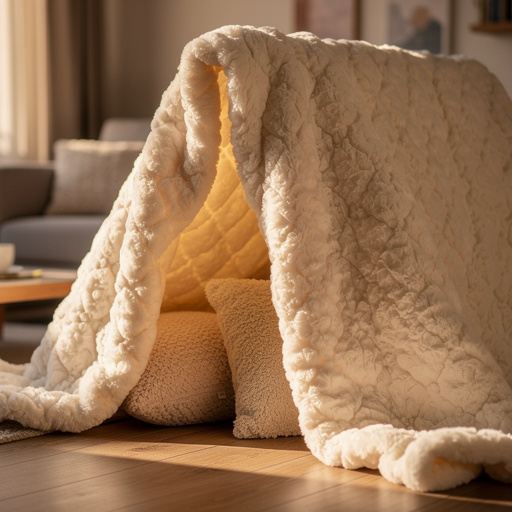
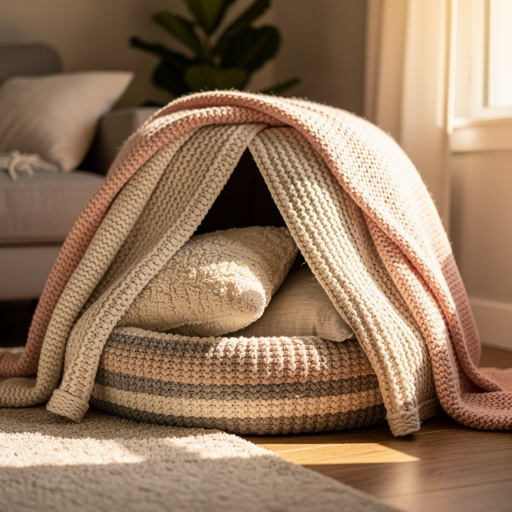
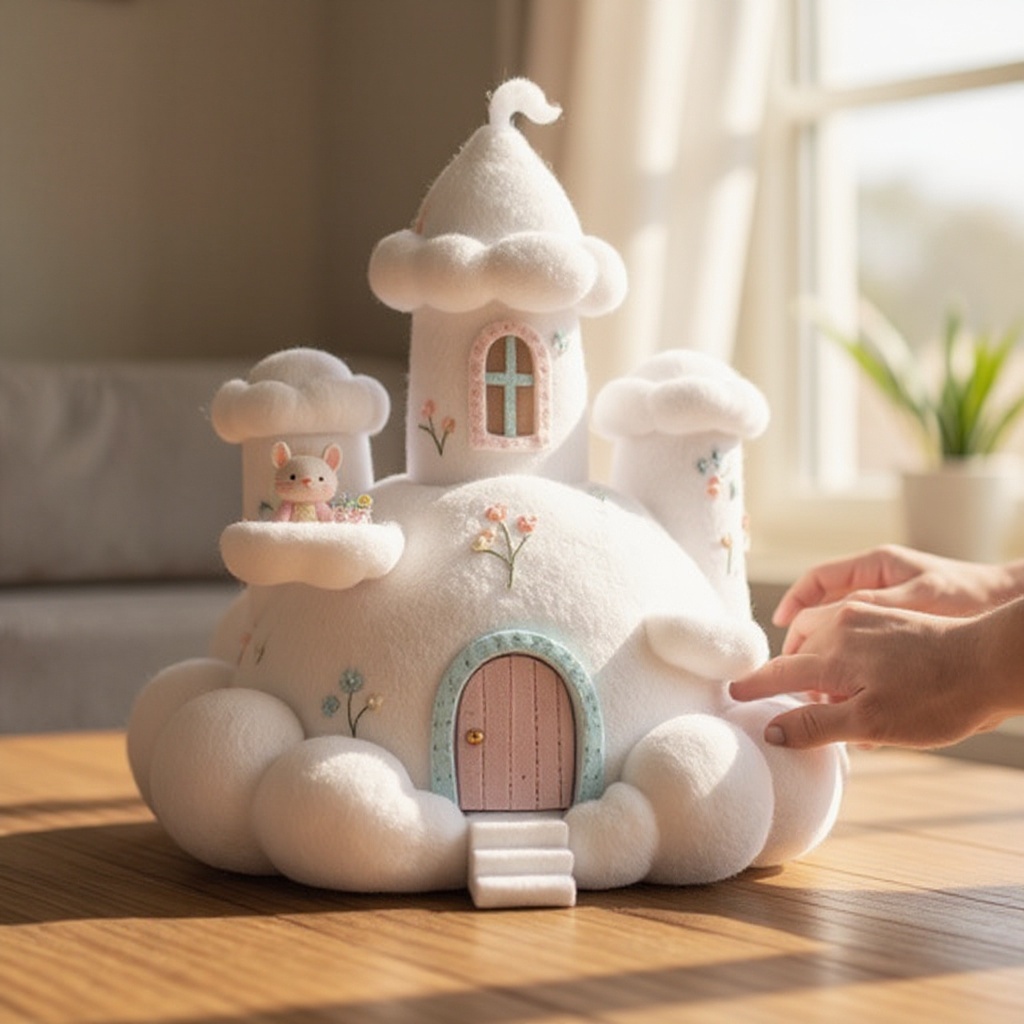
Carefully drape your largest and perhaps heaviest blanket or sheet over the backs of the arranged chairs. This will serve as the primary roof of your fort, providing the main canopy. Aim to cover the entire span between the chairs to create a cohesive ceiling.
- 4
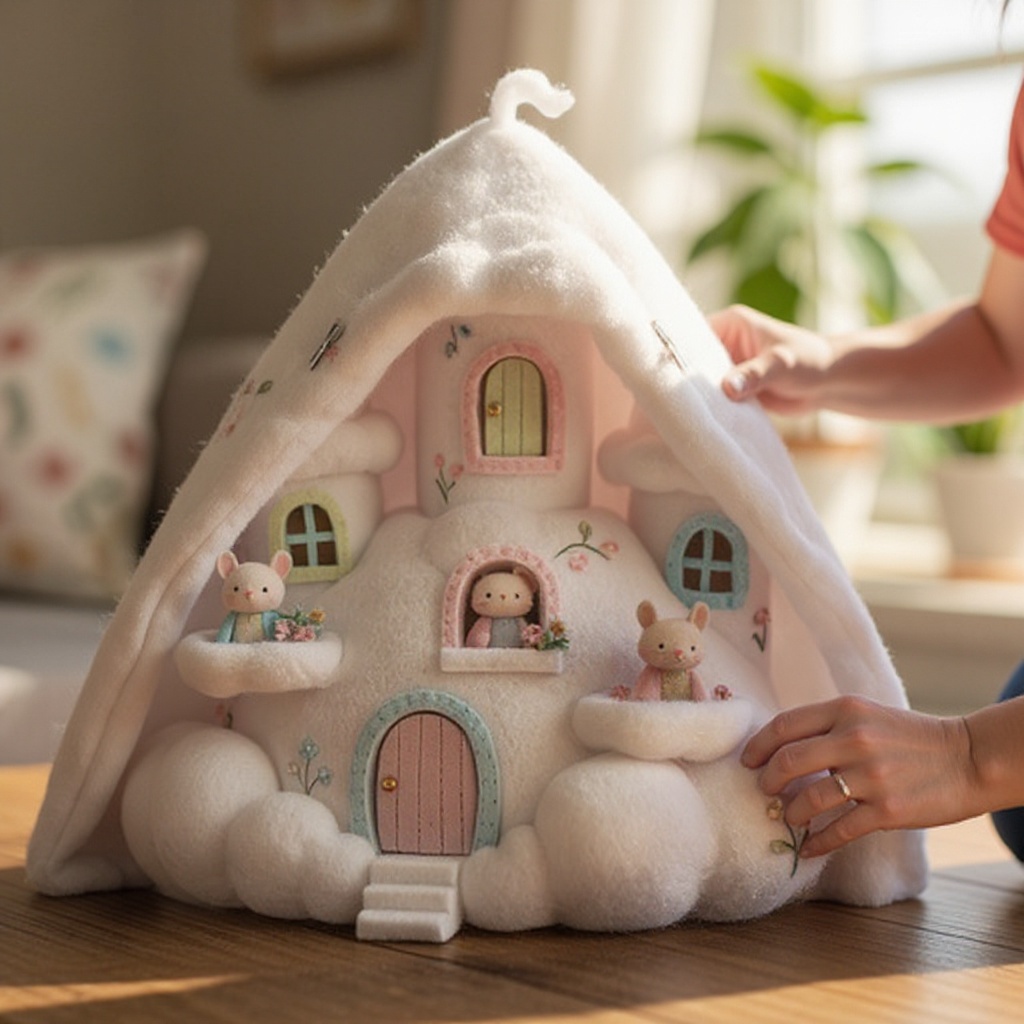
Secure the roof blanket firmly to the chairs using your clothespins or binder clips. Pull the fabric taut as you clip it to prevent any sagging in the middle, which can make the fort feel less spacious and stable. Distribute clips evenly along the chair backs for maximum support.
- 5
Begin constructing the walls of your fort by draping additional blankets or sheets from the secured roof blanket down towards the floor. Overlap the edges of these wall blankets with the roof blanket to create a seamless enclosure.
- 6
Tuck the bottom edges of the wall blankets securely under the legs of the chairs or use additional clips to anchor them to the floor or furniture legs. This prevents drafts from entering and helps maintain the fort's shape and coziness.
- 7
Designate an entrance to your fort by leaving a gap between two of the wall blankets. You can simply leave an opening, or for a more defined entrance, you can fold back the edges of the blankets or use clips to hold them open like curtains.
- 8
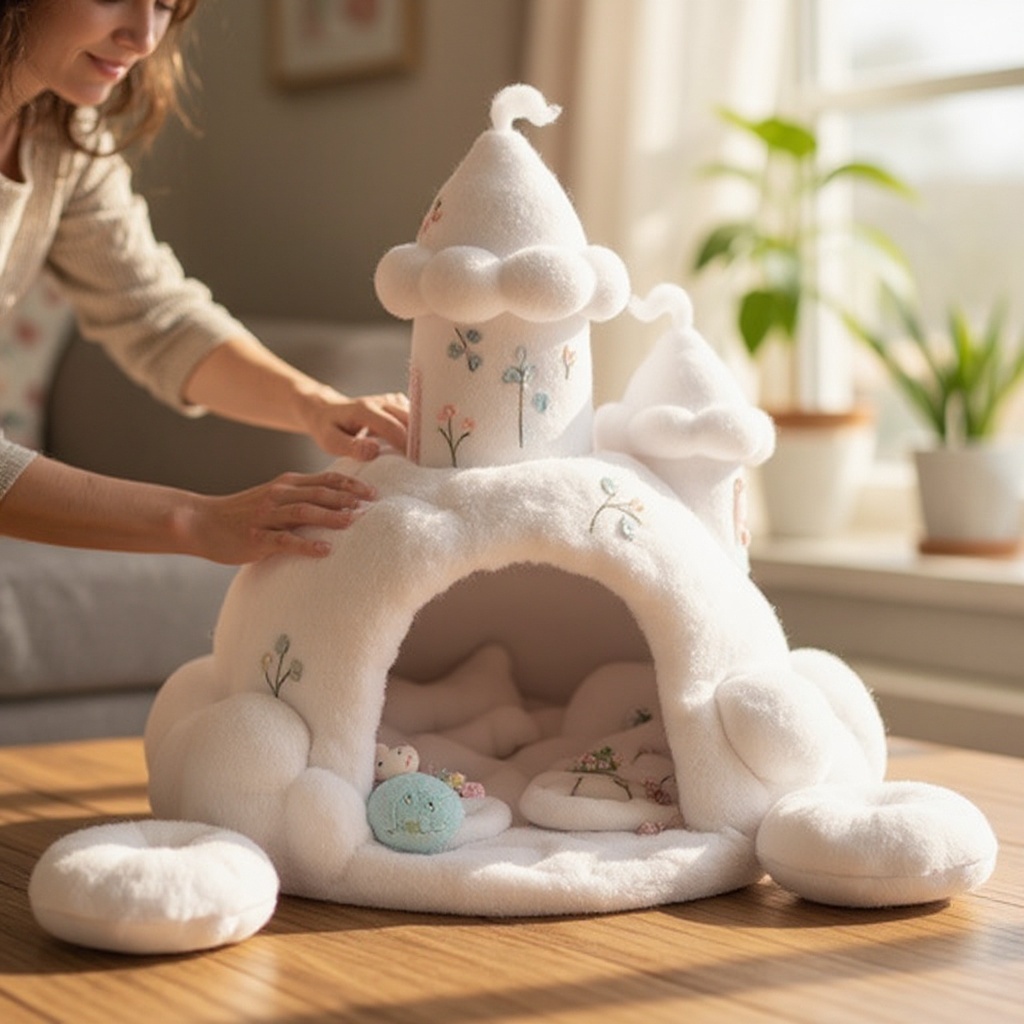
Lay out your pillows inside the fort to create a soft, inviting, and comfortable floor. Use larger couch cushions for a plush base and smaller pillows for added comfort and decorative appeal. This makes the interior a truly cozy haven.
- 9
Now for the most important part: arrange your favorite stuffed animals inside the fort, making them the honored guests of their new abode. Position them comfortably, perhaps as if they are having a tea party or reading a book.
- 10
Add any extra touches to enhance the magical atmosphere of your fort. Battery-operated fairy lights can cast a warm, enchanting glow, while books can be placed inside for quiet reading time. Consider adding a small rug for extra floor comfort.
- 11
Test the stability of your fort by gently pushing on the walls and roof. If any areas feel loose, add more clips or adjust the tension of the blankets. Ensure all connections are secure before allowing little ones (or their stuffed animal friends) to fully enjoy their new space.
- 12
Consider adding a secondary layer of blankets to the walls if you want a more opaque fort or if your initial blankets are too thin. This also adds an extra layer of insulation, making the fort even cozier.
Tips & Troubleshooting
- 1If your blankets are too short to reach the floor, don't worry! You can use smaller pillows, cushions, or even rolled-up towels to fill the gaps at the bottom of the walls. This creates a more complete and draft-free enclosure for your critters.
- 2Don't be afraid to experiment with different furniture arrangements! Sofas, armchairs, ottomans, and even sturdy coffee tables can serve as excellent structural elements for your fort. Think creatively about how you can combine different pieces of furniture to create unique shapes and sizes.
- 3For a more stable and robust fort, try using heavier blankets for the roof, as they will provide better support and are less likely to sag. Lighter blankets can then be used for the walls, making them easier to drape and manage.
- 4Make it a themed fort! Encourage children to decorate the outside or inside of the fort with drawings, cutouts, or even by using colored blankets to create a specific atmosphere. Ideas include a 'jungle hideout,' a 'royal castle,' or a 'space station.'
- 5Consider the entrance. Instead of just a gap, you can create a more defined doorway by using a smaller blanket as a flap that can be opened and closed. This adds an extra layer of playability and makes the fort feel more like a real dwelling.
- 6If you have a particularly large room, you can connect multiple smaller forts together using tunnels made from blankets draped over chairs or boxes. This creates an expansive critter kingdom for even more stuffed animal friends to enjoy.
- 7Safety first! Ensure that any furniture used is stable and won't tip over. If using fairy lights, opt for battery-operated LED lights that don't generate heat. Always supervise young children during fort construction and play.
- 8Think about the 'furnishings' inside. Beyond pillows, you can add small stuffed animal furniture, tiny blankets for the critters, or even a small 'food' station made from toy dishes. The more detail, the more immersive the experience.
Related Activities You Might Enjoy
Frequently Asked Questions
What are the best materials for a pillow fort stuffed animal house?
The ideal materials for constructing a cozy pillow fort for your stuffed animals are large, lightweight blankets or sheets that can be easily draped and secured. Plenty of soft pillows of various sizes are essential for creating a comfortable floor and adding to the fort's structure. Sturdy chairs, sofas, or even sturdy boxes serve as the foundational support system, holding up the roof and walls. Don't forget essential fasteners like clothespins or binder clips to keep everything in place and prevent sagging. Optional decorative items like fairy lights, stuffed animal accessories, and small rugs can elevate the fort from basic to magical.
How do I make my pillow fort stuffed animal fort more stable?
To ensure your pillow fort is as stable as possible, start by selecting sturdy furniture that won't easily tip over. Arrange chairs or other supports in a way that creates a solid base, ensuring they are not too far apart. Use heavier blankets for the roof as they are less prone to sagging. When draping blankets, pull them taut and secure them at multiple points using plenty of strong clothespins or binder clips. Tucking the edges of the wall blankets securely under furniture legs or even using heavy books to weigh them down can also significantly improve stability. Regularly check and re-secure any loose connections.
Can I build a pillow fort stuffed animal fort outdoors?
Absolutely! Building a pillow fort outdoors can be a fantastic adventure, especially on a calm, sunny day. Instead of chairs, you can use picnic tables, benches, or even large rocks as your structural supports. A picnic blanket can serve as the base on the ground. Secure your fort by weighing down the edges of the blankets with heavy objects like stones, sandbags, or sturdy planters. Be mindful of the weather; wind is the biggest challenge outdoors, so choose a sheltered spot if possible. Ensure the area is free of sharp objects or uneven terrain.
How many stuffed animals can fit in a pillow fort?
The number of stuffed animals that can comfortably fit in your pillow fort is entirely dependent on the size of the fort you build and the size of your plush companions. A typical living room fort, constructed using a few chairs and blankets, can usually accommodate anywhere from 5 to 10 medium-sized stuffed animals. If you have a larger fort or smaller stuffed animals, you can easily fit more. The goal is to create a cozy space where each critter has a comfortable spot to rest, so don't overcrowd it to the point where it becomes uncomfortable for them.
What age group is this project best suited for?
This pillow fort building project is wonderfully versatile and can be enjoyed by a wide range of ages. Younger children, typically ages 3 and up, will delight in the imaginative play and the cozy space created for their stuffed animals, often with the help of an adult. Older children, perhaps ages 6-10, can take a more active role in the construction, planning the layout and securing the blankets themselves. Even teenagers and adults can find joy in building a nostalgic fort for a fun afternoon or as a charming decoration. It's a project that encourages collaboration and creativity across generations.
How long does it typically take to build a pillow fort for stuffed animals?
The beauty of building a pillow fort is its simplicity and speed. For a basic fort designed for stuffed animals, you can expect the construction process to take approximately 30 to 45 minutes. This timeframe includes gathering your materials, arranging the furniture, draping and securing the blankets, and adding the final touches like pillows and stuffed animal guests. More elaborate forts with multiple rooms, tunnels, or intricate decorations might take a bit longer, perhaps an hour or more, depending on the complexity and the number of builders involved. It's a project that can be completed in a single afternoon.
What Next?
Congratulations on building your Cozy Critter Cloud Castle! This fort is a fantastic starting point for imaginative play. Consider variations like adding a 'drawbridge' made from a rolled-up blanket or creating themed rooms within the fort using different colored sheets. Once playtime is over, the fort can be easily dismantled and stored. Fold the blankets neatly and stack the pillows, ready for your next grand construction. For future projects, explore building a 'critter cafe' or a 'stuffed animal cinema' using similar fort-building techniques.
Free: 10 Paper Crafts Anyone Can Make in 5 Minutes
Get our beginner guide + new craft ideas weekly.
No spam. Unsubscribe anytime.
Did you complete this activity?
Related