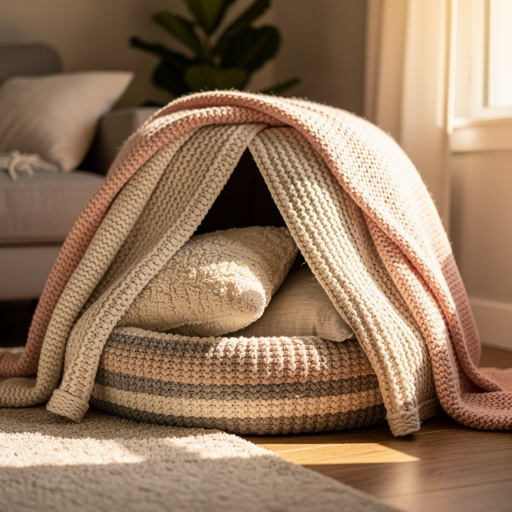
How to Build a Blanket Fort for Adults — Easy Step-by-Step Guide
Escape into your own cozy sanctuary! Learn how to build a spacious and comfortable blanket fort designed for adults, perfect for a screen-free escape.
Quick answer
To make a blanket fort for adults, you need blankets, sheets, chairs, pillows, and clips, taking about 30-60 minutes. Start by arranging furniture to create a frame. This beginner-friendly activity has 10 steps and is perfect for teens and adults seeking relaxation.
What you need
Shop on Amazon · As an Amazon Associate we earn from qualifying purchases. Links above are affiliate links — we may earn a commission at no extra cost to you.
In a world constantly buzzing with digital distractions, there's a profound joy in creating a physical sanctuary for yourself. Building a blanket fort isn't just for kids; it's a delightful and surprisingly therapeutic activity for adults too. Imagine a cozy haven, a personal retreat where you can unplug, read, meditate, or simply enjoy quiet contemplation. This guide will walk you through crafting a spacious and comfortable adult-sized fort, transforming your living space into a whimsical escape. It's the perfect project for anyone seeking a bit of nostalgic fun and a much-needed break from the everyday hustle.
On this page
Step-by-Step Instructions
- 1
Clear a spacious area in your living room or bedroom, ensuring enough space for your fort's footprint. This means moving any small tables, clutter, or delicate items that could be knocked over or obstruct your building process.
- 2
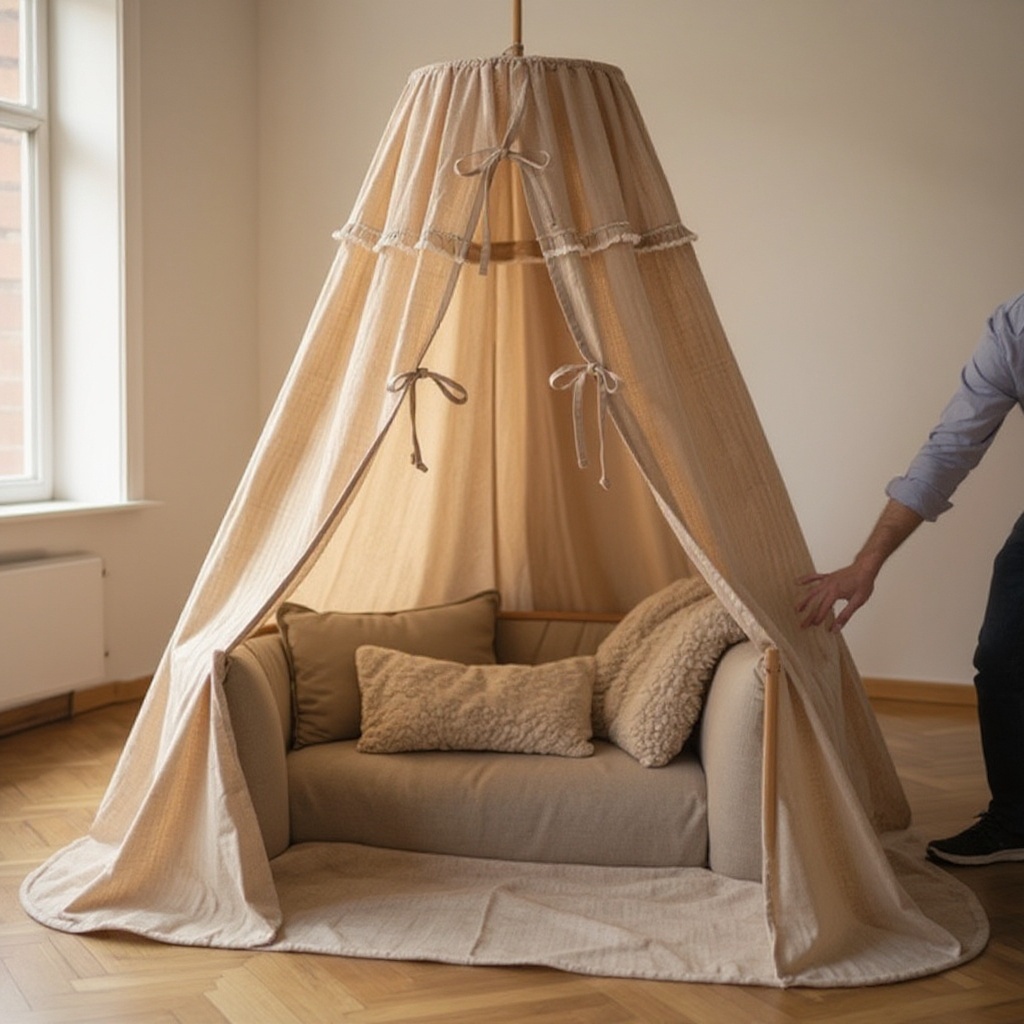
Arrange your furniture (chairs, sofas, bed) to form the basic structure of your fort, leaving openings for entrances. Think of the furniture as the sturdy skeleton of your fort, with the backs of chairs and the arms of sofas acting as anchor points for your fabric.
- 3
Drape your largest, heaviest blankets over the furniture to create a sturdy roof and walls, ensuring they reach the floor. Start with the largest blankets to cover the most significant areas, allowing them to hang down to create the initial enclosure.
- 4
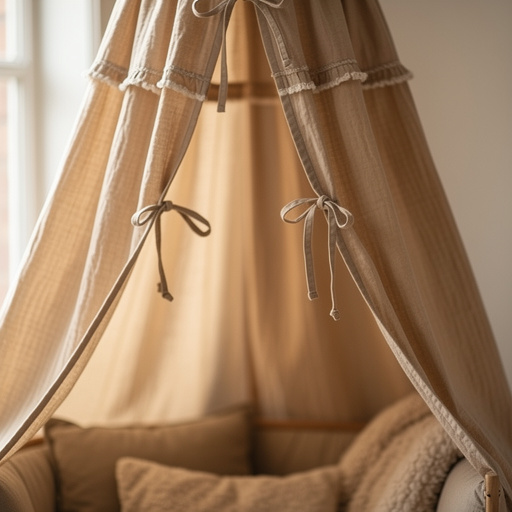
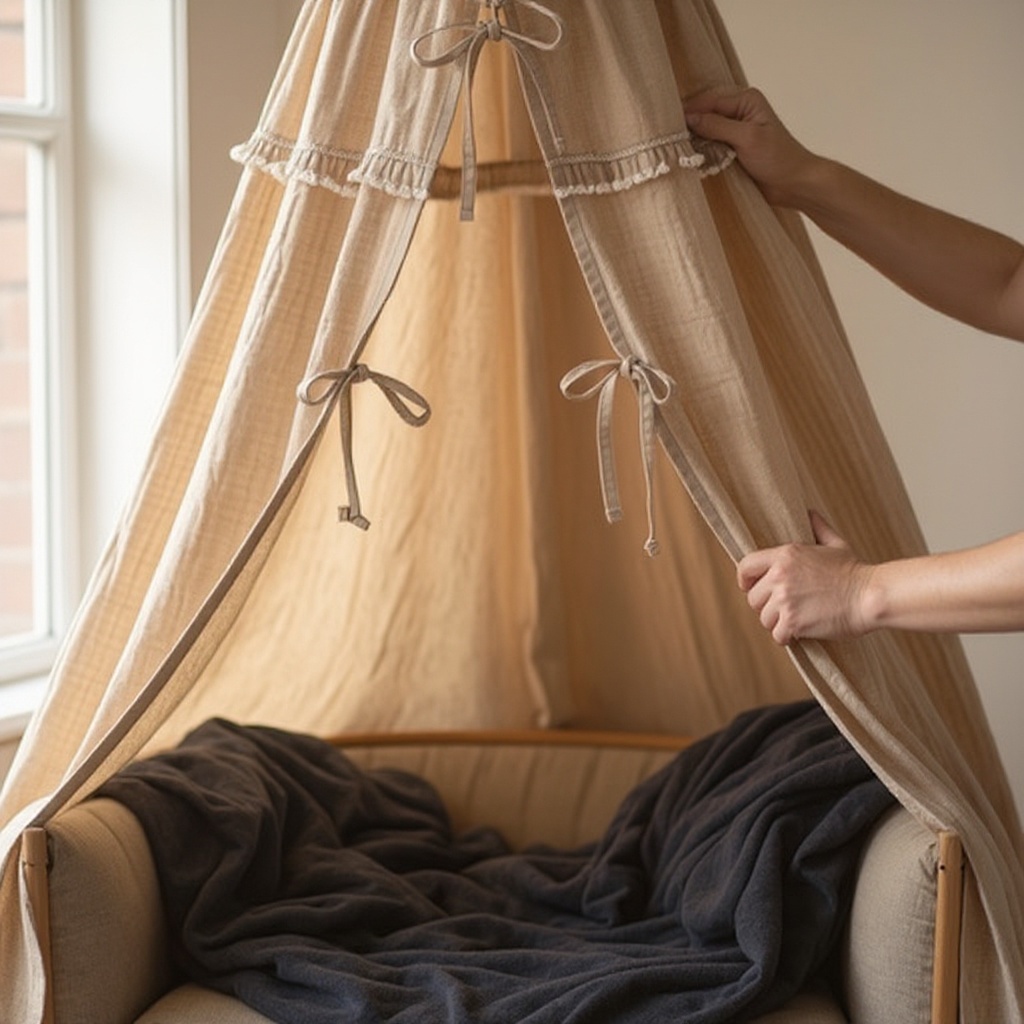
Secure the blankets to the furniture using clothespins or binder clips, pulling them taut to prevent sagging. Focus on securing the edges of the blankets to the highest points of your furniture, ensuring a snug fit to minimize gaps and maintain structural integrity.
- 5
Use your sheets to fill in any gaps between blankets or to create additional wall sections, overlapping them for better coverage. Sheets are excellent for filling smaller spaces or creating smoother wall surfaces, and overlapping them ensures no light peeks through.
- 6
Drape lighter blankets or sheets over the top to create a softer, more diffused ceiling, securing them with clips. This layer adds an extra touch of coziness and can help block out more light, creating a truly immersive experience.
- 7
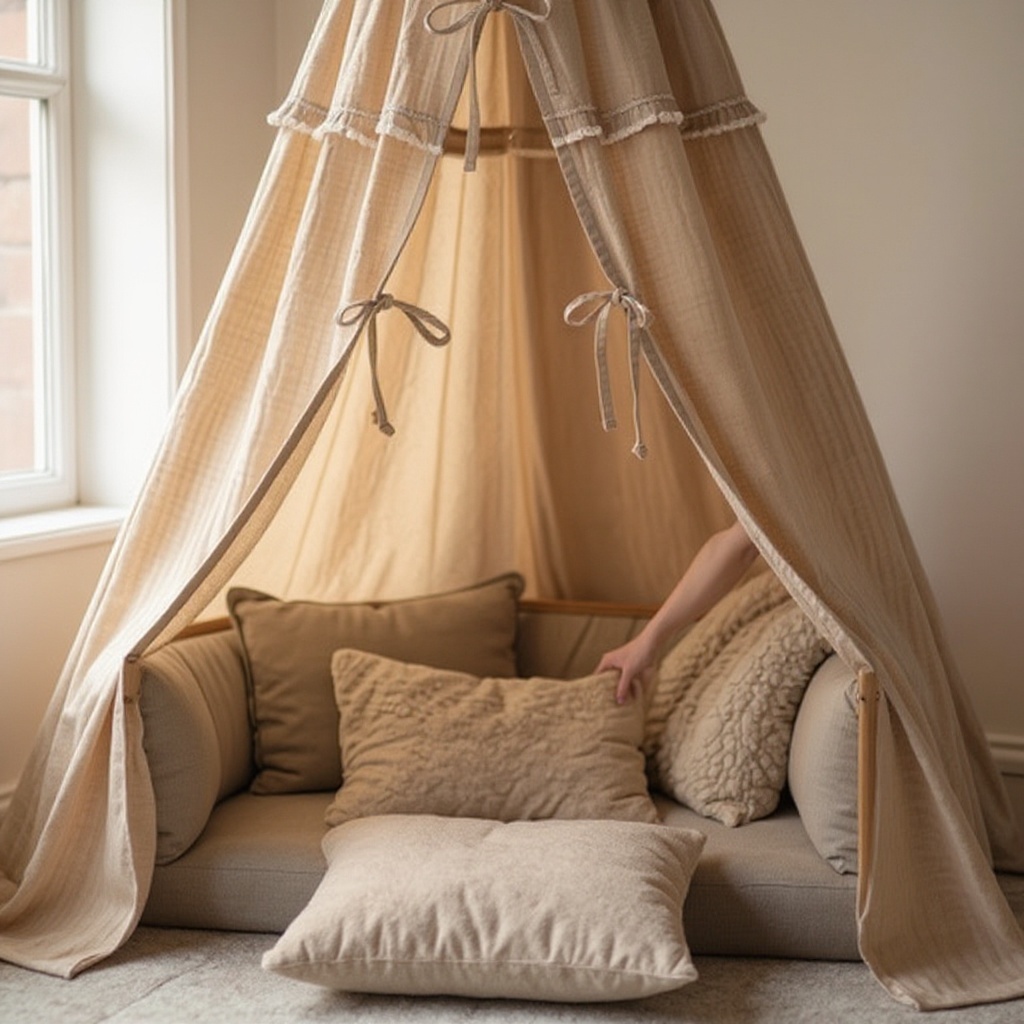
Place pillows and cushions inside the fort to create a comfortable floor and seating areas. Arrange them to create a soft landing and supportive backrests, making your fort a truly inviting space for relaxation.
- 8
Add any optional decorative elements like fairy lights for ambiance, ensuring they are safely secured and battery-operated. Drape them artfully along the inside edges or ceiling of your fort, creating a magical glow without the hazard of heat or cords.
- 9
Designate a clear entrance and exit point for easy access and ventilation. This is crucial for getting in and out comfortably and for ensuring a fresh airflow within your cozy retreat.
- 10
Test the stability of your fort by gently pushing on the walls and roof; add more clips or adjust blankets as needed. A gentle shake test will reveal any weak points, allowing you to reinforce them with additional clips or by repositioning the fabric for better tension.
- 11
Consider adding a secondary layer of fabric for enhanced darkness and insulation. Drape an extra sheet or a dark-colored blanket over the entire structure, securing it well, to create an even more secluded and light-blocking environment.
- 12
Reinforce corners and edges where blankets meet. Use extra clips or even a bit of string or rope tied discreetly to secure these junctions, preventing drafts and ensuring a more robust fort.
- 13
If using a bed as part of your fort, utilize the headboard and footboard as natural anchor points. Drape blankets over these structures and secure them to create seamless walls and a cozy ceiling.
- 14
Create a dedicated 'doorway' by leaving a section of fabric unclipped or by using a lighter sheet that can be easily pulled aside. This makes entering and exiting much more convenient.
- 15
Check for any light leaks and address them by repositioning blankets or adding extra clips. Even small gaps can detract from the immersive experience, so a thorough check is worthwhile.
- 16
Ensure the floor inside your fort is comfortable and free of any hard objects. Adding extra blankets or a soft rug can make a significant difference in overall coziness.
- 17
If you plan to spend a significant amount of time in your fort, consider bringing in a small, battery-operated fan for ventilation, especially on warmer days. Position it to gently circulate air without creating too much disturbance.
- 18
Gather your chosen activities – books, journals, art supplies, or even a tablet for a quiet movie – and arrange them within easy reach inside your fort.
- 19
Take a moment to admire your creation and mentally prepare to relax and enjoy your new private sanctuary.
- 20
Ensure that any furniture used is stable and won't be easily tipped over by the weight of the blankets or by someone leaning against it. Safety is paramount when building any structure, even a temporary one.
Tips & Troubleshooting
- 1For a more stable structure, use heavier blankets for the base and lighter ones for the ceiling. This prevents the fort from collapsing under its own weight and ensures the foundational elements are robust.
- 2Experiment with different furniture arrangements to create unique fort shapes and sizes. Consider using taller furniture like bookshelves (secured safely) for added height, or arranging chairs in a circular pattern for a more intimate feel.
- 3Layering blankets and sheets can improve insulation and darkness, making your fort a perfect cozy retreat. Use thicker blankets for the outer layers to block out more light and retain warmth, while lighter ones can be used for internal layers.
- 4If you have a ceiling fan, consider placing it outside the fort and directing the airflow inwards for a gentle breeze on warmer days. This provides a refreshing circulation of air without the fan being inside your cozy space.
- 5Ensure all clips and attachments are secure and not in a position where they could easily fall and cause injury. Regularly check the tension of your fabric and the grip of your clips to prevent any unexpected collapses.
- 6Utilize the natural contours of your furniture to your advantage; the back of a sofa can be a perfect anchor for a ceiling, and chair backs can create natural wall supports.
- 7Don't be afraid to get creative with your fabric choices; patterned blankets can add visual interest, and sheer fabrics can create interesting light effects when layered with fairy lights.
- 8If you're aiming for a truly dark fort, opt for opaque blankets and sheets, and pay close attention to sealing any potential light leaks around edges and openings.
Related Activities You Might Enjoy
Frequently Asked Questions
What are the best materials for an adult blanket fort?
For an adult blanket fort, prioritize a variety of blankets and sheets, ranging from heavy to light, to provide both structure and coziness. Sturdy furniture like chairs, sofas, and even a bed are essential for creating a stable frame and ample space. Don't forget plenty of pillows and cushions for ultimate comfort and support. Clothespins or heavy-duty binder clips are key for securely fastening all the fabric elements, ensuring your fort remains intact. Consider adding optional items like battery-operated fairy lights for ambiance, books for entertainment, and snacks for indulgence to enhance your personal sanctuary.
How do I make my adult blanket fort more stable?
To make your adult blanket fort more stable, begin by using heavier blankets for the base structure and drape them over the sturdiest furniture available, such as sofas and chairs. Secure all fabric to the furniture with an abundance of clips, ensuring a taut fit to prevent sagging and potential collapse. Overlapping fabrics and reinforcing corners with extra clips or even discreetly tied string can significantly improve structural integrity. Regularly check the tension of your fabric and the grip of your clips to ensure everything remains securely in place throughout your fort's lifespan.
Can I build a blanket fort for adults by myself?
Yes, you can absolutely build a blanket fort for adults by yourself. While an extra pair of hands can certainly be helpful for draping larger blankets or holding fabric in place, the process is entirely manageable solo. The key is to focus on arranging your furniture first to create a solid framework, then systematically draping and securing the fabric section by section. Take your time, work from the base up, and utilize your clips effectively to achieve a stable and cozy structure.
How big should an adult blanket fort be?
The size of an adult blanket fort can vary greatly depending on your available space and your desired level of comfort and functionality. Aim for a size that comfortably accommodates at least one adult lying down, with enough room to sit up, move around, and perhaps even stretch out a bit. Utilizing multiple pieces of furniture as anchors, such as a sofa combined with several chairs, will help you create a larger and more expansive space. Consider the height as well; you want enough headroom to sit up without constantly hitting the ceiling.
What are some creative ways to decorate my adult blanket fort?
Decorating your adult blanket fort can transform it into a truly magical retreat. Battery-operated fairy lights are a classic choice, casting a warm, inviting glow and creating a whimsical atmosphere. You can also hang string lights, drape colorful scarves or tapestries for added texture and visual interest, or even bring in plush rugs and extra cushions for ultimate comfort. Consider a theme, like a 'reading nook' with plenty of books and a cozy reading light, or a 'zen den' with calming colors and perhaps some aromatherapy. Personal touches like photos or artwork can also make it feel uniquely yours.
How can I ensure good ventilation in my blanket fort?
Good ventilation is crucial for comfort, especially in a cozy, enclosed space. Designate a clear entrance and exit point that allows for easy airflow; you can even leave a section of fabric unclipped to act as a makeshift door. If your fort feels stuffy, consider strategically placing a small, battery-operated fan outside the fort and directing its airflow inwards. Overlapping your fabrics loosely in certain areas can also allow for subtle air circulation without compromising too much on darkness or coziness. Avoid completely sealing every single gap if you plan to spend extended periods inside.
What Next?
Congratulations on building your adult blanket fort! This cozy creation is more than just a temporary structure; it's an invitation to slow down and indulge in simple pleasures. Once dismantled, store your blankets and pillows neatly, perhaps even in a designated fort-making bin. For future fort adventures, consider variations like a themed fort (e.g., a reading nook, a movie den) or even a multi-room fort using more furniture. You could also explore more permanent DIY den ideas once you've mastered this foundational skill. Enjoy your personal sanctuary!
Free: 10 Paper Crafts Anyone Can Make in 5 Minutes
Get our beginner guide + new craft ideas weekly.
No spam. Unsubscribe anytime.
Did you complete this activity?
Related
You might also like
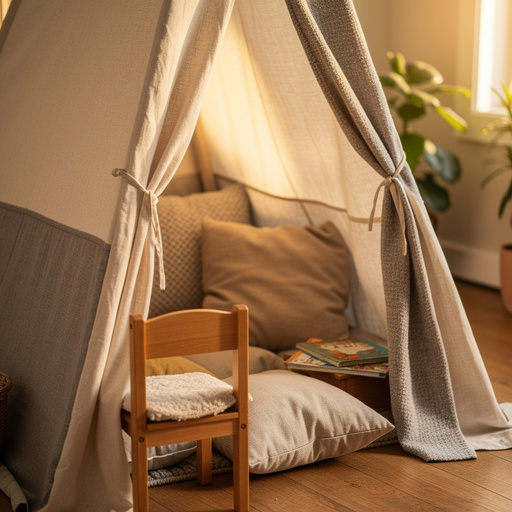
Cozy Corner Fort Kit
Cozy Critter Cloud Castle
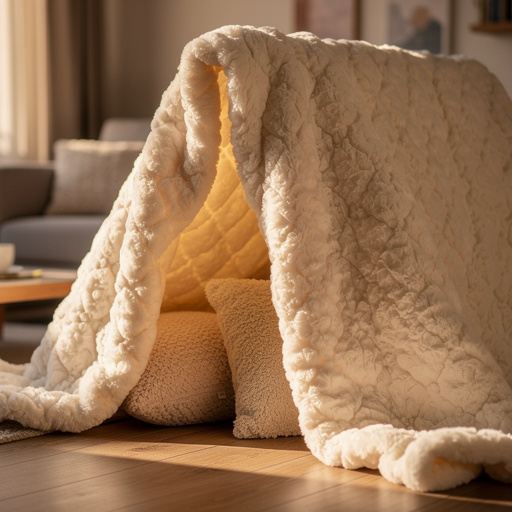
Cozy Cloud Blanket Fort

Cozy Blanket Hideaway
DIY Wooden Birdhouse