How to Build a Blanket Fort — Easy Step-by-Step Guide
Transform your living room into a magical kingdom with a cozy blanket fort! This fun, screen-free activity is perfect for family bonding and imaginative play. It's a fantastic way to spark creativity and provide a special, personal space for kids and adults alike. Building a blanket fort is a timeless tradition that fosters imagination and offers a delightful escape from the everyday. Get ready to create lasting memories with this simple yet rewarding DIY project.

Quick answer
To make a blanket fort, you need blankets, pillows, chairs, and clips, taking about 30 minutes. Start by arranging furniture to create a frame. This beginner-friendly activity has 10 steps and is perfect for families and kids aged 4+. Ensure you have enough space and sturdy furniture to support your fort's structure. Gathering all your materials beforehand will make the building process smooth and enjoyable.
What you need
Shop on Amazon · As an Amazon Associate we earn from qualifying purchases. Links above are affiliate links — we may earn a commission at no extra cost to you.
Embark on a delightful DIY adventure and transform your ordinary living space into an extraordinary cozy blanket fort! This project is more than just building a structure; it's about creating a magical sanctuary for imagination, storytelling, and precious family moments. Perfect for rainy days, sleepovers, or just a fun afternoon escape, a blanket fort offers a screen-free zone where creativity can flourish. It's an accessible and rewarding activity for all ages, especially for young children eager to explore their own private world. Get ready to unleash your inner architect and build a haven of comfort and fun!
On this page
Step-by-Step Instructions
- 1
Clear a spacious area in your living room or playroom, ensuring there's ample room for your fort's footprint and for people to move around it comfortably. Remove any fragile items or tripping hazards from the immediate vicinity to create a safe building zone.
- 2
Begin by arranging your chairs to form the foundational structure of your fort. Position them in a circle, square, or even a more abstract shape, facing outwards, leaving intentional gaps between them. These gaps will serve as both entrances and structural supports for your fort's walls and roof.

- 3
Select your largest and perhaps heaviest blanket or sheet to serve as the main roof of your fort. Carefully drape this over the tops of the arranged chairs, ensuring it covers the majority of the intended fort area. Aim for even distribution to prevent one side from being too heavy or sagging excessively.
- 4
Secure the roof blanket firmly to the chairs using your clothespins or binder clips. Pull the fabric taut as you clip it to each chair, paying close attention to the edges and corners. This tension is crucial for preventing the roof from sagging and creating a more stable structure.

- 5
Now, it's time to create the walls of your fort. Take additional blankets and drape them over the sides of the chairs, allowing them to hang down towards the floor. Secure these wall blankets to the roof blanket above or directly to the chair legs using more clips.
- 6
Overlap the wall blankets generously where they meet each other and where they connect to the roof. This overlapping technique is key to minimizing gaps, preventing drafts, and creating a truly cozy, enclosed, and private space within your fort.
- 7
Designate one or two strategic gaps between your wall blankets to serve as your main entrances and exits. You can leave these openings as they are, or you can create simple 'doorways' by draping a smaller blanket over the opening that can be easily pushed aside.
- 8
Tuck any excess blanket material that hangs too low under the legs of the chairs or secure it with additional clips to maintain a tidy and finished look. This step not only improves the aesthetics but also helps to prevent tripping hazards and keeps the fort's interior free from dangling fabric.
- 9
Once the exterior structure is complete, focus on making the interior incredibly inviting. Fill the inside of your fort with an abundance of pillows, cushions, and soft blankets to create a plush and comfortable floor and seating area. The more cushioning, the cozier your hideaway will be!

- 10
Enhance the atmosphere of your blanket fort with optional decorations to truly bring it to life. Drape battery-operated fairy lights for a magical glow, arrange beloved stuffed animals as companions, and stock the fort with favorite books for hours of entertainment.
- 11
Test the stability of your fort by gently pushing on the walls and roof. If any areas feel loose or are sagging, add more clips or adjust the tension of the blankets. Ensure all furniture is stable and not at risk of tipping over.
- 12
Consider adding a soft rug or play mat to the floor of your fort for an extra layer of comfort and to define the interior space. This can also help to insulate the floor and make it feel warmer and more inviting.
- 13
If you have a particularly large fort, you might want to add extra support by using additional furniture items like ottomans or even a low coffee table as anchor points for your blankets.
- 14
For a more immersive experience, you can create 'windows' by leaving small, intentional gaps in the wall blankets, or by using sheerer fabrics for certain sections of the walls.
- 15
Once your fort is built, have a 'fort inspection' to ensure all clips are secure and there are no sharp edges or potential hazards within the fort's interior.
- 16
Encourage imaginative play by suggesting themes for the fort, such as a castle, a spaceship, a secret cave, or a cozy reading nook. This can help children get the most out of their new hideaway.
- 17
If you're using a couch or bed as part of your fort's structure, ensure the blankets are securely anchored to it to prevent them from slipping off.
- 18
For a truly dark and cozy fort, consider using blackout curtains or thicker, darker blankets for the roof and walls, especially if the fort is being used for nap time or movie watching.
Tips & Troubleshooting
- 1If your blankets are too short to reach the floor, don't worry! You can easily layer them or use smaller blankets to fill in any gaps, creating a seamless and complete enclosure. This also allows for more creative color combinations and textures within your fort.
- 2For a sturdier and more robust fort, consider using heavier blankets for the roof as they will provide better structure and less sagging. Lighter blankets can then be used for the walls, making them easier to drape and secure. Utilizing a couch or bed as a base can also significantly enhance the fort's stability and size.
- 3Don't be afraid to experiment with different furniture arrangements to create unique fort shapes and sizes. You can create multi-room forts, forts with tunnels, or even forts that wrap around furniture, making each build a new adventure.
- 4Ensure all clips are securely fastened to prevent blankets from falling unexpectedly, which can be startling and disruptive. Avoid using sharp objects like safety pins for securing fabric, as these can pose a hazard, especially in a fort designed for children.
- 5Consider the weight of your blankets when planning your fort. Heavier blankets will require more robust support from your furniture, so if you only have lighter blankets, you might need to use more chairs or anchor points to ensure stability.
- 6Think about ventilation, especially if your fort is going to be occupied for an extended period or if the weather is warm. Leaving a few small, intentional gaps or using a lighter fabric for a section of the wall can help with airflow.
- 7If you're building a fort for younger children, ensure there are no low-hanging blankets that could be a tripping hazard. Secure all edges firmly to the floor or furniture to create a safe and contained play space.
- 8The type of clips you use can make a difference. Binder clips are excellent for holding larger sections of fabric together, while clothespins are great for smaller adjustments and securing edges to furniture legs.
Related Activities You Might Enjoy
Frequently Asked Questions
What are the best materials for a blanket fort?
The ideal materials for a blanket fort combine functionality with comfort. For the main structure, large, lightweight blankets or sheets are excellent for creating the roof and walls, as they are easy to drape and secure without being overly heavy. Sturdy chairs, such as dining chairs or armchairs, are essential for providing reliable support and creating the fort's frame. Don't forget an abundance of pillows and cushions to make the interior incredibly cozy and inviting. Finally, clothespins or heavy-duty binder clips are indispensable for securely fastening the fabric to the furniture, ensuring your fort stays put. Optional additions like battery-operated fairy lights can add a magical ambiance.
How do I make a blanket fort stable?
To ensure your blanket fort is stable, start with a solid foundation by using sturdy furniture like dining chairs or armchairs arranged closely together. The closer the furniture, the more points of contact your blankets will have for support. When draping the blankets, pull them taut and secure them firmly with clips at multiple points. Overlapping blankets not only minimizes gaps but also adds structural integrity. If you're using a couch or bed, ensure the blankets are securely anchored to it. Regularly check the tension of the fabric and the security of the clips to maintain stability.
Can I build a blanket fort by myself?
Yes, you can absolutely build a blanket fort by yourself, especially if you're aiming for a smaller, simpler design. However, it's often more fun and significantly easier with a helper, particularly when it comes to draping and securing the larger blankets for the roof. Having an extra pair of hands can make the process quicker and less frustrating, especially when trying to achieve a taut and stable structure. For larger or more complex forts, a second person is highly recommended to help manage the fabric and ensure everything is securely fastened.
How long does it take to build a blanket fort?
Building a basic blanket fort typically takes about 20 to 30 minutes from start to finish. This timeframe can vary depending on the size and complexity of the fort you envision, as well as how many decorative elements you plan to add. Gathering all your materials beforehand can significantly speed up the process. If you're aiming for an elaborate fort with multiple rooms or intricate designs, it might take a bit longer, perhaps up to an hour. The enjoyment of the process is often more important than the speed, so take your time and have fun!
What age group is a blanket fort best suited for?
Blanket forts are wonderfully suited for a wide range of ages, but they are particularly magical for children aged 4 and up. At this age, children have developed enough imagination to fully appreciate and engage with the concept of a secret hideaway. They can actively participate in the building process and enjoy hours of imaginative play within their fort. However, the joy of a blanket fort isn't limited to kids; teenagers and even adults can find immense pleasure in creating a cozy nook for reading, relaxing, or enjoying a movie night. It's a universally appealing project that fosters creativity and connection for the whole family.
Are there any safety considerations when building a blanket fort?
Safety is paramount when building any DIY structure, including a blanket fort. Ensure that the furniture used as support is sturdy and won't easily tip over. Avoid using sharp objects like safety pins for securing blankets; opt for clothespins or binder clips instead. Make sure there are no low-hanging blankets that could pose a tripping hazard, especially for younger children. If using battery-operated fairy lights, ensure they are securely attached and that the battery pack is not easily accessible to very young children. Always supervise young children while they are playing inside the fort.
What Next?
Congratulations on building your very own cozy blanket fort! This magical hideaway is now ready for adventures, quiet reading sessions, or secret club meetings. Consider adding more layers for extra coziness or even a small battery-operated fan for ventilation on warmer days. Once dismantled, store your blankets and clips neatly, ready for your next fort-building expedition. For future projects, explore building themed forts, incorporating tunnels, or even using outdoor spaces for a nature-inspired fort. The possibilities are as endless as your imagination!
Free: 10 Paper Crafts Anyone Can Make in 5 Minutes
Get our beginner guide + new craft ideas weekly.
No spam. Unsubscribe anytime.
Did you complete this activity?
Related
You might also like

Cozy Blanket Hideaway
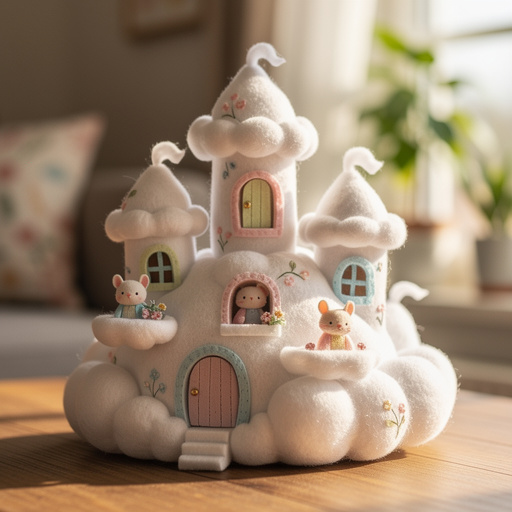
Cozy Critter Cloud Castle
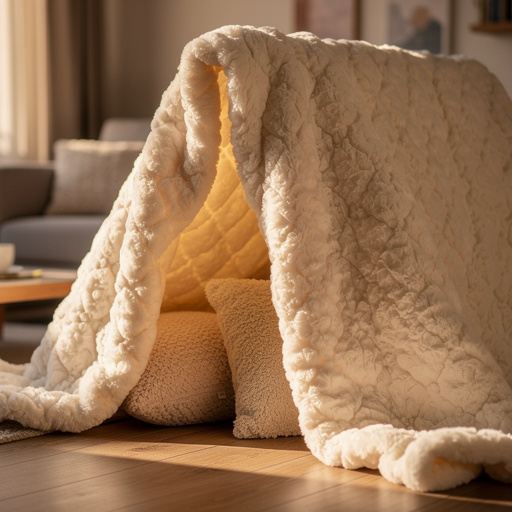
Cozy Cloud Blanket Fort
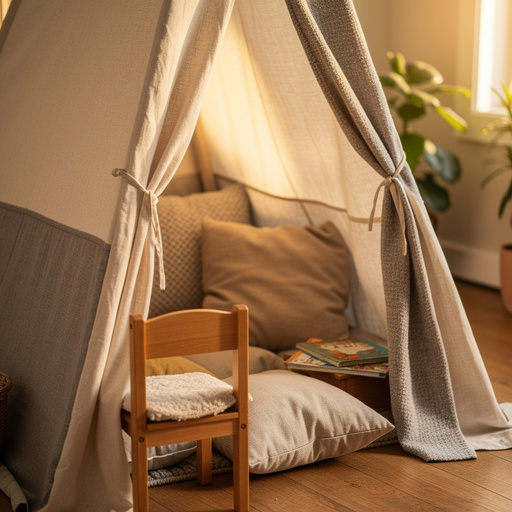
Cozy Corner Fort Kit

Cozy Canopy Creation