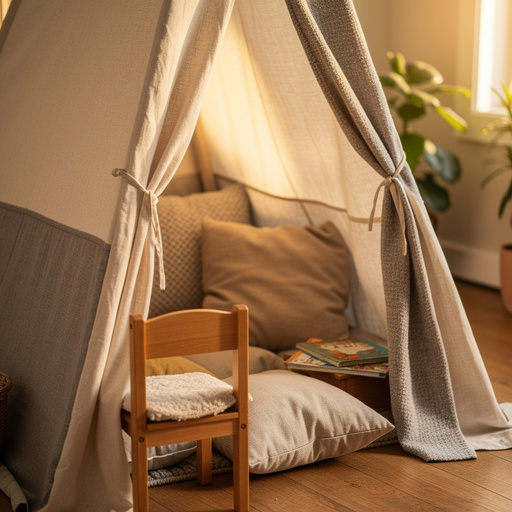
How to Build an Indoor Fort — Easy Step-by-Step Guide
Transform your living room into an epic indoor fort! This guide shows you how to create a magical hideaway using blankets, pillows, and furniture. It's a simple, fun, and budget-friendly project for all ages.
Quick answer
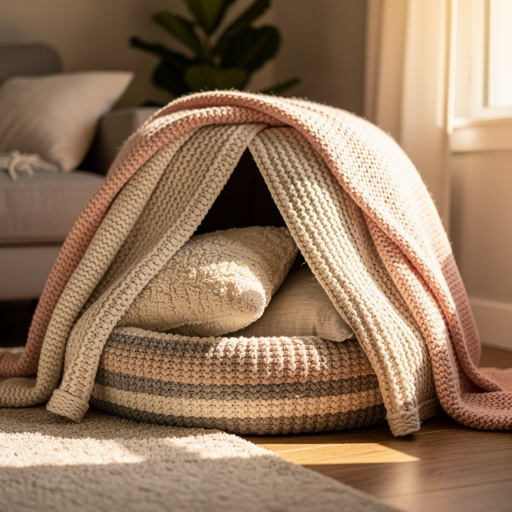
To make an indoor fort, you need blankets, pillows, chairs, and clips, taking about 30 minutes. Start by arranging furniture to create a frame. This beginner-friendly activity has 7 steps and is perfect for families with young children, offering a cozy and imaginative escape right in your home.
What you need
Shop on Amazon · As an Amazon Associate we earn from qualifying purchases. Links above are affiliate links — we may earn a commission at no extra cost to you.
There's a special kind of magic that happens when you build an indoor fort. It's more than just draping blankets; it's about creating a secret world, a cozy sanctuary for imagination to run wild. Perfect for a rainy afternoon, a sleepover, or just a fun family activity, building a fort sparks creativity and provides a sense of adventure without leaving the house. This project is incredibly rewarding, offering a tangible result that brings smiles to faces of all ages, especially young children who will cherish their own private hideaway.
On this page
Step-by-Step Instructions
- 1
Clear a spacious area in your living room or playroom, ensuring there's ample room for your fort to be built and for people to comfortably move around it. Remove any fragile items or tripping hazards from the designated fort zone to ensure safety.
- 2
Strategically arrange your sturdy chairs to form the foundational frame of your fort. Position them facing each other or in a circular formation, leaving enough space between them to create the desired interior dimensions for your hideaway. Ensure the chairs are stable and won't easily tip over.
- 3
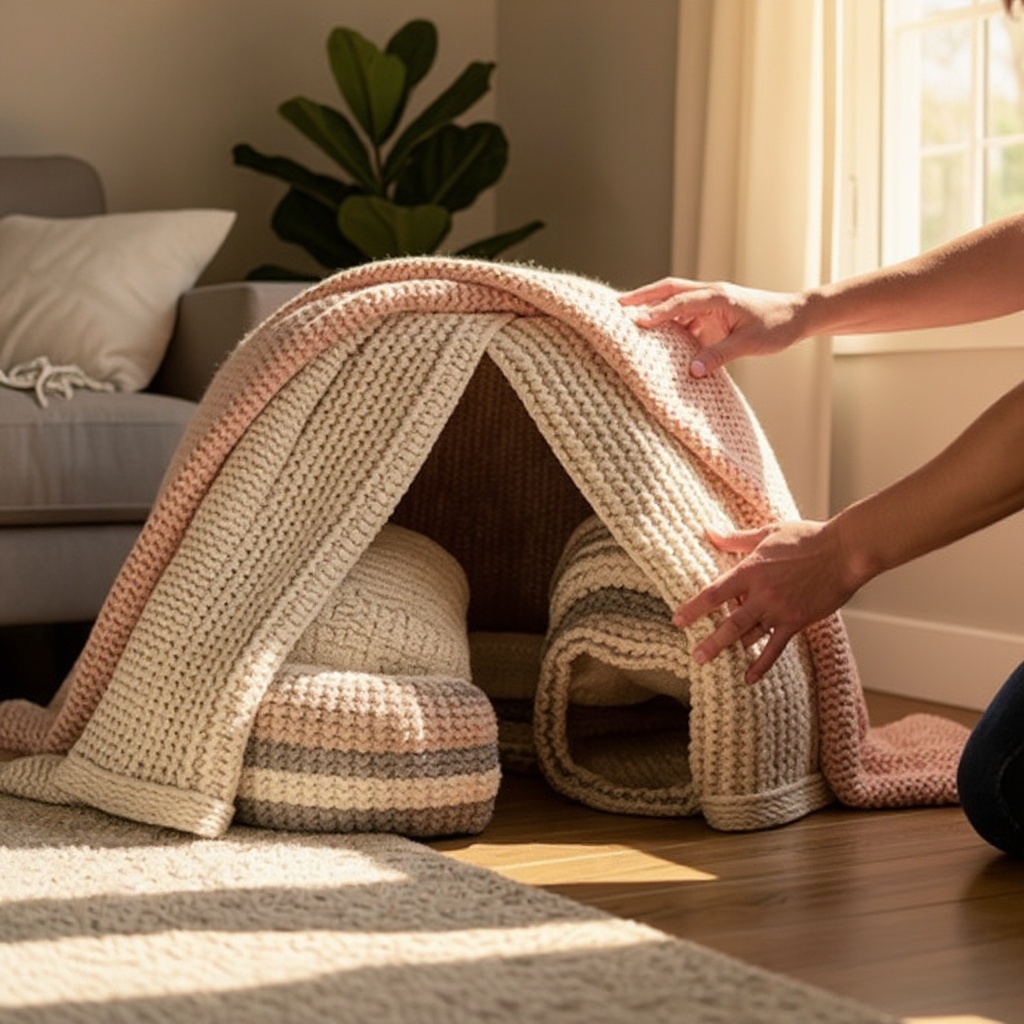
Select your largest and most lightweight blanket or sheet to serve as the primary roof of your fort. Carefully drape this over the backs of the arranged chairs, ensuring it covers the entire span and creates a generous overhead space. Aim for a smooth, even drape to avoid sagging.
- 4
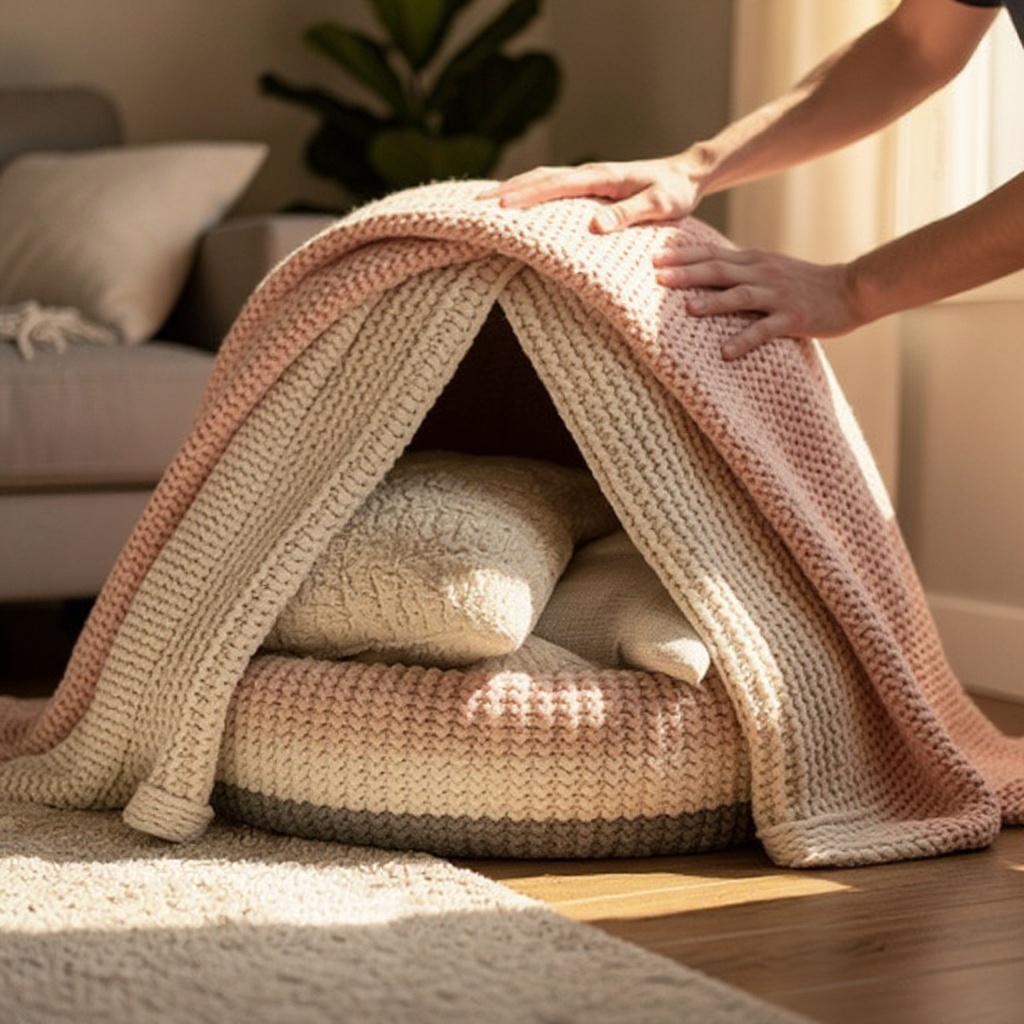
Secure the main roof blanket to the chairs using your clothespins or binder clips. Distribute the clips evenly along the edges where the blanket meets the chair backs, pulling the fabric taut to create a stable and wrinkle-free ceiling. Check that no parts are loose and likely to fall.
- 5
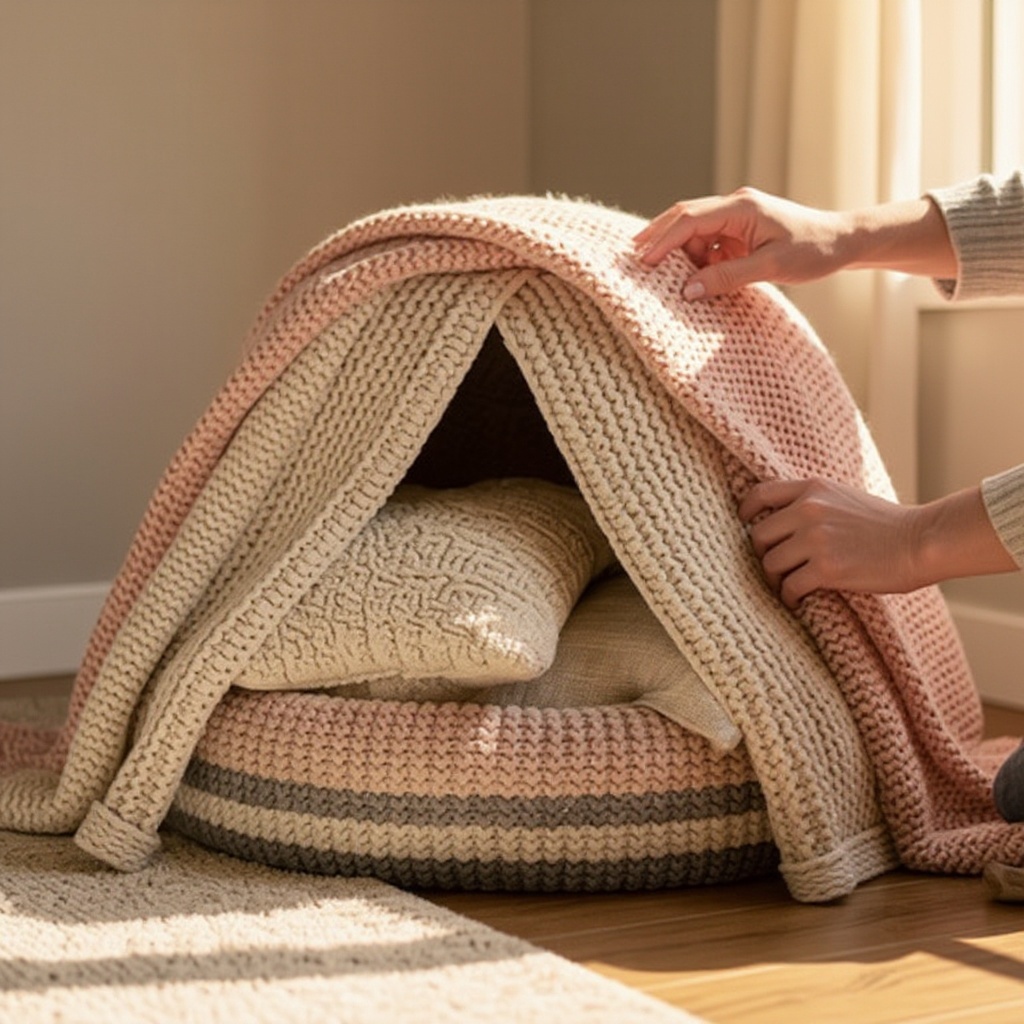
Now, it's time to create the walls of your fort. Use additional blankets or sheets, draping them from the secured roof blanket down to the floor or attaching them to the legs of the furniture. Overlap the edges of these wall blankets to prevent light from escaping and to create a more enclosed, cozy atmosphere.
- 6
To establish a soft and inviting floor, tuck couch cushions or extra pillows around the base of the fort. This not only adds comfort but also helps to seal any gaps between the wall blankets and the floor, making your hideaway feel more secluded and secure. Ensure there are no large openings.
- 7
Once the basic structure is complete, it's time to make the inside truly inviting. Add more pillows for comfortable seating and arrange any optional decorations like fairy lights for ambiance, stuffed animals for company, or books for entertainment. Personalize your fort to make it your own.
- 8
Consider adding an entrance to your fort. This can be as simple as leaving a gap between two wall blankets or creating a flap by only partially securing one side of a blanket. Make sure the entrance is easy to access and close off for privacy.
- 9
Test the stability of your fort by gently pushing on the walls and roof. If any areas feel loose, add more clips or adjust the tension of the blankets. A well-secured fort will provide a safer and more enjoyable experience.
- 10
If you're using lighter sheets for the roof, consider layering them for added darkness and insulation. You can also use heavier blankets for the walls to provide more structure and a cozier feel.
- 11
For a more robust fort, especially if it's going to be a permanent fixture for a while, you might want to incorporate a small table as a central support. Place it in the middle and drape the roof blanket over it, securing it to the table and surrounding furniture.
- 12
Involve the children in the decorating process. Let them bring in their favorite toys, books, or even draw pictures to hang inside the fort. This makes the fort feel truly theirs and encourages imaginative play.
- 13
Think about adding lighting. Battery-operated fairy lights are a fantastic and safe option to create a magical glow inside. You could also use a small battery-operated lantern for a more traditional camping feel.
- 14
If you have a longer blanket, you can use it to create a more defined entrance. Drape it over the opening and secure the top corners, letting the rest hang down like a curtain.
- 15
Ensure there are no sharp edges or protruding furniture parts that could snag blankets or pose a safety hazard. Double-check all furniture placement and blanket securing points.
- 16
Consider the airflow within your fort. While you want it to be cozy, ensure there's still some ventilation, especially if multiple people will be inside. Leaving a small gap or using breathable fabrics can help.
- 17
If your fort is for younger children, make sure the entrance is easily accessible for them to get in and out independently. Avoid creating overly complex entryways.
- 18
Once your fort is built and decorated, take a moment to enjoy it! Crawl inside, read a book, tell stories, or just relax in your new cozy space. This is the best part of the DIY process.
Tips & Troubleshooting
- 1If your blankets are too short to cover the entire space, don't worry! Overlap them generously and secure the overlapping sections with extra clothespins or binder clips to create a larger, seamless roof or wall. This technique also helps to block out more light for a darker, cozier interior.
- 2For a sturdier fort that can withstand a bit more activity, opt for heavier blankets like fleece or thick cotton sheets for the main structure. Alternatively, consider using a small, sturdy table as a central support by draping the roof blanket over it and securing it to the table and surrounding furniture.
- 3Let the kids take the lead with decorating! Encourage them to bring in their favorite stuffed animals, books, board games, or even draw pictures to hang inside the fort. This not only makes the fort feel truly personal but also sparks their creativity and imaginative play.
- 4When your fort adventures are over and it's time to tidy up, the blankets can be neatly folded and stored in a decorative basket or bin, keeping your living space clutter-free. The chairs can then be easily returned to their usual places, making this a temporary and easily reversible project.
- 5Consider the height of your fort. If you're using dining chairs, you might have a taller fort, which can be great for older children or adults. For very young children, lower chairs or even ottomans might be more appropriate and safer.
- 6Don't be afraid to mix and match different types of blankets and sheets. Lighter sheets are great for the roof as they are easier to drape and secure, while heavier blankets can provide more structure and insulation for the walls.
- 7If you're building a fort for a sleepover, think about adding extra comfort items like sleeping bags, extra pillows, and perhaps even a battery-operated lantern for a fun, camping-like atmosphere.
- 8Safety first! Ensure all furniture used is stable and won't tip over. Avoid using anything with sharp edges, and if using fairy lights, make sure they are battery-operated and cool to the touch.
Related Activities You Might Enjoy
Frequently Asked Questions
What are the best materials for an indoor fort?
The ideal materials for an indoor fort combine structural support with cozy comfort. For the main structure, large, lightweight blankets or sheets are excellent for creating the roof and walls, as they are easy to drape and secure. Sturdy chairs, sofas, or even tables provide the essential framework. For comfort, an abundance of pillows and couch cushions are a must to create a soft floor and inviting seating. Essential for assembly are clothespins or binder clips, which securely hold the fabric in place. Optional items like fairy lights, stuffed animals, and books can enhance the magical atmosphere and entertainment value of your hideaway.
How long does it take to build an indoor fort?
Building a basic yet cozy indoor fort typically takes around 30 minutes from start to finish. This timeframe allows for clearing a suitable space, strategically arranging furniture to form a stable frame, carefully draping and securing the blankets for the roof and walls, and finally, adding the essential comfort elements like pillows and any desired decorations. The speed can vary slightly depending on the complexity of the design and the number of helpers involved, but it's designed to be a quick and engaging activity for families.
Can I build an indoor fort without furniture?
Absolutely! While furniture provides a convenient structure, you can certainly build an indoor fort without traditional pieces. Large, sturdy cardboard boxes can be stacked and arranged to create walls and support beams. You can also utilize heavy-duty tension rods placed between walls or furniture pieces to create a frame for your blankets. For a simpler approach, consider using stacks of books as anchors or even leaning furniture like ottomans against a wall to create a base. The key is to find stable objects that can hold the weight of your blankets and create enclosed spaces.
How do I make my indoor fort more stable?
To enhance the stability of your indoor fort, several techniques can be employed. Using heavier blankets, such as fleece or thick cotton, for the roof and walls provides more structure and is less likely to sag or collapse. Overlapping blankets generously and securing them tightly with plenty of clips at multiple points is crucial. Strategically placing furniture to create a strong, interconnected frame, perhaps using a sofa as one side and chairs as the other, offers good support. Incorporating a small table as a central support for the roof can also significantly improve stability, especially for larger forts.
What are some fun themes for an indoor fort?
The possibilities for indoor fort themes are as vast as your imagination! For a classic adventure, create a 'Pirate Ship' with dark blankets, a treasure chest (a decorated box), and maybe some skull and crossbones drawings. A 'Fairy Castle' could feature pastel-colored blankets, glittery decorations, and flower garlands. For a cozy reading nook, call it a 'Bookworm's Den' and fill it with pillows and stacks of favorite stories. Other popular themes include a 'Space Rocket' with silver or dark blue blankets and star cutouts, a 'Cozy Cave' with earthy tones and plush textures, or even a 'Secret Agent Headquarters' with maps and 'classified' documents.
How can I make the inside of my fort more comfortable and inviting?
Comfort is key to a truly enjoyable fort experience! Start by laying down a soft base using couch cushions, extra pillows, or even a soft rug. Layer on plenty of additional pillows for lounging and seating, ensuring there are enough for everyone who will be inside. Consider adding soft blankets for extra warmth and coziness. For ambiance, battery-operated fairy lights or a small lantern can create a magical glow. Bringing in favorite stuffed animals, books, or even a few quiet board games can make the fort a perfect spot for relaxation and entertainment.
Are there any safety considerations when building an indoor fort?
Safety is paramount when building any DIY project, especially one involving children. Ensure that all furniture used as structural support is stable and won't easily tip over. Avoid using any furniture with sharp edges or protruding parts that could snag blankets or cause injury. When securing blankets, make sure they are taut and won't unexpectedly fall. If using lighting, opt for battery-operated options like LED fairy lights or lanterns, as they generate minimal heat and pose no electrical hazard. Always supervise young children while they are playing in the fort to ensure they use it safely.
What Next?
Congratulations on building your cozy blanket hideaway! This fort is just the beginning of endless adventures. Consider adding more elaborate features like a 'drawbridge' made from a piece of cardboard or a 'secret entrance' with a curtain. For future projects, explore building themed forts, perhaps a pirate ship or a fairy castle, using different colored blankets and accessories. When it's time to reclaim your living space, simply fold the blankets and store them in a decorative basket, and return the furniture to its original position, leaving you with a clean room and a treasure trove of happy memories.
Free: 10 Paper Crafts Anyone Can Make in 5 Minutes
Get our beginner guide + new craft ideas weekly.
No spam. Unsubscribe anytime.
Did you complete this activity?
Related
You might also like

Cozy Blanket Hideaway
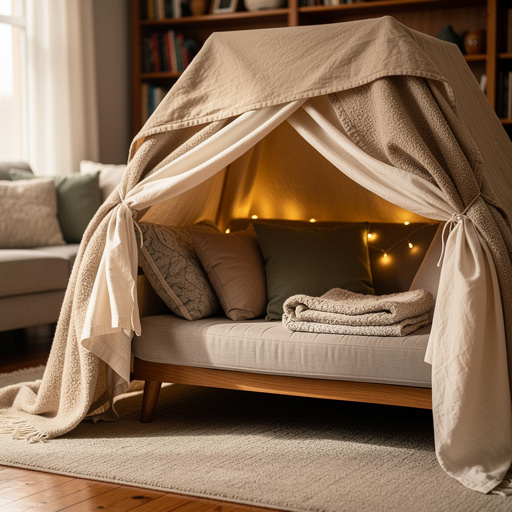
Epic Indoor Fort Building
Cozy Critter Cloud Castle

Cozy Canopy Creation
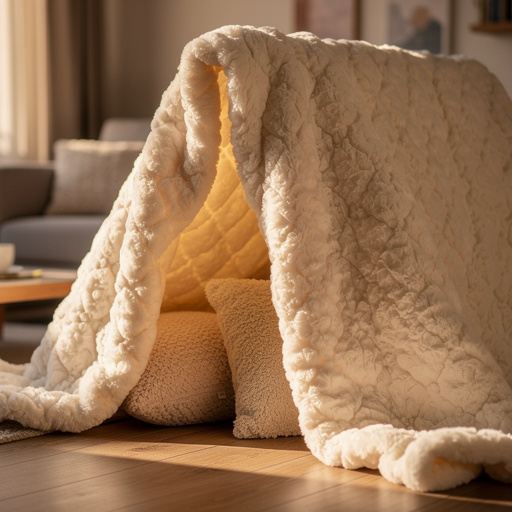
Cozy Cloud Blanket Fort