How to Build a Cozy Cloud Blanket Fort — Easy Step-by-Step Guide
Learn how to construct an epic blanket fort using everyday household items. This fun, screen-free activity promises hours of imaginative play. Perfect for rainy days, sleepovers, or just a cozy afternoon escape, this guide will help you create a magical hideaway that sparks creativity and joy for the whole family.
Quick answer
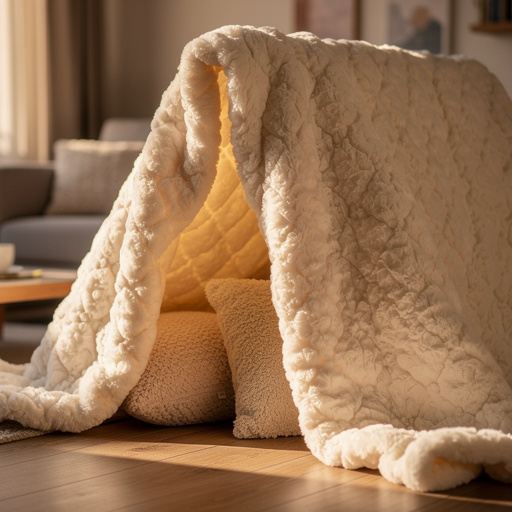
To make a Cozy Cloud Blanket Fort, you need blankets, pillows, chairs, and clothespins, taking about 30 minutes. Start by arranging furniture to create a frame. This beginner-friendly activity has 10 steps and is perfect for families with young children, offering a fun, screen-free adventure that encourages imaginative play and cozy relaxation.
What you need
Shop on Amazon · As an Amazon Associate we earn from qualifying purchases. Links above are affiliate links — we may earn a commission at no extra cost to you.
Embark on a delightful journey of imagination and comfort by building your very own Cozy Cloud Blanket Fort! In a world increasingly dominated by screens, this timeless activity offers a refreshing escape, fostering creativity, teamwork, and pure, unadulterated fun. It's the perfect project for a rainy afternoon, a special sleepover, or simply a way to transform your living room into a magical wonderland. This guide is designed for everyone, from seasoned DIY enthusiasts to complete beginners, ensuring that building your dream fort is an enjoyable and rewarding experience for the whole family.
On this page
Step-by-Step Instructions
- 1
Clear a spacious area in your living room or playroom, aiming for approximately 6x8 feet, ensuring there's enough room for the fort's structure and for comfortable play inside. Make sure the floor is clean and free of any tripping hazards before you begin assembling your fort.
- 2
Strategically arrange your chairs and furniture to form the basic skeletal structure of your fort. Place them facing inwards, creating the perimeter of your fort, and leave intentional gaps between some pieces to serve as your main entrances or passageways.
- 3
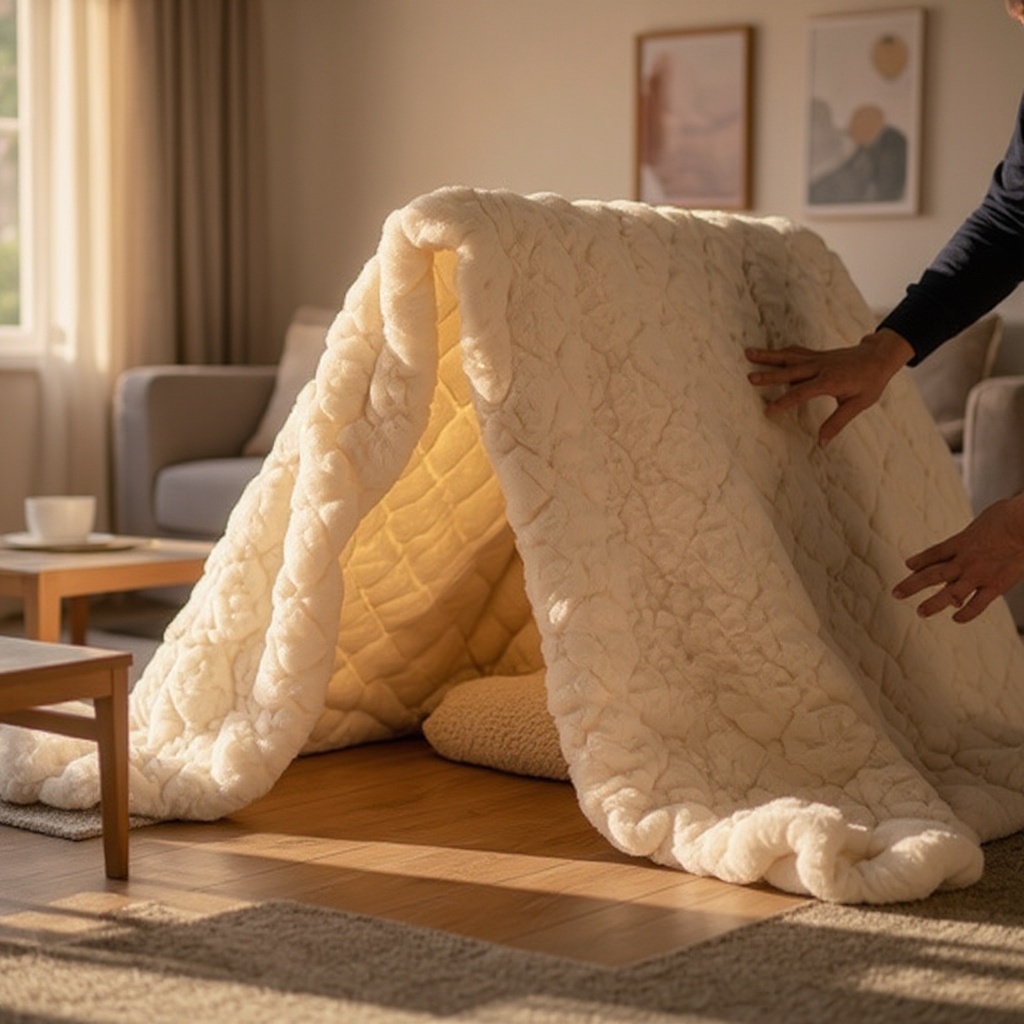
Begin by draping your largest, lightest blanket or sheet over the tops of the chairs and furniture. This will form the primary roof of your fort, creating the initial sense of enclosure and overhead coziness. Ensure it covers the majority of the space you've outlined.
- 4
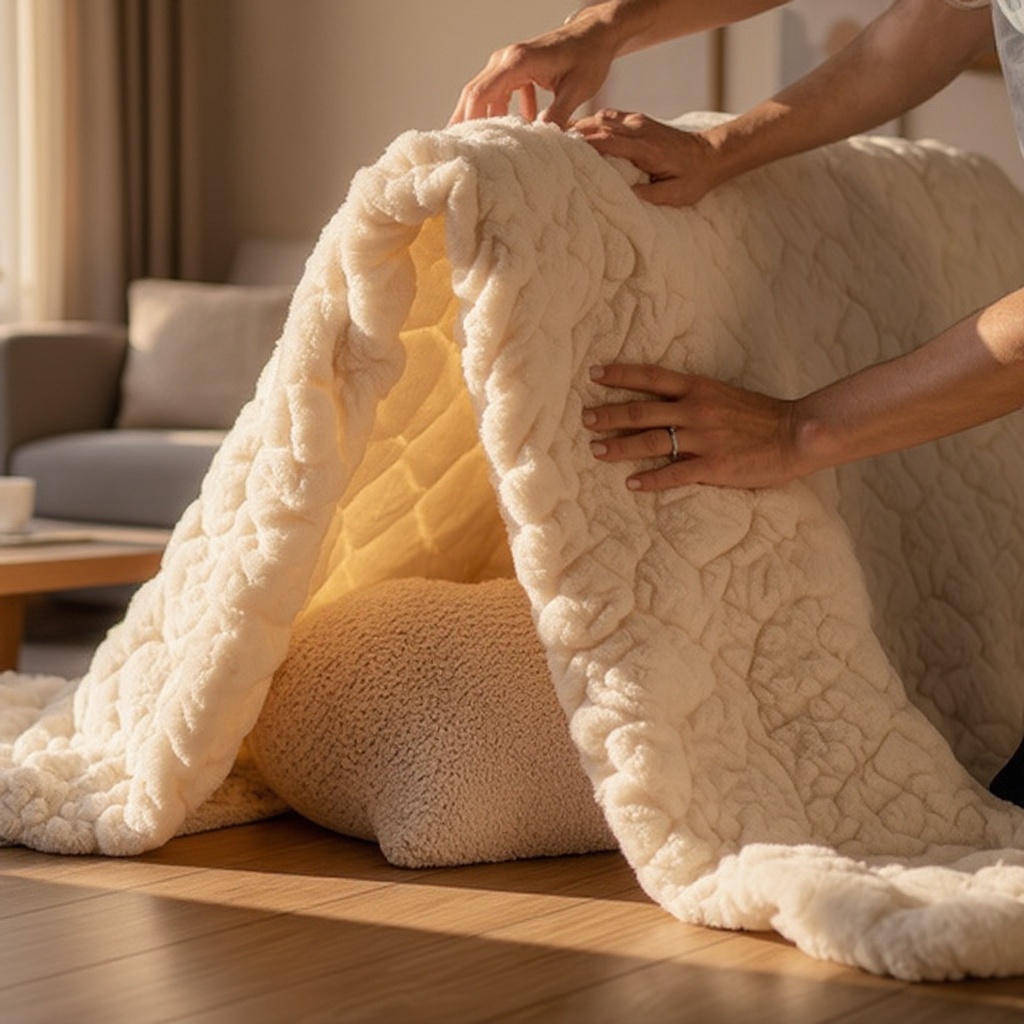
Secure the roof blanket firmly to the tops of the chairs and furniture using clothespins or binder clips. Pull the fabric taut to create a smooth, stable ceiling and prevent sagging, ensuring the clips are firmly attached to both the blanket and the furniture.
- 5
Now, use additional blankets to construct the walls of your fort. Drape them down the sides of the chairs and furniture, allowing them to hang freely to the floor, and secure them to the existing structure with more clothespins or binder clips.
- 6
Overlap the wall blankets generously where they meet each other and where they connect to the roof blanket. This meticulous overlapping is crucial for minimizing gaps, blocking out light, and creating a truly cozy, enclosed, and private space within your fort.
- 7
Designate and create your main entrance by either leaving a deliberate, easily accessible gap in one of the wall blankets or by overlapping two blankets that can be gently pushed aside, acting like a curtain or door.
- 8
Once the structural elements are in place, it's time to focus on comfort. Fill the inside of the fort generously with an assortment of pillows and cushions, arranging them to create a soft, inviting floor and comfortable seating areas.

- 9
If you're aiming for a magical ambiance, carefully string battery-operated fairy lights inside the fort. Drape them along the ceiling or walls to cast a warm, enchanting glow, transforming your fort into a luminous sanctuary.
- 10
Personalize your Cozy Cloud Blanket Fort by adding any desired decorations. Bring in your favorite stuffed animals for company, stack up a pile of engaging books for reading adventures, or lay down a soft rug for extra warmth and texture.
- 11
Test the stability of your fort by gently pushing on the walls and roof. If any sections feel loose or are sagging, add more clips or adjust the tension of the blankets to ensure everything is secure and safe for play.
- 12
Consider adding a secondary, smaller entrance or a 'secret' tunnel using a smaller blanket or a cardboard box for an added element of adventure and exploration within your fort.
- 13
If you have a larger space, you can create multiple 'rooms' or levels within your fort by using different furniture arrangements and strategically placed blankets.
- 14
Ensure adequate ventilation by leaving small gaps or openings, especially if the fort is very enclosed, to prevent it from becoming too stuffy.
- 15
For added privacy and a more immersive experience, consider using darker, thicker blankets for the outer walls of your fort.
- 16
If using a rug or play mat, ensure it lies flat and doesn't create a tripping hazard within the fort.
- 17
Arrange pillows and cushions not only for comfort but also to help prop up sagging blanket sections and reinforce the fort's structure.
- 18
Before inviting occupants, do a final check for any sharp edges on furniture or loose clips that could pose a safety concern.
Tips & Troubleshooting
- 1If your blankets are prone to slipping, try tucking the edges of the fabric securely under the seats of the chairs or using heavier-duty clips like binder clips or even small spring clamps for a more robust hold. You can also try tying corners of blankets to chair legs for extra security.
- 2For a significantly sturdier fort, opt for furniture with higher backs or place your chairs closer together to create a more compact and stable frame. This reduces the amount of unsupported fabric and minimizes the chances of the fort collapsing.
- 3Experiment with different blanket textures and colors to create unique fort themes and sensory experiences. Think about a 'jungle fort' with green and brown blankets, or a 'starry night fort' with dark blue and silver fabrics for a truly immersive environment.
- 4Involve the children in every step of the design process! Let them have a say in where the entrance should be, how to arrange the pillows for maximum comfort, and what decorations will make their fort truly special. This fosters a sense of ownership and creativity.
- 5Consider using a lightweight, sheer fabric for the roof if you want to allow some natural light to filter in, creating a soft, diffused glow. This can make the fort feel more airy and less enclosed, while still providing a sense of privacy.
- 6If you're building your fort in a room with a ceiling fan, be mindful of the blanket placement to avoid entanglement or obstruction of airflow. Ensure the fan is off during construction and play.
- 7For an extra layer of coziness and insulation, especially on cooler days, consider layering blankets or using thicker, warmer fabrics for the walls and floor. This can transform your fort into a snug haven.
- 8Don't be afraid to get creative with your 'furniture'! Sturdy boxes, laundry baskets, or even carefully stacked cushions can serve as excellent structural elements for your fort, adding versatility to your design.
Related Activities You Might Enjoy
Frequently Asked Questions
What are the best materials for a blanket fort?
Lightweight blankets or sheets are ideal for the roof as they are easier to drape and secure without weighing down the structure. For the walls, slightly heavier blankets can provide better opacity and insulation, creating a more enclosed feel. Sturdy chairs, sofas, and even low tables are essential for providing a stable frame. Clothespins or binder clips are crucial for securing the fabric to the furniture, ensuring your fort remains intact. Consider adding pillows and cushions for comfort and extra structural support, and optional items like fairy lights for ambiance.
How do I make a blanket fort stable?
To ensure your blanket fort is stable, start by using furniture with stable bases and arrange them closely together to create a strong perimeter. Secure the blankets tightly to the furniture using plenty of clothespins or binder clips, ensuring there are no loose edges. You can also use heavy books to weigh down the edges of blankets that reach the floor, preventing them from shifting. If your fort is particularly large, consider adding extra support by using a central furniture piece or even a broomstick propped up to hold the roof taut.
Can I build a blanket fort with just one person?
Yes, a blanket fort can absolutely be built by one person, especially if you're using lighter materials and fewer structural elements. However, it's often more fun and significantly easier with a helper! Having an extra pair of hands can make draping large blankets, securing clips, and adjusting the structure much more manageable. If you're building solo, consider starting with a smaller fort design or using furniture that is easier to maneuver and secure.
What are some fun activities to do in a blanket fort?
A blanket fort is a magical space for a multitude of activities! Reading books, telling stories, or listening to audiobooks are classic choices that enhance the cozy atmosphere. Playing quiet games like card games, board games, or even shadow puppets against a lit wall can be incredibly engaging. Having a special picnic snack or tea party inside the fort adds to the sense of occasion. Simply relaxing, daydreaming, or enjoying the quiet solitude can also be a wonderful way to use your fort.
How long does it typically take to build a blanket fort?
The time it takes to build a Cozy Cloud Blanket Fort can vary depending on the complexity of your design and the number of people involved, but generally, it's a quick and rewarding project. For a basic fort using 4-6 chairs and a few blankets, you can expect to spend around 30 to 60 minutes. If you're aiming for a more elaborate structure with multiple rooms, extra decorations, or intricate layering of fabrics, it might take a bit longer, perhaps up to an hour or two. The setup is usually much faster than the playtime!
What age group is a blanket fort best suited for?
Blanket forts are wonderfully versatile and can be enjoyed by a wide range of ages, from toddlers to adults! For very young children, the fort provides a safe and stimulating environment for imaginative play, sensory exploration, and quiet time. Older children and teenagers can use it as a private hangout space for reading, gaming, or socializing with friends. Adults can also appreciate the nostalgic charm and create a cozy retreat for reading or relaxation. The key is to adapt the design and activities to suit the specific age group.
What Next?
Congratulations on building your Cozy Cloud Blanket Fort! This magical space is now ready for countless adventures. Consider variations like a 'Space Station Fort' with silver blankets and glow-in-the-dark stars, or a 'Fairy Tale Castle' with pastel fabrics and floral accents. Once playtime is over, dismantle the fort carefully, storing blankets and pillows neatly. You can even create a permanent 'fort zone' in a playroom or bedroom with a few strategically placed hooks or a small tent frame. The possibilities for cozy creation are endless!
Free: 10 Paper Crafts Anyone Can Make in 5 Minutes
Get our beginner guide + new craft ideas weekly.
No spam. Unsubscribe anytime.
Did you complete this activity?
Related
You might also like
Cozy Corner Fort Kit
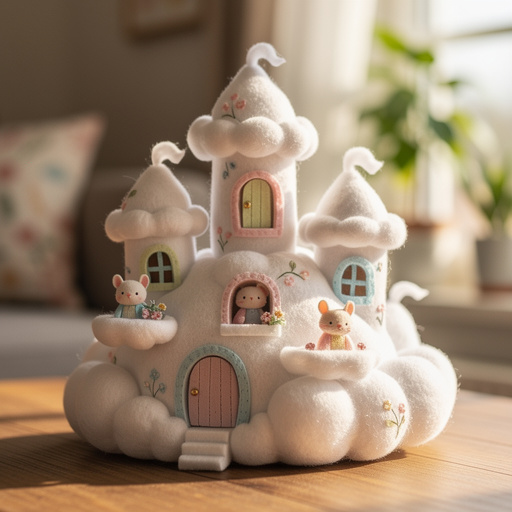
Cozy Critter Cloud Castle

Cozy Blanket Hideaway

Epic Indoor Fort Building

Cozy Canopy Creation