How to Make Air Dry Clay Trinket Dishes — Easy Step-by-Step Guide
Unleash your creativity with air dry clay! This tutorial guides you through making beautiful and functional trinket dishes, perfect for jewelry or keys. Learn how to condition, shape, and decorate your own unique dishes with simple, accessible materials and techniques. This project is ideal for adults seeking a relaxing, screen-free crafting experience and a way to add a personal touch to their home decor or gift-giving.

Quick answer
To make air dry clay trinket dishes, you need air dry clay (about 1 lb), a rolling pin, a craft knife or cutting tool, a small bowl of water, plastic wrap, acrylic paints, paintbrushes, and an optional clear sealant. The process involves conditioning the clay, rolling it out, shaping it into a dish, allowing it to dry completely (24-72 hours), sanding, painting, and optionally sealing. This beginner-friendly activity has approximately 15 steps and takes about 60 minutes of active crafting time, plus significant drying time. It's perfect for adults seeking screen-free relaxation and a rewarding DIY project.
What you need
Shop on Amazon · As an Amazon Associate we earn from qualifying purchases. Links above are affiliate links — we may earn a commission at no extra cost to you.
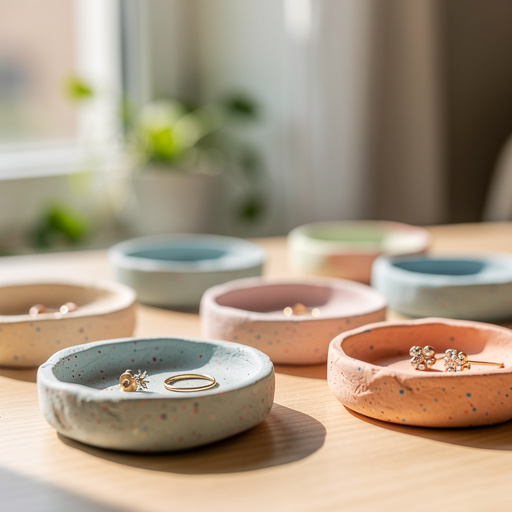
Discover the joy of crafting with air dry clay and create charming, personalized trinket dishes that are as functional as they are beautiful. This project is a fantastic entry point into the world of clay sculpting, requiring no special equipment like kilns, and offering immediate gratification as your creations dry right on your countertop. Whether you're looking for a mindful way to unwind, a creative outlet for your artistic flair, or a thoughtful handmade gift, these air dry clay trinket dishes are the perfect solution. They're ideal for organizing small treasures like jewelry, keys, coins, or even as decorative accents around your home.
On this page
Step-by-Step Instructions
- 1
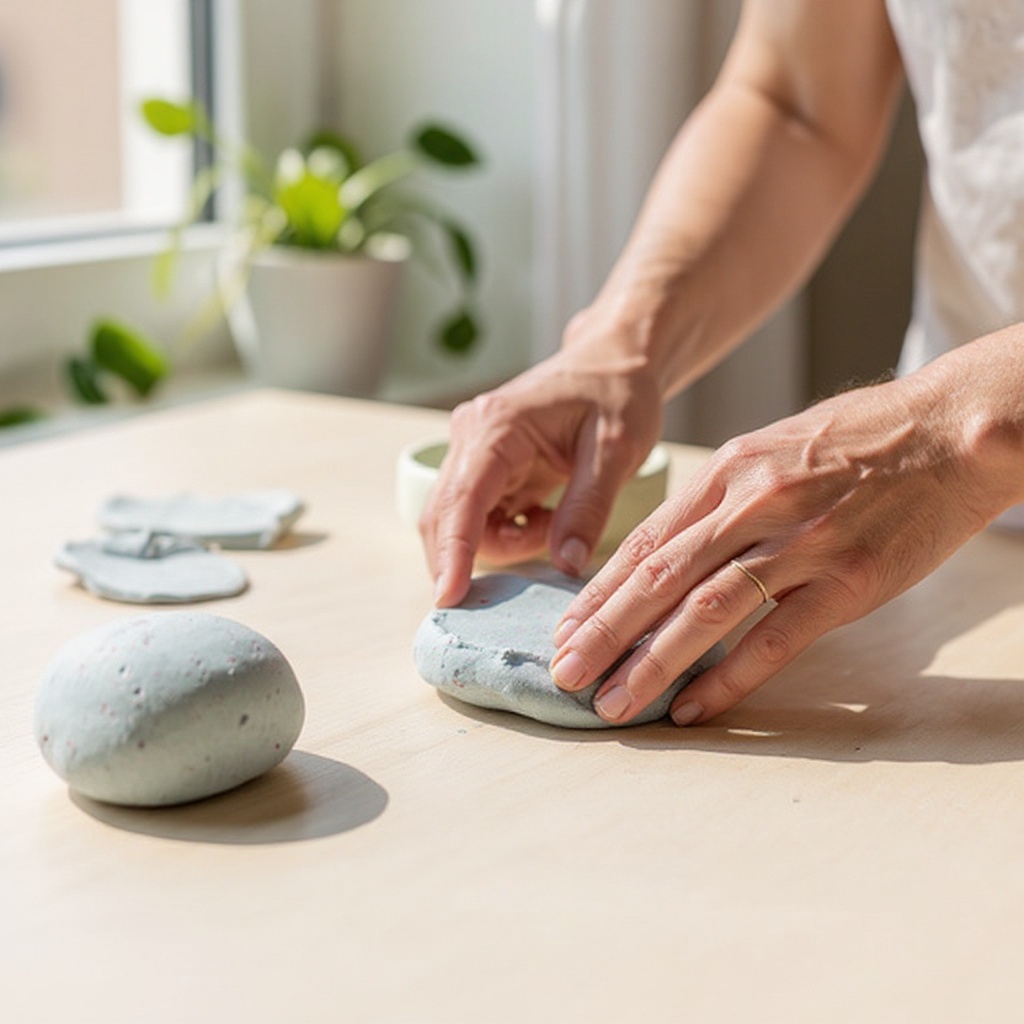
Begin by conditioning your air dry clay: Knead the air dry clay for 2-3 minutes until it is soft, pliable, and free of any cracks or lumps. This process warms the clay and makes it easier to work with, ensuring a smooth final product.
- 2
Prepare your workspace by laying down wax paper or parchment paper to prevent the clay from sticking to your surface. This also makes cleanup much easier.
- 3
On your prepared surface, roll out the clay to a consistent thickness of about 1/4 inch using your rolling pin. Ensure the thickness is even across the entire piece to avoid uneven drying or potential cracking.

- 4
Using a craft knife or a round cutter, carefully cut out a circular or oval shape for your dish base. You can trace around a small bowl or lid to get a perfect circle, or freehand an organic shape for a more rustic look.
- 5
Gently lift the clay shape and place it into a small bowl, ramekin, or even the bottom of a glass to create a dish shape. Press the clay gently into the contours of your chosen mold, ensuring it conforms to the shape.
- 6
Smooth the edges of the dish by gently running your fingers along the rim, dipping them in water if needed to achieve a smooth finish. This step is crucial for a professional-looking result and to prevent sharp edges.
- 7
If you desire a raised edge or a more defined rim, roll a thin coil of clay, about 1/4 inch in diameter. Carefully attach this coil to the rim of the dish using a little water as an adhesive, then gently smooth the join with your finger or a clay tool.
- 8
Now is the time to add personality! Use your fingers or various clay tools to add texture to the inside or outside of the dish, if desired. You can create patterns with a fork, stamp designs, or use a toothpick to draw intricate lines.
- 9
If you're adding any separate elements, like a small decorative bead or a sculpted handle, ensure they are attached securely while the clay is still wet. Use a bit of water and gently blend the seams to make sure they adhere well.
- 10
Once you are happy with the shape and texture, carefully remove the clay dish from its mold. If it's sticking, gently wiggle it or use a thin tool to help release it. Place it on a flat surface covered with wax paper or parchment paper to begin drying.
- 11
Allow the clay dish to air dry completely. This can take anywhere from 24 to 72 hours, depending on the thickness of your dish and the humidity levels in your environment. For optimal drying, place it in a well-ventilated area away from direct heat or sunlight.
- 12
To ensure even drying and prevent warping, it's recommended to flip the dish halfway through the drying process. Carefully turn it over, ensuring it's supported to maintain its shape.
- 13
Once the dish feels completely hard and dry to the touch, lightly sand any rough edges or imperfections with fine-grit sandpaper. This will give your trinket dish a smooth, polished finish.
- 14
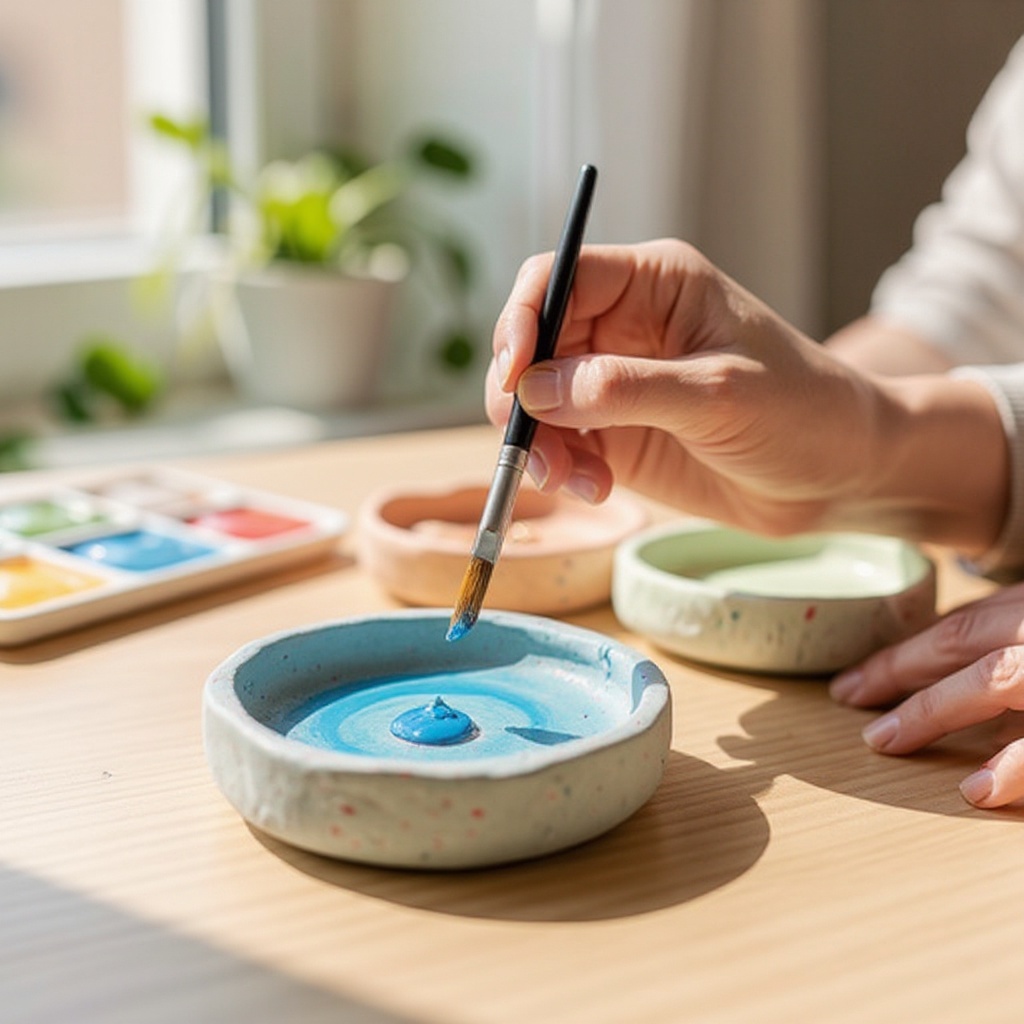
Prepare your acrylic paints and paintbrushes. You can create solid colors, intricate patterns, abstract designs, or even try a marbled effect by swirling two colors together on your palette.
- 15
Paint your trinket dish with acrylic paints, allowing each layer to dry before applying the next if necessary. Get creative with your designs – the possibilities are endless!
- 16
Let the paint dry completely. This usually takes about 30-60 minutes for acrylics, but check the paint manufacturer's instructions.
- 17
For added durability and a finished look, apply a clear sealant or varnish over the dried paint. This will protect your design and make the dish more resistant to moisture. Allow the sealant to dry thoroughly according to the product's instructions.
Tips & Troubleshooting
- 1If the air dry clay starts to dry out and become difficult to work with while you're shaping your dish, simply dip your fingers in water and continue kneading. The moisture will rehydrate the clay, making it pliable again.
- 2Don't be afraid to experiment with different bowl shapes or even small ramekins, teacups, or muffin tins as molds for unique dish forms. The key is to find something that allows the clay to drape and form a concave shape.
- 3Avoid overworking the clay, especially during the kneading and shaping stages. Excessive manipulation can introduce too much air or break down the clay's structure, potentially making it brittle and prone to cracking when dry.
- 4For a beautiful marbled effect, swirl two different colored clays together gently before rolling and cutting your dish shape. Don't overmix, or the colors will become muddy; aim for distinct streaks and patterns.
- 5Ensure the dish is completely dry before painting to prevent cracking or peeling of the paint. A damp dish will not hold paint well, and the moisture can cause issues as it continues to evaporate.
- 6When smoothing edges, a little water goes a long way. Too much water can make the clay sticky and difficult to handle, so use it sparingly and only when needed to achieve a smooth surface.
- 7If you're adding decorative elements like small clay feet or handles, score both surfaces that will be joined and use a 'slip' (a mixture of clay and water to a creamy consistency) to help them adhere strongly. This is similar to how ceramic pieces are joined.
- 8Store any unused air dry clay tightly wrapped in plastic wrap and then in an airtight container to prevent it from drying out. This will keep it fresh for future projects.
Related Activities You Might Enjoy
Frequently Asked Questions
What kind of clay is best for trinket dishes?
Air dry clay is an excellent choice for trinket dishes, especially for beginners, because it doesn't require a kiln for firing. It dries hard on its own when exposed to air, making the process accessible and convenient. It's readily available in craft stores and comes in various types, from smooth and fine-grained to slightly coarser textures. Brands like DAS, Crayola, and Sculpey Air Dry are popular and work well for this type of project. The ease of use and the fact that no special equipment is needed make it the ideal clay for creating decorative and functional items like trinket dishes at home.
How long does air dry clay take to dry?
Air dry clay typically takes between 24 to 72 hours to dry completely. The exact drying time is influenced by several factors, including the thickness of your trinket dish, the humidity levels in your environment, and the ambient temperature. Thicker pieces will naturally take longer to dry than thinner ones. For best results, ensure the dish is placed in a well-ventilated area away from direct heat or sunlight, which can cause it to dry too quickly and potentially crack. Flipping the dish halfway through the drying process helps ensure even drying and prevents warping.
Can I make my air dry clay dishes waterproof?
While air dry clay is not inherently waterproof, you can significantly increase its water resistance by applying a good quality clear sealant or varnish after it has fully dried and been painted. Products like Mod Podge (available in matte or gloss finishes), acrylic varnish, or even a polyurethane sealant can create a protective barrier. Apply multiple thin coats for the best protection. This will make the dishes more suitable for holding items that might have slight moisture, like wet keys or small pieces of jewelry, and will also protect the paintwork from wear and tear. However, they will not be suitable for submersion in water or for holding liquids.
What can I use as a mold for air dry clay dishes?
You can use a variety of common household items as molds for your air dry clay dishes, making this project very accessible. Small bowls, ramekins, teacups, or even the bottom of a sturdy glass can serve as excellent molds. For multiple dishes of the same size, muffin tins (lined with plastic wrap or parchment paper) are a great option. If you're using a porous material like unglazed ceramic, it's a good idea to seal it with a layer of plastic wrap or a non-stick spray to prevent the clay from sticking. The key is to find an item that has a concave shape that the clay can drape over.
How do I prevent air dry clay from cracking?
Cracking in air dry clay can occur if it dries too quickly, unevenly, or if it's overworked. To prevent this, ensure your clay is well-conditioned and free of air bubbles before you start. Roll out the clay to a consistent thickness, avoiding thin edges that dry much faster than thicker centers. Allow the clay to dry slowly and evenly in a well-ventilated area, away from direct heat sources or drafts. Flipping the piece halfway through the drying process helps ensure both sides dry at a similar rate. If you're joining separate pieces of clay, make sure to score the surfaces and use a slip (clay mixed with water) to create a strong bond.
Can I paint my air dry clay dishes before they are completely dry?
It is highly recommended to wait until your air dry clay dishes are completely dry before painting them. Painting on damp clay can lead to several issues, including cracking as the remaining moisture evaporates, peeling of the paint, or the paint becoming dull and uneven. Once the clay is fully dry and hard, it provides a stable surface for acrylic paints. This ensures that your painted designs will adhere properly and remain vibrant and intact. The drying process can take 24-72 hours, so patience is key for a successful and durable painted finish.
What Next?
Congratulations on creating your own unique air dry clay trinket dishes! These versatile creations can be used to organize your bedside table, entryway, or vanity. For variations, consider incorporating stamps for intricate patterns before drying, or try a mosaic effect by embedding small beads or broken ceramic pieces into the wet clay. You can also explore different clay colors or experiment with metallic paints for a touch of glamour. Display your finished dishes proudly, or package them beautifully for a truly special handmade gift. For your next project, consider larger air dry clay bowls, decorative tiles, or even small sculptures.
Free: 10 Paper Crafts Anyone Can Make in 5 Minutes
Get our beginner guide + new craft ideas weekly.
No spam. Unsubscribe anytime.
Did you complete this activity?
Related
You might also like
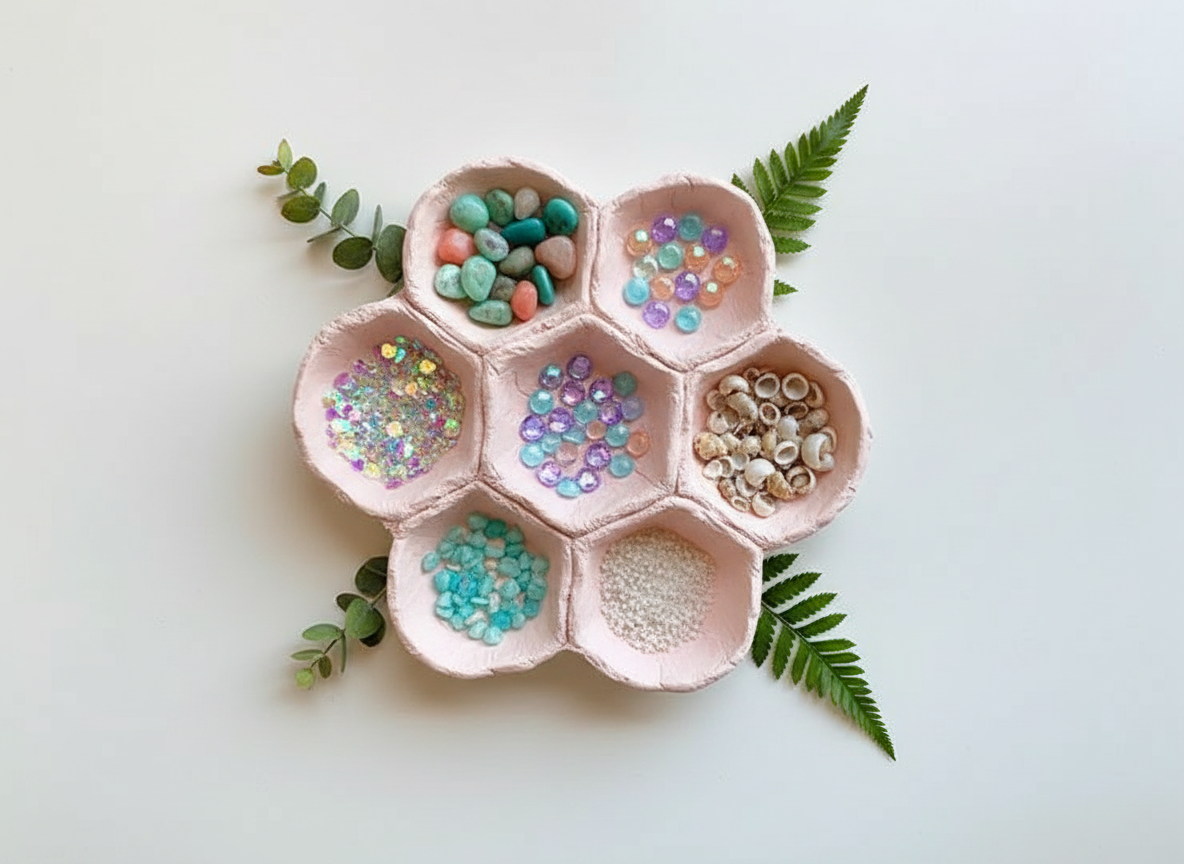
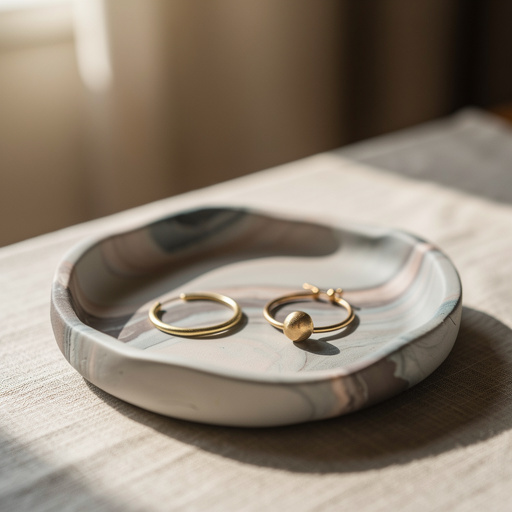
Air Dry Clay Geometric Trinket Dish
Polymer Clay Jewelry Dishes
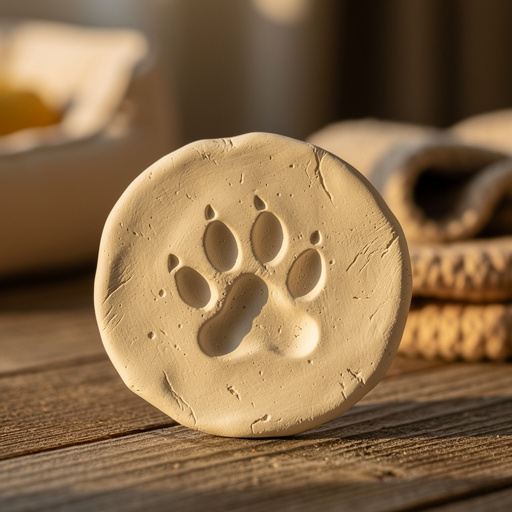
Air Dry Clay Pet Paw Prints
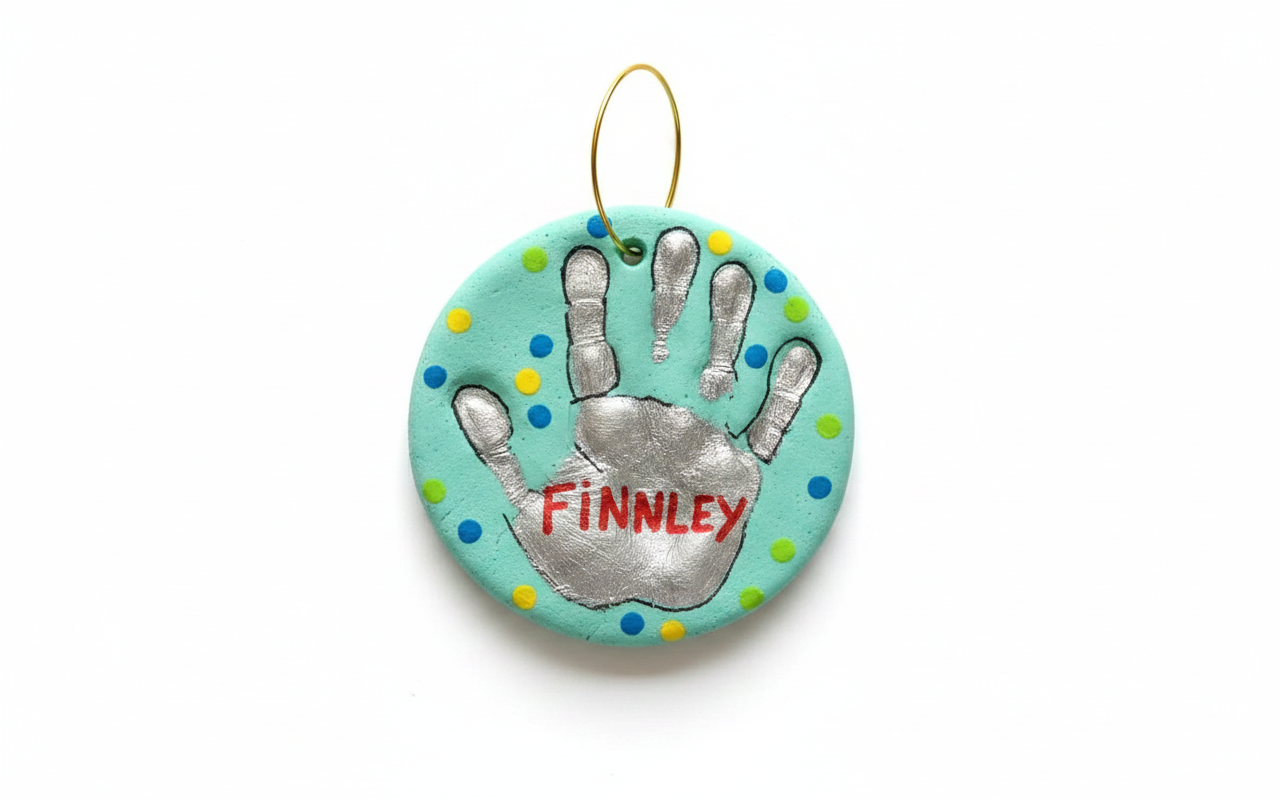
Salt Dough Handprint Keepsake Ornament

Polymer Clay Tiny Trinket Boxes